Reset Lexus CT200h 2016 (in English) User Guide
[x] Cancel search | Manufacturer: LEXUS, Model Year: 2016, Model line: CT200h, Model: Lexus CT200h 2016Pages: 632, PDF Size: 8.5 MB
Page 261 of 632

CT200h_OM_OM76197U_(U)
2615-3. Using the radio
5
Audio system
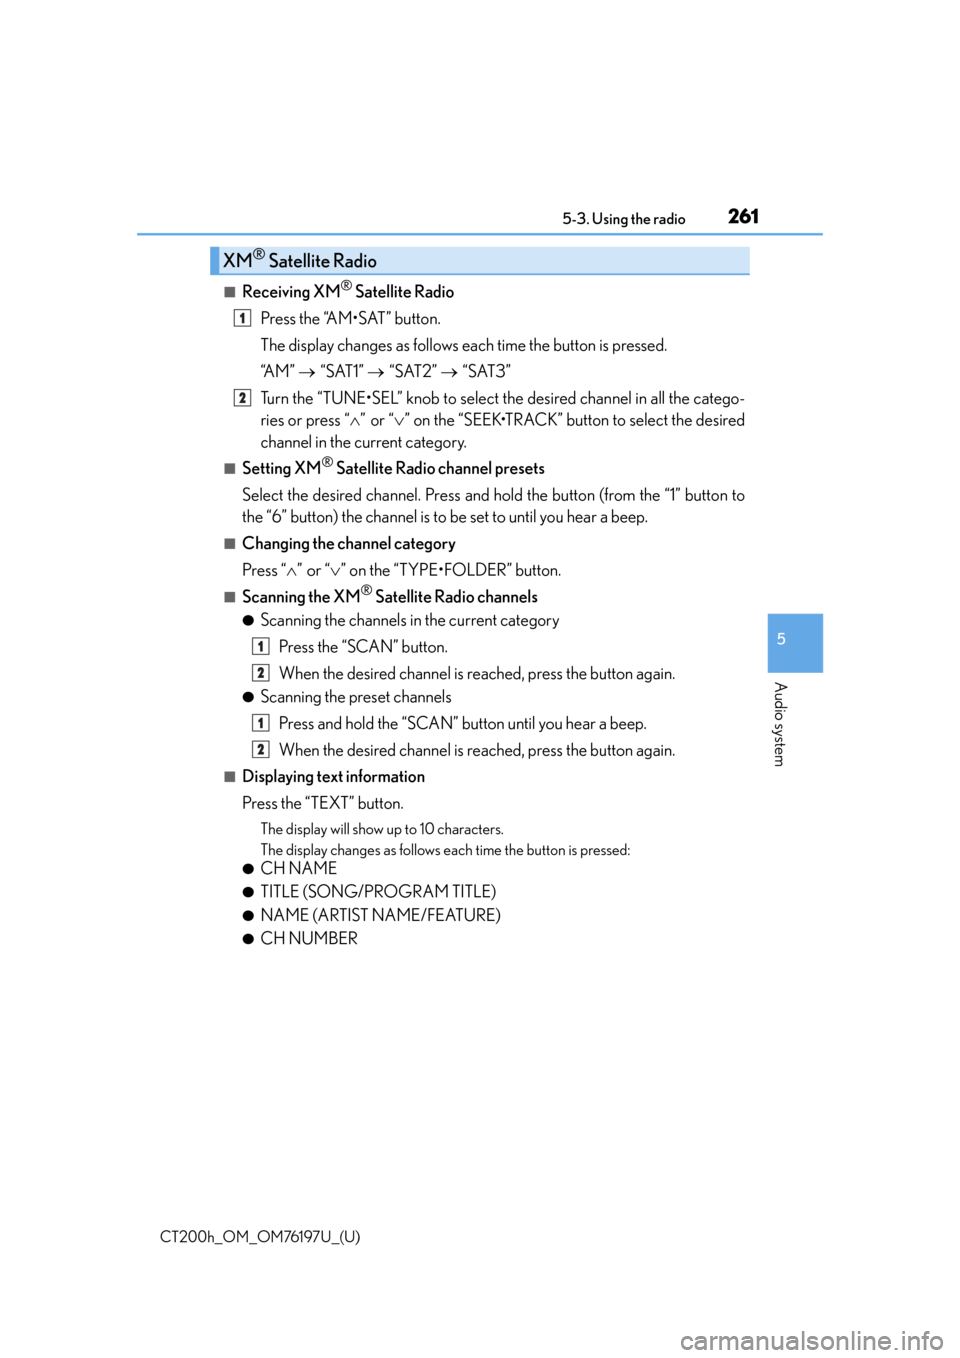
■Receiving XM® Satellite Radio
Press the “AM•SAT” button.
The display changes as follows each time the button is pressed.
“A M ” “SAT1” “SAT2” “SAT3”
Turn the “TUNE•SEL” knob to select the desired channel in all the catego-
ries or press “ ”or “ ” on the “SEEK•TRACK” button to select the desired
channel in the current category.
■Setting XM® Satellite Radio channel presets
Select the desired channel. Press and hold the button (from the “1” button to
the “6” button) the channel is to be set to until you hear a beep.
■Changing the channel category
Press “”or “ ” on the “TYPE•FOLDER” button.
■Scanning the XM® Satellite Radio channels
●Scanning the channels in the current category
Press the “SCAN” button.
When the desired channel is reached, press the button again.
●Scanning the preset channels
Press and hold the “SCAN” button until you hear a beep.
When the desired channel is reached, press the button again.
■Displaying text information
Press the “TEXT” button.
The display will show up to 10 characters.
The display changes as follows each time the button is pressed:
●CH NAME
●TITLE (SONG/PROGRAM TITLE)
●NAME (ARTIST NAME/FEATURE)
●CH NUMBER
XM® Satellite Radio
1
2
1
2
1
2
Page 262 of 632

2625-3. Using the radio
CT200h_OM_OM76197U_(U)
■When the 12-volt battery is disconnected
All preset stations are erased.
■Reception sensitivity
●Cargo loaded on the roof luggage carrier, especially metal objects, may adversely
affect the reception of XM® Satellite Radio.
●Maintaining perfect radio recept ion at all times is difficult due to the continually chang-
ing position of the antenna, differences in signal strength and surrounding objects, such
as trains, transmitters, etc.
●When the “SCAN” button is used, automati c station selection may not be possible.
●The radio antenna is mounted inside the rear window. To maintain clear radio reception,
do not attach metallic window tinting or other metallic objects to the antenna wire
mounted inside the rear window.
■Receiving XM® Satellite Radio
An XM® Satellite Radio is a tuner designed excl usively to receive broadcasts provided
under a separate subscription. Availability is limited to the 48 contiguous states and 10
Canadian provinces.
●XM® subscriptions
For detailed info rmation about XM® Satellite Radio or to subscribe:
U.S.A.
Visit on the web at www.xmradio.com
or call 1-877-515-3987.
Canada
Visit on the web at www.xmradio.ca
or call 1-877-438-9677.
●Radio ID
You will need the radio ID when activating XM® service or reporting a problem. Select
“CH000” using the “TUNE•SEL” knob, and the receiver’s 8-character ID number will
appear.
●Satellite tuner
The tuner supports only Audio Services (Music and Talk) and the accompanying Text
Information of XM
® Satellite Radio.
●Infotainment and Data services
XM offers a variety of advanced Infotainment and data services.
Page 275 of 632

CT200h_OM_OM76197U_(U)
2755-5. Using an external device
5
Audio system
■About iPod
●Apple is not responsible for the operation of this device or its compliance with safety
and regulatory standards.
●iPod is a trademark of Apple, Inc., registered in the U.S. and other countries.
■iPod functions
●When an iPod is connected and the audio sour ce is changed to iPod mode, the iPod will
resume play from the same poin t in which it was last used.
●Depending on the iPod that is connected to the system, certain functions may not be
available. Disconnecting the device and reconnecting it once again may resolve some
malfunctions.
■iPod problems
To resolve most problems encountered when using your iPod, disconnect your iPod from
the vehicle iPod connection and reset it.
For instructions on how to reset your iPod, refer to your iPod Owner’s Manual.
■Display
P. 2 6 8
■Error messages
“ERROR”:
This indicates a problem in the iPod or its connection.
“NO MUSIC”:
This indicates that there is no music data in the iPod.
“EMPTY”:
This indicates that an empty playlist is selected.
“UPDATE”:
This indicates that the version of the iPod is not compatible. Upgrade your iPod software
to the latest version.
Page 308 of 632

3085-7. Setup menu
CT200h_OM_OM76197U_(U)
Select “Set Speed Dial (Speed Dial)” using a voice command or the
“TUNE•SEL” knob.
Pattern A
Select the data to be registered as a speed dial by either of the following
methods, and select “Confirm” using a voice command or the knob:
a. Press the talk switch, say the desired name.
b. Press the talk switch, and say “List Names”. When the desired name is read aloud, press the talk switch.
Pattern B
Select the desired data using the knob.
Select the desired preset button, and register the data into speed dial by
either of the following methods:
a. Press the desired preset button, and select “Confirm” by using a voice com-mand or the knob.
b. Press and hold the desired preset button.
Select “Delete Entry” using a voice command or the “TUNE•SEL” knob.
Pattern A
Select the data to be deleted by either of the following methods, and select
“Confirm” using a voice command or the knob:
a. Press the talk switch, and say the name of the desired phone number.
b. Press the talk switch, say “List Names”. When the name of the desired phone number is read aloud, press the talk switch.
Pattern B
Select the desired data to be deleted using the knob.
Setting speed dials
Deleting the registered data
1
2
2
3
1
2
2
Page 309 of 632

CT200h_OM_OM76197U_(U)
3095-7. Setup menu
5
Audio system
Select “Delete Speed Dial (Del Spd Dial)” using a voice command or the
“TUNE•SEL” knob.
Press the preset button to which the desired speed dial is registered, and
select “Confirm” using a voice command or the knob.
■Limitation of number of digits
A phone number that exceeds 24 digits cannot be registered.
Deleting speed dials
1
2
Page 313 of 632

CT200h_OM_OM76197U_(U)
3135-9. Bluetooth® Phone
5
Audio system
Press the off-hook switch.
Press the preset button in which the desired number is registered.
Press the off-hook switch.
Follow the procedure below to use a number stored in the call history memory: Press the talk switch and say “Redial” (when using a number stored in the out-
going call history memory) or “Call back” (when using a number stored in the
incoming call history memory).
Select the number by either of the following methods:
a. Say “Previous” or “Go back” until the desired number is displayed.
b. Select the desired number using the “TUNE•SEL” knob.
The following operations can be performed:
Dialing: Press the off-hook switch or select “Dial” using a voice command or
the “TUNE•SEL” knob.
Storing the number in the phone book : Select “Store” and then “Confirm”
using a voice command or the knob.
Deleting: Select “Delete” and then “Confirm” using a voice command or the
knob.
■Call history
Up to 5 numbers can be stored in each of the outgoing and incoming call history memo-
ries.
Speed dialing
Using the call history memory
1
2
3
1
2
3
Page 331 of 632

CT200h_OM_OM76197U_(U)
3315-12. Setup (Lexus Display Audio System)
5
Audio system
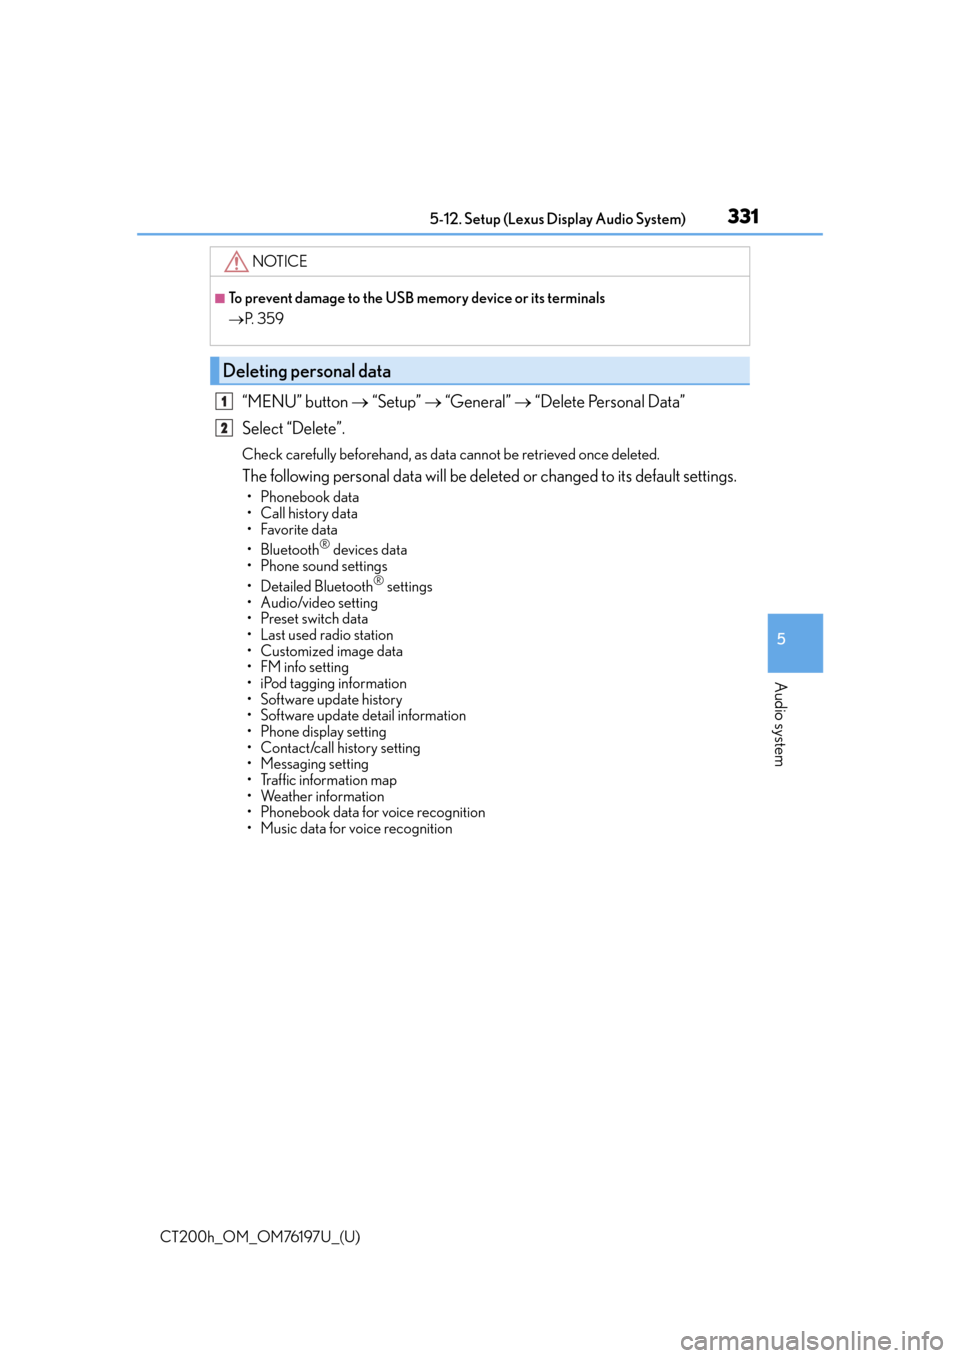
“MENU” button “Setup” “General” “Delete Personal Data”
Select “Delete”.
Check carefully beforehand, as data cannot be retrieved once deleted.
The following personal data will be deleted or changed to its default settings.
• Phonebook data
• Call history data
•Favorite data
•Bluetooth
® devices data
•Phone sound settings
• Detailed Bluetooth
® settings
• Audio/video setting
• Preset switch data
•Last used radio station
• Customized image data
•FM info setting
• iPod tagging information
• Software update history
• Software update detail information
•Phone disp lay setting
• Contact/call history setting
• Messaging setting
• Traffic information map
• Weather information
• Phonebook data for voice recognition
• Music data for voice recognition
NOTICE
■To prevent damage to the USB memory device or its terminals
P. 3 5 9
Deleting personal data
1
2
Page 336 of 632

336
CT200h_OM_OM76197U_(U)5-13. Using the audio system (Lexus Display Audio System)
Audio settings
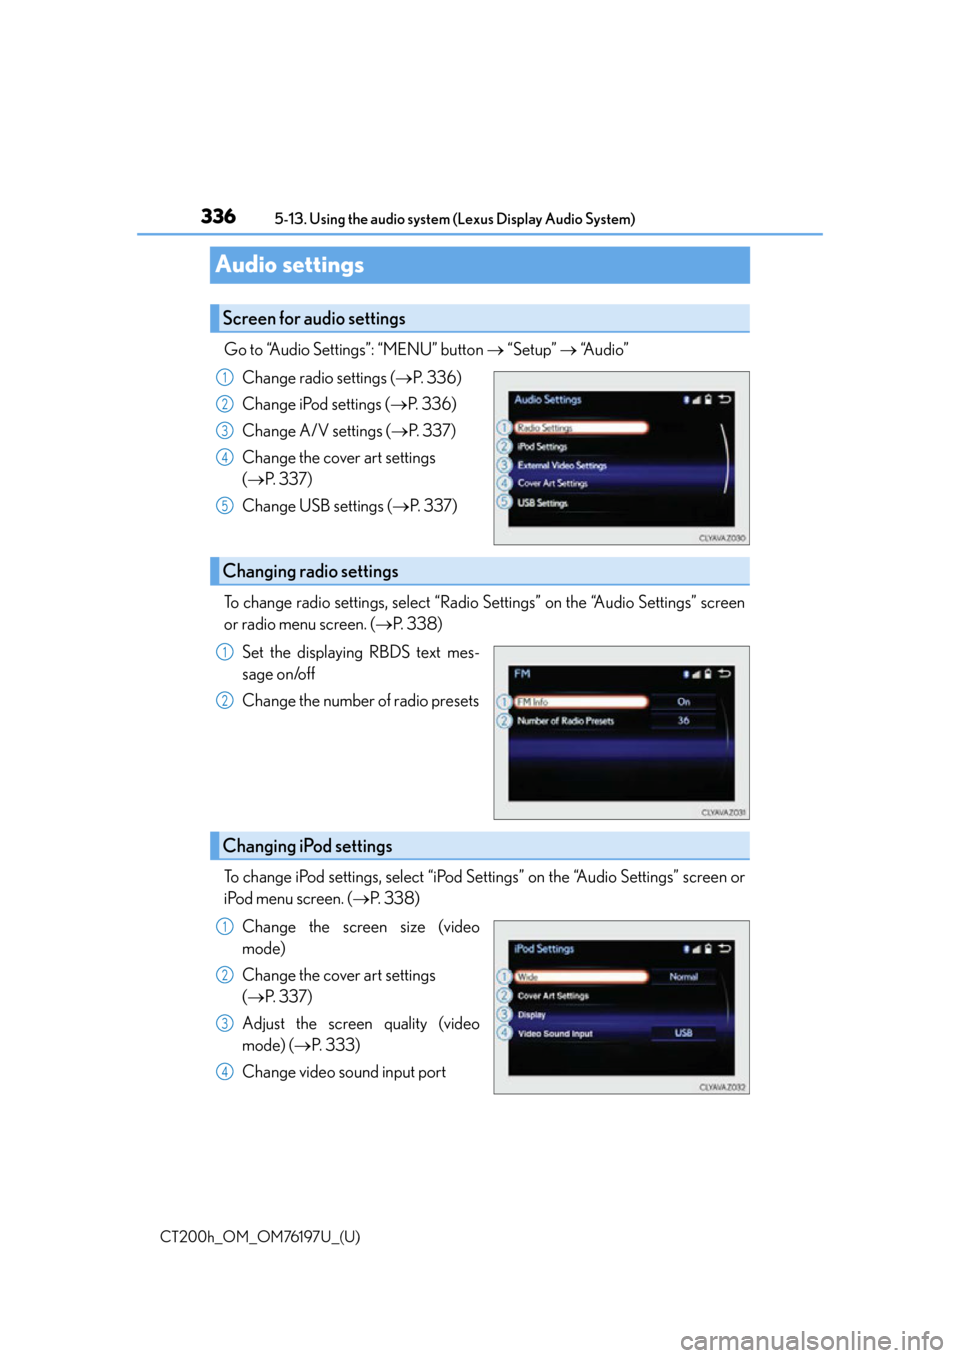
Go to “Audio Settings”: “MENU” button
“Setup” “Audio”
Change radio settings ( P. 3 3 6 )
Change iPod settings ( P. 3 3 6 )
Change A/V settings ( P. 3 3 7 )
Change the cover art settings
( P. 3 3 7 )
Change USB settings ( P. 3 3 7 )
To change radio settings, select “Radio Settings” on the “Audio Settings” screen
or radio menu screen. ( P. 3 3 8 )
Set the displaying RBDS text mes-
sage on/off
Change the number of radio presets
To change iPod settings, select “iPod Se ttings” on the “Audio Settings” screen or
iPod menu screen. ( P. 3 3 8 )
Change the screen size (video
mode)
Change the cover art settings
( P. 3 3 7 )
Adjust the screen quality (video
mode) ( P. 333)
Change video sound input port
Screen for audio settings
1
2
3
4
5
Changing radio settings
1
2
Changing iPod settings
1
2
3
4
Page 341 of 632

341
CT200h_OM_OM76197U_(U)5-14. Using the radio (Lexus Display Audio System)
5
Audio system
Radio operation
Pressing the “RADIO” button displays the radio top screen from any screen of
the selected source.
■Menu screen
P. 3 3 8
Tune in to the desired station us ing one of the following methods.
■Seek tuning
Press and hold then release “” or “ ”.
Seek turning can also be oper ated on the menu screen. (P. 3 3 8 )
The radio will begin seeking up or down for a station of the nearest frequency
and will stop when a station is found.
■Manual tuning
Turn the “TUNE•SCROLL” knob.
■Preset stations
Select the desired preset station by pressing “ ” or “ ” or controller.
■Station list
Move the controller to the right and selecting “Station List”.
AM radio: Selecting a desired station.
FM radio: Selecting a desired type of station and selecting a desired sta-
tion.
To refreshing the station list, select “R efresh”. Select “Source” on the refresh
screen, can be change to the other audio source while refreshing.
Select “AM”, “FM” or “SAT” on the audio source selection screen to begin lis-
tening to the radio.
Radio top screen
Selecting a station (AM or FM radio)
1
2
Page 342 of 632

3425-14. Using the radio (Lexus Display Audio System)
CT200h_OM_OM76197U_(U)
When “HD Radio” is set to “On”, available stations with HD Radio channels are
marked with “HD)”. In AM or FM mode, select a station marked with “HD)”.
Turn the “TUNE•SCROLL” knob to select an HD Radio channel.
HD Radio channels can also be selected by selecting “Multicast” on the menu screen.
( P. 3 3 8 )
Select in to the desired channel using one of the following methods.
■Tu r n i n g u p /d o w n t h e c h a n n e l
Press and hold “” or “ ” or turn the “TUNE•SCROLL” knob.
■Preset channels
Select the desired preset channel by pressing “ ” or “ ” or controller.
■Channel list
Move the controller to the right and selecting “Select a SAT Category”.
Selecting a desired category of chan nel and selecting a desired channel.
Search for desired stations or channel.
Select and hold one of the preset until you hear a beep.
■Display the song information
Move the controller to the right and selecting “Text”.
■Display the Additional information (AM, FM radio)
Move the controller to the right and selecting “Additional Information”.
Selecting an HD Radio channel
Selecting a channel (XM Satellite Radio)
Setting presets
Display the text message
1
2
1
2
1
2