Lexus ES350 2009 Using the audio system
Manufacturer: LEXUS, Model Year: 2009, Model line: ES350, Model: Lexus ES350 2009Pages: 29, PDF Size: 4.11 MB
Page 21 of 29
216
3-2. Using the audio system
●MP3 and WMA playback
When a disc containing MP3 or WMA files is inserted, all files on the disc are first
checked. Once the file check is finished, the first MP3 or WMA file is played. To
make the file check finish more quickly, we recommend you do not write in any
files other than MP3 or WMA files or create any unnecessary folders.
Discs that contain a mixture of music data and MP3 or WMA format data cannot
be played.
●Extensions
If the file extensions .mp3 and .wma are used for files other than MP3 and WMA
files, they will be mistakenly recognized and played as MP3 and WMA files. This
may result in large amounts of interference and damage to the speakers.
●Playback
• To play MP3 file with steady sound quality, we recommend a fixed bit rate of
128 kbps and a sampling frequency of 44.1 kHz.
• CD-R or CD-RW playback may not be possible in some instances, depend-
ing on the characteristics of the disc.
• There is a wide variety of freeware and other encoding software for MP3
and WMA files on the market, and depending on the status of the encoding
and the file format, poor sound quality or noise at the start of playback may
result. In some cases, playback may not be possible at all.
• When files other than MP3 or WMA files are recorded on a disc, it may take
more time to recognize the disc and in some cases, playback may not be
possible at all.
• Microsoft, Windows, and Windows Media are the registered trademarks of
Microsoft Corporation in the USA and other countries.
Page 22 of 29
217
3-2. Using the audio system
3
Interior features
NOTICE
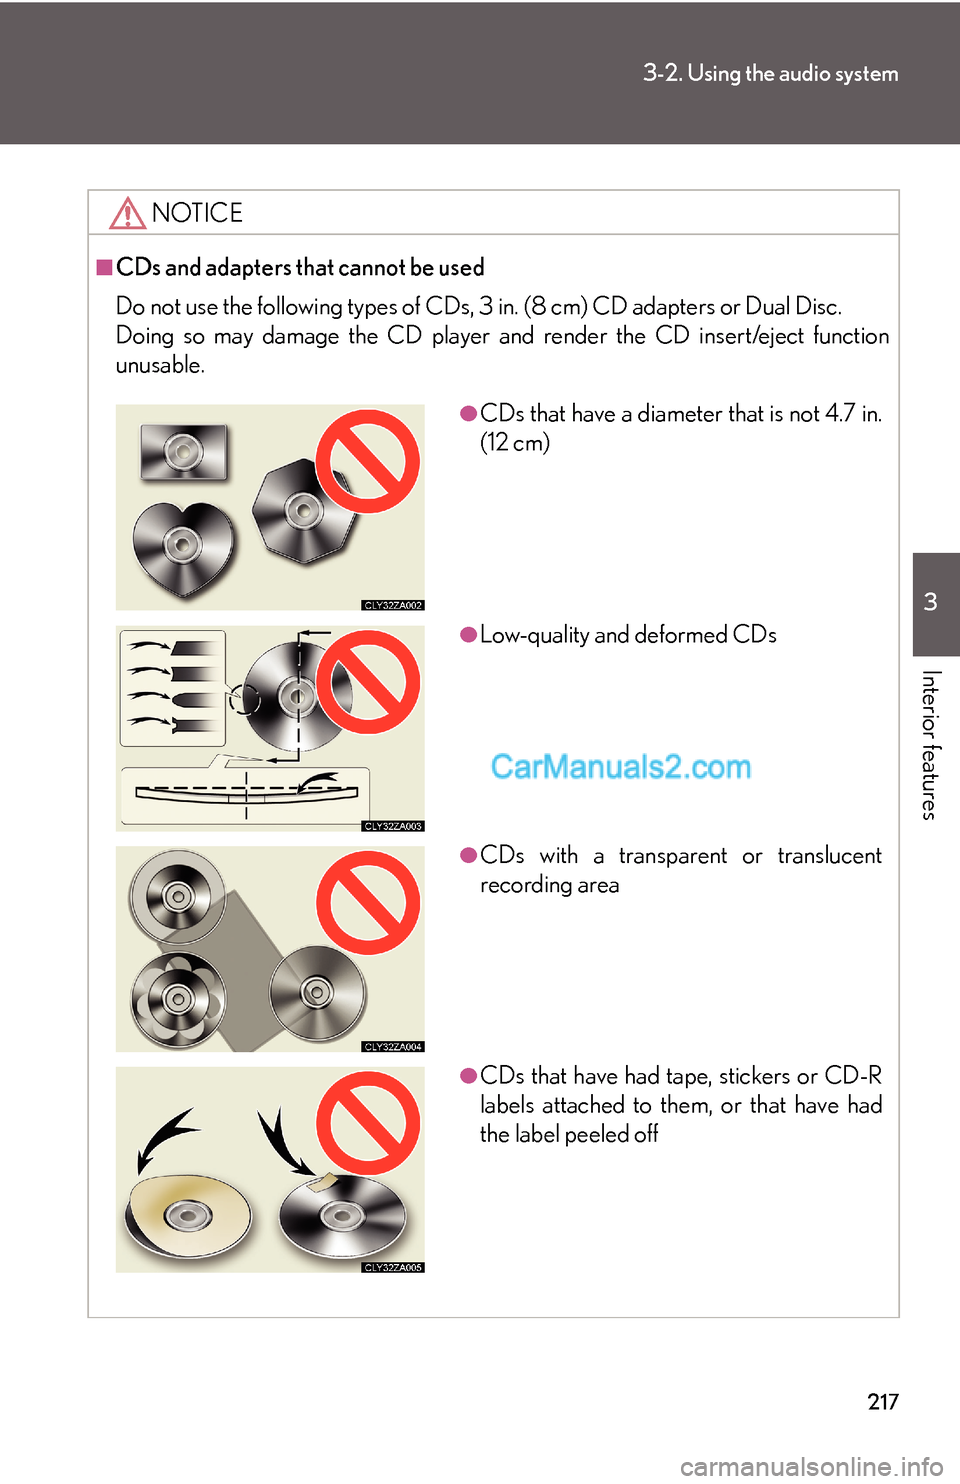
■CDs and adapters that cannot be used
Do not use the following types of CDs, 3 in. (8 cm) CD adapters or Dual Disc.
Doing so may damage the CD player and render the CD insert/eject function
unusable.
●CDs that have a diameter that is not 4.7 in.
(12 cm)
●Low-quality and deformed CDs
●CDs with a transparent or translucent
recording area
●CDs that have had tape, stickers or CD-R
labels attached to them, or that have had
the label peeled off
Page 23 of 29
218
3-2. Using the audio system
NOTICE
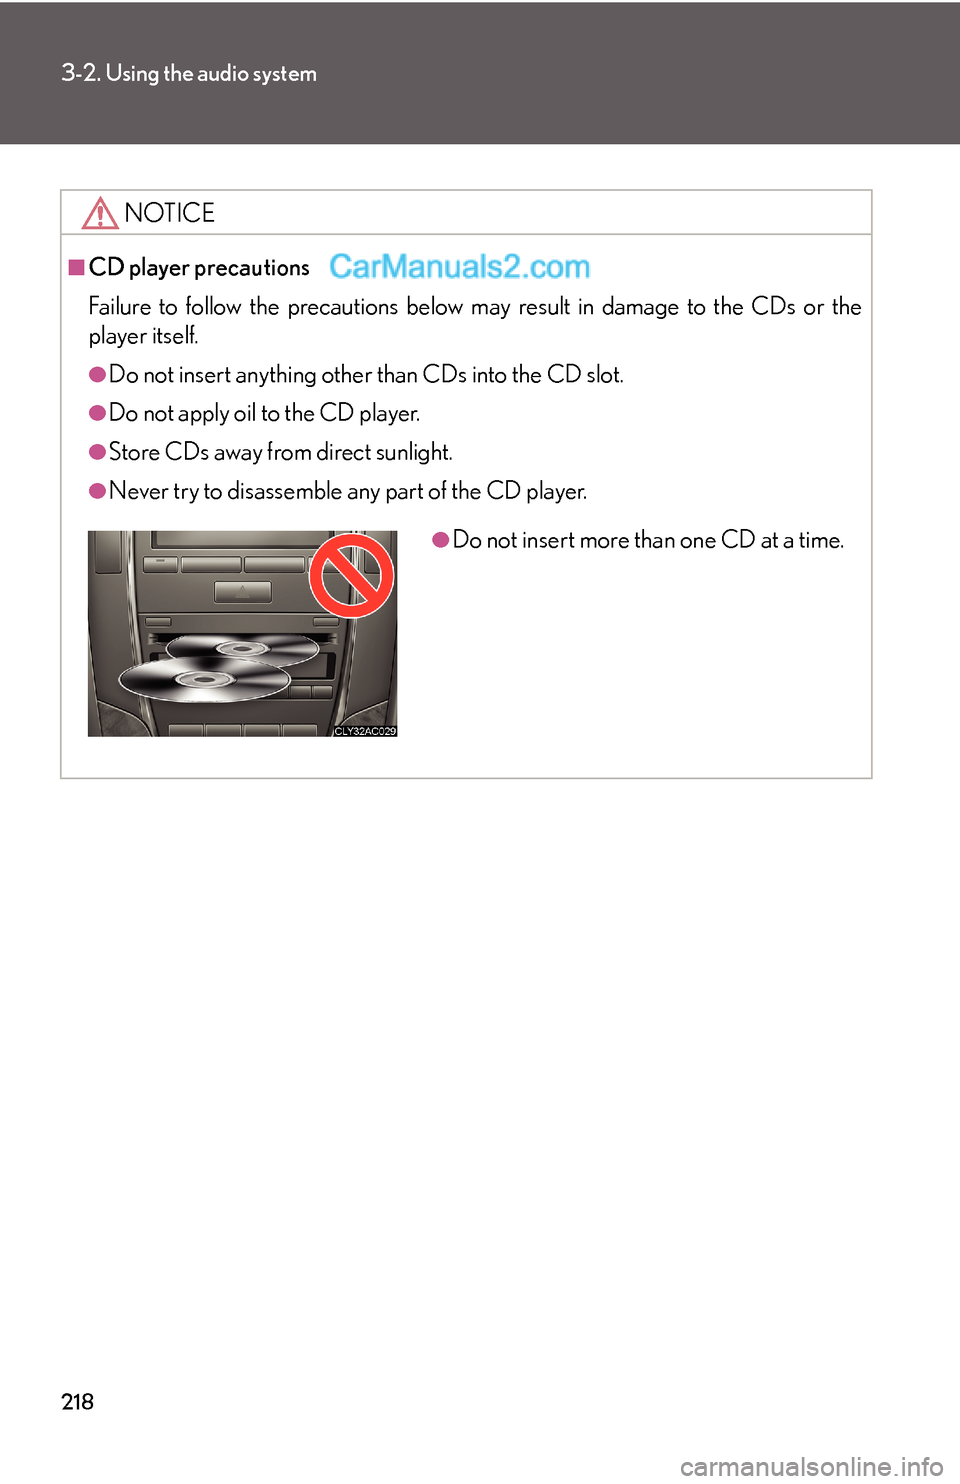
■CD player precautions
Failure to follow the precautions below may result in damage to the CDs or the
player itself.
●Do not insert anything other than CDs into the CD slot.
●Do not apply oil to the CD player.
●Store CDs away from direct sunlight.
●Never try to disassemble any part of the CD player.
●Do not insert more than one CD at a time.
Page 24 of 29
219
3-2. Using the audio system
3
Interior features
Optimal use of the audio system
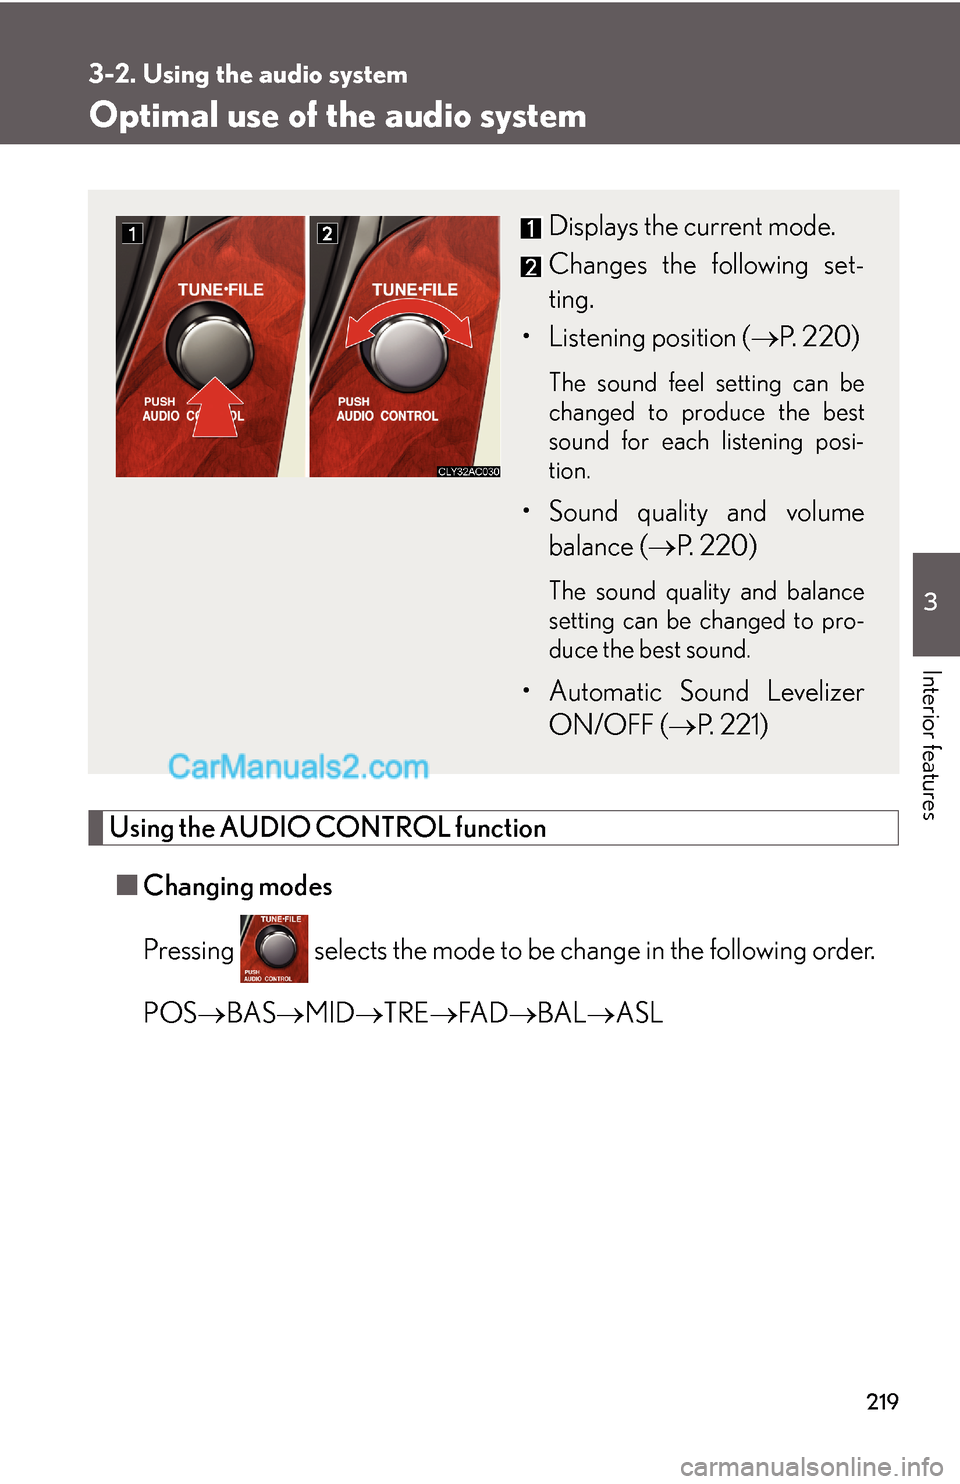
Using the AUDIO CONTROL function
■Changing modes
Pressing selects the mode to be change in the following order.
POS→BAS→MID→TRE→FA D→BAL→ASL
Displays the current mode.
Changes the following set-
ting.
• Listening position (→P. 220)
The sound feel setting can be
changed to produce the best
sound for each listening posi-
tion.
• Sound quality and volume
balance (→P. 220)
The sound quality and balance
setting can be changed to pro-
duce the best sound.
• Automatic Sound Levelizer
ON/OFF (→P. 221)
Page 25 of 29
220
3-2. Using the audio system
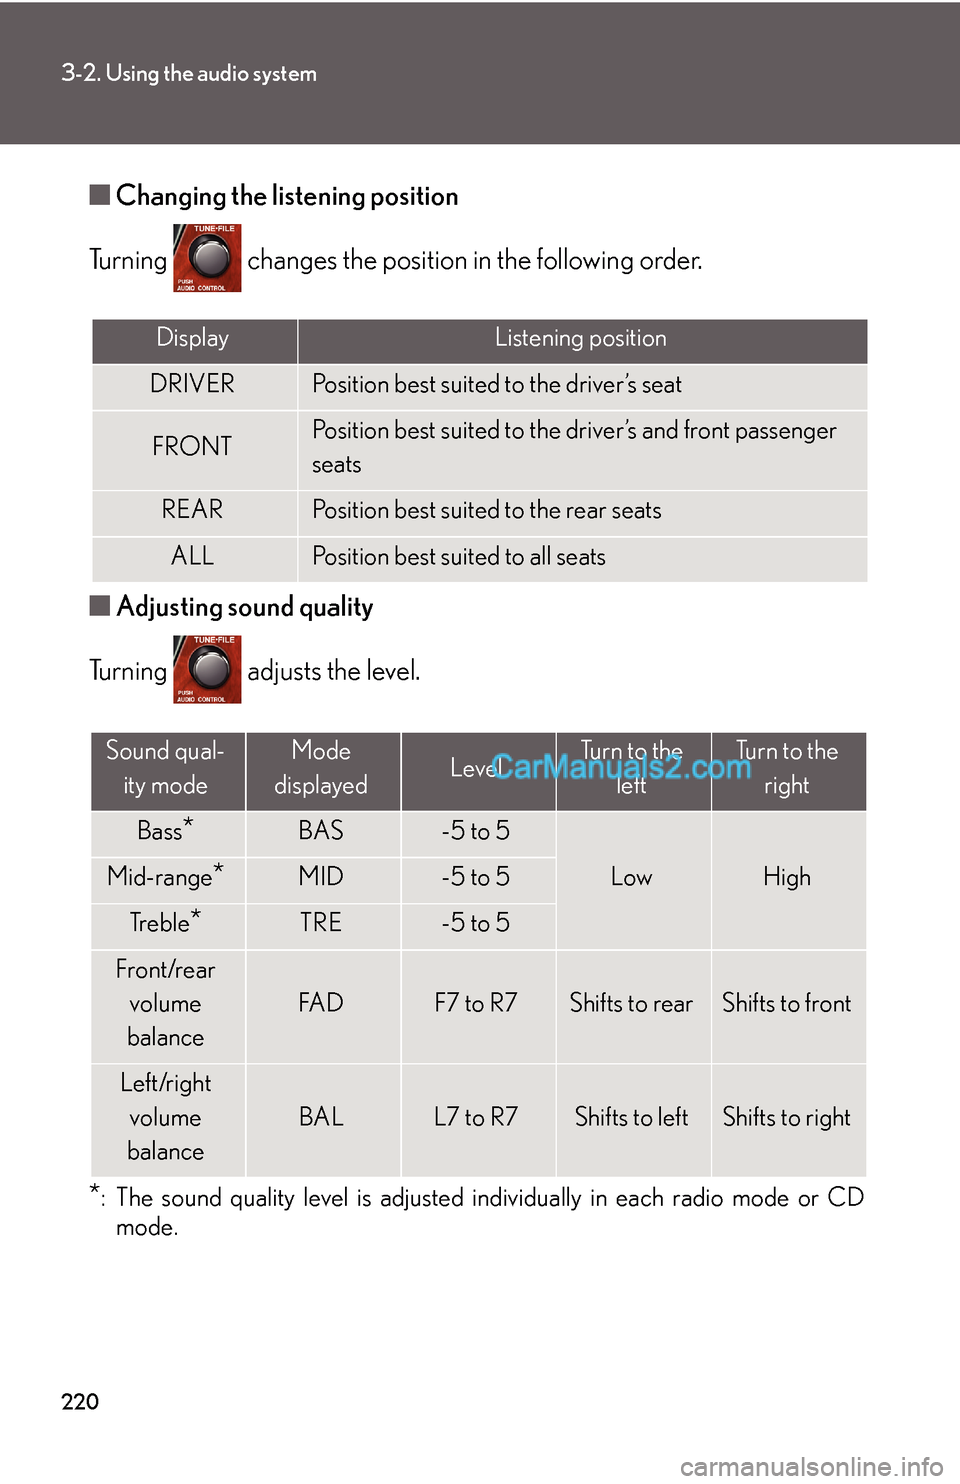
■Changing the listening position
Turning changes the position in the following order.
■Adjusting sound quality
Turning adjusts the level.
*: The sound quality level is adjusted individually in each radio mode or CD
mode.
DisplayListening position
DRIVERPosition best suited to the driver’s seat
FRONTPosition best suited to the driver’s and front passenger
seats
REARPosition best suited to the rear seats
ALLPosition best suited to all seats
Sound qual-
ity modeMode
displayedLevelTurn to the
leftTurn to the
right
Bass*BAS-5 to 5
LowHighMid-range*MID-5 to 5
Tr e b l e*TRE-5 to 5
Front/rear
volume
balance
FA DF7 to R7Shifts to rearShifts to front
Left/right
volume
balance
BALL7 to R7Shifts to leftShifts to right
Page 26 of 29
221
3-2. Using the audio system
3
Interior features
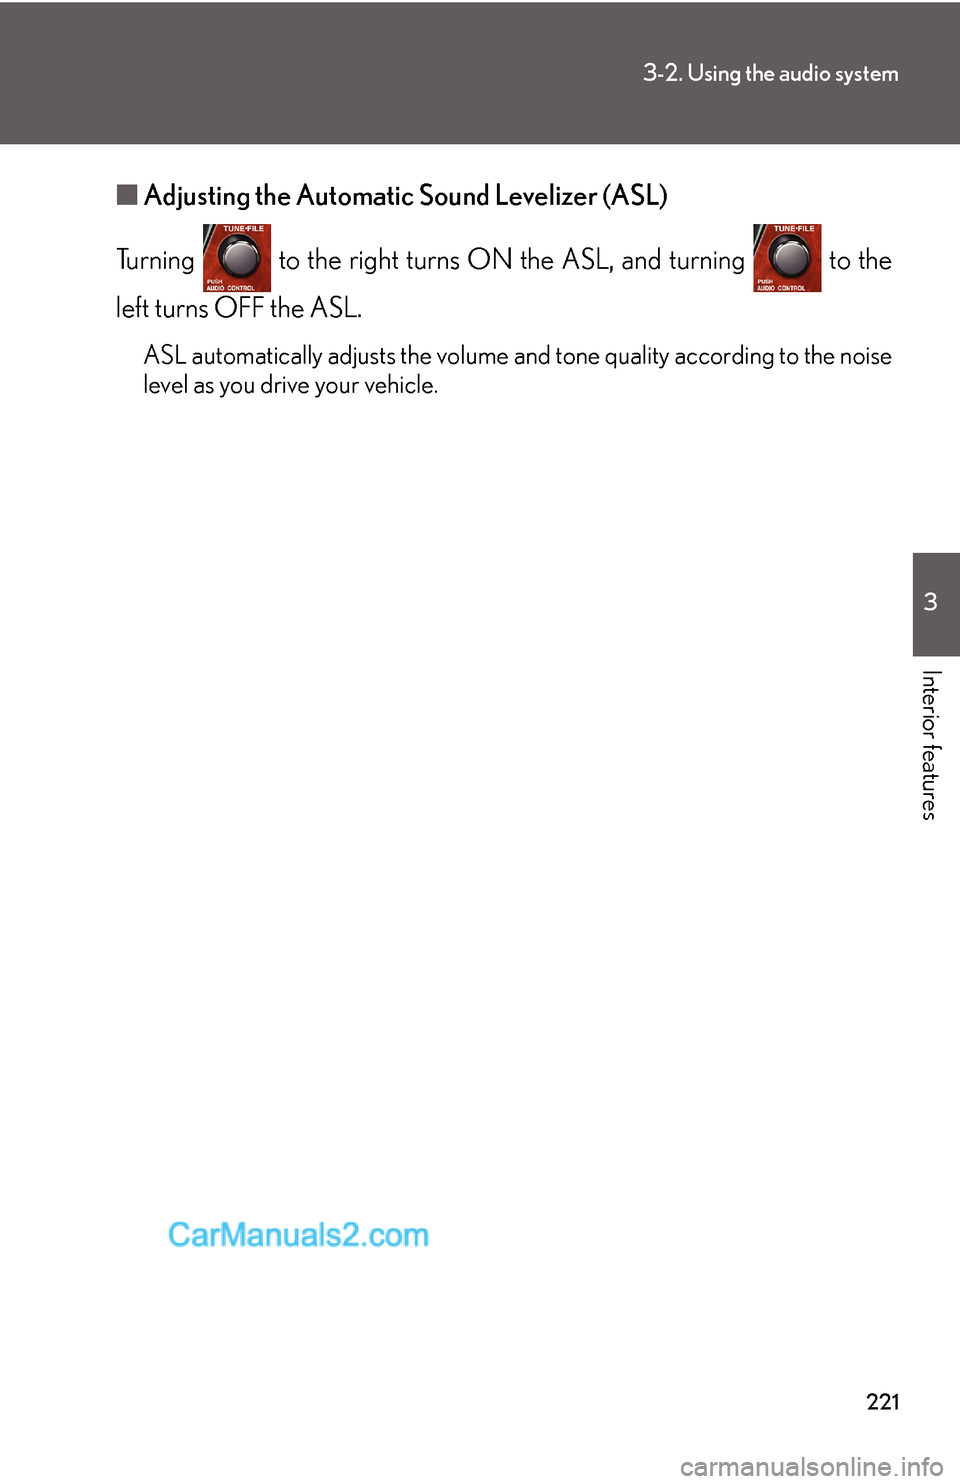
■Adjusting the Automatic Sound Levelizer (ASL)
Turning to the right turns ON the ASL, and turning to the
left turns OFF the ASL.
ASL automatically adjusts the volume and tone quality according to the noise
level as you drive your vehicle.
Page 27 of 29
222
3-2. Using the audio system
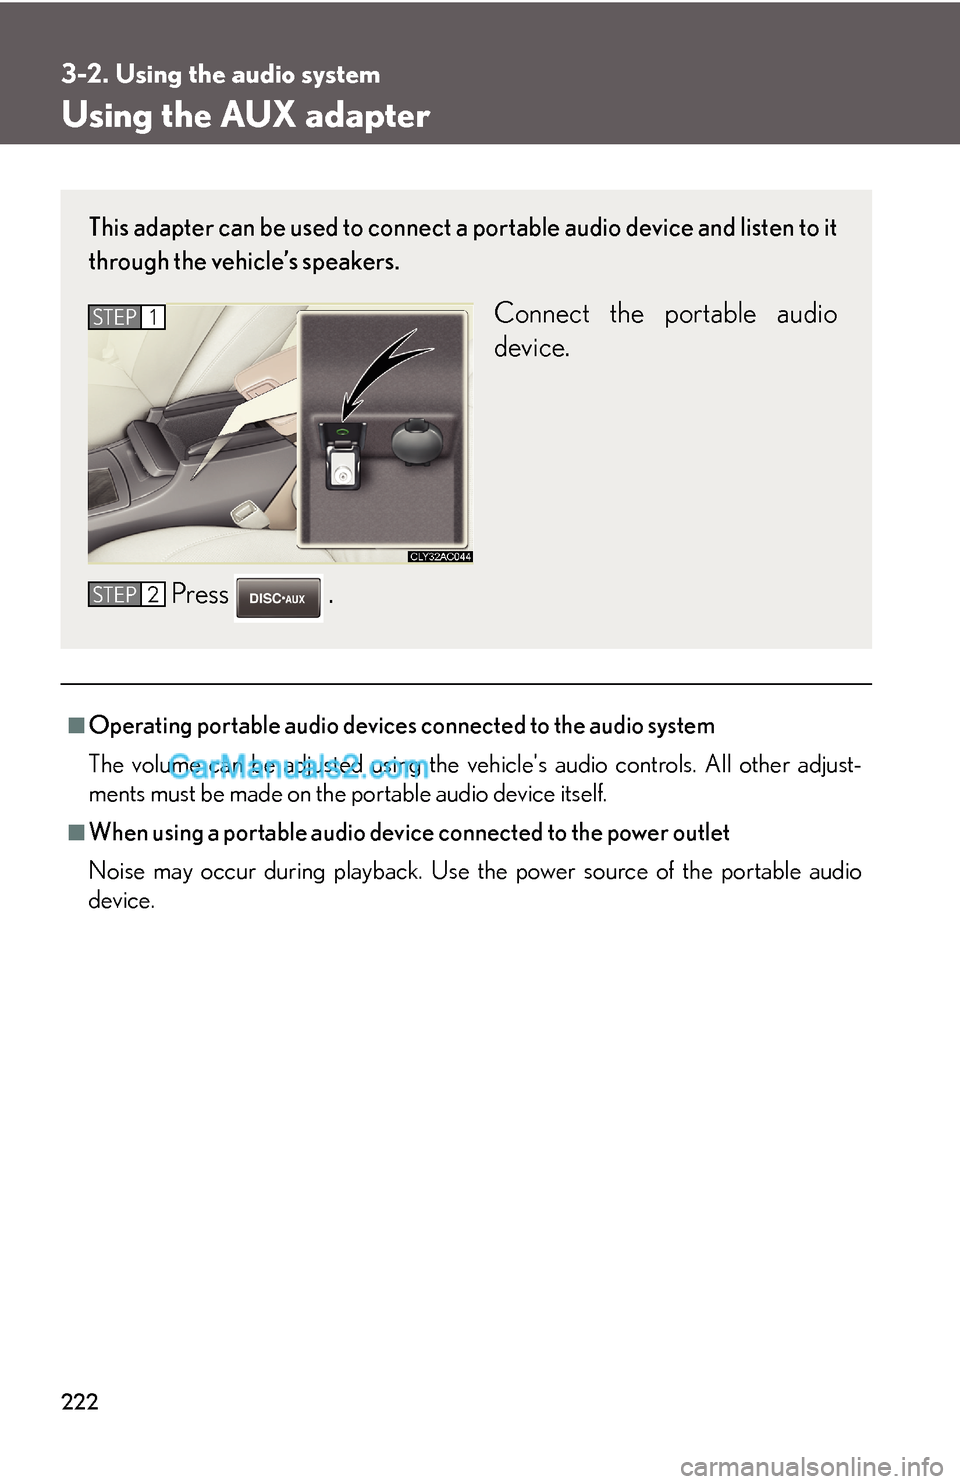
Using the AUX adapter
■Operating portable audio devices connected to the audio system
The volume can be adjusted using the vehicle's audio controls. All other adjust-
ments must be made on the portable audio device itself.
■When using a portable audio device connected to the power outlet
Noise may occur during playback. Use the power source of the portable audio
device.
This adapter can be used to connect a portable audio device and listen to it
through the vehicle’s speakers.
Connect the portable audio
device.
Press .STEP1
STEP2
Page 28 of 29
223
3-2. Using the audio system
3
Interior features
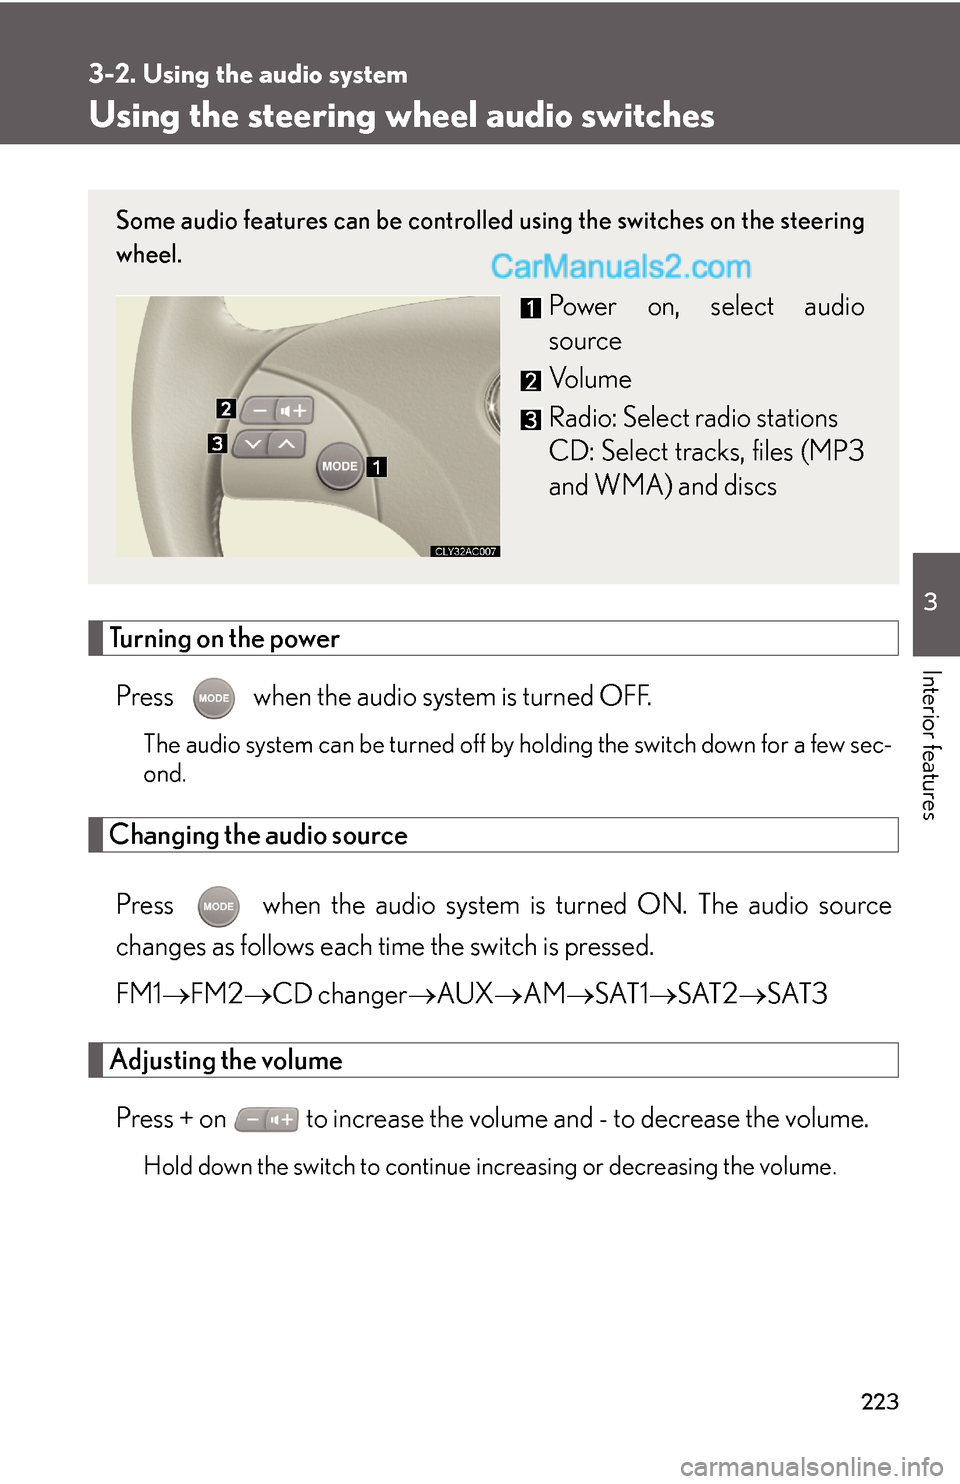
Using the steering wheel audio switches
Turning on the power
Press when the audio system is turned OFF.
The audio system can be turned off by holding the switch down for a few sec-
ond.
Changing the audio source
Press when the audio system is turned ON. The audio source
changes as follows each time the switch is pressed.
FM1→FM2→CD changer→AUX→AM→SAT1→SAT2→SAT3
Adjusting the volume
Press + on to increase the volume and - to decrease the volume.
Hold down the switch to continue increasing or decreasing the volume.
Some audio features can be controlled using the switches on the steering
wheel.
Power on, select audio
source
Vo l u m e
Radio: Select radio stations
CD: Select tracks, files (MP3
and WMA) and discs
Page 29 of 29
224
3-2. Using the audio system
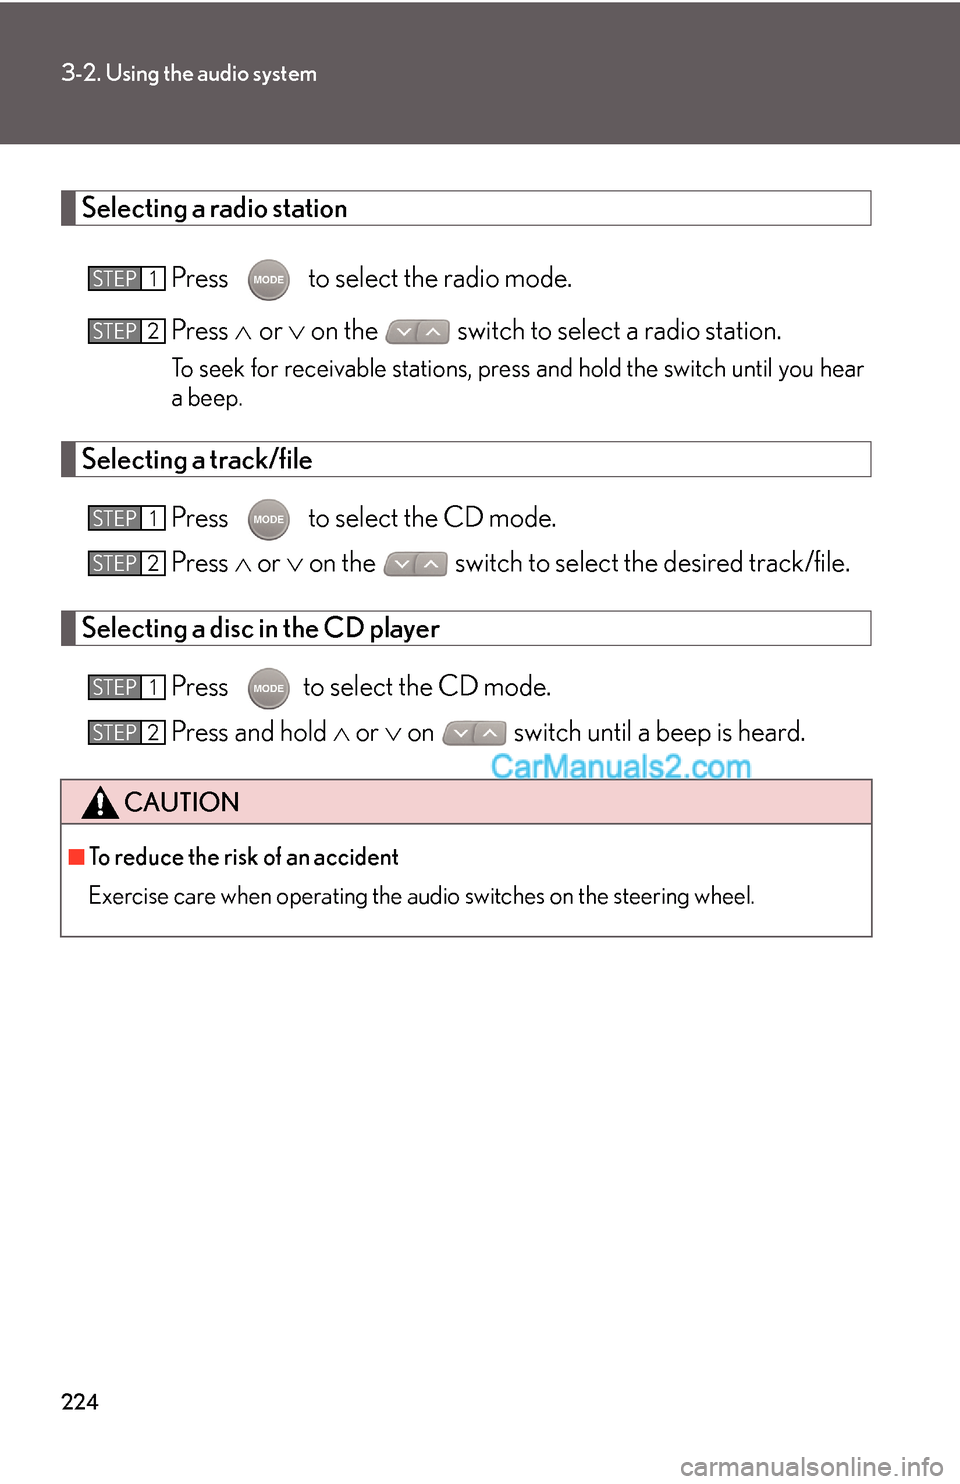
Selecting a radio station
Press to select the radio mode.
Press ∧ or ∨ on the switch to select a radio station.
To seek for receivable stations, press and hold the switch until you hear
a beep.
Selecting a track/file
Press to select the CD mode.
Press ∧ or ∨ on the switch to select the desired track/file.
Selecting a disc in the CD player
Press to select the CD mode.
Press and hold ∧ or ∨ on switch until a beep is heard.
CAUTION
■To reduce the risk of an accident
Exercise care when operating the audio switches on the steering wheel.
STEP1
STEP2
STEP1
STEP2
STEP1
STEP2