display Lexus ES350 2011 Using the audio system
[x] Cancel search | Manufacturer: LEXUS, Model Year: 2011, Model line: ES350, Model: Lexus ES350 2011Pages: 46, PDF Size: 4.8 MB
Page 27 of 46
242
3-2. Using the audio system
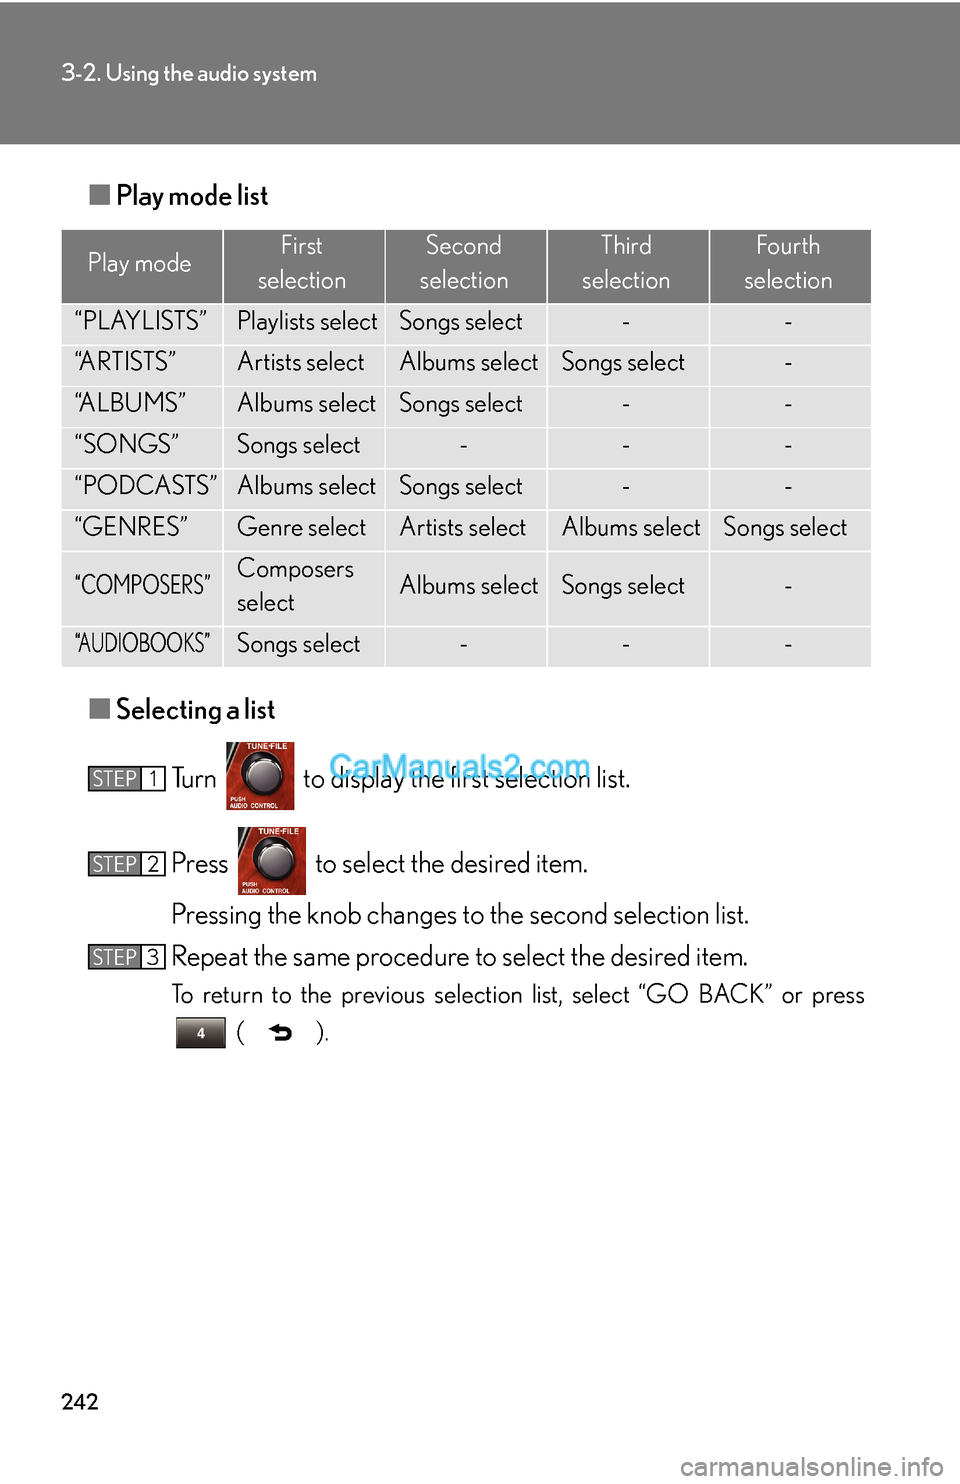
■Play mode list
■Selecting a list
Turn to display the first selection list.
Press to select the desired item.
Pressing the knob changes to the second selection list.
Repeat the same procedure to select the desired item.
To return to the previous selection list, select “GO BACK” or press
().
Play modeFirst
selectionSecond
selectionThird
selectionFour th
selection
“PLAYLISTS”Playlists selectSongs select--
“A R T I S T S ”Artists selectAlbums selectSongs select-
“A L B U M S ”Albums selectSongs select--
“SONGS”Songs select---
“PODCASTS”Albums selectSongs select--
“GENRES”Genre selectArtists selectAlbums selectSongs select
“COMPOSERS”Composers
selectAlbums selectSongs select-
“AUDIOBOOKS”Songs select---
STEP1
STEP2
STEP3
Page 28 of 46
243
3-2. Using the audio system
3
Interior features
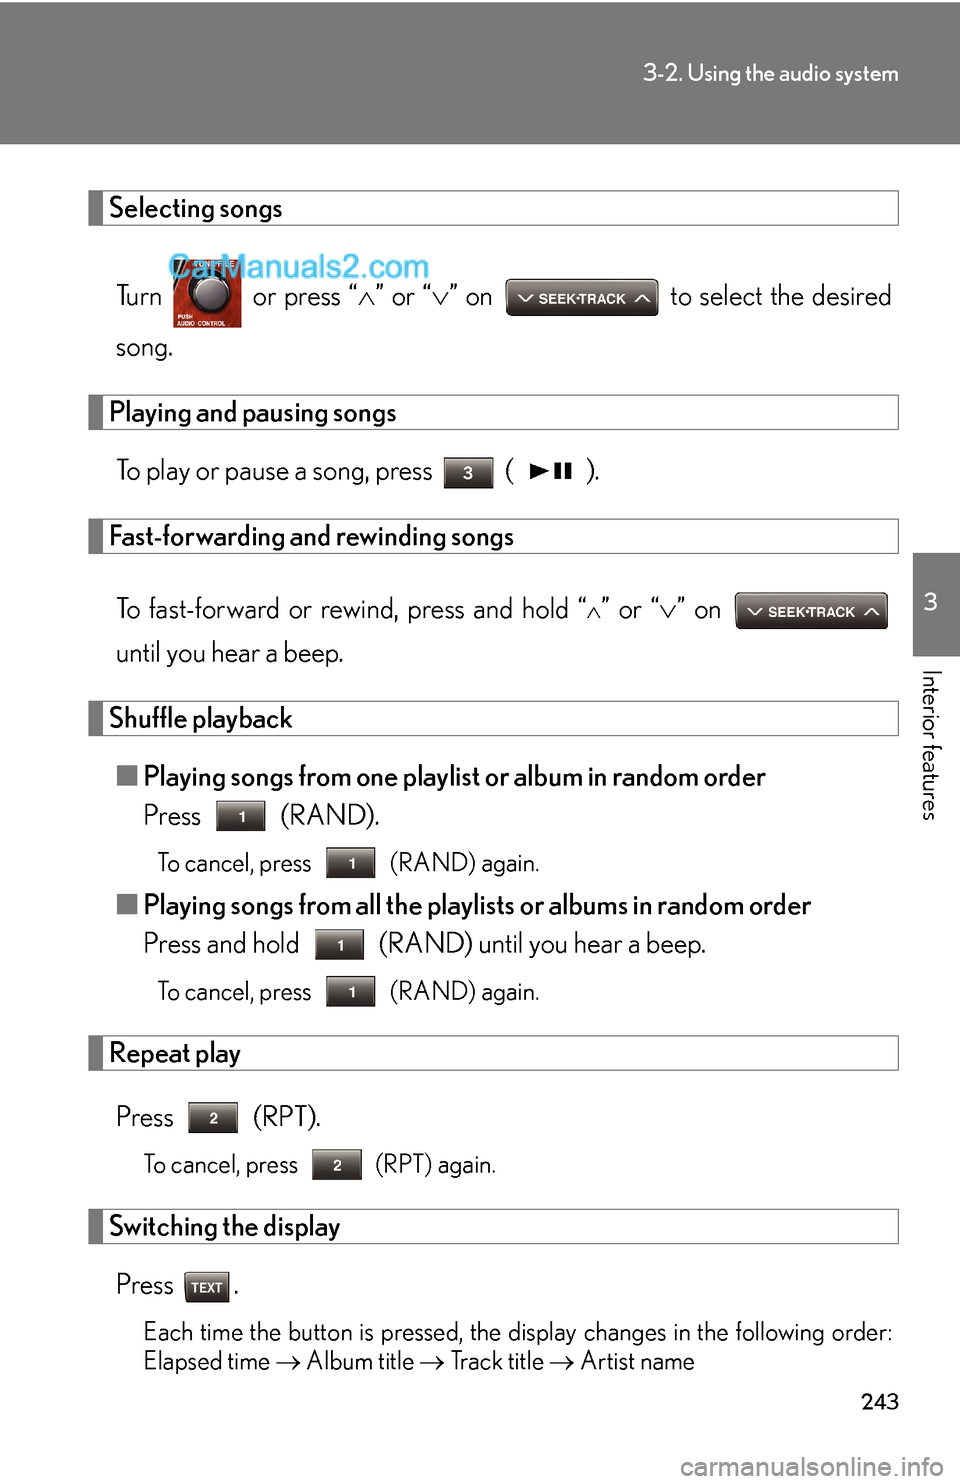
Selecting songs
Turn or press “∧” or “∨” on to select the desired
song.
Playing and pausing songs
To play or pause a song, press ( ).
Fast-forwarding and rewinding songs
To fast-forward or rewind, press and hold “
∧” or “∨” on
until you hear a beep.
Shuffle playback
■Playing songs from one playlist or album in random order
Press (RAND).
To cancel, press (RAND) again.
■Playing songs from all the playlists or albums in random order
Press and hold (RAND) until you hear a beep.
To cancel, press (RAND) again.
Repeat play
Press (RPT).
To cancel, press (RPT) again.
Switching the display
Press .
Each time the button is pressed, the display changes in the following order:
Elapsed time → Album title → Tr a c k t i t l e → Artist name
Page 29 of 46
244
3-2. Using the audio system
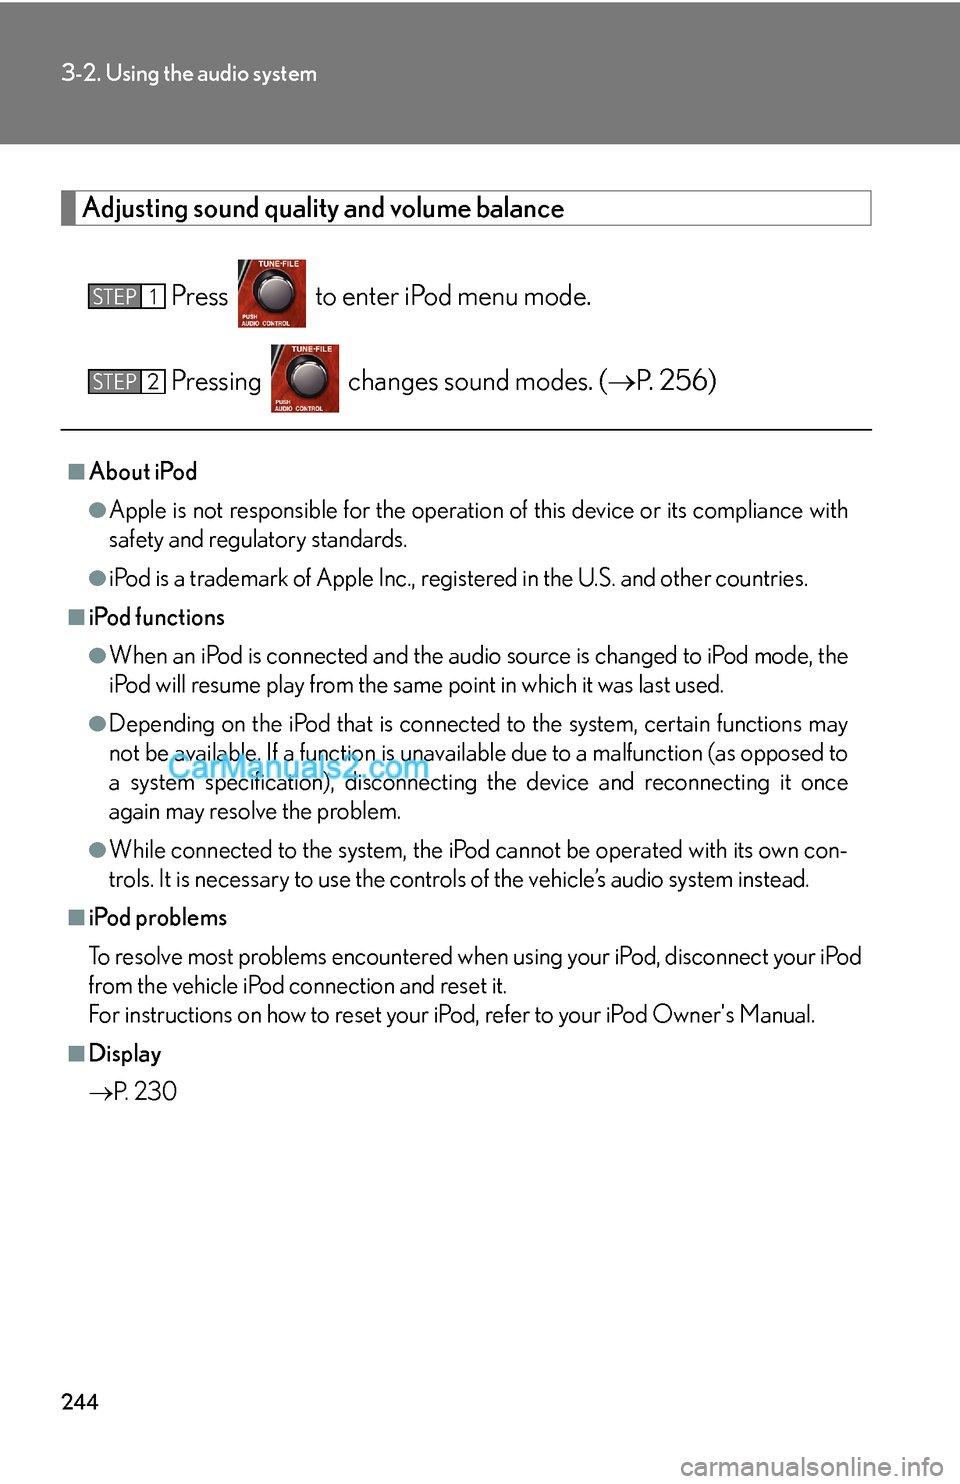
Adjusting sound quality and volume balance
Press to enter iPod menu mode.
Pressing changes sound modes. (→P. 2 5 6 )
■About iPod
●Apple is not responsible for the operation of this device or its compliance with
safety and regulatory standards.
●iPod is a trademark of Apple Inc., registered in the U.S. and other countries.
■iPod functions
●When an iPod is connected and the audio source is changed to iPod mode, the
iPod will resume play from the same point in which it was last used.
●Depending on the iPod that is connected to the system, certain functions may
not be available. If a function is unavailable due to a malfunction (as opposed to
a system specification), disconnecting the device and reconnecting it once
again may resolve the problem.
●While connected to the system, the iPod cannot be operated with its own con-
trols. It is necessary to use the controls of the vehicle’s audio system instead.
■iPod problems
To resolve most problems encountered when using your iPod, disconnect your iPod
from the vehicle iPod connection and reset it.
For instructions on how to reset your iPod, refer to your iPod Owner's Manual.
■Display
→P. 2 3 0
STEP1
STEP2
Page 35 of 46
250
3-2. Using the audio system
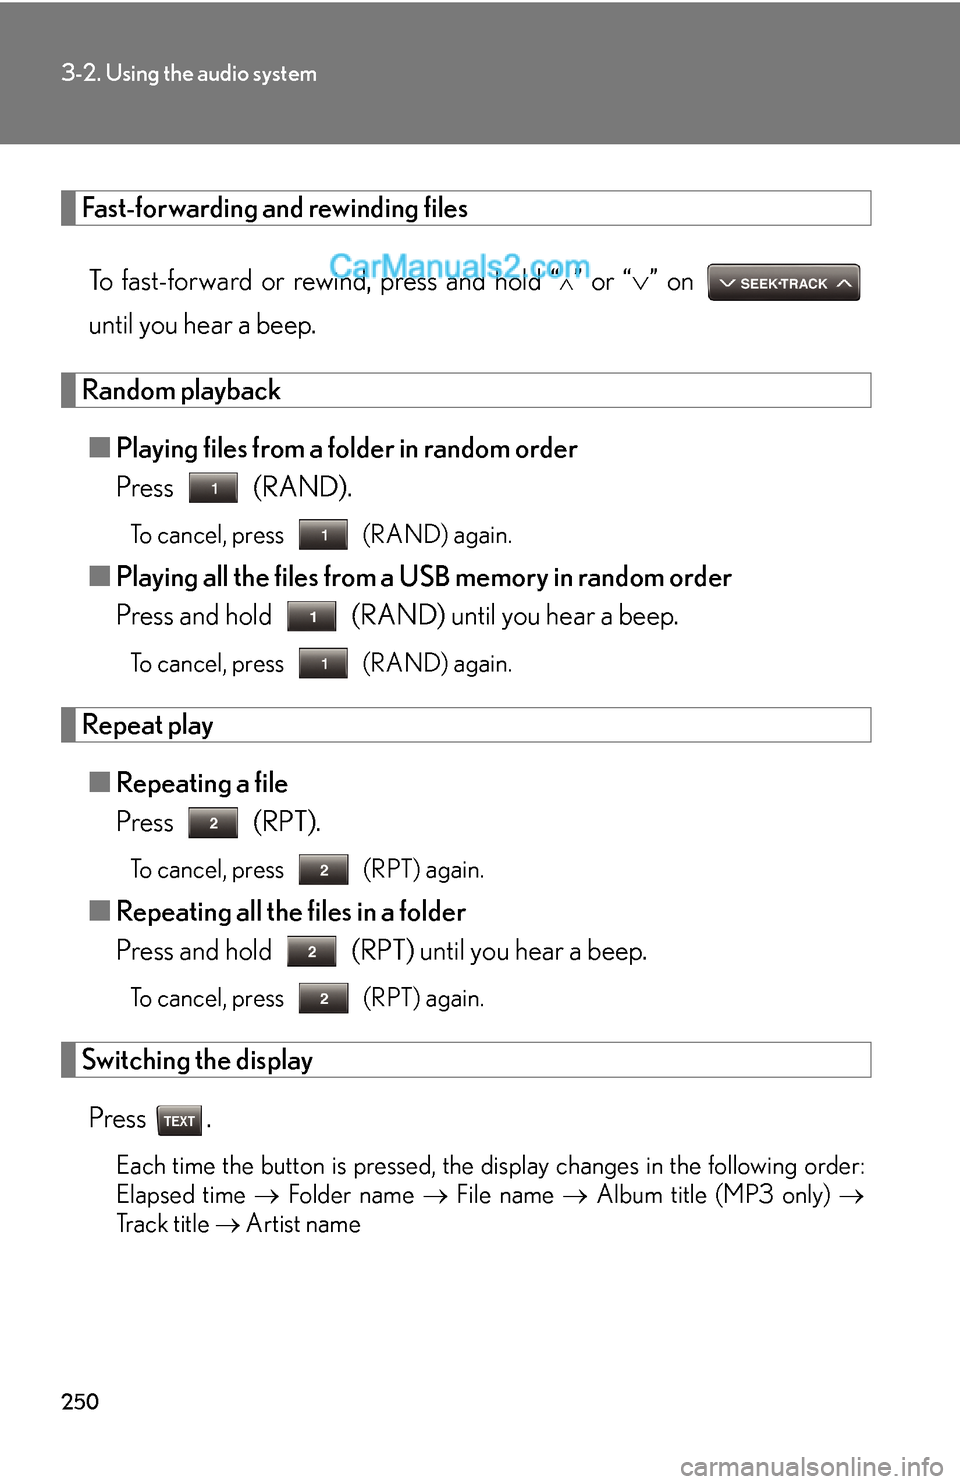
Fast-forwarding and rewinding files
To fast-forward or rewind, press and hold “
∧” or “∨” on
until you hear a beep.
Random playback
■Playing files from a folder in random order
Press (RAND).
To cancel, press (RAND) again.
■Playing all the files from a USB memory in random order
Press and hold (RAND) until you hear a beep.
To cancel, press (RAND) again.
Repeat play
■Repeating a file
Press (RPT).
To cancel, press (RPT) again.
■Repeating all the files in a folder
Press and hold (RPT) until you hear a beep.
To cancel, press (RPT) again.
Switching the display
Press .
Each time the button is pressed, the display changes in the following order:
Elapsed time → Folder name → File name → Album title (MP3 only) →
Track title → Artist name
Page 36 of 46
251
3-2. Using the audio system
3
Interior features
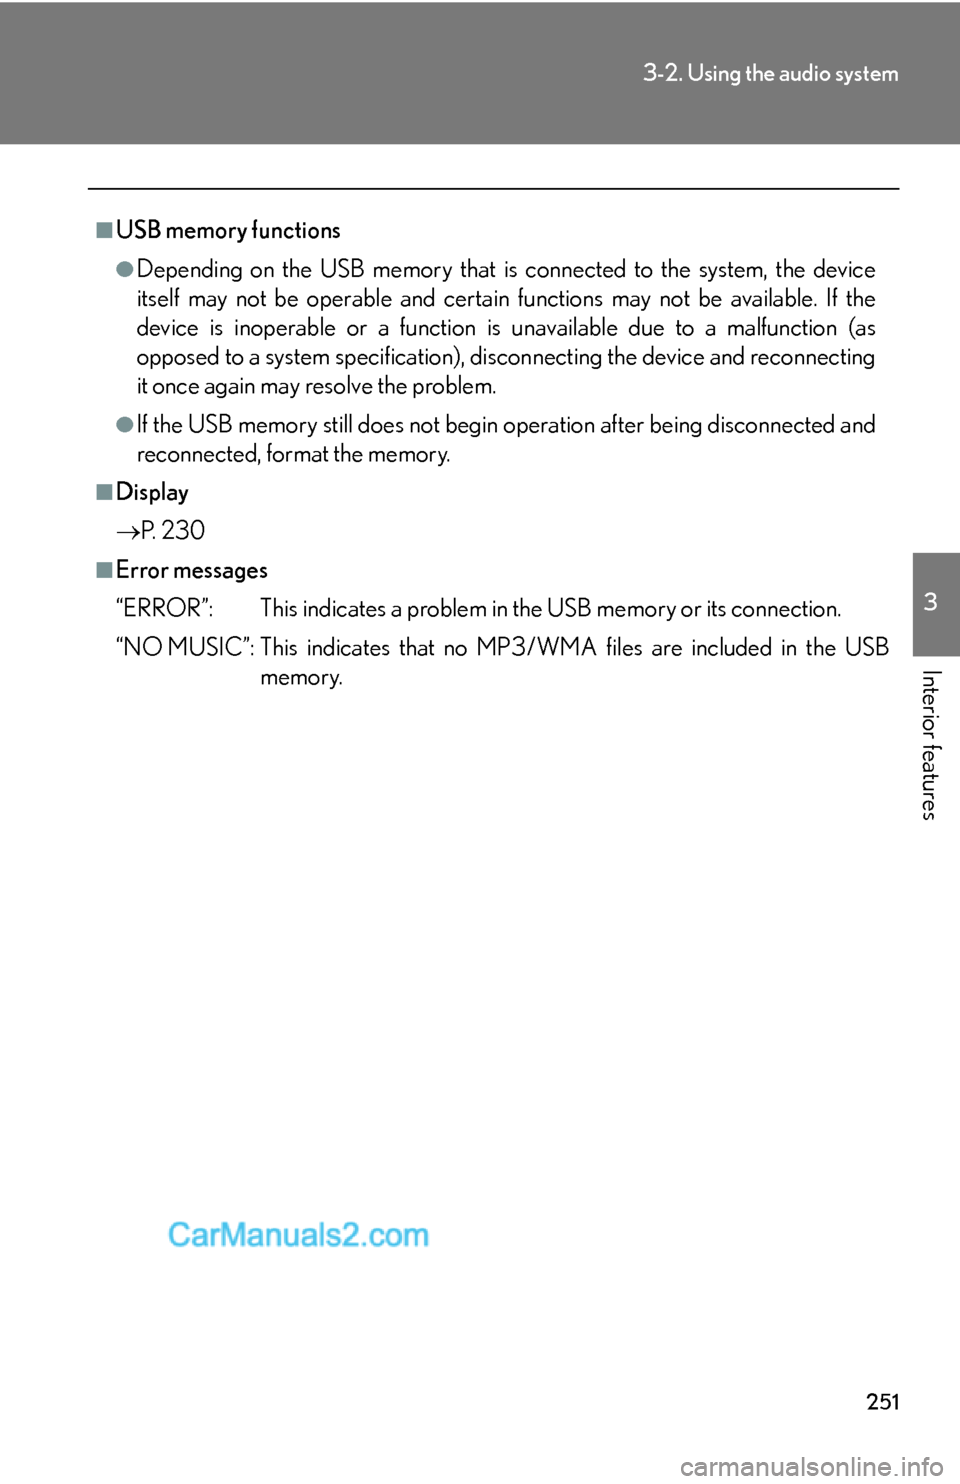
■USB memory functions
●Depending on the USB memory that is connected to the system, the device
itself may not be operable and certain functions may not be available. If the
device is inoperable or a function is unavailable due to a malfunction (as
opposed to a system specification), disconnecting the device and reconnecting
it once again may resolve the problem.
●If the USB memory still does not begin operation after being disconnected and
reconnected, format the memory.
■Display
→P. 2 3 0
■Error messages
“ERROR”: This indicates a problem in the USB memory or its connection.
“NO MUSIC”: This indicates that no MP3/WMA files are included in the USB
memory.
Page 37 of 46
252
3-2. Using the audio system
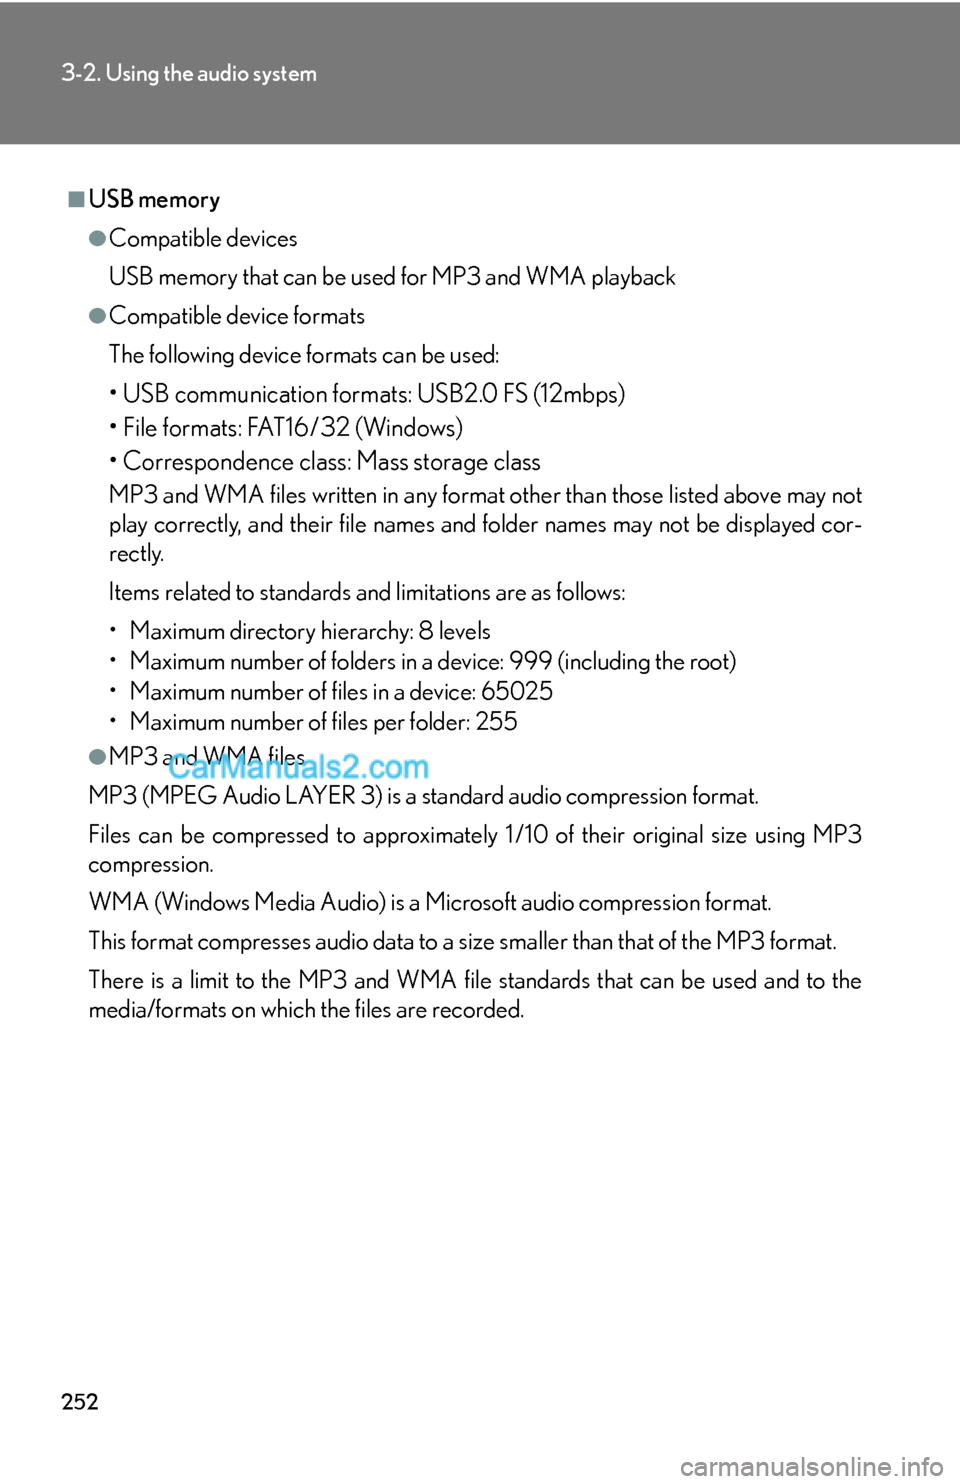
■USB memory
●Compatible devices
USB memory that can be used for MP3 and WMA playback
●Compatible device formats
The following device formats can be used:
• USB communication formats: USB2.0 FS (12mbps)
• File formats: FAT16/32 (Windows)
• Correspondence class: Mass storage class
MP3 and WMA files written in any format other than those listed above may not
play correctly, and their file names and folder names may not be displayed cor-
rectly.
Items related to standards and limitations are as follows:
• Maximum directory hierarchy: 8 levels
• Maximum number of folders in a device: 999 (including the root)
• Maximum number of files in a device: 65025
• Maximum number of files per folder: 255
●MP3 and WMA files
MP3 (MPEG Audio LAYER 3) is a standard audio compression format.
Files can be compressed to approximately 1 /10 of their original size using MP3
compression.
WMA (Windows Media Audio) is a Microsoft audio compression format.
This format compresses audio data to a size smaller than that of the MP3 format.
There is a limit to the MP3 and WMA file standards that can be used and to the
media/formats on which the files are recorded.
Page 41 of 46

256
3-2. Using the audio system
Optimal use of the audio system
Adjusting sound quality and volume balance
■Changing sound quality modes
Press .
Pressing the button changes sound modes in the following order:
“BAS”→“MID”→“TRE”→“FAD”→“BAL”→“A S L ”
Displays the current mode.
Changes the following set-
ting.
• Sound quality and volume
balance
→P. 2 5 7
The sound quality and balance
setting can be changed to pro-
duce the best sound.
• Automatic Sound Levelizer
ON/OFF
→P. 2 5 7
Page 42 of 46

257
3-2. Using the audio system
3
Interior features
■Adjusting sound quality
Turning adjusts the level.
*: The sound quality level is adjusted individually in each audio mode.
Turning the Automatic Sound Levelizer (ASL) on/off
Turning clockwise turns on the ASL, and turning counter-
clockwise turns off the ASL.
ASL automatically adjusts the volume and tone quality according to the noise
level as you drive your vehicle.
Mode
displayedSound qual-
ity modeLevelTurn to the
leftTurn to the
right
“BAS”Bass*-5 to 5
LowHigh“MID”Mid-range*-5 to 5
“TRE”Tr e b l e*-5 to 5
“FAD”
Front/rear
volume
balance
F7 to R7Shifts to rearShifts to front
“BAL”
Left/right
volume
balance
L7 to R7Shifts to leftShifts to right