change time Lexus ES350 2012 Navigation Manual
[x] Cancel search | Manufacturer: LEXUS, Model Year: 2012, Model line: ES350, Model: Lexus ES350 2012Pages: 391, PDF Size: 38.15 MB
Page 234 of 391
AUDIO/VIDEO SYSTEM
233
CHANGING THE ANGLE
The angle can be selected for discs that
are multi−angle compatible when the
angle mark appears on the screen.
Each time you touch “Change”, the
angle is selected from the ones stored
in the discs and changed.
When you touch
, and the previous
screen returns. SETUP MENU
There are initial setting buttons on the
“Setup Menu” screen.
After you change the initial setting, touch
. The initial setting screen will be
turned off and return to the picture
previously.
When “Default” is touched, all menus are
initialized.
The initial setting can be changed.
ES350 NAVI (U)
Finish
7
Page 257 of 391
AUDIO/VIDEO SYSTEM
256
Touch the desired file or track number. The
changer will start playing the selected file
or track from the beginning.
:By touching this button, the list
moves up by 5 file or track groups. If this
button is touched when the top page of the
list is displayed, the last page is displayed.
: By touching this button, the list
moves down by 5 file or track groups. If
this button is touched when the last page
of the list is displayed, the top page is dis-
played.
DSearching for a desired file (USB
memory only)
Touch “SCAN” briefly while the music
is playing.
“SCAN” appears on the screen. The play-
er will play the next file for 10 seconds,
then scan again. To select a file, touch
“SCAN” a second time. If the player
reaches the end of the memory, it will con-
tinue scanning at file1.
After all the files are scanned in one pass,
normal play resumes.
ES350 NAVI (U)
Finish
Page 258 of 391
AUDIO/VIDEO SYSTEM
257
D
Searching for a desired folder (USB
memory only)
Touch “SCAN” for longer than a second
while the music is playing.
“FLD.SCAN” appears on the screen. The
program at the beginning of each folder will
be played for 10 seconds. To continue lis-
tening to the program of your choice, touch
“SCAN”
a second time.
After all the folders are scanned in one
pass, normal play resumes.
DOther function
" USB memory
"iPod
“RPT”: Use this control to automatic re-
play the file or track you are currently lis-
tening to.
Repeating a file or track—
While the file or track is playing, touch
“RPT” briefly.
“RPT” appears on the screen. When the
file or track is finished, the player will auto-
matically play it again. To cancel the re-
peat, touch “RPT”once again.
Repeating a folder (USB memory only)
—
While the folder is playing, touch “RPT”
for longer than a second.
“FLD.RPT” appears on the screen. When
the folder is finished, the changer will auto-
matically go back to the beginning of the
folder and play the folder again. To cancel
it, touch “RPT”once again.
ES350 NAVI (U)
Finish
7
Page 261 of 391
AUDIO/VIDEO SYSTEM
260
NOTICE
To ensure correct audio/video sys-
tem operations:
DBe careful not to spill beverages
over the audio/video system.
DDo not put anything other than an
appropriate discs into the CD
changer or DVD changer.
DThe use of a cellular phone inside
or near the vehicle may cause a
noise from the speakers of the au-
dio/video system which you are lis-
tening to. However, this does not
indicate a malfunction.
DRadio reception
Usually, a problem with radio reception
does not mean there is a problem with your
radio — it is just the normal result of condi-
tions outside the vehicle.
For example, nearby buildings and terrain
can interfere with FM reception. Power
lines or telephone wires can interfere with
AM signals. And of course, radio signals
have a limited range. The farther you are
from a station, the weaker its signal will be.
In addition, reception conditions change
constantly as your vehicle moves.
Here are some common reception prob-
lems that probably do not indicate a prob-
lem with your radio: FM
Fading and drifting stations — Generally,
the effective range of FM is about 25 miles
(40 km). Once outside this range, you may
notice fading and drifting, which increase
with the distance from the radio transmit-
ter. They are often accompanied by distor-
tion.
Multi−
path — FM signals are reflective,
making it possible for two signals to reach
your antenna at the same time. If this hap-
pens, the signals will cancel each other
out, causing a momentary flutter or loss of
reception.
Static and fluttering — These occur when
signals are blocked by buildings, trees, or
other large objects. Increasing the bass
level may reduce static and fluttering.
Station swapping — If the FM signal you
are listening to is interrupted or weakened,
and there is another strong station nearby
on the FM band, your radio may tune in the
second station until the original signal can
be picked up again.
AM
Fading — AM broadcasts are reflected by
the upper atmosphere — especially at
night. These reflected signals can inter-
fere with those received directly from the
radio station, causing the radio station to
sound alternately strong and weak.
Station interference — When a reflected
signal and a signal received directly from
a radio station are very nearly the same
frequency, they can interfere with each
other, making it difficult to hear the broad-
cast.
Static — AM is easily affected by external
sources of electrical noise, such as high
tension power lines, lightening, or electri-
cal motors. This results in static.
ES350 NAVI (U)
Finish
Audio/video system
operating hints
Page 294 of 391
SECTION11
SETUP
293
SETUP
DGeneral settings 294 .......................................
(Used for language selection and the on/off settings of
operation sounds and automatic screen change.)
D Clock settings 298
.........................................
(Used for changing time zones and the on/off settings of
daylight saving time.)
D Voice settings 300
.........................................
(Voice guidance can be set.)
D Navigation settings 303
....................................
(“Home” and “Preset Destinations” can be set and edited.)
D Detailed navigation settings 303
.............................
(Average cruising speed, displayed screen contents,
and POI icon categories can be set.)
D Telephone settings 312
.....................................
(Bluetooth rphones can be registered.)
D Audio settings 351
.........................................
(Settings are available for portable audio devices and
Bluetooth raudio devices players.)
D Vehicle settings 358
.......................................
(Vehicle information can be set.)
D Other settings 366
.........................................
(Used for changing settings for Lexus Insider and
XM rSports and Stocks.)
ES350 NAVI (U)
Finish
11
Page 300 of 391
SETUP
299
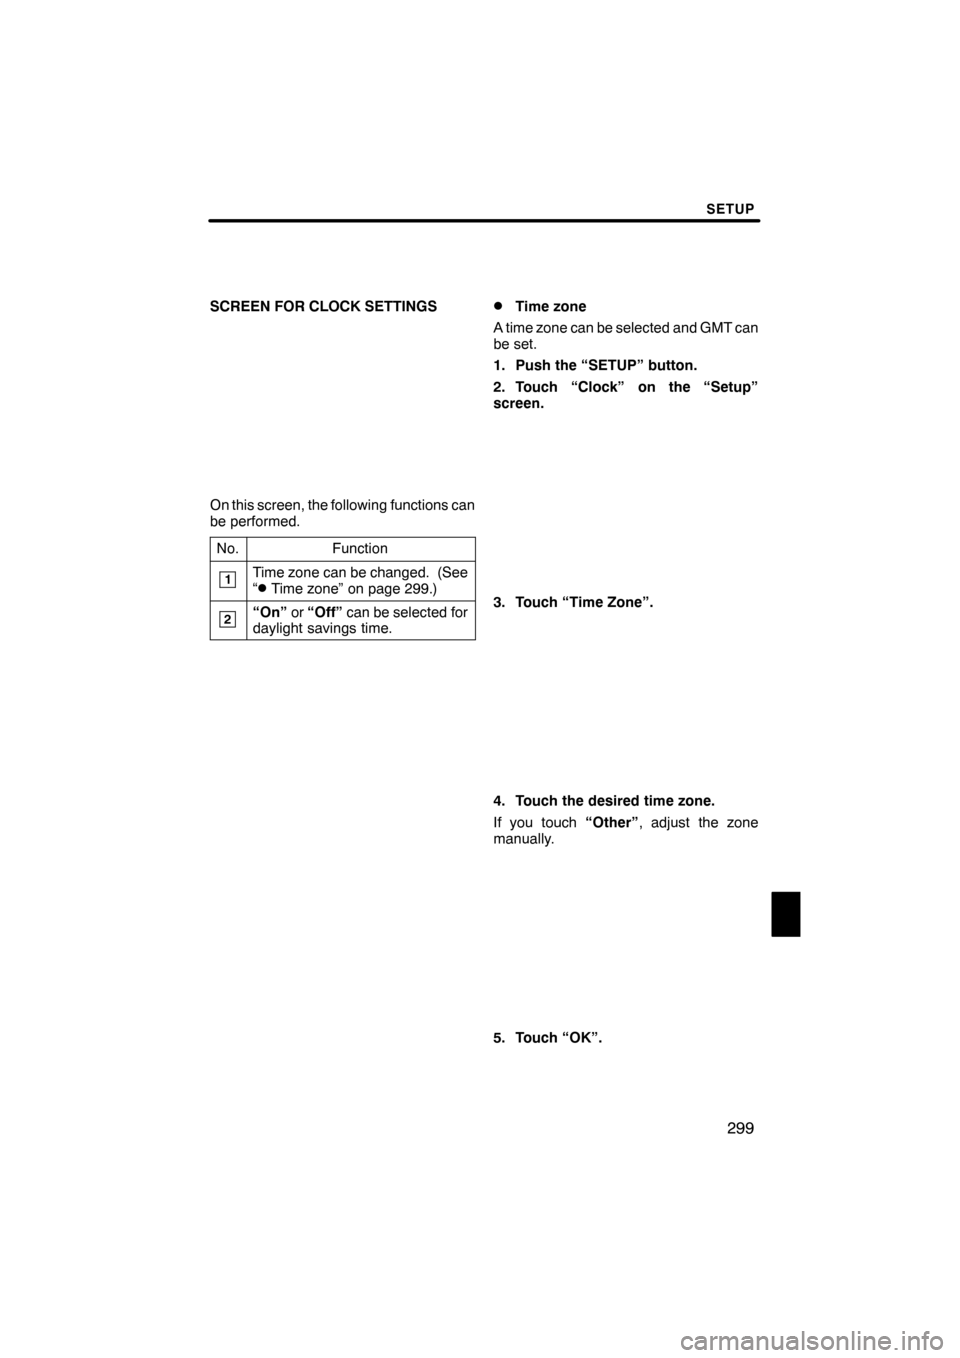
SCREEN FOR CLOCK SETTINGS
On this screen, the following functions can
be performed.No.
Function
1Time zone can be changed. (See
“DTime zone” on page 299.)
2“On” or“Off” can be selected for
daylight savings time.
DTime zone
A time zone can be selected and GMT can
be set.
1. Push the “SETUP” button.
2. Touch “Clock” on the “Setup”
screen.
3. Touch “Time Zone”.
4. Touch the desired time zone.
If you touch “Other”, adjust the zone
manually.
5. Touch “OK”.
ES350 NAVI (U)
Finish
11
Page 306 of 391
SETUP
305
No.Function
6
Displayed POI icon categories can
be set. (See “DPOI category
change (Select POI icons)” on
page 308.)
7
Buttons displayed on the map
screen when “ AAOff” is selected
can be set. (See “
DScreen layout
function (“ AAOff” function)” on
page 309.)
8
The current vehicle position mark
can be adjusted manually. Miscal-
culation of the distance caused by
tire replacement can also be ad-
justed. (See “
DCurrent position/
tire change calibration” on page
309.)
9
Display of pop −up information can
be set to “On”or“Off” . (See “DPop−up information” on the page
311.)
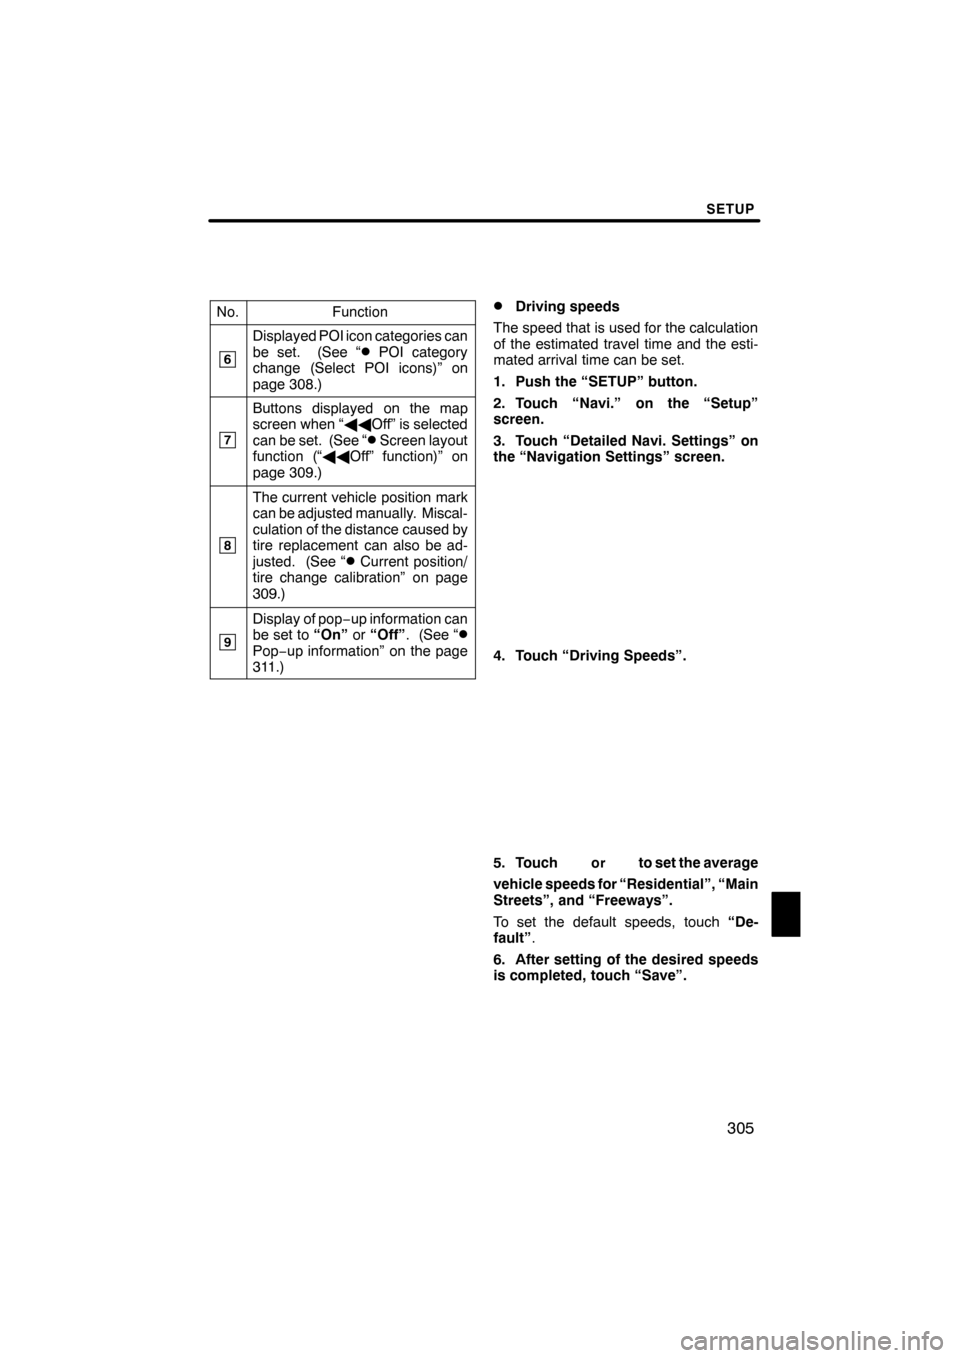
DDriving speeds
The speed that is used for the calculation
of the estimated travel time and the esti-
mated arrival time can be set.
1. Push the “SETUP” button.
2. Touch “Navi.” on the “Setup”
screen.
3. Touch “Detailed Navi. Settings” on
the “Navigation Settings” screen.
4. Touch “Driving Speeds”.
5. Touchorto set the average
vehicle speeds for “Residential”, “Main
Streets”, and “Freeways”.
To set the default speeds, touch “De-
fault” .
6. After setting of the desired speeds
is completed, touch “Save”.
ES350 NAVI (U)
Finish
11
Page 307 of 391
SETUP
306
INFORMATION
DThe displayed time to the destina-
tion is the approximate driving
time that is calculated based on the
selected speeds and the actual
position along the guidance route.
D The time shown on the screen may
vary greatly depending on prog-
ress along the route, which may be
affected by conditions such as
traffic jams and construction work.
D It is possible to display up to 99
hours 59 minutes.
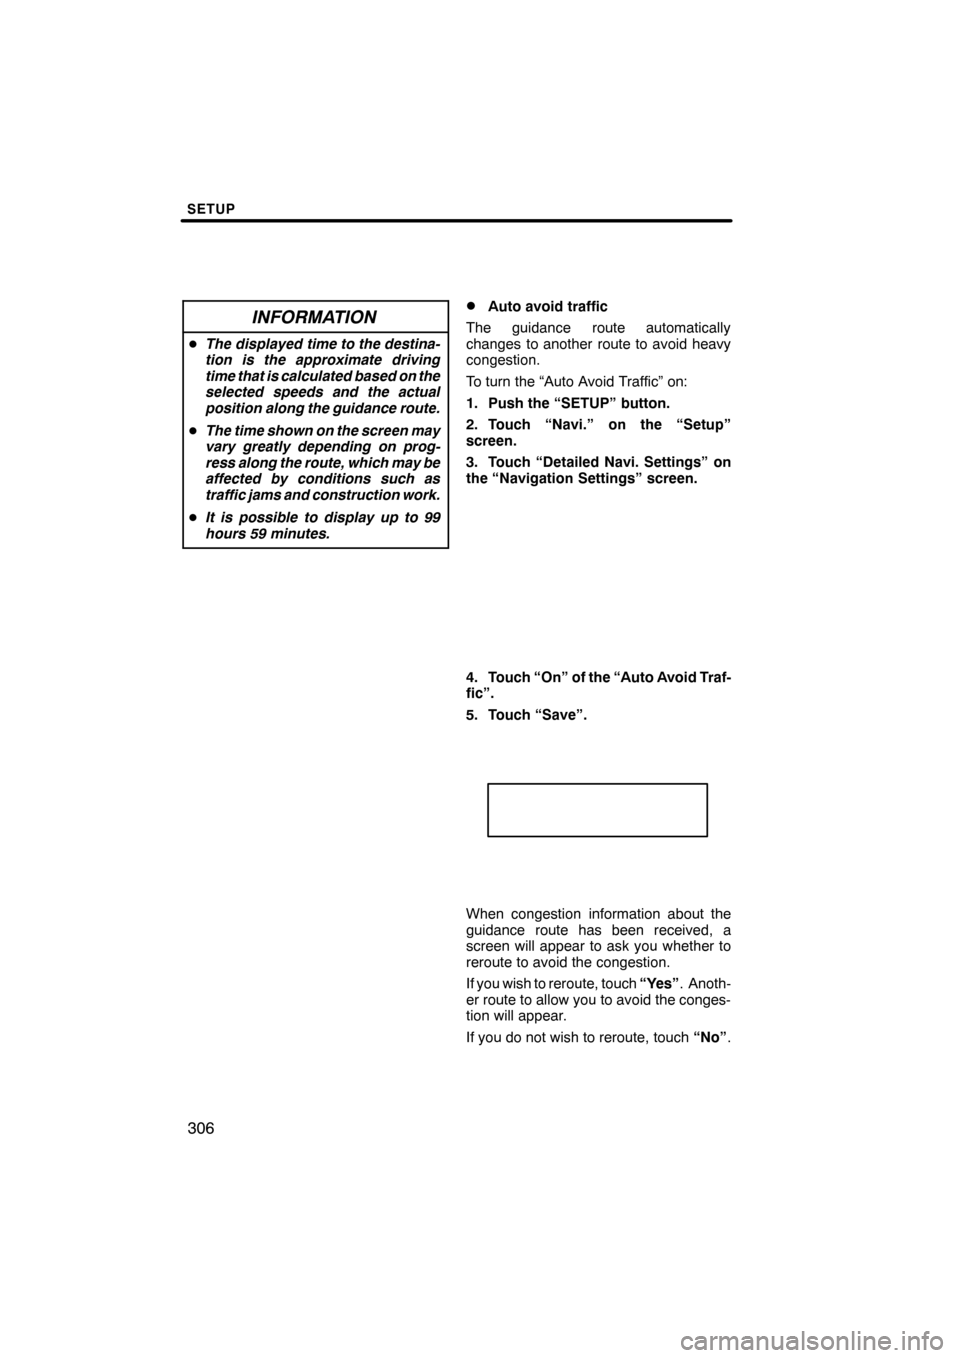
DAuto avoid traffic
The guidance route automatically
changes to another route to avoid heavy
congestion.
To turn the “Auto Avoid Traffic” on:
1. Push the “SETUP” button.
2. Touch “Navi.” on the “Setup”
screen.
3. Touch “Detailed Navi. Settings” on
the “Navigation Settings” screen.
4. Touch “On” of the “Auto Avoid Traf-
fic”.
5. Touch “Save”.
When congestion information about the
guidance route has been received, a
screen will appear to ask you whether to
reroute to avoid the congestion.
If you wish to reroute, touch “Yes”. Anoth-
er route to allow you to avoid the conges-
tion will appear.
If you do not wish to reroute, touch “No”.
ES350 NAVI (U)
Finish
Page 320 of 391
SETUP
319
Setting the handsfree power
You can select the state of “Handsfree
Power”.
The state changes between “On” and
“Off” every time you touch “Handsfree
Power”.
For the “Handsfree Power”, see
“Changing the handsfree power” on
page 344.
DEditing the Bluetoothrphone
You can see the information of the
Bluetooth rphone on the system or
edit.
“Device Name” The name of Bluetooth r
....
phone which is displayed on
the screen. You can change it
into a desired name.
If you change a device name,
the name registered in your
cellular phone is not changed.
“Device Address” The address peculiar to the
....
system. You cannot change it.
If you have registered two
Bluetooth rphones with the
same device name and you
cannot distinguish one from
the other, refer to it.
1. Touch “Options”.
2. Touch “Edit Phones”.
ES350 NAVI (U)
Finish
11
Page 344 of 391
SETUP
343
D
Deleting the voice tag
1. Touch “Delete Voice Tags”.
2. Touch the desired data or touch
“Select All”, then touch “Delete”.
You can touch multiple data and delete
them at the same time.
3. Touch “Yes”.
You can confirm and change the
Bluetooth
rsettings.
1. Push the “SETUP” button.
2. Touch “Phone”.
3. Touch “Bluetooth*”.
4. This screen is displayed.
*: Bluetooth is a registered trademark of Bluetooth SIG, Inc.
ES350 NAVI (U)
Finish
— Bluetooth r
11