reset Lexus ES350 2012 User Guide
[x] Cancel search | Manufacturer: LEXUS, Model Year: 2012, Model line: ES350, Model: Lexus ES350 2012Pages: 554, PDF Size: 6.43 MB
Page 221 of 554

220
3-2. Using the audio system
ES350_U●
Scanning the preset channels
Press and hold until you hear a beep.
When the desired channel is reached, press the button
again.
■ Displaying text information
Press .
The display will show up to 10 characters.
The display changes as follows each time the button is pressed.
● “CH NAME”
● “TITLE” (SONG/PROGRAM TITLE)
● “NAME” (ARTIST NAME/FEATURE)
● “CH NUMBER”
STEP1
STEP2
Page 222 of 554
221
3-2. Using the audio system
3
Interior features
ES350_U
■When the battery is disconnected
All preset stations are erased.
■Reception sensitivity
●It is difficult to maintain perfect radio reception at all times due to the continually
changing position of the antenna, differences in signal strength and surrounding
objects, such as trains and transmitters.
●The radio antenna is mounted inside the rear window. To maintain clear radio
reception, do not attach metallic window tinting or other metallic objects to the
antenna wire mounted inside the rear window.
■Receiving XM® Satellite Radio
An XM
® Satellite Radio is a tuner designed exclusively to receive broadcasts pro-
vided under a separate subscription. Availability is limited to the 48 contiguous
states and 10 Canadian provinces.
●XM® subscriptions
For detailed information about XM® Satellite Radio or to subscribe:
U.S.A.
Visit on the web at www.xmradio.com
or call 1-877-515-3987.
Canada
Visit on the web at www.xmradio.ca
or call 1-877-515-3987.
●Radio ID
You will need the radio ID when activating XM
® service or reporting a prob-
lem. Select “CH000” using , and the receiver's 8-character ID number
will appear.
●Satellite tuner
The tuner supports only Audio Services (Music and Talk) and the accompany-
ing Text Information of XM
® Satellite Radio.
Page 243 of 554

242
3-2. Using the audio system
ES350_U
Adjusting sound quality and volume balancePress to enter iPod menu mode.
Pressing changes sound modes. ( →P. 2 5 4 )
■About iPod
●Apple is not responsible for the operation of this device or its compliance with
safety and regulatory standards.
●iPod is a trademark of Apple Inc., registered in the U.S. and other countries.
■iPod functions
●When an iPod is connected and the audio source is changed to iPod mode, the
iPod will resume play from the same point in which it was last used.
●Depending on the iPod that is connected to the system, certain functions may
not be available. If a function is unavailable due to a malfunction (as opposed to
a system specification), disconnecting the device and reconnecting it once
again may resolve the problem.
●While connected to the system, the iPod cannot be operated with its own con-
trols. It is necessary to use the controls of the vehicle’s audio system instead.
■iPod problems
To resolve most problems encountered when using your iPod, disconnect your iPod
from the vehicle iPod connection and reset it.
For instructions on how to reset your iP od, refer to your iPod Owner's Manual.
■Display
→P. 2 2 8
STEP1
STEP2
Page 293 of 554
292
3-4. Using the hands-free system (for mobile phone)
ES350_UDial by one of the following methods:
a. Press the off-hook switch.
b. Press the talk switch and say “Dial”.
c. Select “Dial” by using .
Dialing by inputting a name
Press the talk switch and say “Dial by name”.
Select a registered name to be input by either of the following
methods:
a. Press the talk switch and say a registered name.
b. Press the talk switch and say “List Names”. Press the talk switchwhen the desired name is read aloud.
Dial by one of the following methods:
a. Press the off-hook switch.
b. Press the talk switch and say “Dial”.
c. Select “Dial” by using .
Speed dialing
Press the off-hook switch.
Press the preset button in which the desired number is registered.
Press the off-hook switch.
STEP3
STEP1
STEP2
STEP3
STEP1
STEP2
STEP3
Page 311 of 554
310
3-4. Using the hands-free system (for mobile phone)
ES350_UPattern B
Select the desired data using .
Select the desired preset button, and register the data into speed
dial by either of the following methods:
a. Press the desired preset button and select “Confirm” by using avoice command or .
b. Press and hold the desired preset button.
Deleting registered data
Select “Delete Entry” using a voice command or .
Pattern A Select data to be deleted by either of the following methods, and
select “Confirm” using a voice command or :
a. Press the talk switch, and say the name of the desired phonenumber to be deleted.
b. Press the talk switch, say “List Names”. While the name of the desired phone number is being read aloud, press the talk
switch.
Pattern B
Select the desired data to be deleted using .
STEP2
STEP3
STEP1
STEP2
STEP2
Page 312 of 554
311
3-4. Using the hands-free system (for mobile phone)
3
Interior features
ES350_U
Deleting speed dialSelect “Delete Speed Dial (Del Spd Dial)” using a voice com-
mand or .
Press the preset button in which the desired speed dial is regis-
tered, and select “Confirm” using a voice command or .
■Limitation of number of digits
A phone number that exceeds 24 digits cannot be registered.
STEP1
STEP2
Page 366 of 554
365
4-2. Maintenance
4
Maintenance and care
ES350_U
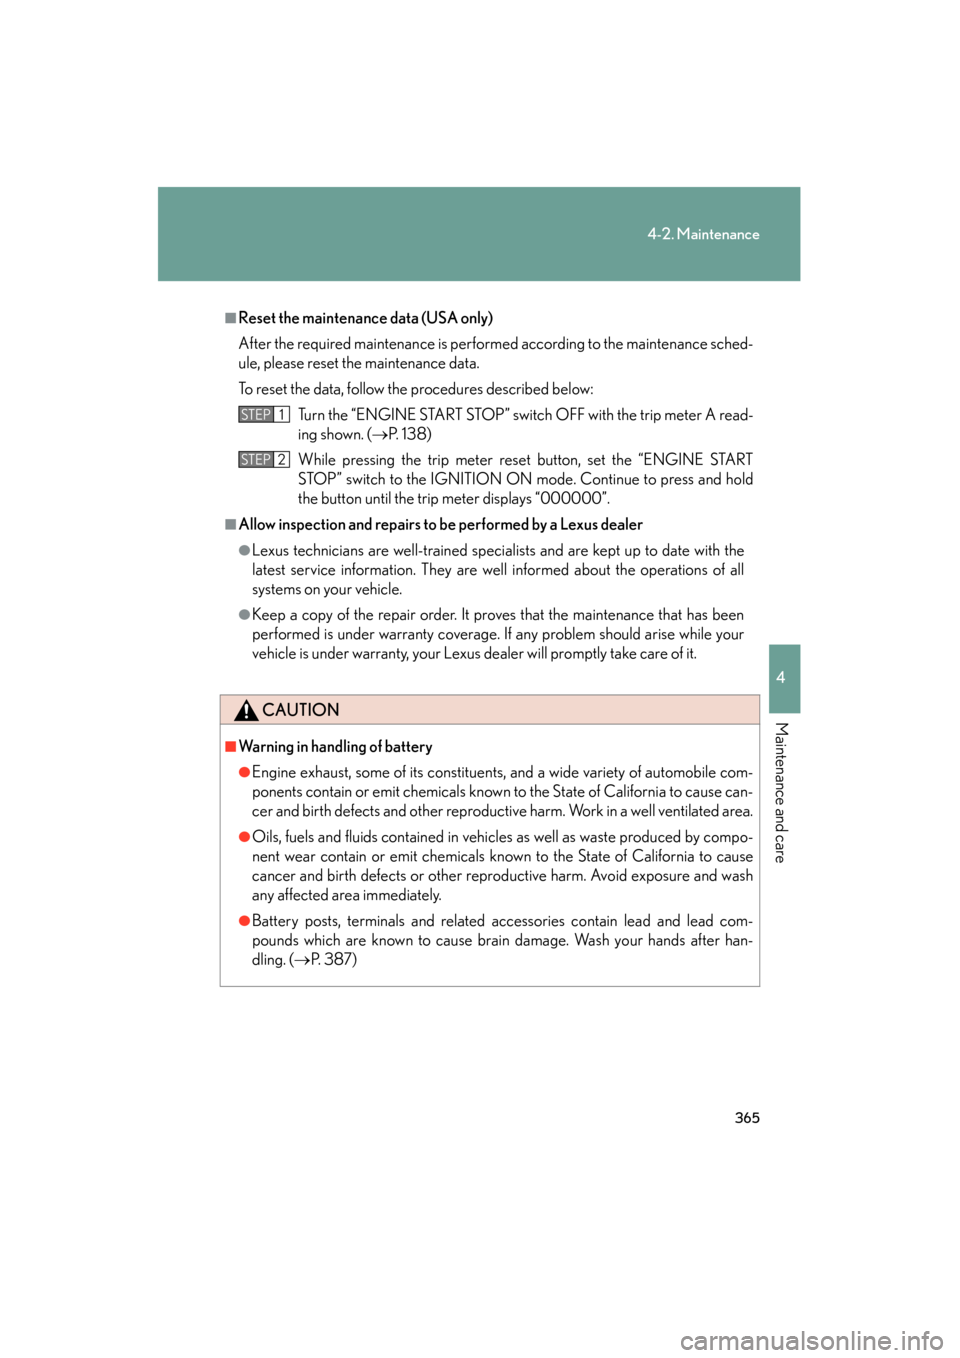
■Reset the maintenance data (USA only)
After the required maintenance is performed according to the maintenance sched-
ule, please reset the maintenance data.
To reset the data, follow the procedures described below:Turn the “ENGINE START STOP” switch OFF with the trip meter A read-
ing shown. ( →P. 1 3 8 )
While pressing the trip meter reset button, set the “ENGINE START
STOP” switch to the IGNITION ON mode. Continue to press and hold
the button until the trip meter displays “000000”.
■Allow inspection and repairs to be performed by a Lexus dealer
●Lexus technicians are well-trained specialists and are kept up to date with the
latest service information. They are well informed about the operations of all
systems on your vehicle.
●Keep a copy of the repair order. It proves that the maintenance that has been
performed is under warranty coverage. If any problem should arise while your
vehicle is under warranty, your Lexus dealer will promptly take care of it.
CAUTION
■Warning in handling of battery
●Engine exhaust, some of its constituents, and a wide variety of automobile com-
ponents contain or emit chemicals known to the State of California to cause can-
cer and birth defects and other reproductive harm. Work in a well ventilated area.
●Oils, fuels and fluids contained in vehicles as well as waste produced by compo-
nent wear contain or emit chemicals known to the State of California to cause
cancer and birth defects or other reproductive harm. Avoid exposure and wash
any affected area immediately.
●Battery posts, terminals and related accessories contain lead and lead com-
pounds which are known to cause brain damage. Wash your hands after han-
dling. ( →P. 3 8 7 )
STEP1
STEP2
Page 393 of 554
392
4-3. Do-it-yourself maintenance
ES350_U
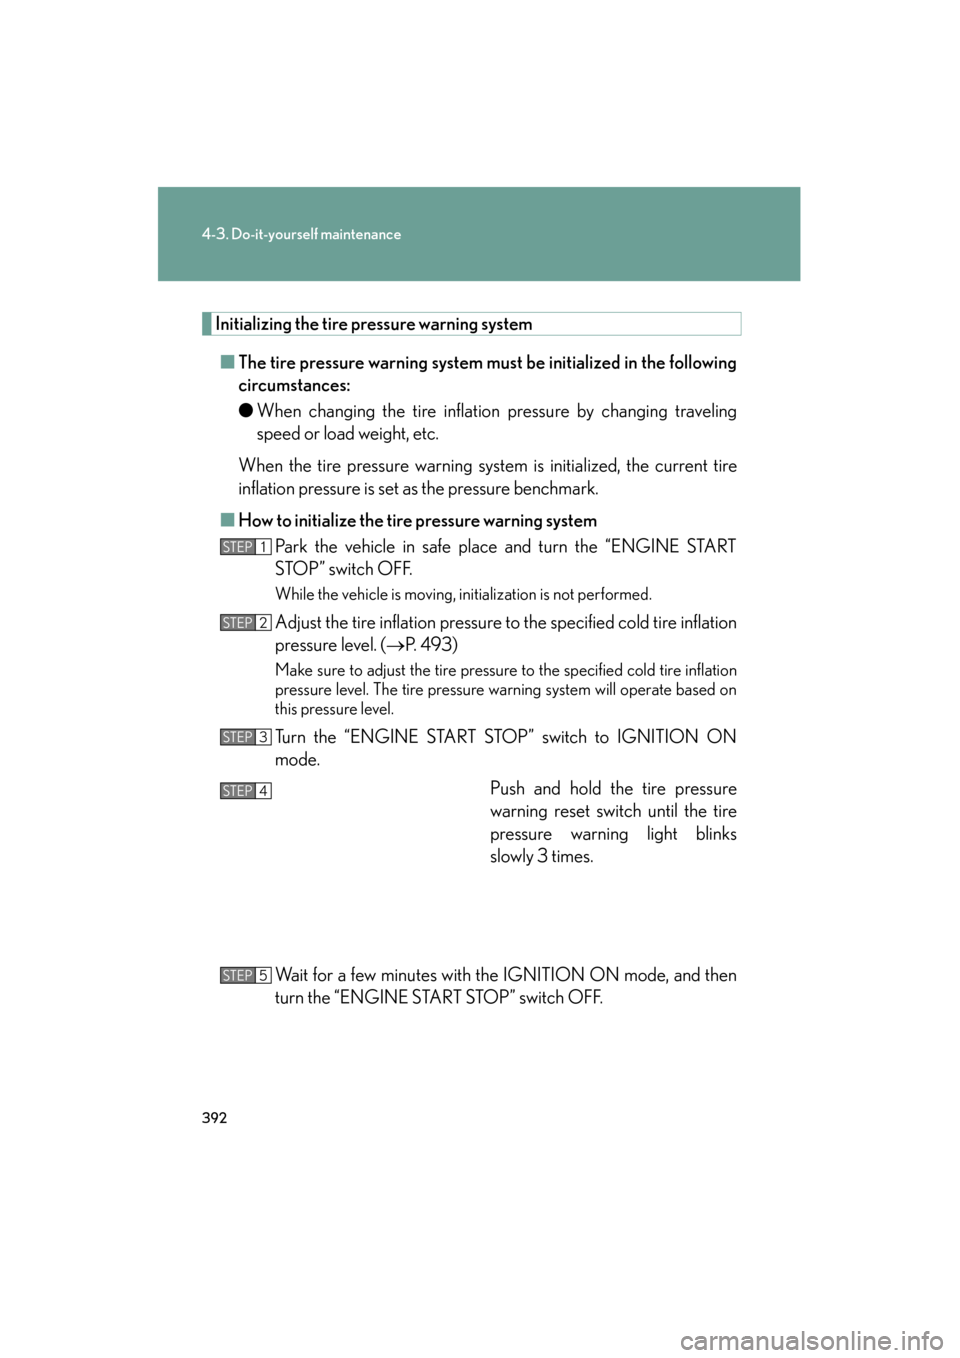
Initializing the tire pressure warning system■ The tire pressure warning system must be initialized in the following
circumstances:
● When changing the tire inflation pressure by changing traveling
speed or load weight, etc.
When the tire pressure warning system is initialized, the current tire
inflation pressure is set as the pressure benchmark.
■ How to initialize the tire pressure warning system
Park the vehicle in safe place and turn the “ENGINE START
STOP” switch OFF.
While the vehicle is moving, initialization is not performed.
Adjust the tire inflation pressure to the specified cold tire inflation
pressure level. ( →P. 493)
Make sure to adjust the tire pressure to the specified cold tire inflation
pressure level. The tire pressure warning system will operate based on
this pressure level.
Turn the “ENGINE START STOP” switch to IGNITION ON
mode.
Push and hold the tire pressure
warning reset switch until the tire
pressure warning light blinks
slowly 3 times.
Wait for a few minutes with the IGNITION ON mode, and then
turn the “ENGINE START STOP” switch OFF.
STEP1
STEP2
STEP3
STEP4
STEP5
Page 396 of 554
395
4-3. Do-it-yourself maintenance
4
Maintenance and care
ES350_U
■Tire types
1 Summer tiresSummer tires are high-speed performance tires best suited to highway driving
under dry conditions. Since summer tires do not have the same traction perfor-
mance as snow tires, summer tires are inadequate for driving on snow-covered
or icy roads. For driving on snow-covered roads or icy roads, the use of snow tires
is recommended. When installing snow tires, be sure to replace all four tires.
2 All season tires All season tires are designed to provide better traction in snow and to be ade-
quate for driving in most winter conditions, as well as for use year round. All sea-
son tires, however, do not have adequate traction performance compared with
snow tires in heavy or loose snow. Also, all season tires fall short in acceleration
and handling performance compared wi th summer tires in highway driving.
3Snow tires For driving on snow-covered roads or icy roads, we recommend using snow tires.
If you need snow tires, select tires of the same size, construction and load capac-
ity as the originally installed tires. Since your vehicle has radial tires as original
equipment, make sure your snow tires also have radial construction. Do not install
studded tires without first checking lo cal regulations for possible restriction.
Snow tires should be installed on all wheels. ( →P. 1 9 6 )
■Initializing the tire pressure warning system
Initialize the tire pressure warning system with the tire inflation pressure adjusted to
the specified level.
■If you push the tire pressure reset switch accidentally
If initialization is performed, adjust the tire inflation pressure to the specified level
and initialize the tire pressure warning system again.
■When the initialization of the tire pressure warning system has failed
Initialization can be completed in a few minutes. However, in the following cases,
the settings have not been recorded and the system will not operate properly. If
repeated attempts to record tire inflation pressure settings are unsuccessful, have
the vehicle inspected by your Lexus dealer.
●When operating the tire pressure warning reset switch, the tire pressure warning
light does not blink 3 times.
●After carrying out the initialization procedure, the tire pressure warning light
blinks for 1 minute then stays on after driving for about 20 minutes.
Page 398 of 554
397
4-3. Do-it-yourself maintenance
4
Maintenance and care
ES350_U
CAUTION
■When inspecting or replacing tires
Observe the following precautions to prevent accidents.
Failure to do so may cause damage to parts of the drive train, as well as dangerous
handling characteristics, which may lead to an accident resulting in death or serious
injury.
●Do not mix tires of different makes, models or tread patterns. Also, do not mix
tires of remarkably different treadwear.
●Do not use tire sizes other than those recommended by Lexus.
●Do not mix differently constructed tires (radial, bias-belted or bias-ply tires).
●Do not mix summer, all season and winter tires.
●Do not tow the vehicle with the compact spare tire installed.
■When initializing the tire pressure warning system
Do not push the tire pressure warning reset switch without first adjusting the tire
inflation pressure to the specified level. Otherwise, the tire pressure warning light
may not come on even if the tire inflation pressure is low, or it may come on when
the tire inflation pressure is actually normal.