ECO mode Lexus GS350 2007 Using the front audio system / LEXUS 2007 GS430/350 (OM30A04U) User Guide
[x] Cancel search | Manufacturer: LEXUS, Model Year: 2007, Model line: GS350, Model: Lexus GS350 2007Pages: 562, PDF Size: 17.95 MB
Page 138 of 562
118
2-3. Operating the lights and windshield wipers
■Automatic light off system
The headlights and tail lights turn off 30 seconds after a door is opened or closed if
the engine switch has been switched to “ACC” or turned “OFF” while the headlights
are turned on. (The lights turn off immediately if the button on the key is pressed
after all doors are locked.)
To turn the lights on again, switch to “IG-ON” mode, or turn the light switch “OFF”
once and then back to the or position.
■Automatic headlight leveling system
The level of the headlights is automatica lly adjusted according to the number of
passengers and the loading condition of the vehicle to ensure that the headlights do
not interfere with other road users.
■If the indicator flashes...
It may indicate a malfunction in the system. Contact your Lexus dealer.
■Customization
Settings (e.g. light sensor sensitivity) can be changed. ( P. 5 2 3 )
NOTICE
■To prevent battery discharge
Do not leave the lights on longer than necessary if the engine is not running.
Page 142 of 562
122
2-3. Operating the lights and windshield wipers
■If no windshield washer fluid sprays
Check that the washer nozzles are not blocked if there is washer fluid in the wind-
shield washer fluid reservoir.
■In extremely hot or cold weather
The system will turn off if the windshield gets extremely hot (at more than 176°F
[80°C]) or cold (at less than 14°F [-10°C]).
■Customization
Settings (e.g. drip prevention function) can be changed. (P. 5 2 6 )
CAUTION
■Caution regarding the use of windshield wipers in “AUTO” mode
The windshield wipers may operate unexpect edly if the sensor is touched or the
windshield is subject to vibration in “AUTO” mode. Take care that your fingers or
anything else do not become caught in the windshield wipers.
NOTICE
■When the windshield is dry
Do not use the wipers, as they may damage the windshield.
■When there is no washer fluid spray from the nozzle
Damage to the washer fluid pump may be caused if the lever is pulled toward you
and held continually.
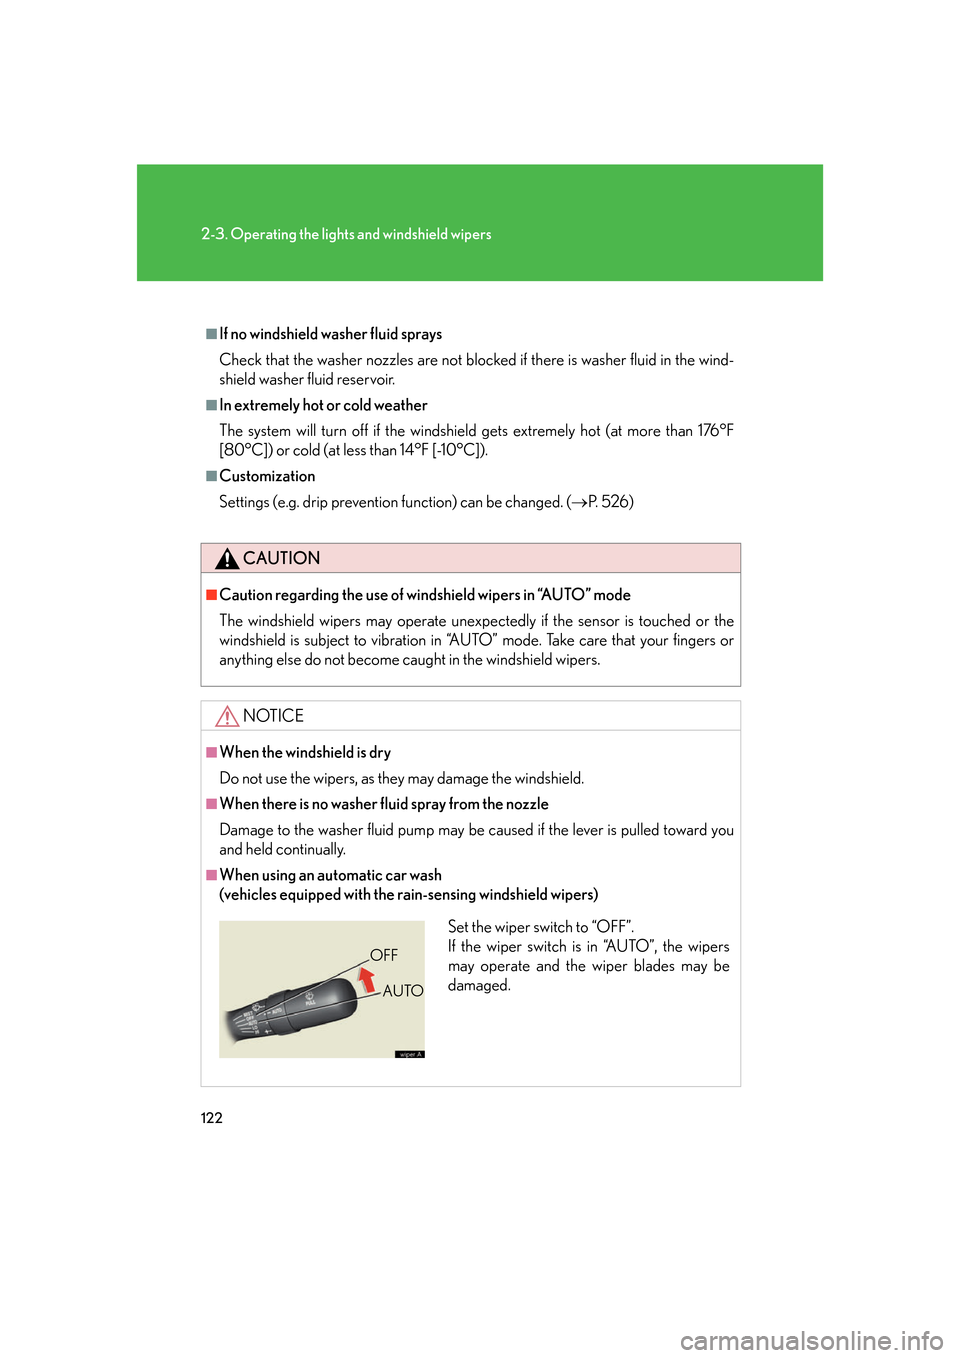
■When using an automatic car wash
(vehicles equipped with the rain-sensing windshield wipers)
Set the wiper switch to “OFF”.
If the wiper switch is in “AUTO”, the wipers
may operate and the wiper blades may be
damaged.
OFF
AUTO
Page 147 of 562
127
2-4. Using other driving systems
2
When driving
Dynamic radar cruise control (if equipped)
Dynamic radar cruise control supplements conventional cruise control
with a vehicle-to-vehicle distance control. In the vehicle-to-vehicle dis
-
tance control mode, the vehicle automa tic
ally accelerates or decelerates
in order to maintain a set following distance from vehicles ahead.
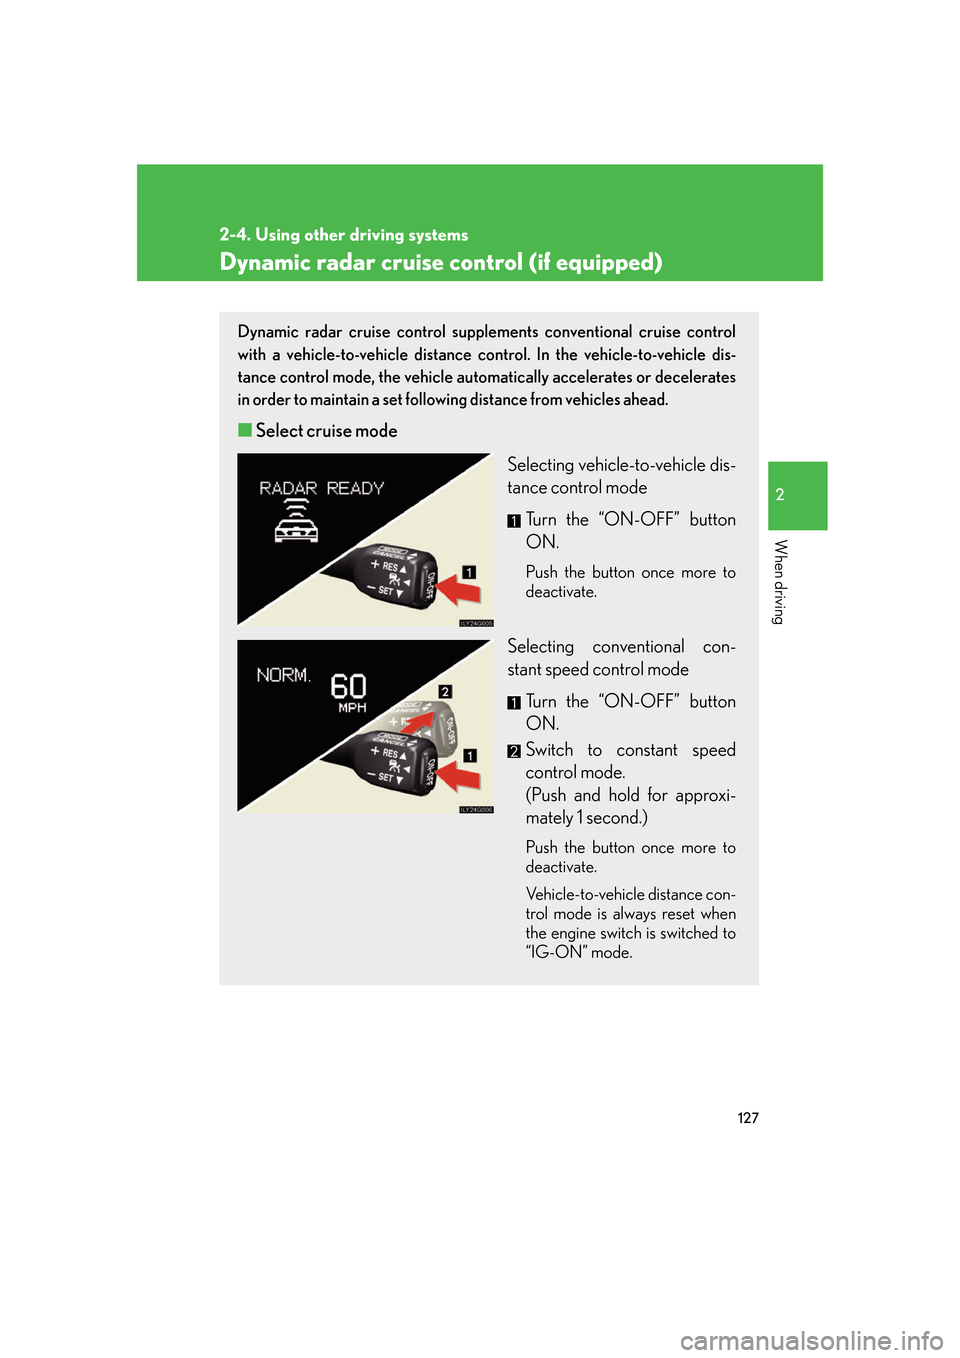
■ Select cruise mode
Selecting vehicle-to-vehicle dis-
tance control mode
Turn the “ON-OFF” button
ON.
Push the button once more to
deactivate.
Selecting conventional con -
stant speed control mode
Turn the “ON-OFF” button
ON.
Switch to constant speed
control mode.
(Push and hold for approxi -
mately 1 second.)
Push the button once more to
deactivate.
Vehicle-to-vehicle distance con -
trol mode is always reset when
the engine switch is switched
to
“IG-ON” mode.
Page 171 of 562
151
2-4. Using other driving systems
2
When driving
■When the system malfunctions
●If a malfunction occurs and no obstacles have been detected, a warning is dis-
played, and a malfunction beep sounds for 7 seconds.
If an obstacle has been detected, or another malfunction occurs in a different
sensor
, the malfunction beeps will not sound.
●In the following circumstances the displayed warning will disappear:
• If you switch the screen to a different mode.
• If you turn OFF the intuitive parking assist main switch.
• If the vehicle speed exceeds 6 mph (10 km/h). Once the vehicle speed drops
b
elow 6 mph (10 km/h), the warning will be displayed again.
●If the malfunction screen is displayed, the detection range of the dual sensors is
shortened. In this case, the necessity fo r obstacle evasion (whether the obstacle
will come within 0.8 ft. (25 cm) of the vehicle or not) will not be calculated.
■When using intuitive parking assist
●The sensors' detection areas and reaction times are limited. When moving for -
ward or reversing, check the areas surrounding the vehicle (especially the sides
of the
vehicle) for safety, and drive slowly, using the brake to control the vehicle’s
speed.
• The sensors' detection areas are limited to the ar
eas around the vehicle’s front
and rear bumpers.
• Depending on the shape of the obstacle an
d other factors, the detection dis-
tance may shorten, or dete c
tion may be impossible.
• There will be a short delay between ob stacl
e detection and display. Even at
slow speeds, there is a possibility that the obstacle will come within 0.8 ft. (25
cm) of the vehicle before the display is shown and the warning beep sounds.
• Braking distance may differ according to the road conditions (rain, gravel et
c.).
• It might be difficult to hear beeps due to the volume of audio system or air
fl
ow noise of air conditioning system.
• For long obstacles such as walls, the obstacle warning may change as the o
bstacle gets closer.
Page 201 of 562
181
3-1. Using the touch screen
3
Interior features
The initial screen
If the engine switch is set to “ACC” or
“IG-ON” mode, the initializing screen
will be displayed for a few seconds as
the system starts up.
SwitchesPa g e
“CLIMATE”P. 1 9 0
“A U D I O ”P. 1 9 9
“INFO” (Displaying the “Informa-
tion” screen)P. 1 8 0
“DISP” (Adjusting the display)P. 1 8 5
Trip Information. (Displaying the
“Trip Information” screen)P. 1 8 2
MaintenanceNavigation System Owner's Manual
Te l e p h o n eP. 2 6 7
CalendarNavigation System Owner's Manual
“LEXUS Park Assist”P. 1 5 0
LanguageP. 1 8 4
Screen SettingP. 1 8 7
Adjust ClockP. 3 1 8 /
Navigation System Owner's Manual
Page 218 of 562
198
3-2. Using the air conditioning system and defogger
Rear window and outside rear view mirror defoggers
■Operating conditions
The engine switch must be in the “IG-ON” mode.
CAUTION
■When the outside rear view mirror defoggers are on
Do not touch the rear view mirror surfaces , as they can become very hot and burn
you.
NOTICE
■To prevent battery discharge
Turn the defoggers off when the engine is not running.
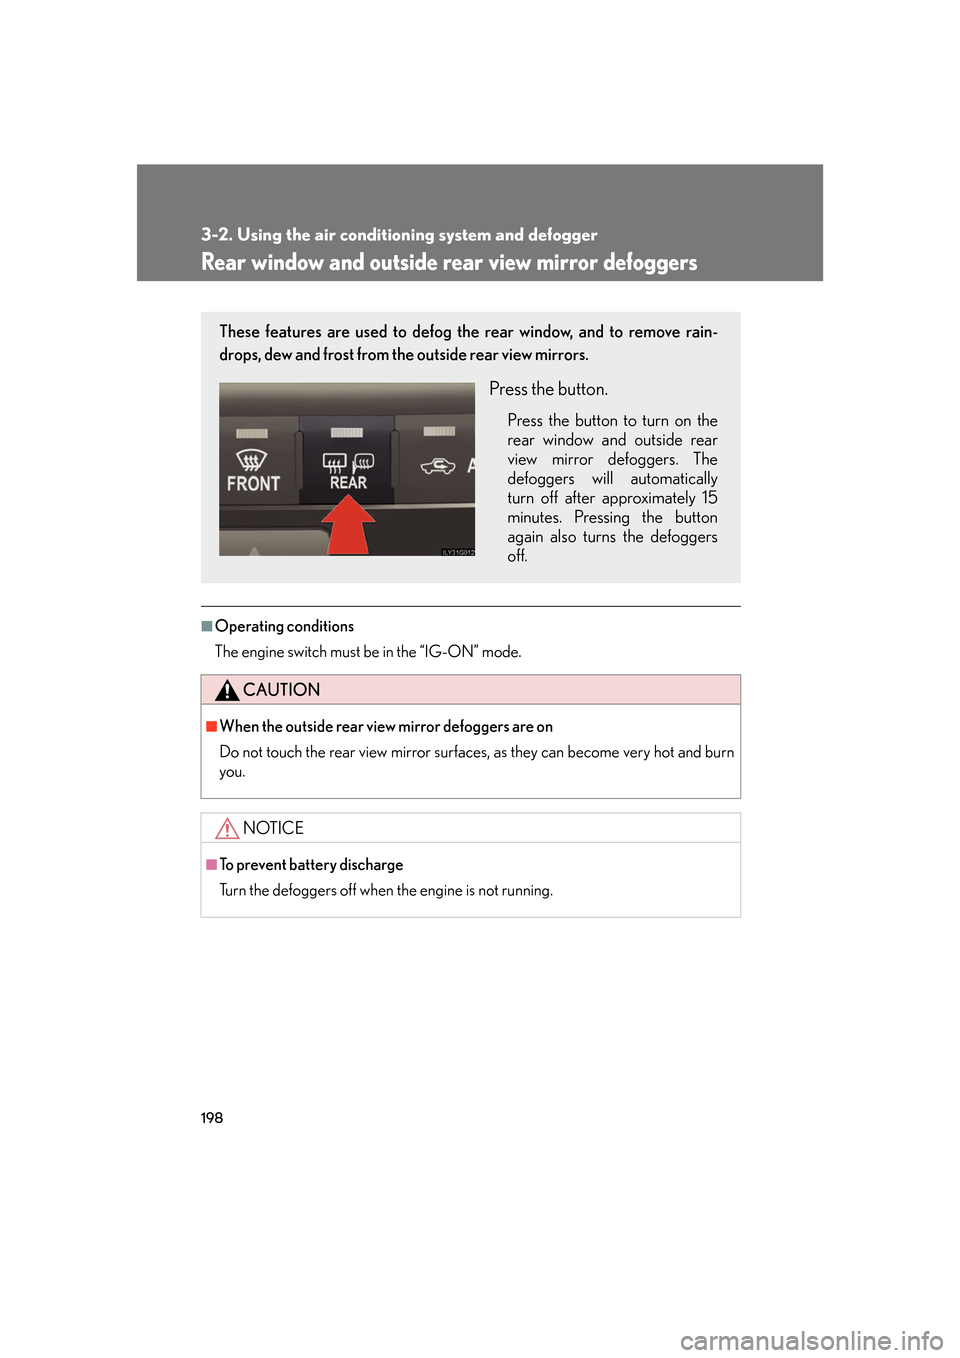
These features are used to defog the rear window, and to remove rain-
drops, dew and frost from the outside rear view mirrors.
Press the button.
Press the button to turn on the
rear window and outside rear
view mirror defoggers. The
defoggers will automatically
turn off after approximately 15
minutes. Pressing the button
again also turns the defoggers
off.
Page 247 of 562
227
3-3. Using the audio system
3
Interior features
■MP3 and WMA files
MP3 (MPEG Audio LAYER 3) is a standard audio compression format.
Files can be compressed to approximately 1 /10 of their original size by using MP3
compression.
WMA (Windows Media
TMAudio) is a Microsoft audio compression format.
This format compresses audio data to a size smaller than that of the MP3 format.
There is a limit to the MP3 and WMA file standards and to the media/formats
recorded by them that can be used.
●MP3 file compatibility
• Compatible standards
MP3 (MPEG1 LAYER3, MPEG2 LSF LAYER3)
• Compatible sampling frequencies
MPEG1 LAYER3: 32, 44.1, 48 (kHz)
MPEG2 LSF LAYER3: 16, 22.05, 24 (kHz)
• Compatible bit rates
MPEG1 LAYER3: 64, 80, 96, 112, 128, 160, 192, 224, 256, 320 (kbps)
• MPEG2 LSF LAYER3: 64, 80, 96 , 112, 128, 144, 160 (kbps)
*: Compatible with VBR
• Compatible channel modes: stereo, joint stereo, dual channel and monaural
●WMA file compatibility
• Compatible standards
WMA Ver. 7, 8, 9
• Compatible sampling frequencies
32, 44.1, 48 (kHz)
• Compatible bit rates
Ver. 7, 8: CBR 48, 64, 80, 96, 128, 160, 192 (kbps)
Ver. 9: CBR 48, 64, 80, 96, 128, 160, 192, 256, 320 (kbps)
*: Only compatible with 2-channel playback
●Compatible media
Media that can be used for MP3 and WMA playback are CD-Rs and CD-RWs.
Playback in some instances may not be po ssible, depending on the status of the
CD-R or CD-RW. Playback may not be poss ible or the audio may jump if the disc
is scratched or marked with fingerprints.
Page 248 of 562
228
3-3. Using the audio system
●Compatible disc formats
The following disc formats can be used.
• Disc formats: CD-ROM Mode 1 and Mode 2
CD-ROM XA Mode 2, Form 1 and Form 2
• File formats: ISO9660 level 1, level 2, (Romeo, Joliet)
MP3 and WMA files written in any format other than those listed above may
not play correctly, and their file names and folder names may not be dis-
played correctly.
Items related to standards and limitations are as follows:
• Maximum directory hierarchy: 8 levels
• Maximum length of folder names/file names: 32 characters
• Maximum number of folders: 192 (including the root)
• Maximum number of files per disc: 255
●File names
The only files that can be recognized as MP3/WMA and played are those with
the extension .mp3 or .wma.
●Multi-sessions
As the audio system is compatible with multi-sessions, it is possible to play discs
that contain MP3 and WMA files. However, only the first session can be played.
●ID3 and WMA tags
ID3 tags can be added to MP3 files, making it possible to record the track title
and artist name, etc.
The system is compatible with ID3 Ver. 1.0, 1.1, and Ver. 2.2, 2.3 ID3 tags. (The
number of characters is based on ID3 Ver. 1.0 and 1.1.)
WMA tags can be added to WMA files, making it possible to record the track
title and artist name in the same way as with ID3 tags.
Page 252 of 562
232
3-3. Using the audio system
Loading a discs
■Loading a single disc
Push .
When the indicator changes from flashing amber to gr
een, insert
a disc after the DVD player door opens.
■ Loading multiple discs
Press and hold until you hear a beep.
When the indicator changes from flashing amber to gr
een, insert
a disc after the DVD player door opens.
After inserting a disc, wait until the indicator changes from flash -
ing amber to green, then insert the ne
xt disc after the DVD player
door has opened.
Repeat steps 2 and 3 until you have inserted all discs.
To cancel the operation, press the or button. If you do not
insert a disc within 15 seconds, loading will be canc
eled automatically.
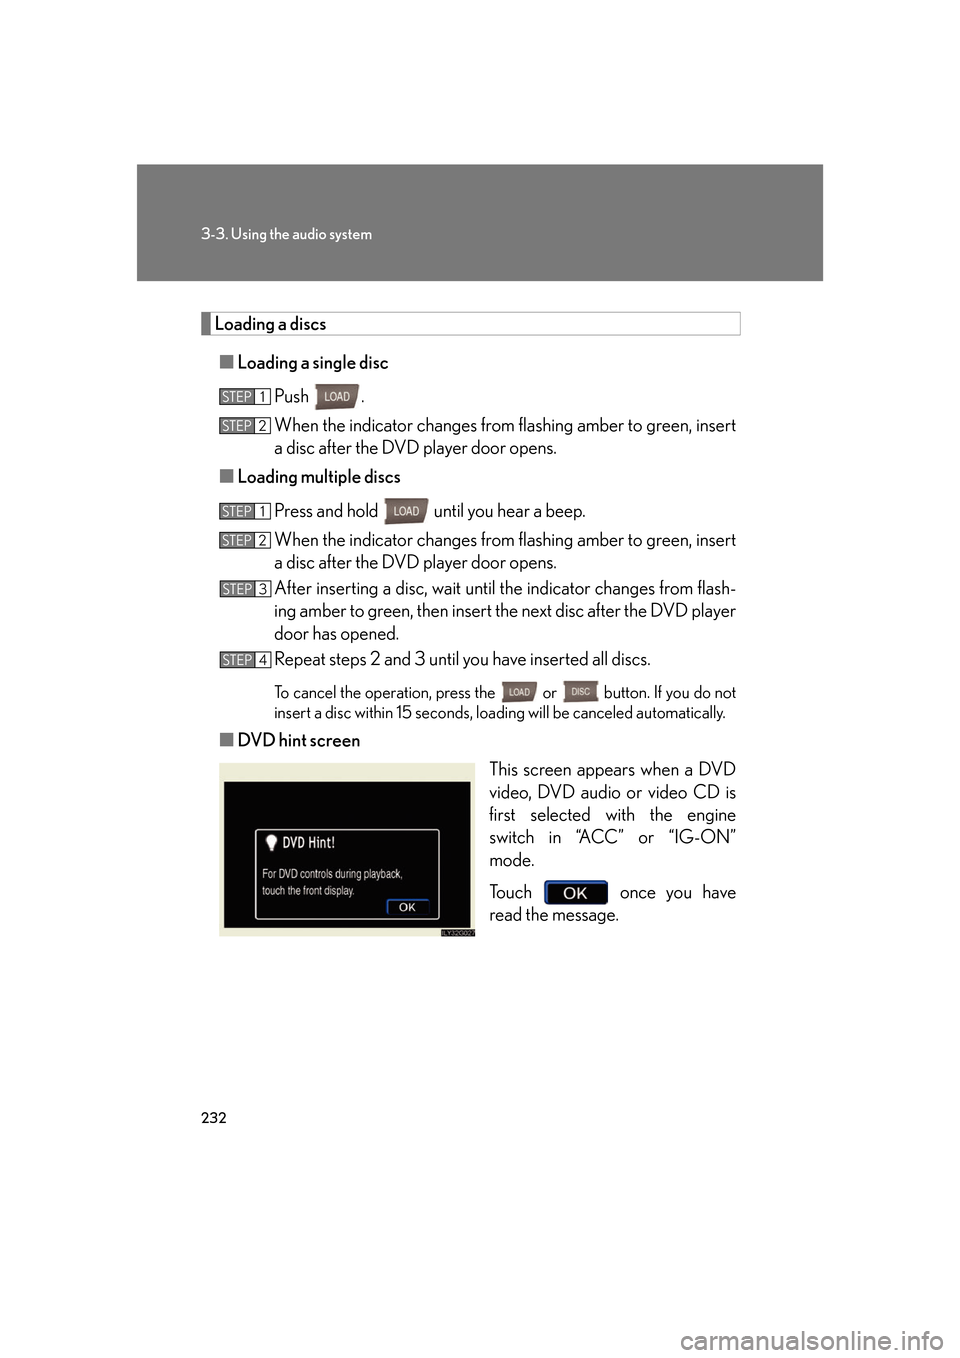
■DVD hint screen
This screen appears when a DVD
vide
o, DVD audio or video CD is
first selected with the engine
switch in “ACC” or “IG-ON”
mode.
To u c h once you have
read the message.
STEP1
STEP2
STEP1
STEP2
STEP3
STEP4
Page 279 of 562
259
3-3. Using the audio system
3
Interior features
Using the steering switches
Turning on the power
Press when the audio system is turned OFF.
The audio system can be turned OFF by holding the switch down for 1 second
or more.
Changing the audio source
Press when the audio system is tu rned ON. The audio sour ce
changes as follows each time the button is pr
essed. If a cassette tape or
CD is not inserted, that mode will be skipped.
Vehicles with CD player:
FM (1, 2) cassette player CD player AM SAT (1, 2, 3)
Vehicles with DVD player: FM (1, 2) cas
sette playerDVD playerAM SAT (1, 2, 3)
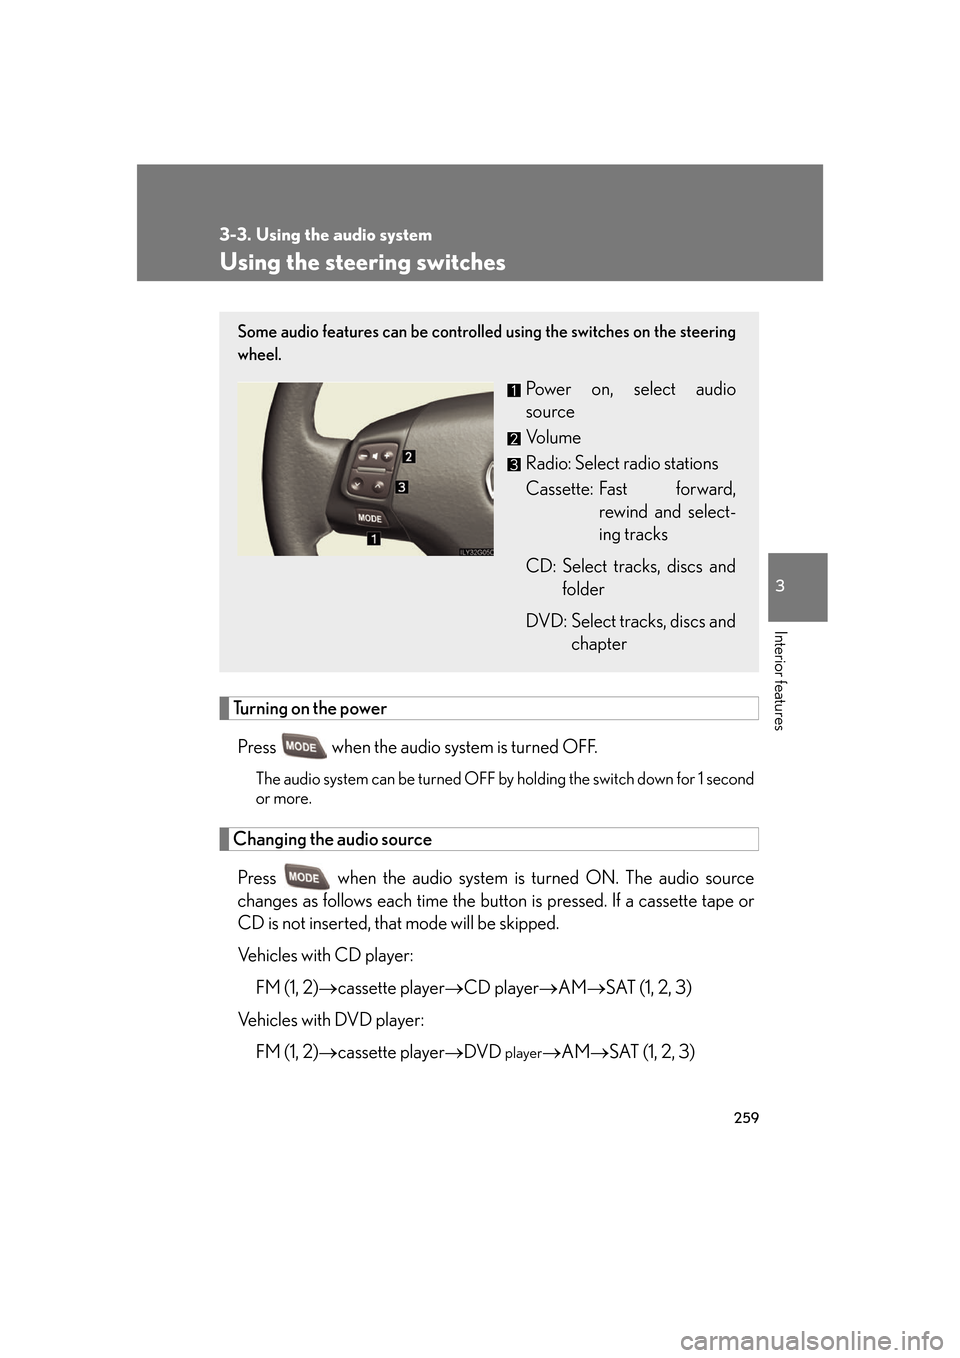
Some audio features can be controlled using the switches on the steering
wheel.
Power on, select audio
source
Vo l u m e
Radio: Select radio stations
Cassette: Fast forward, r
ewind and select -
ing tracks
CD: Select tracks, discs and folder
DVD: Select tracks, discs and chapter