Headlight Lexus GS350 2013 Owner's Guide
[x] Cancel search | Manufacturer: LEXUS, Model Year: 2013, Model line: GS350, Model: Lexus GS350 2013Pages: 830, PDF Size: 9.71 MB
Page 312 of 830
GS350_U (OM30C34U)
3115-1. Remote Touch screen
5
Interior features
■To avoid damaging the Remote Touch screen
Remove any dirt on the screen by wiping with a soft cloth. Do not use detergent.
■When using the Remote Touch screen
●If the screen is cold, the display may be dark, or the system may seem to be operat-
ing slightly slower than normal.
●When the screen is viewed through polarized sunglasses, a rainbow pattern may
appear on the screen due to optical characteristics of the screen. If this is disturb-
ing, please operate the screen without polarized sunglasses.
●Dimmed screen buttons cannot be operated.
■Changing between day mode and night mode
The display condition is not changed to night mode even if the headlight switch is
turned on when the vehicle is in a bright area such as daytime.
■To t u r n o f f t h e d i s p l a y
The display goes off when “Screen Off” is selected. To turn the “Display” screen back
on, select any button. The selected screen appears. To display the screen in day mode, even with
the headlight switch on, select “Day Mode”
for brightness and contrast control.
If the screen is set to day mode with the
headlight switch turned on, this condition is
memorized even with the engine turned off.
Page 594 of 830
593
GS350_U (OM30C34U)
Maintenance and care6
6-1. Maintenance and care Cleaning and protecting the vehicle exterior................. 594
Cleaning and protecting the vehicle interior ..................598
6-2. Maintenance Maintenance requirements .... 601
General maintenance ..............604
Emission inspection and maintenance (I/M)
programs ................................... 608
6-3. Do-it-yourself maintenance Do-it-yourself service precautions................................609
Hood .................................................612
Positioning a floor jack ...............613
Engine compartment .................615
Tires.................................................. 629
Tire inflation pressure ............... 639
Wheels ........................................... 642
Air conditioning filter ............... 644
Electronic key battery .............. 646
Checking and replacing fuses..............................................648
Headlight aim ................................661
Light bulbs..................................... 663
Page 607 of 830
606
GS350_U (OM30C34U)
6-2. Maintenance
Head restraints• Do the head restraints movesmoothly and lock securely?
Indicators/buzzers• Do the indicators and buzzers func-tion properly?
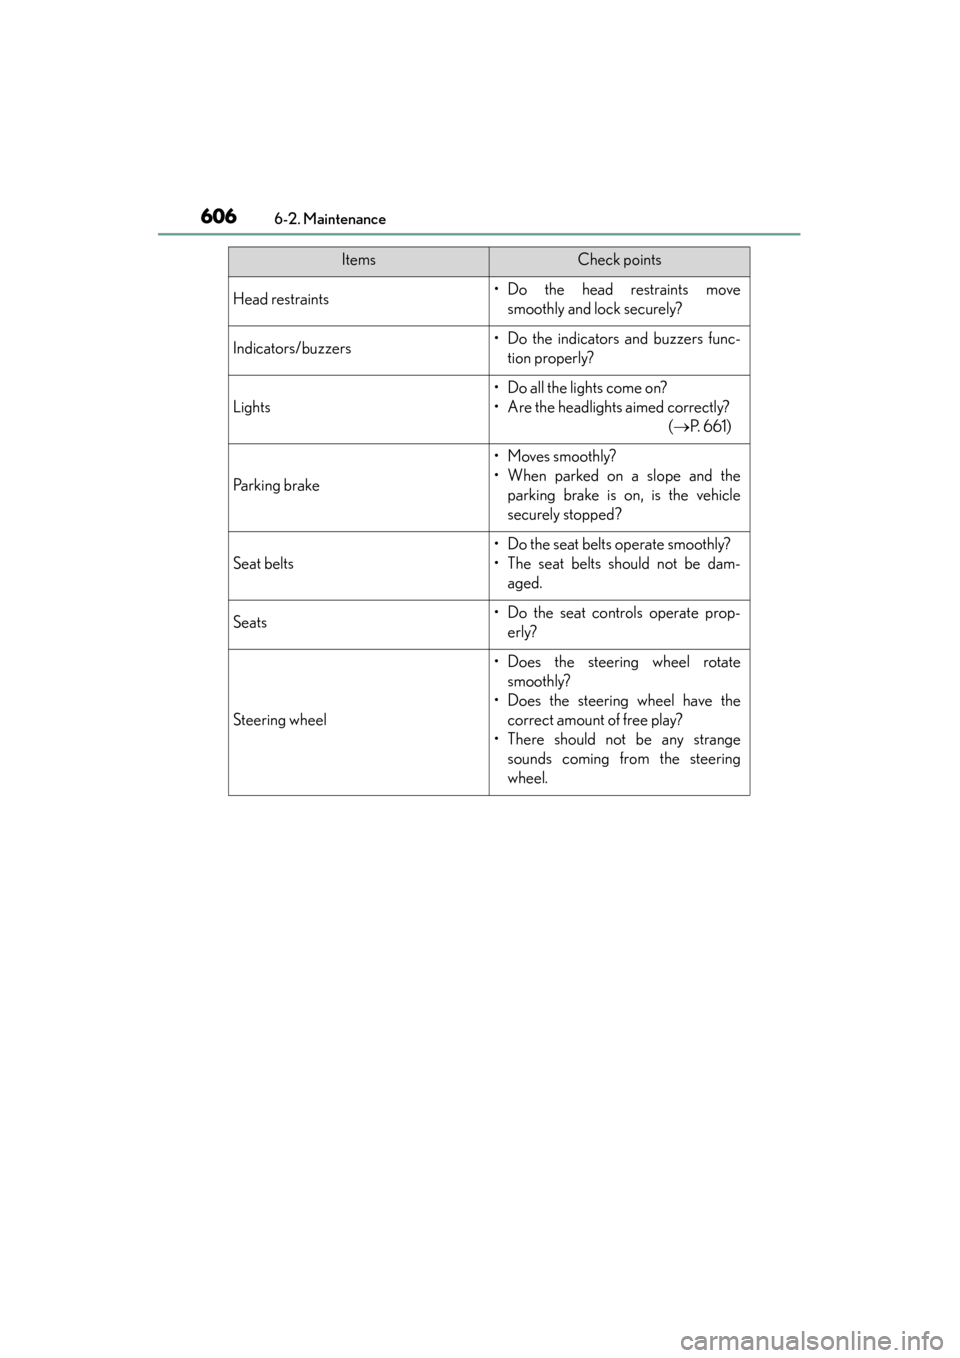
Lights
• Do all the lights come on?
• Are the headlights aimed correctly? ( →P. 6 6 1 )
Parking brake
• Moves smoothly?
• When parked on a slope and the
parking brake is on, is the vehicle
securely stopped?
Seat belts
• Do the seat belts operate smoothly?
• The seat belts should not be dam-aged.
Seats• Do the seat controls operate prop-erly?
Steering wheel
• Does the steering wheel rotatesmoothly?
• Does the steering wheel have the correct amount of free play?
• There should not be any strange sounds coming from the steering
wheel.
ItemsCheck points
Page 611 of 830
610
GS350_U (OM30C34U)
6-3. Do-it-yourself maintenance
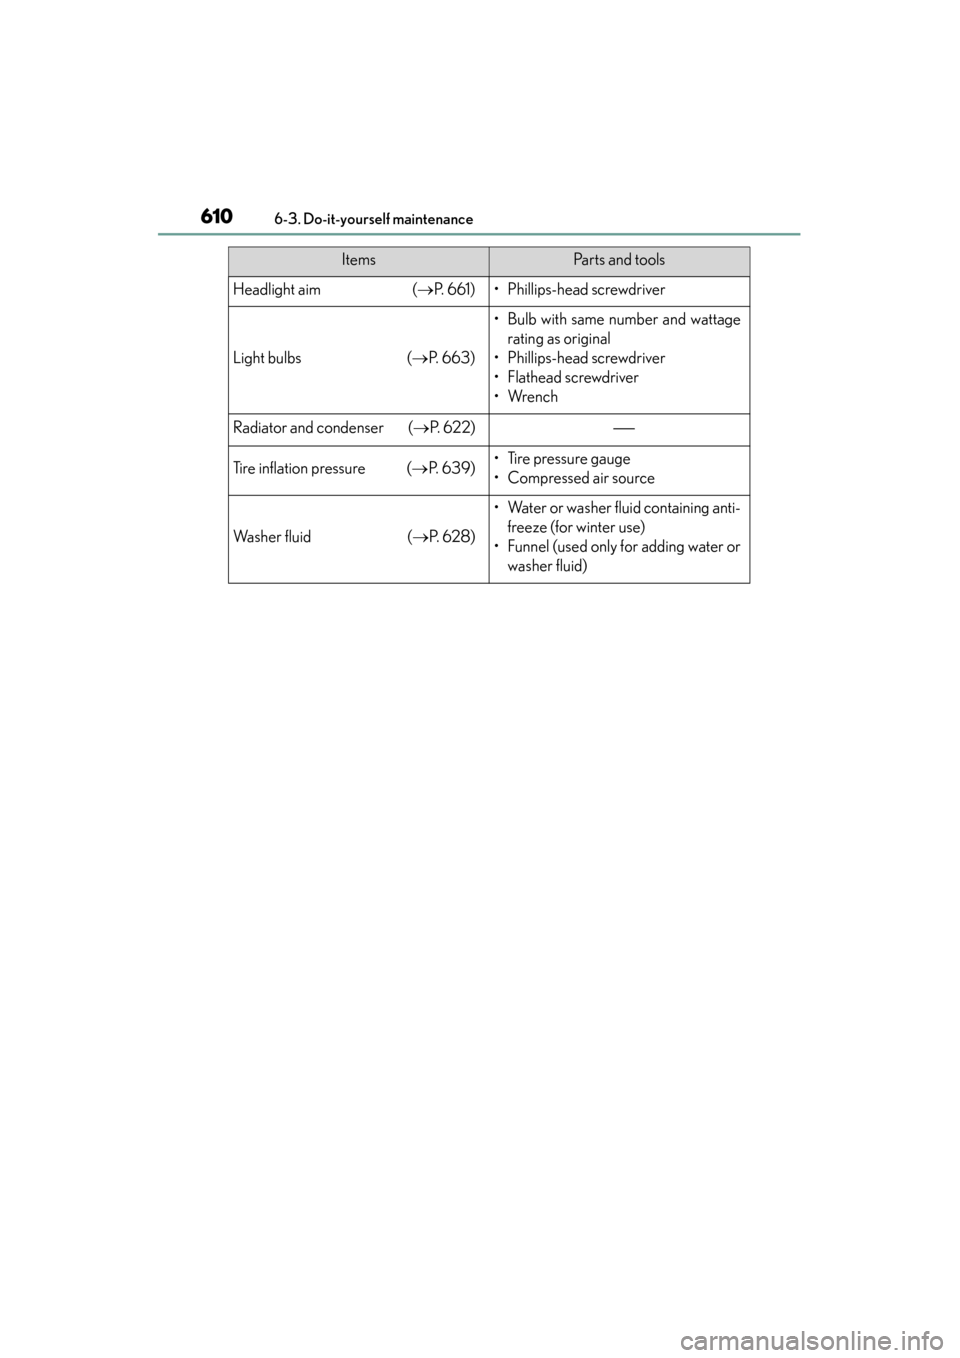
Headlight aim(→ P. 6 6 1 )• Phillips-head screwdriver
Light bulbs (→ P. 6 6 3 )
• Bulb with same number and wattage
rating as original
• Phillips-head screwdriver
• Flathead screwdriver
•Wrench
Radiator and condenser ( →P. 6 2 2 )
Tire inflation pressure ( →P. 6 3 9 )• Tire pressure gauge
• Compressed air source
Wa s h e r f l u i d (→ P. 6 2 8 )
• Water or washer fluid containing anti-
freeze (for winter use)
• Funnel (used only for adding water or washer fluid)
ItemsPa r t s a n d t o o l s
Page 653 of 830
652
GS350_U (OM30C34U)
6-3. Do-it-yourself maintenance
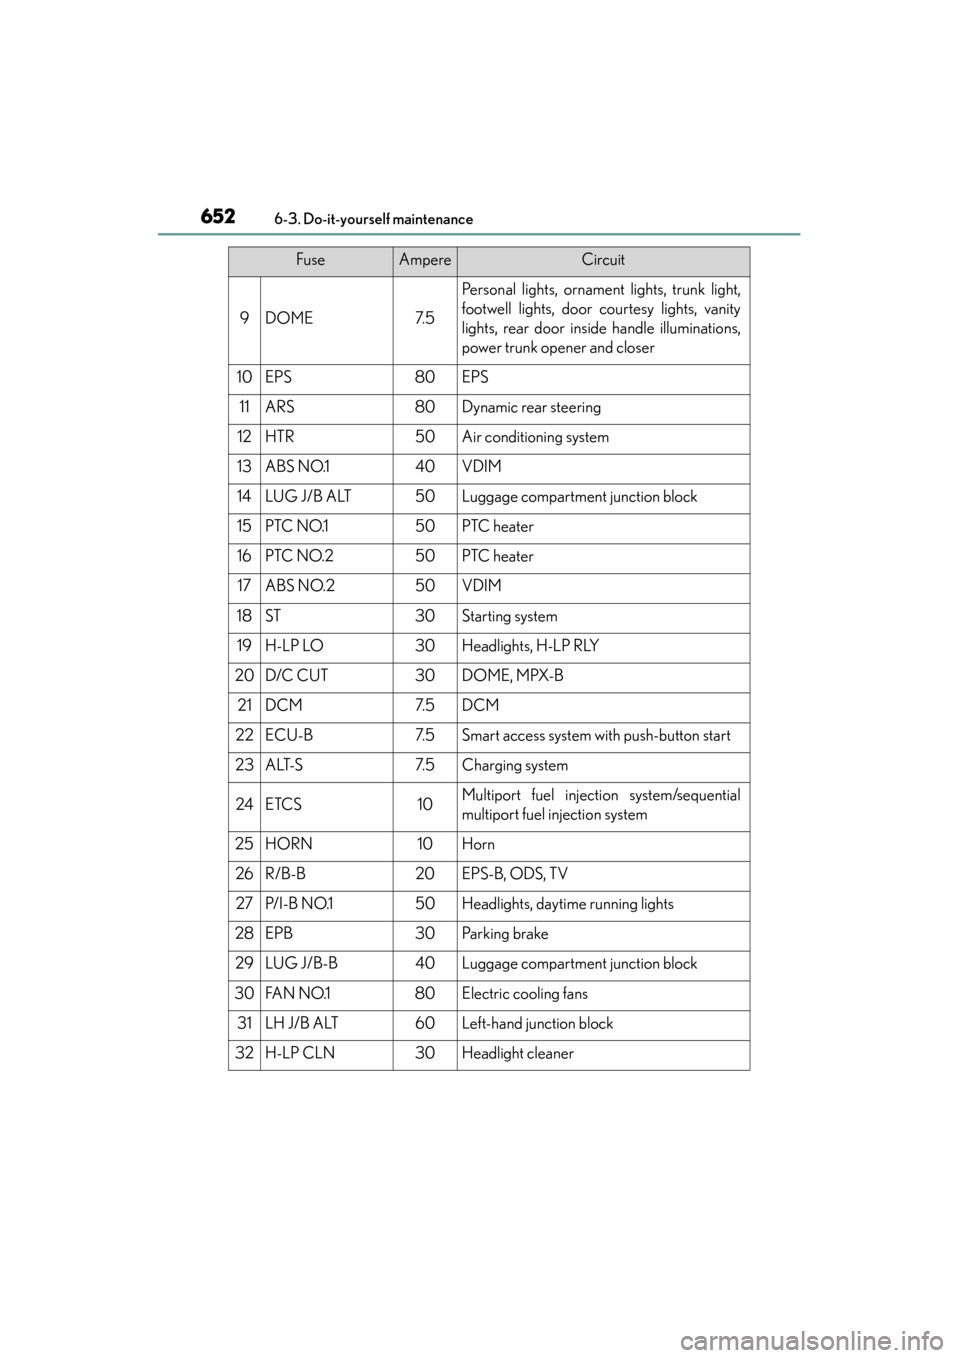
9DOME7. 5
Personal lights, ornament lights, trunk light,
footwell lights, door courtesy lights, vanity
lights, rear door inside handle illuminations,
power trunk opener and closer
10EPS80EPS
11ARS80Dynamic rear steering
12HTR50Air conditioning system
13ABS NO.140VDIM
14LUG J/B ALT50Luggage compartment junction block
15PTC NO.150PTC heater
16PTC NO.250PTC heater
17ABS NO.250VDIM
18ST30Starting system
19H-LP LO30Headlights, H-LP RLY
20D/C CUT30DOME, MPX-B
21DCM7. 5DCM
22ECU-B7. 5Smart access system with push-button start
23ALT-S7. 5Charging system
24ETCS10Multiport fuel injection system/sequential
multiport fuel injection system
25HORN10Horn
26R/B-B20EPS-B, ODS, TV
27P/ I - B N O.150Headlights, daytime running lights
28EPB30Pa r k i n g b r a ke
29LUG J/B-B40Luggage compartment junction block
30FA N N O.180Electric cooling fans
31LH J/B ALT60Left-hand junction block
32H-LP CLN30Headlight cleaner
FuseAmpereCircuit
Page 655 of 830
654
GS350_U (OM30C34U)
6-3. Do-it-yourself maintenance
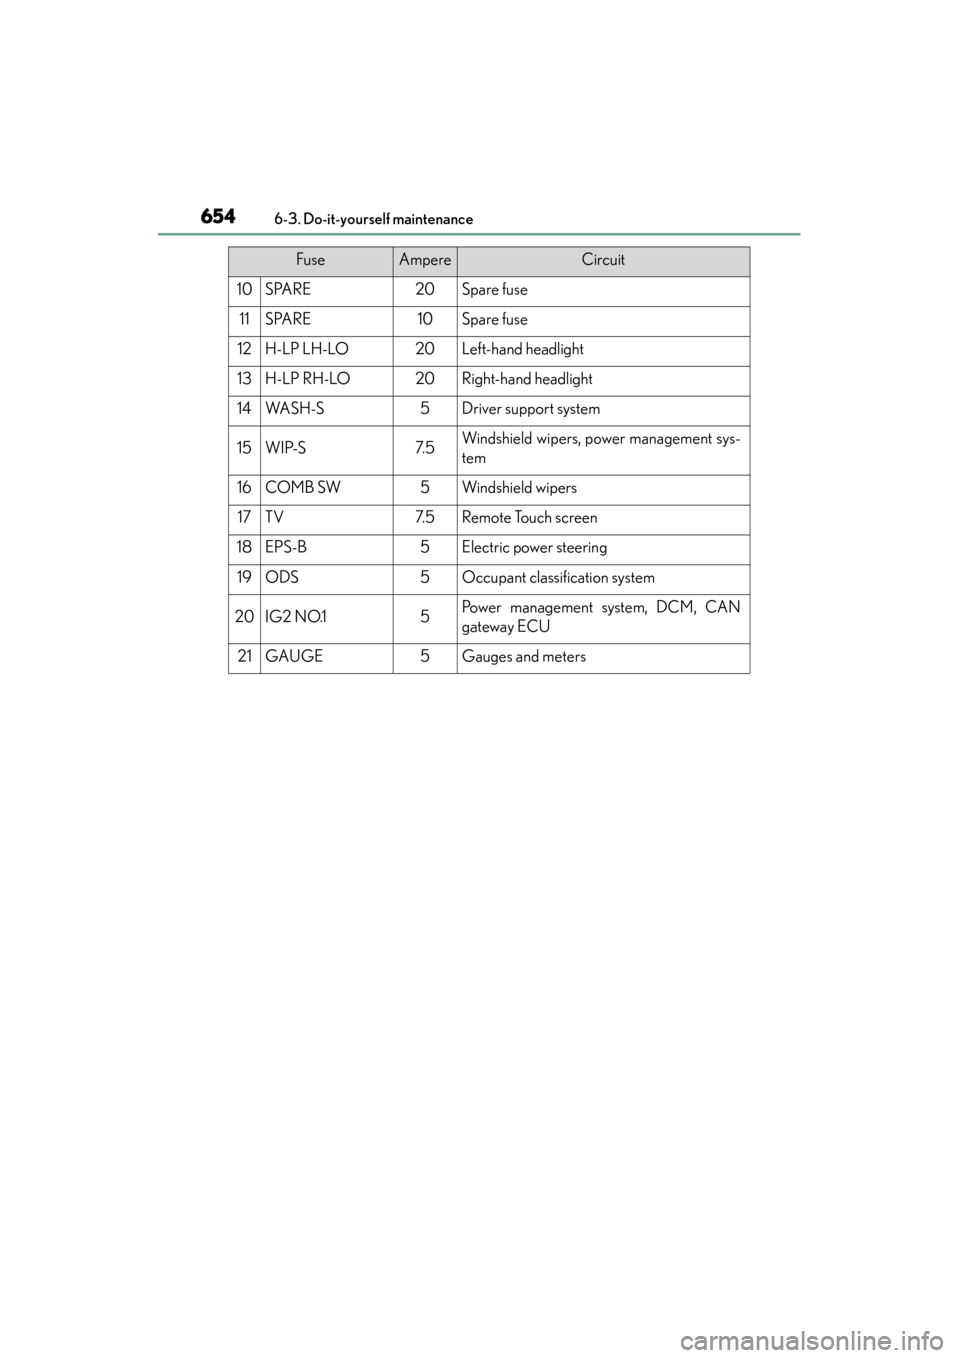
10SPARE20Spare fuse
11SPARE10Spare fuse
12H-LP LH-LO20Left-hand headlight
13H-LP RH-LO20Right-hand headlight
14WA S H - S5Driver support system
15WIP-S7. 5Windshield wipers, power management sys-
tem
16COMB SW5Windshield wipers
17TV7. 5Remote Touch screen
18EPS-B5Electric power steering
19ODS5Occupant classification system
20IG2 NO.15Po w e r m a n a g e m e n t s y s t e m , D C M , C A N
gateway ECU
21GAUGE5Gauges and meters
FuseAmpereCircuit
Page 662 of 830
661
GS350_U (OM30C34U)6-3. Do-it-yourself maintenance
6
Maintenance and care
Headlight aim
Adjustment bolt A
Adjustment bolt B
Make sure the vehicle has a full tank of gasoline and the area around
the headlight is not deformed.
Park the vehicle on level ground.
Sit in the driver’s seat.
Bounce the vehicle several times.
Using a Phillips-head screw-
driver, turn bolt A in either direc-
tion.
Remember the turning direction and
the number of turns.
Vertical movement adjusting bolts
1
2
Before checking the headlight aim
Adjusting the headlight aim
1
2
3
4
1
Page 663 of 830
662
GS350_U (OM30C34U)
6-3. Do-it-yourself maintenance
Turn bolt B the same number of
turns and in the same direction as
step .
If the headlight cannot be adjusted
using this procedure, take the vehicle
to your Lexus dealer to adjust the
headlight aim.
2
1
Page 672 of 830
GS350_U (OM30C34U)
6716-3. Do-it-yourself maintenance
6
Maintenance and care
■Replacing the following bulbs
If any of the lights listed below has burnt out, have it replaced by your
Lexus dealer.
●Headlights
●Parking lights and daytime running lights
●Front side marker lights
●Side turn signal lights
●Stop/tail lights
●Tail lights
●Rear side marker lights
●High mounted stoplight
●License plate lights
●Outer foot lights
■Discharge headlights
If voltage to the discharge bulbs is insufficient, the bulbs may not come on, or may go
out temporarily. The discharge bulbs will come on when normal power is restored.
■LED light bulbs
The lights other than the headlights, fog lights (if equipped), front turn signal lights,
rear turn signal lights, back-up lights and outer foot lights each consist of a number of
LEDs. If any of the LEDs burn out, take your vehicle to your Lexus dealer to have the
light replaced.
■Condensation build-up on the inside of the lens
Contact your Lexus dealer for more information in the following situations. Tempo-
rary condensation build-up on the inside of the headlight lens does not indicate a
malfunction.
●Large drops of water have built up on the inside of the lens.
●Water has built up inside the headlight.
■When replacing light bulbs
→P. 660
Page 673 of 830
672
GS350_U (OM30C34U)
6-3. Do-it-yourself maintenance
CAUTION
■Replacing light bulbs
●Turn off the lights. Do not attempt to replace the bulb immediately after turning
off the lights.
The bulbs become very hot and may cause burns.
●Do not touch the glass portion of the light bulb with bare hands. Hold the bulb by
the plastic or metal portion.
If the bulb is scratched or dropped, it may blow out or crack.
●Fully install light bulbs and any parts used to secure them. Failure to do so may
result in heat damage, fire, or water entering the headlight unit. This may damage
the headlights or cause condensation to build up on the lens.
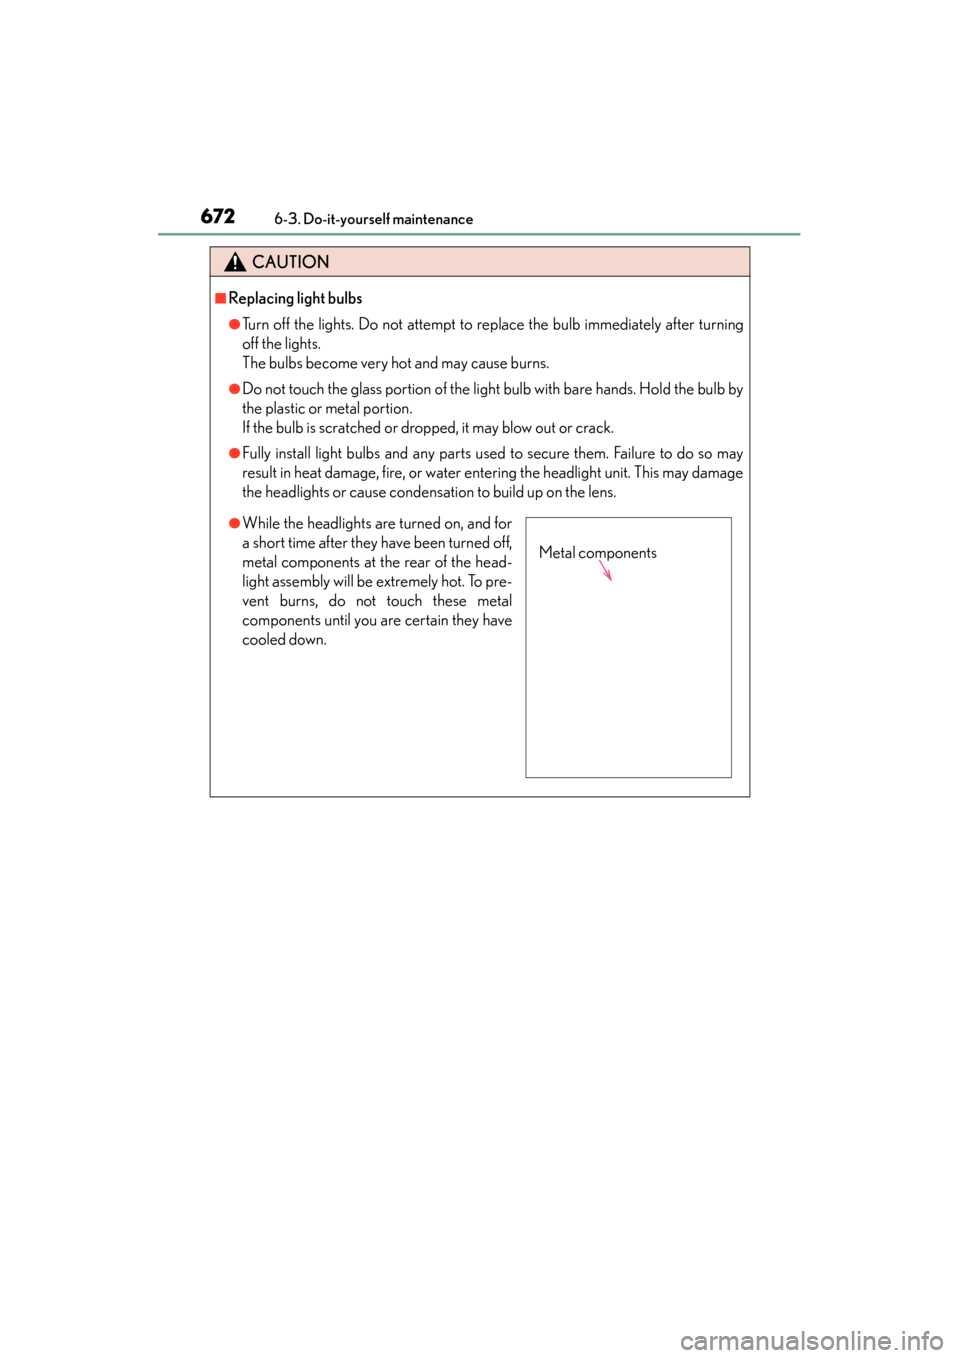
●While the headlights are turned on, and for
a short time after they have been turned off,
metal components at the rear of the head-
light assembly will be extremely hot. To pre-
vent burns, do not touch these metal
components until you are certain they have
cooled down.
Metal components