ESP Lexus GS350 2015 Navigation Manual
[x] Cancel search | Manufacturer: LEXUS, Model Year: 2015, Model line: GS350, Model: Lexus GS350 2015Pages: 383, PDF Size: 46.51 MB
Page 314 of 383

314
1. TELEPHONE OPERATION (HANDS-FREE SYSTEM FOR CELLULAR PHONES)
GS_Navi+MM_OM30F13E_(EE)
15.09.01 14:54
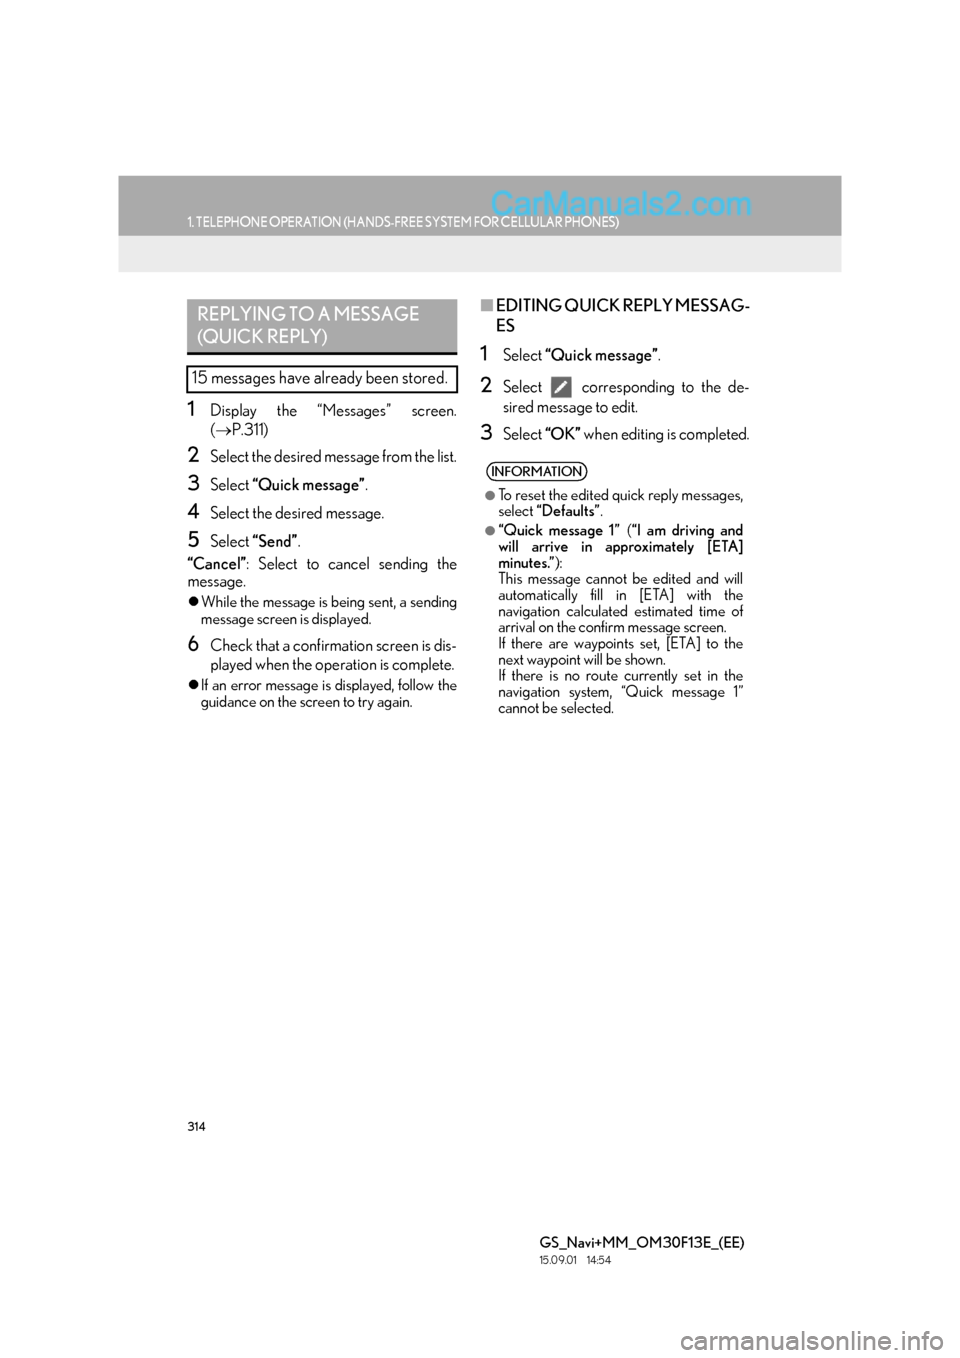
1Display the “Messages” screen.
(→ P.311)
2Select the desired message from the list.
3Select “Quick message” .
4Select the desired message.
5Select “Send” .
“Cancel” : Select to cancel sending the
message.
�z While the message is being sent, a sending
message screen is displayed.
6Check that a confirmation screen is dis-
played when the operation is complete.
�zIf an error message is displayed, follow the
guidance on the screen to try again.
■ EDITING QUICK REPLY MESSAG-
ES
1Select “Quick message” .
2Select corresponding to the de-
sired message to edit.
3Select “OK” when editing is completed.
REPLYING TO A MESSAGE
(QUICK REPLY)
15 messages have already been stored.
INFORMATION
●
To reset the edited quick reply messages,
select “Defaults” .
●“Quick message 1” (“I am driving and
will arrive in approximately [ETA]
minutes.” ):
This message cannot be edited and will
automatically fill in [ETA] with the
navigation calculated estimated time of
arrival on the confirm message screen.
If there are waypoints set, [ETA] to the
next waypoint will be shown.
If there is no route currently set in the
navigation system, “Quick message 1”
cannot be selected.
Page 324 of 383

324
2. SETUP
GS_Navi+MM_OM30F13E_(EE)
15.09.01 14:54
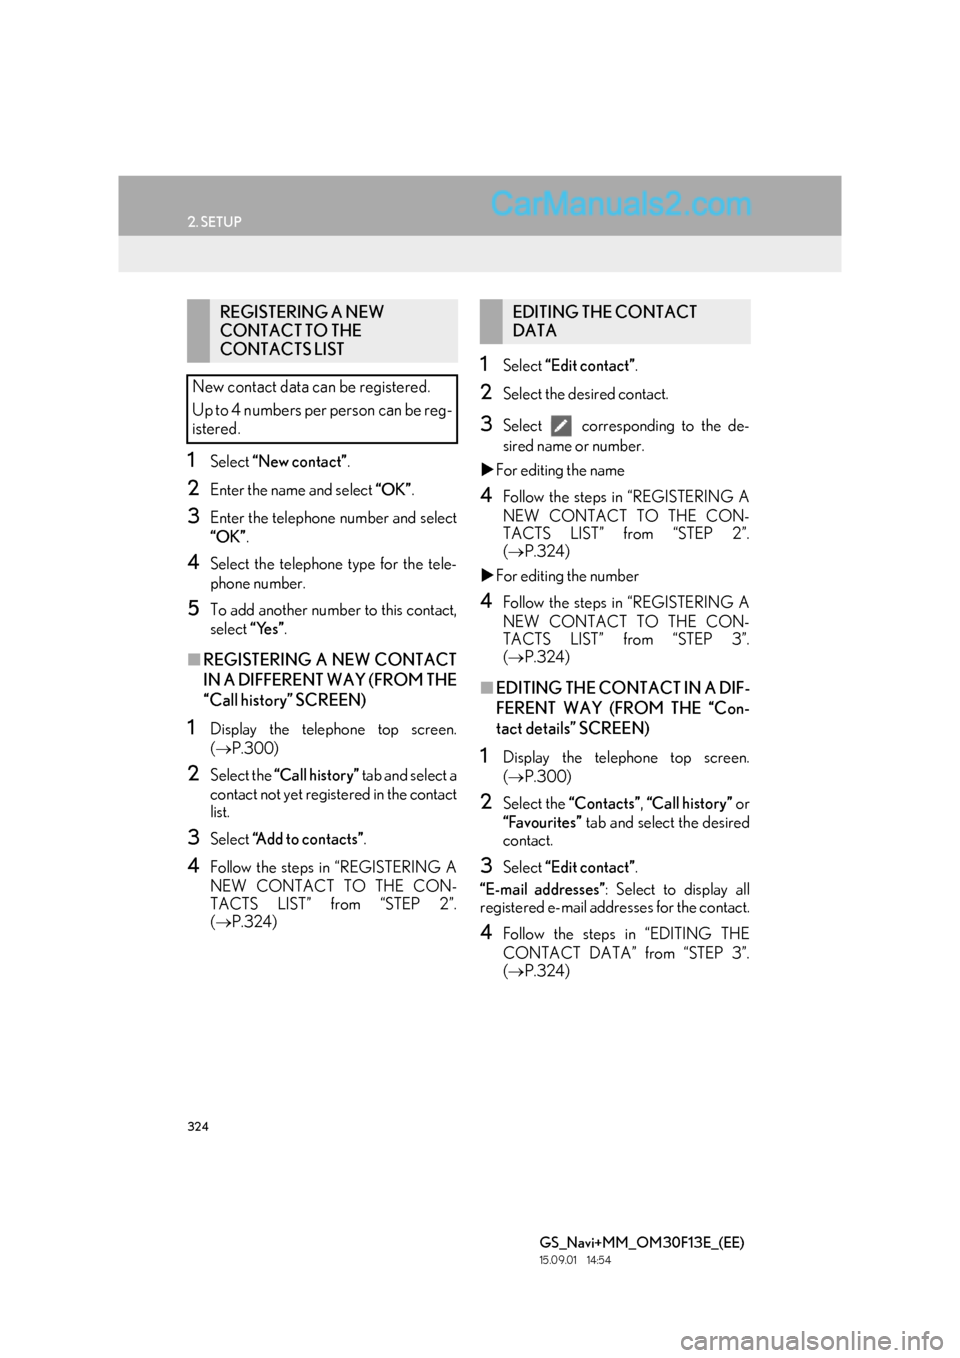
1Select “New contact” .
2Enter the name and select “OK”.
3Enter the telephone number and select
“OK” .
4Select the telephone type for the tele-
phone number.
5To add another number to this contact,
select “Yes”.
■REGISTERING A NEW CONTACT
IN A DIFFERENT WAY (FROM THE
“Call history” SCREEN)
1Display the telephone top screen.
(→ P.300)
2Select the “Call history” tab and select a
contact not yet registered in the contact
list.
3Select “Add to contacts” .
4Follow the steps in “REGISTERING A
NEW CONTACT TO THE CON-
TACTS LIST” from “STEP 2”.
(→ P.324)
1Select “Edit contact” .
2Select the desired contact.
3Select corresponding to the de-
sired name or number.
�X For editing the name
4Follow the steps in “REGISTERING A
NEW CONTACT TO THE CON-
TACTS LIST” from “STEP 2”.
(→ P.324)
�X For editing the number
4Follow the steps in “REGISTERING A
NEW CONTACT TO THE CON-
TACTS LIST” from “STEP 3”.
(→ P.324)
■EDITING THE CONTACT IN A DIF-
FERENT WAY (FROM THE “Con-
tact details” SCREEN)
1Display the telephone top screen.
(→ P.300)
2Select the “Contacts” , “Call history” or
“Favourites” tab and select the desired
contact.
3Select “Edit contact” .
“E-mail addresses” : Select to display all
registered e-mail addresses for the contact.
4Follow the steps in “EDITING THE
CONTACT DATA” from “STEP 3”.
( → P.324)
REGISTERING A NEW
CONTACT TO THE
CONTACTS LIST
New contact data can be registered.
Up to 4 numbers per person can be reg-
istered.EDITING THE CONTACT
DATA
Page 368 of 383

368
1. 12.3-INCH DISPLAY OPERATION
GS_Navi+MM_OM30F13E_(EE)
15.09.01 14:54
�XCalling on the Bluetooth phone
→ P.300
�X Incoming calls
→ P.307
�X Incoming call waiting
→ P.310
�X Talking on the Bluetooth
phone
→ P.308
■DISPLAYING ON THE MAIN DIS-
PLAY
1Select .
HANDS-FREE SYSTEM
(FOR CELLULAR PHONE)
The following functions can also be dis-
played and operated on the side display.
For details about these functions, refer
to the respective section.
INFORMATION
●
If side display is selected for any of the
functions above and the function is acti-
vated, the status bar will be displayed on
the side display. For details about the sta-
tus bar:
→P.1 6
The screen can be displayed on the main
display when carrying out an operation
that cannot be conducted on the side
display.
INFORMATION
●
Operation is still possible using the steer-
ing telephone switch even if the tele-
phone screen is hidden behind another
interruption screen. If the operation is
conducted using a steering switch, the
telephone screen will automatically be
brought to the front.
For details on operat ing the steering tele-
phone switch and the main display:
→ P. 2 9 4
Page 376 of 383

376
GS_Navi+MM_OM30F13E_(EE)
15.09.01 14:53
END-USER LICENSE AGREEMENT
END-USER TERMS
The content provided by HERE (“Data”) is licensed, not sold. By opening this package, or installing,
copying, or otherwise using the Data, you agree to be bound by the terms of this agreement.
The Data is provided for your personal, internal use only and may not be resold. It is protected by
copyright, and is subject to the following terms (this “End User License Agreement”) and conditions
which are agreed to by you, on the one hand, and HERE and its licensors (including their licensors
and suppliers) on the other hand. For purposes of these terms, “HERE” shall mean (a) HERE North
America, LLC with respect to Data for the Americas and/or the Asia Pacific region and (b) HERE
Europe B.V. for Data for Europe, the Middle East and/or Africa.
The Data includes certain information and related content provided under license to HERE from
third parties and is subject to the applicable supp lier terms and copyright notices set forth at the
following URL: http://corporate.navteq.com/supplier_terms.html
.
TERMS AND CONDITIONS
License Limitations on Use: You agree that your license to use this Data is limited to and
conditioned on use for solely personal, noncommercial purposes, and not for service bureau,
timesharing or other similar purposes. Except as otherwise set forth herein, you agree not to
otherwise reproduce, copy, modify, decompile, disa ssemble or reverse engineer any portion of this
Data, and may not transfer or distribute it in any form, for any purpose, except to the extent
permitted by mandatory laws.
License Limitations on Transfer: Your limited license does not allow transfer or resale of the Data,
except on the condition that you may transfer the Data and all accompanying materials on a
permanent basis if: (a) you retain no copies of the Data; (b) the recipient agrees to the terms of this
End-User License Agreement; and (c) you transfer the Data in the exact same form as you
purchased it by physically transferring the original media (e.g., the CD-ROM or DVD you
purchased), all original packaging, all Manuals and other documentation. Specifically, Multi-disc
sets may only be transferred or sold as a complete set as provided to you and not as a subset
thereof.
Additional License Limitations: Except where you have been specifically licensed to do so by
HERE in a separate written agreement, and without limiting the preceding paragraph, your license
is conditioned on use of the Data as prescribed in this agreement, and you may not (a) use this Data
with any products, systems, or applications installed or otherwise connected to or in
communication with vehicles capable of vehicle na vigation, positioning, dispatch, real time route
guidance, fleet management or similar applications; or (b) with, or in communication with, including
without limitation, cellular phones, palmtop and hand held computers, pagers, and personal digital -
assistants or PDAs.
Map database information and updates
Page 377 of 383

377
GS_Navi+MM_OM30F13E_(EE)
15.09.01 14:53
Wa r n i n g : This Data may contain inaccurate or incomplete information due to the passage of time,
changing circumstances, sources used and the nature of collecting comprehensive geographic
Data, any of which may lead to incorrect results.
No Warranty: This Data is provided to you “as is”, and you agree to use it at your own risk. HERE
and its licensors (and their licensors and supp liers) make no guarantees, representations or
warranties of any kind, express or implied, arising by law or otherwise, including but not limited to,
content, quality, accuracy, complete ness, effectiveness, reliability, fitness for a particular purpose,
usefulness, use or results to be obtained from this Data, or that the Data or server will be
uninterrupted or error-free.
Disclaimer of Warranty: HERE AND ITS LICENSORS (I NCLUDING THEIR LICENSORS
AND SUPPLIERS) DISCLAIM ANY WARRANTIES, EXPRESS OR IMPLIED, OF QUALITY,
PERFORMANCE, MERCHANTABILITY, FITNESS FOR A PARTICULAR PURPOSE OR
NON-INFRINGEMENT. Some States, Territories and Countries do not allow certain warranty
exclusions, so to that extent the above exclusion may not apply to you.
Disclaimer of Liability: HERE AND ITS LICENSORS (INCLUDING THEIR LICENSORS AND
SUPPLIERS) SHALL NOT BE LIABLE TO YOU IN RESPECT OF ANY CLAIM, DEMAND OR
ACTION, IRRESPECTIVE OF THE NATURE OF THE CAUSE OF THE CLAIM, DEMAND OR
ACTION ALLEGING ANY LOSS, INJURY OR DAMAGES, DIRECT OR INDIRECT, WHICH
MAY RESULT FROM THE USE OR POSSESSION OF THIS DATA; OR FOR ANY LOSS OF
PROFIT, REVENUE, CONTRACTS OR SAVINGS, OR ANY OTHER DIRECT, INDIRECT,
INCIDENTAL, SPECIAL OR CONSEQUENTIAL DAMAGES ARISING OUT OF YOUR
USE OF OR INABILITY TO USE THIS DATA, ANY DEFECT IN THIS DATA, OR THE
BREACH OF THESE TERMS OR CONDITIONS, WHETHER IN AN ACTION IN
CONTRACT OR TORT OR BASED ON A WARRANTY, EVEN IF HERE OR ITS LICENSORS
HAVE BEEN ADVISED OF THE POSSIBILITY OF SUCH DAMAGES. Some States, Territories
and Countries do not allow certain liability exclusions or damages limitations, so to that extent the
above may not apply to you.
Export Control: You agree not to export from anywhere an y part of the Data or any direct product
thereof except in compliance with, and with all licenses and approvals required under, applicable
export laws, rules and regulation s, including but not limited to the laws, rules and regulations
administered by the Office of Foreign Assets Control of the U.S. Department of Commerce and
the Bureau of Industry and Security of the U.S. Department of Commerce. To the extent that any
such export laws, rules or regulations prohibit HERE from complying with any of its obligations
hereunder to deliver or distribute Data, such failure shall be excused and shall not constitute a
breach of this Agreement.
Entire Agreement: These terms and conditions constitute the entire agreement between HERE
(and its licensors, including their licensors and suppliers) and you pertaining to the subject matter
hereof, and supersedes in their entirety any and al l written or oral agreements previously existing
between us with respect to such subject matter.
Severability: You and HERE agree that if any portion of this agreement is found illegal or
unenforceable, that portion shall be severed and the remainder of the Agreement shall be given full
force and effect.