display Lexus GS450h 2007 Using the audio system / LEXUS 2007 GS450H FROM JULY 2006 PROD. (OM30A05U) User Guide
[x] Cancel search | Manufacturer: LEXUS, Model Year: 2007, Model line: GS450h, Model: Lexus GS450h 2007Pages: 548, PDF Size: 16.31 MB
Page 39 of 548

19
1-3. Opening, closing and locking the doors and trunk
1
Before driving
■Alarms and warning indicators
A combination of exterior and interior alarms as well as warnings displayed on the
multi-information display are used to prevent theft of the vehicle and unforeseeable
accidents resulting from erroneous operation. Take appropriate measures in
response to any warning indications on the multi-information display. (P. 4 4 9 )
The following table describes circumstances and correction procedures when only
alarms are sounded.
AlarmSituationCorrection procedure
Exterior alarm
sounds once for 2
seconds
Tried to lock the doors using
the entry function while the
electronic key is still inside
the passenger compartmentRetrieve the electronic
key from the passenger
compartment and lock
the doors again.
Tried to exit the vehicle with
the electronic key and lock
the doors without first turning
the power switch “OFF”Tu r n t h e p o w e r s w i t c h
“OFF” and lock the
doors again.
Closed the trunk while the
electronic key is still inside
and all doors are lockedRetrieve the electronic
key from the trunk and
close the trunk lid.
Exterior alarm
sounds once for 10
secondsTried to lock the vehicle using
the entry function while a
door is openClose all of the doors
and lock the doors
again.
Interior alarm
sounds continu-
ouslyTried to open the door and
exit the vehicle without shift-
ing the shift lever to “P”Shift the shift lever to
“P”.
Page 105 of 548

85
1
1-8. Safety information
Before driving
Installing child restraints
Follow the child restraint system manufacturer's instructions. Firmly
secure child restraints to the outboard rear seats using a seat belt or a child
restraint lower anchor belt. Attach the top strap when installing a child
restraint.
Seat belts equipped with a
child restraint locking mecha-
nism (ALR/ELR belts except
driver’s seat belt) ( P. 4 2 )
Child restraint lower anchor-
ages
Lower anchorages are pro-
vided for the outboard rear
seats. (Buttons displaying the
location of the anchorages are
attached to the seats.)
Anchor bracket
(for top strap)
Anchor brackets are provided
for all rear seats.
Page 115 of 548

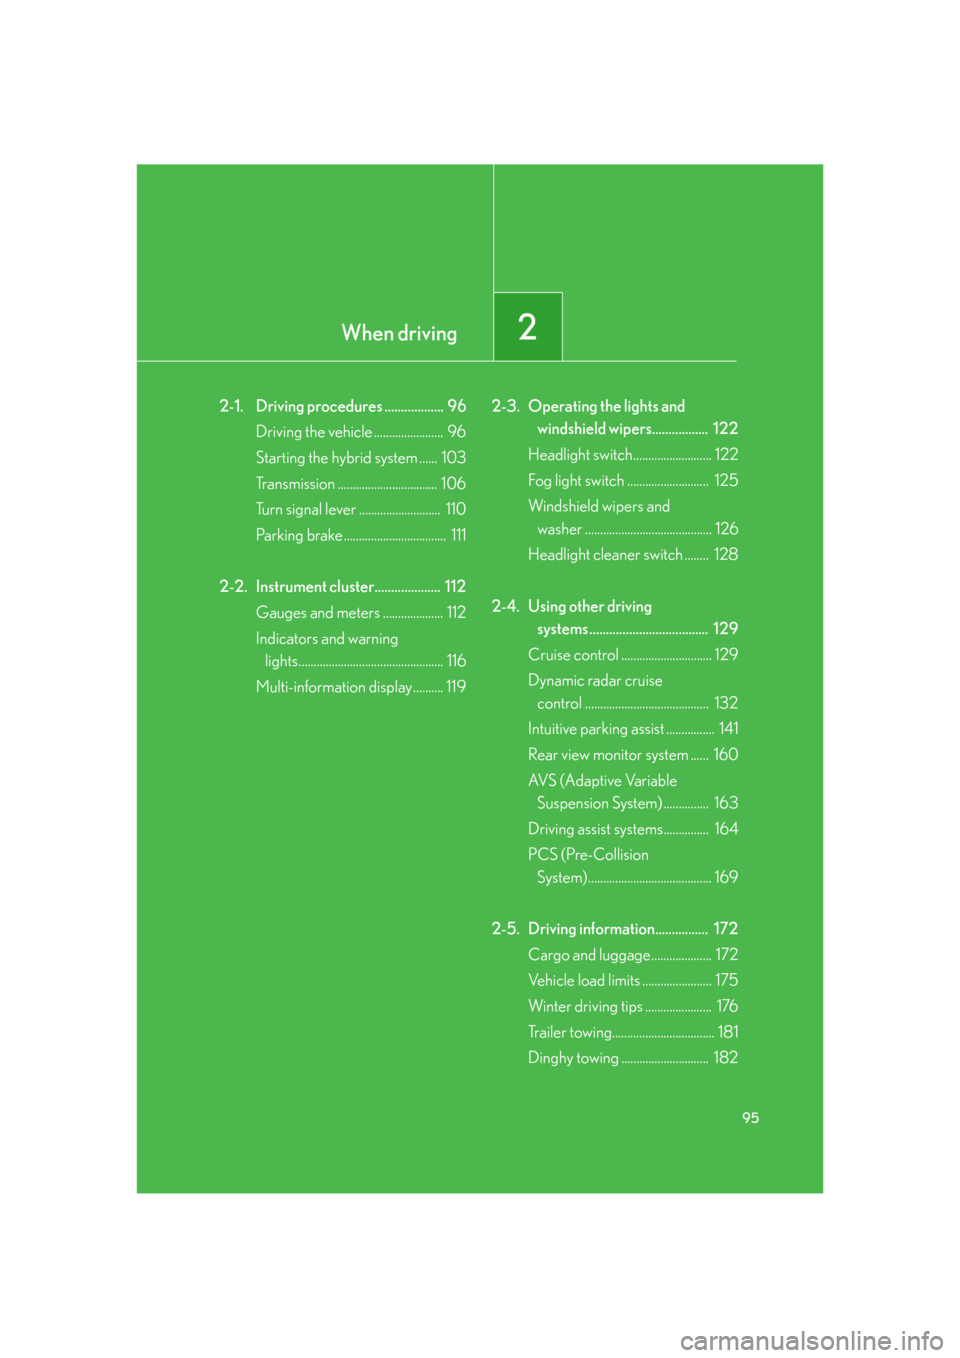
When driving2
95
2-1. Driving procedures .................. 96Driving the vehicle ....................... 96
Starting the hybrid system ...... 103
Transmission ................................. 106
Turn signal lever ........................... 110
Parking brake .................................. 111
2-2. Instrument cluster.................... 112 Gauges and meters .................... 112
Indicators and warning
lights................................................ 116
Multi-information display.......... 119 2-3. Operating the lights and
windshield wipers................. 122
Headlight switch.......................... 122
Fog light switch ........................... 125
Windshield wipers and
washer .......................................... 126
Headlight cleaner switch ........ 128
2-4. Using other driving
systems .................................... 129
Cruise control .............................. 129
Dynamic radar cruise
control ......................................... 132
Intuitive parking assist ................ 141
Rear view monitor system ...... 160
AVS (Adaptive Variable
Suspension System) ............... 163
Driving assist systems............... 164
PCS (Pre-Collision
System)......................................... 169
2-5. Driving information................ 172 Cargo and luggage.................... 172
Vehicle load limits ....................... 175
Winter driving tips ...................... 176
Trailer towing.................................. 181
Dinghy towing ............................. 182
Page 132 of 548

112
2-2. Instrument cluster
Gauges and meters
The units used on the speedometer may differ depending on the target
region.
The following gauges, meters and display illuminate when the power
switch is in “IG-ON” mode.
Power meter
Displays the instantaneous output from the hybrid system is approximate
kilowatts.
Speedometer
Displays the vehicle speed.
Fuel gauge
Displays the quantity of fuel remaining in the tank.
Engine coolant temperature gauge
Displays the engine coolant temperature.
Multi-information display
P. 1 1 9
Page 133 of 548

113
2-2. Instrument cluster
2
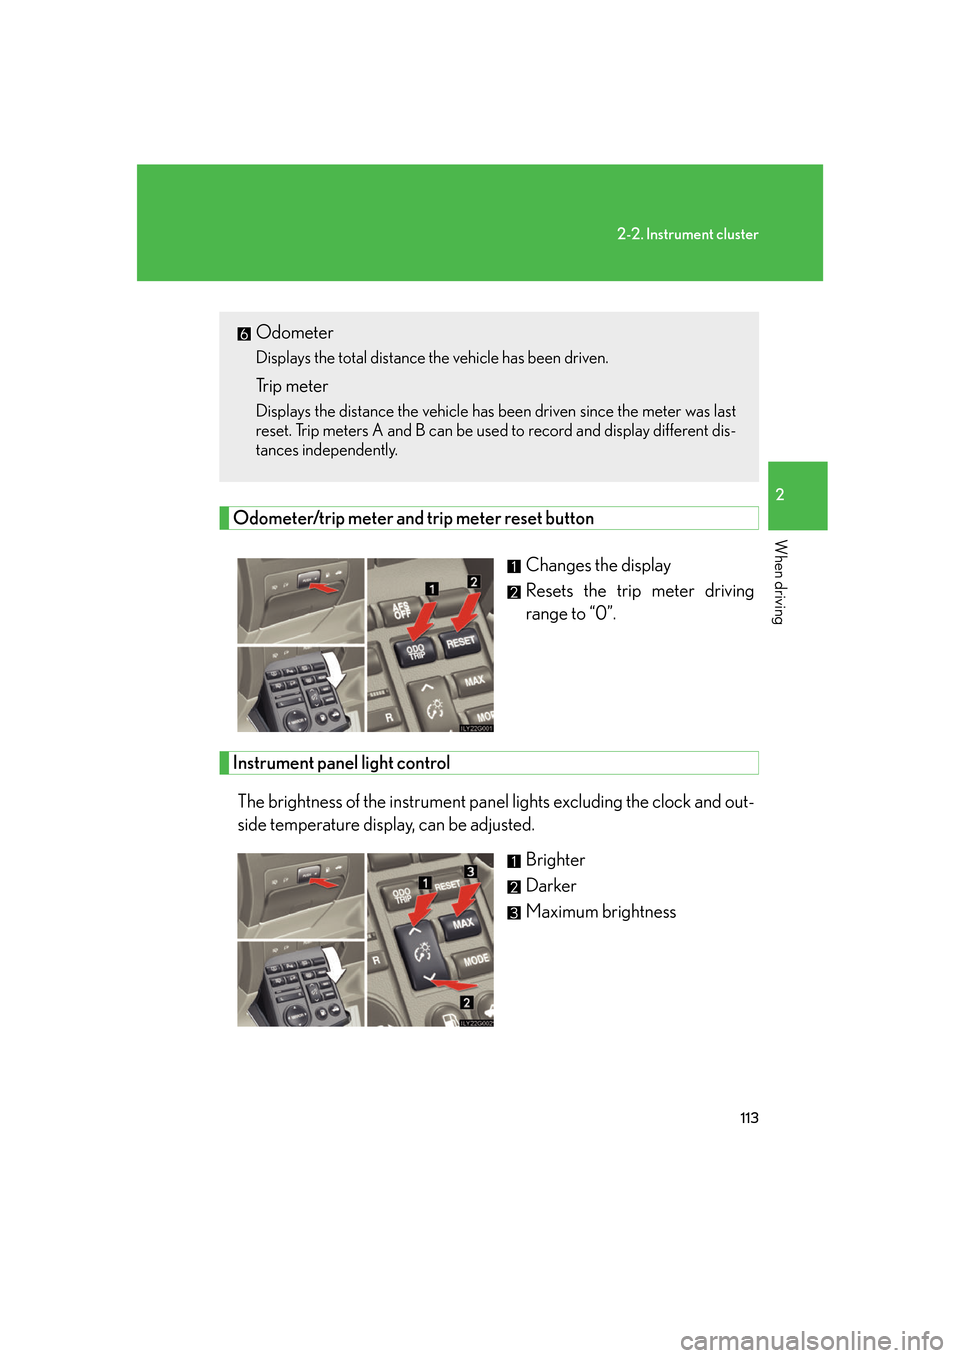
When drivingOdometer/trip meter and trip meter reset buttonChanges the display
Resets the trip meter driving
range to “0”.
Instrument panel light controlThe brightness of the instrument panel lights excluding the clock and out-
side temperature display, can be adjusted. Brighter
Darker
Maximum brightness
Odometer
Displays the total distance the vehicle has been driven.
Trip meter
Displays the distance the vehicle has been driven since the meter was last
reset. Trip meters A and B can be used to record and display different dis-
tances independently.
Page 134 of 548

114
2-2. Instrument cluster
Light sensitive optitron meterTo reduce glare or reflection of th e instrument cluster, the cluster glass is
tinted automatically or manually. You can select a setting from 7 modes.
Display the present setting, then
change the mode.
To change the mode, press the but-
ton once and then again within 6
seconds.
Each time you press the button, the
mode changes in the following
order;
1. “AUTO - Norm”
2. “AUTO - Lo”
3. “AUTO - Hi”
4. “MANUAL - 1”
5. “MANUAL - 2”
6. “MANUAL - 3”
7. “ M A N U A L - 4 ”
Mode 1 to 3: The cluster glass tint
will be adjusted automatically
depending on the intensity of sun-
light in the surrounding.
Mode 4 to 7: The cluster glass tint
will be fixed when a certain level of
sunlight is reached in the surround-
ing.
(“Norm” to “Hi”, “1” to “4” referring
to the level of cluster glass tint.)
Page 139 of 548

119
2-2. Instrument cluster
2
When driving
Multi-information display
The multi-information display presents the driver with a variety of driving-
related data, including the status of the hybrid system.
●Energy monitor ( P. 6 )
Displays the status of the hybrid
system.
●Trip information ( P. 120)
Displays driving range, fuel con-
sumption and other cruising
related information.
●Intuitive parking assist dis-
play (if equipped) ( P. 143)
Automatically displayed when
using intuitive parking assist.
●Dynamic radar cruise con-
trol display (if equipped)
( P. 1 3 2 )
Automatically displayed when
using dynamic radar cruise con-
trol.
●Warning messages
( P. 444)
Automatically displayed when a
malfunction occurs in one of the
vehicle’s systems.
Page 140 of 548

120
2-2. Instrument cluster
Trip information■ Driving range
■ Average fuel consumption after refueling
■ Current fuel consumption
Displays the estimated maximum distance that can
be driven with the quantity of fuel remaining.
This distance is computed based on your average fuel
consumption. As a result, the actual distance that can be
driven may differ from that displayed.
Displays the average fuel consumption since the
vehicle was last refueled.
Displays the current rate of fuel consumption.
Display items can be switched
by pushing the “DISP” switch.
Page 141 of 548

121
2-2. Instrument cluster
2
When driving
■Average vehicle speed
Displays the average vehicl e speed since the hybrid
system was last started.
■System check display
The “LEXUS HYBRID DRIVE” message is displayed 3 seconds after the power
switch is set to the “IG-ON ” mode. At this time a systems check is conducted, and
the normal display is shown upon su ccessful completion of this check.
CAUTION
■The multi-information display at low temperatures
Allow the interior of the vehicle to warm up before using the liquid crystal informa-
tion display. At extremely low temperatures, the information display monitor may
respond slowly, and display changes may be delayed.
Page 153 of 548

133
2-4. Using other driving systems
2
When driving
■Driving in the selected cruise control mode
Accelerate or decelerate to the
desired speed and press the
lever down to set.
■ Adjusting the speed setting
Increase speed
Decrease speed
Hold the lever until the desired
speed setting is displayed.
In the constant speed control
mode, fine adjustment of the set
speed (approximately 1.0 mph
[1.6 km/h]) can be made by
lightly pressing the lever up or
down and releasing it.
■Canceling and resuming the speed setting
Cancel
Push the lever towards you to
cancel cruise control.
The setting is also canceled
when the brake pedal is
depressed.
Resume
To resume cruise control and
return to the set speed, push the
lever up.