buttons Lexus GS450h 2007 Using the hands-free system (for cellular phone) / LEXUS 2007 GS450H THROUGH JUNE 2006 PROD. QUICK REFERENCE MANUAL
[x] Cancel search | Manufacturer: LEXUS, Model Year: 2007, Model line: GS450h, Model: Lexus GS450h 2007Pages: 58, PDF Size: 2.58 MB
Page 1 of 58

1
When Driving
To p i c 3
Overview
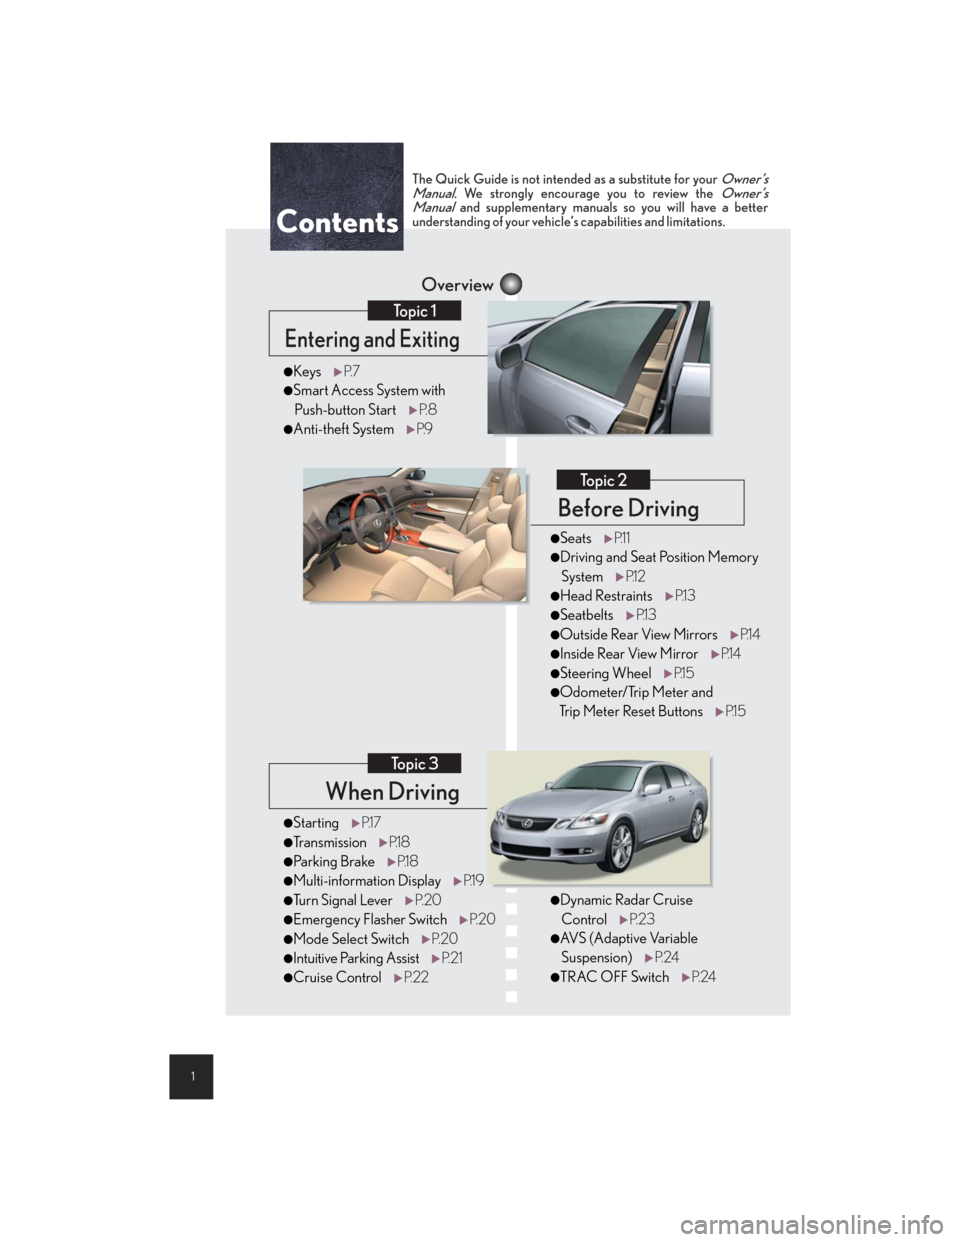
Contents
Entering and Exiting
To p i c 1
Before Driving
To p i c 2
lStartingP.1 7
lTransmissionP.1 8
lPa r k i n g B ra keP.1 8
lMulti-information DisplayP.1 9
lTu r n S i g n a l L e v e rP. 2 0
lEmergency Flasher SwitchP. 2 0
lMode Select SwitchP. 2 0
lIntuitive Parking AssistP. 2 1
lCruise ControlP. 2 2
lKeysP. 7
lSmart Access System with
Push-button StartP. 8
lAnti-theft SystemP.9
The Quick Guide is not intended as a substitute for your Owner’s
Manual. We strongly encourage you to review the Owner’s
Manual and supplementary manuals so you will have a better
understanding of your vehicle’s capabilities and limitations.
lDynamic Radar Cruise
ControlP. 2 3
lAVS (Adaptive Variable
Suspension)P. 2 4
lTRAC OFF SwitchP. 2 4
lSeatsP.1 1
lDriving and Seat Position Memory
SystemP.1 2
lHead RestraintsP.1 3
lSeatbeltsP.1 3
lOutside Rear View MirrorsP.1 4
lInside Rear View MirrorP.1 4
lSteering WheelP.1 5
lOdometer/Trip Meter and
Trip Meter Reset ButtonsP.1 5
Page 5 of 58

5
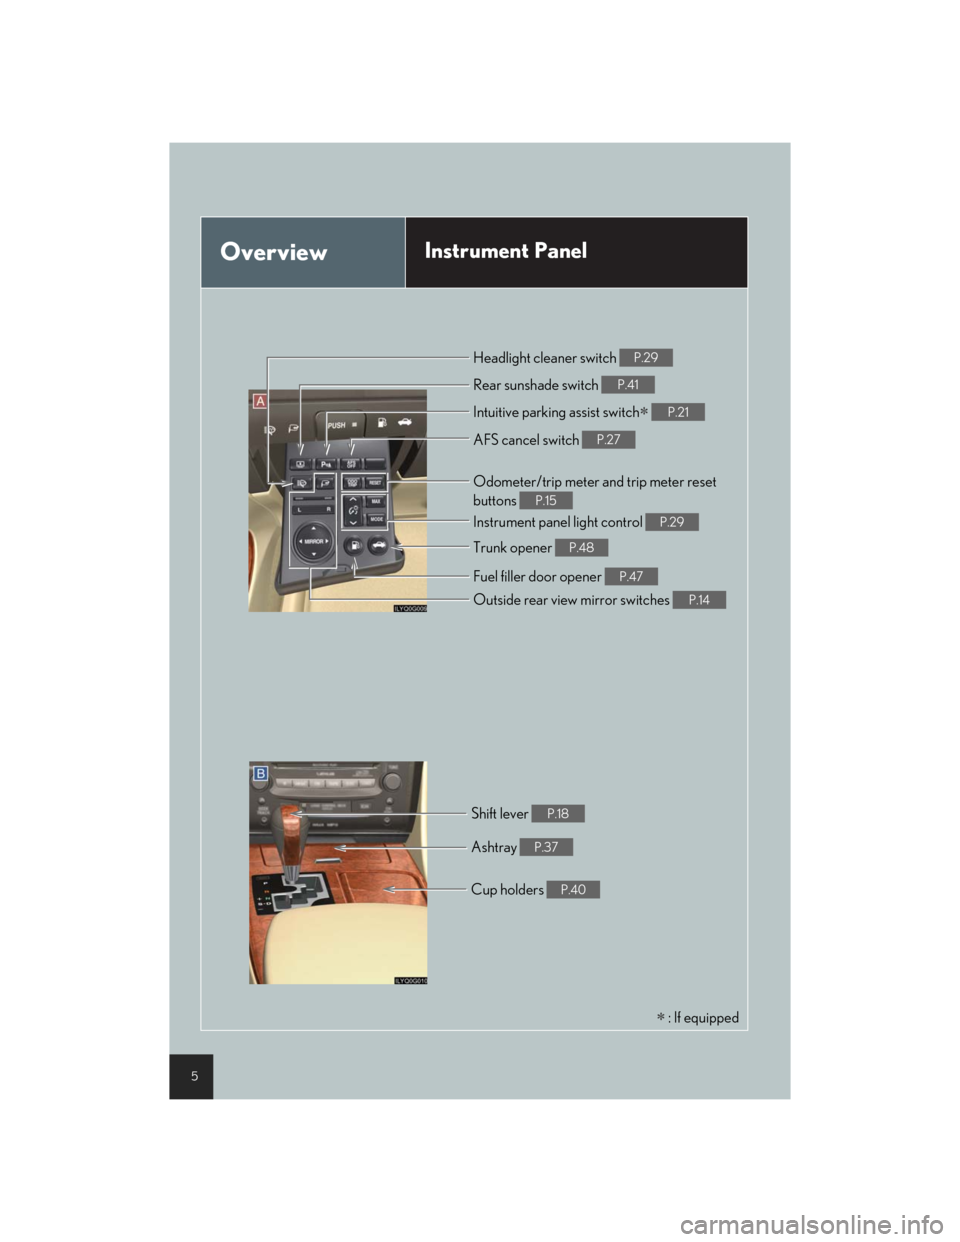
OverviewInstrument Panel
∗ : If equipped Intuitive parking assist switch
∗ P.21
Rear sunshade switch P.41
Instrument panel light control P.29
Trunk opener P.48
Odometer/trip meter and trip meter reset
buttons
P.15
Cup holders P.40
Shift lever P.18
Headlight cleaner switch P.29
AFS cancel switch P.27
Fuel filler door opener P.47
Outside rear view mirror switches P.14
Ashtray P.37
Page 10 of 58

Before DrivingTo p i c 2
Seats ........................................................................... 11
Driving and Seat Position Memory System... 12
Head Restraints ..................................................... 13
Seatbelts................................................................... 13
Outside Rear View Mirrors ............................... 14
Inside Rear View Mirror...................................... 14
Steering Wheel ...................................................... 15
Odometer/Trip Meter and Trip Meter Reset
Buttons ...................................................................... 15
Page 12 of 58

Topic 2
Before Driving
12
Entering and Exiting
Before Driving
When Driving
Rain and
Night Driving
Driving Comfort
Opening and Closing
What to do if ...
Customizing
Yo u r L e x u s
Driving and Seat Position Memory System (If Equipped)
nSetting memory positions
While holding down the SET button, press and
hold one of the memory buttons (1, 2, or 3) until
you hear a beep.
The current position of the driver’s or front pas-
senger’s seat, the outside rear view mirror and the
steering wheel (driver’s side only) are stored.
nRecalling memory positions
Press one of the memory buttons (1, 2, or 3).
nLinking driving position memory with door unlock operation
(driver's seat only)
While holding down the desired memory button,
press and hold either the or button on
the wireless remote control until you hear a beep.
The seats can be returned to a previously set position by simply pressing a button.
The position of the steering wheel and the outside rear view mirrors is adjusted along with the
driver's seat.
Positions can be conveniently stored for the vehicle's primary drivers and passengers.
Linking driving position memory to the door unlock operation allows the memory position
to be recalled automatically when the driver's door is opened. (The linked function does not
operate if the driver's door is unlocked using the mechanical key or manually from inside
the vehicle.)
Page 15 of 58

Topic 2
Before Driving
15
Steering Wheel
Up
Down
Away from the driver
Toward the driver
Odometer/Trip Meter and Trip Meter Reset
Buttons
Changes the display.
Resets the trip meter driving range to 0.
1
2
3
4
The steering wheel retracts automatically when the power switch is turned OFF to allow for
easy exit and entry. The steering wheel returns automatically to its previously set position
when the power switch is switched to ACC or IG-ON mode.
1
2