service reset Lexus GX460 2010 Navigation Manual
[x] Cancel search | Manufacturer: LEXUS, Model Year: 2010, Model line: GX460, Model: Lexus GX460 2010Pages: 428, PDF Size: 6.27 MB
Page 22 of 428

21
7“Address Book”
The desired location can be selected from
a registered entry in the “Address book”.
(To register address book entries, see “(a)
Registering address book entries” on page
117.) 77 ............................
8“Emergency”
One of the four categories of emergency
service points that are already stored in the
system’s database can be selected. 77
.................................
9“Intersection & Freeway”
The names of two intersecting streets or a
freeway (interstate) entrance or exit can be
entered. This is helpful if only the general
vicinity, not the specific address, is known. 78
.................................
10“Map”
A destination can be selected simply by
touching the location on the displayed
map. 81 ............................
11“Coordinates”
A destination can be set using latitudes
and longitudes as coordinates. 82 .....
12Preset destination buttons
One of 5 preset destination points can be
selected by touching the screen directly. If
a preset destination point has not been
registered, a message will be displayed
and the setting screen will automatically
appear. To use this function, it is neces-
sary to set the “Preset Destination”. (To
register a “Preset Destination”, see “(a)
Registering preset destinations” on page
114.) 64 ............................
13“Go Home”
A personal home address can be selected
without entering the address each time. If
“Home” has not been registered, a mes-
sage will be displayed and the setting
screen will automatically appear. To use
this function, it is necessary to set a
“Home” address. (To register “Home”, see
“(a) Registering home” on page 111.) 64
.................................
GX460 Navi (U)
OM60E73U
09.09.24
Page 397 of 428

SETUP
396
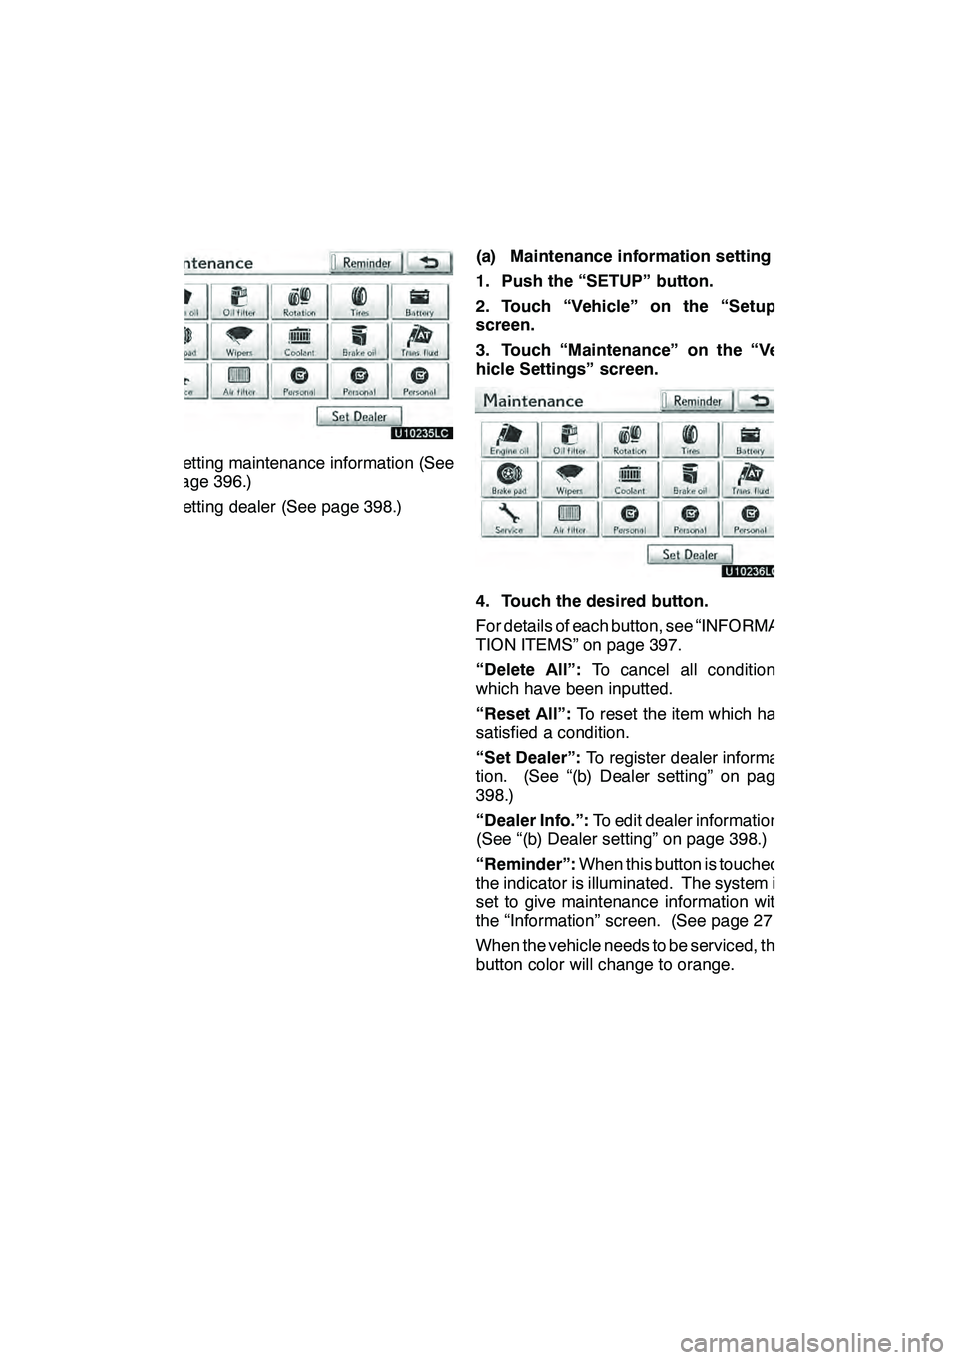
DSetting maintenance information (See
page 396.)
DSetting dealer (See page 398.)(a) Maintenance information setting
1. Push the “SETUP” button.
2. Touch “Vehicle” on the “Setup”
screen.
3. Touch “Maintenance” on the “Ve-
hicle Settings” screen.
4. Touch the desired button.
For details of each button, see “INFORMA-
TION ITEMS” on page 397.
“Delete All”:
To cancel all conditions
which have been inputted.
“Reset All”: To reset the item which has
satisfied a condition.
“Set Dealer”: To register dealer informa-
tion. (See “(b) Dealer setting” on page
398.)
“Dealer Info.”: To edit dealer information.
(See “(b) Dealer setting” on page 398.)
“Reminder”: When this button is touched,
the indicator is illuminated. The system is
set to give maintenance information with
the “Information” screen. (See page 27.)
When the vehicle needs to be serviced, the
button color will change to orange.
GX460 Navi (U)
OM60E73U
Finish
09.09.24
Page 398 of 428

SETUP
397
INFORMATION ITEMS
“Engine oil”:Replace engine oil
“Oil filter”: Replace engine oil filter
“Rotation”: Rotate tires
“Tires”: Replace tires
“Battery”: Replace battery
“Brake pad”: Replace brake linings
“Wipers”: Replace wiper blades
“Coolant”: Replace engine coolant
“Brake oil”: Replace brake fluid
“Trans. fluid”: Replace transmission fluid
“Service”: Scheduled maintenance
“Air filter”: Replace air filter
“Personal”: New information items can
be created separately from provided ones.
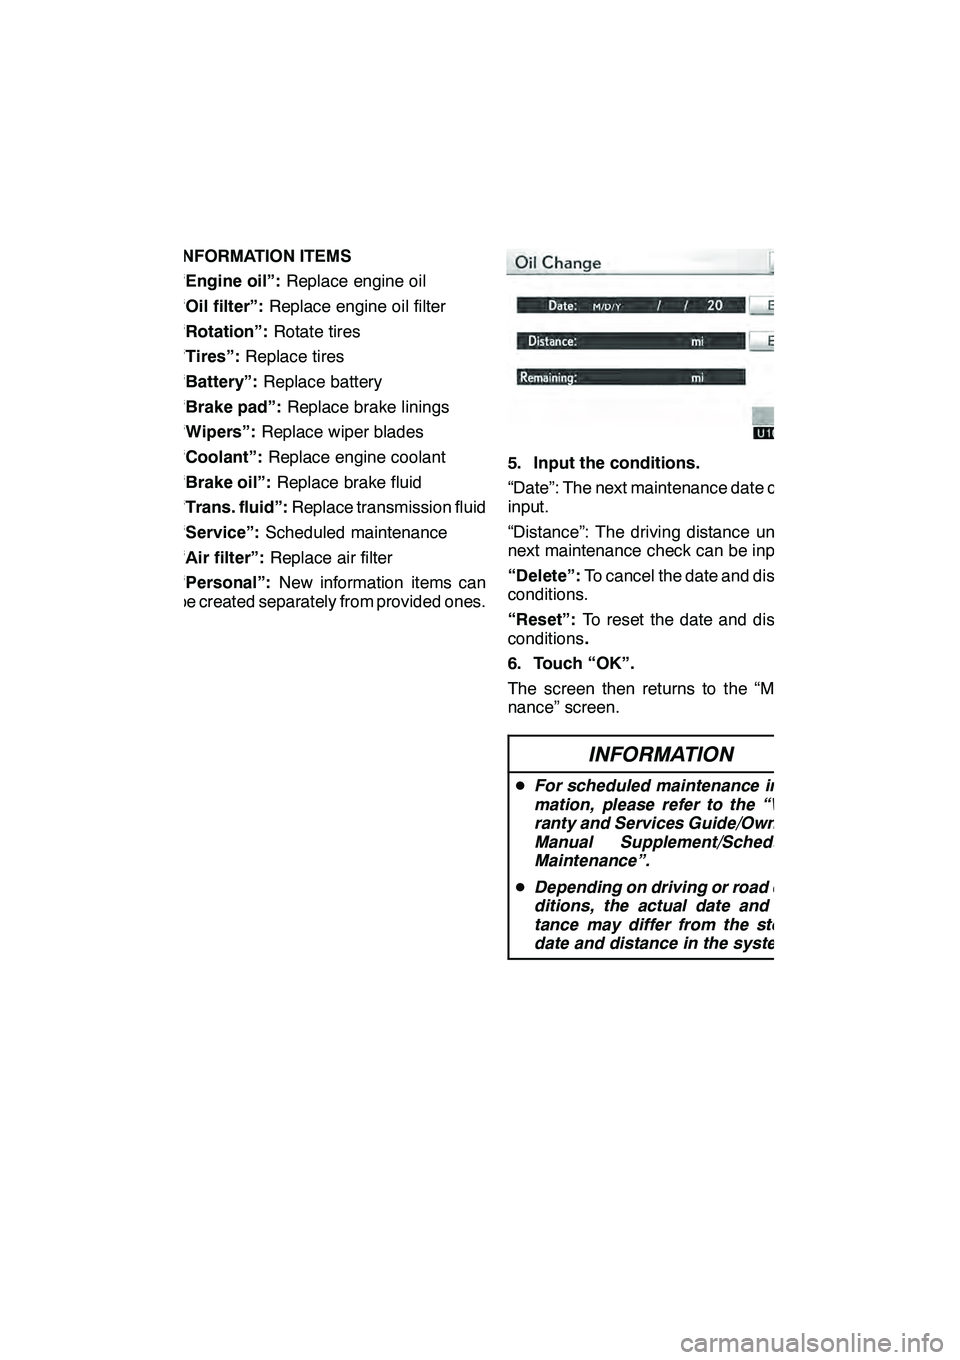
5. Input the conditions.
“Date”: The next maintenance date can be
input.
“Distance”: The driving distance until the
next maintenance check can be input.
“Delete”: To cancel the date and distance
conditions.
“Reset”: To reset the date and distance
conditions .
6. Touch “OK”.
The screen then returns to the “Mainte-
nance” screen.
INFORMATION
D For scheduled maintenance infor-
mation, please refer to the “War-
ranty and Services Guide/Owner’s
Manual Supplement/Scheduled
Maintenance”.
D Depending on driving or road con-
ditions, the actual date and dis-
tance may differ from the stored
date and distance in the system.
GX460 Navi (U)
OM60E73U
Finish
09.09.24
11