Fuel door Lexus GX460 2015 Owner's Manual
[x] Cancel search | Manufacturer: LEXUS, Model Year: 2015, Model line: GX460, Model: Lexus GX460 2015Pages: 634, PDF Size: 19.09 MB
Page 3 of 634
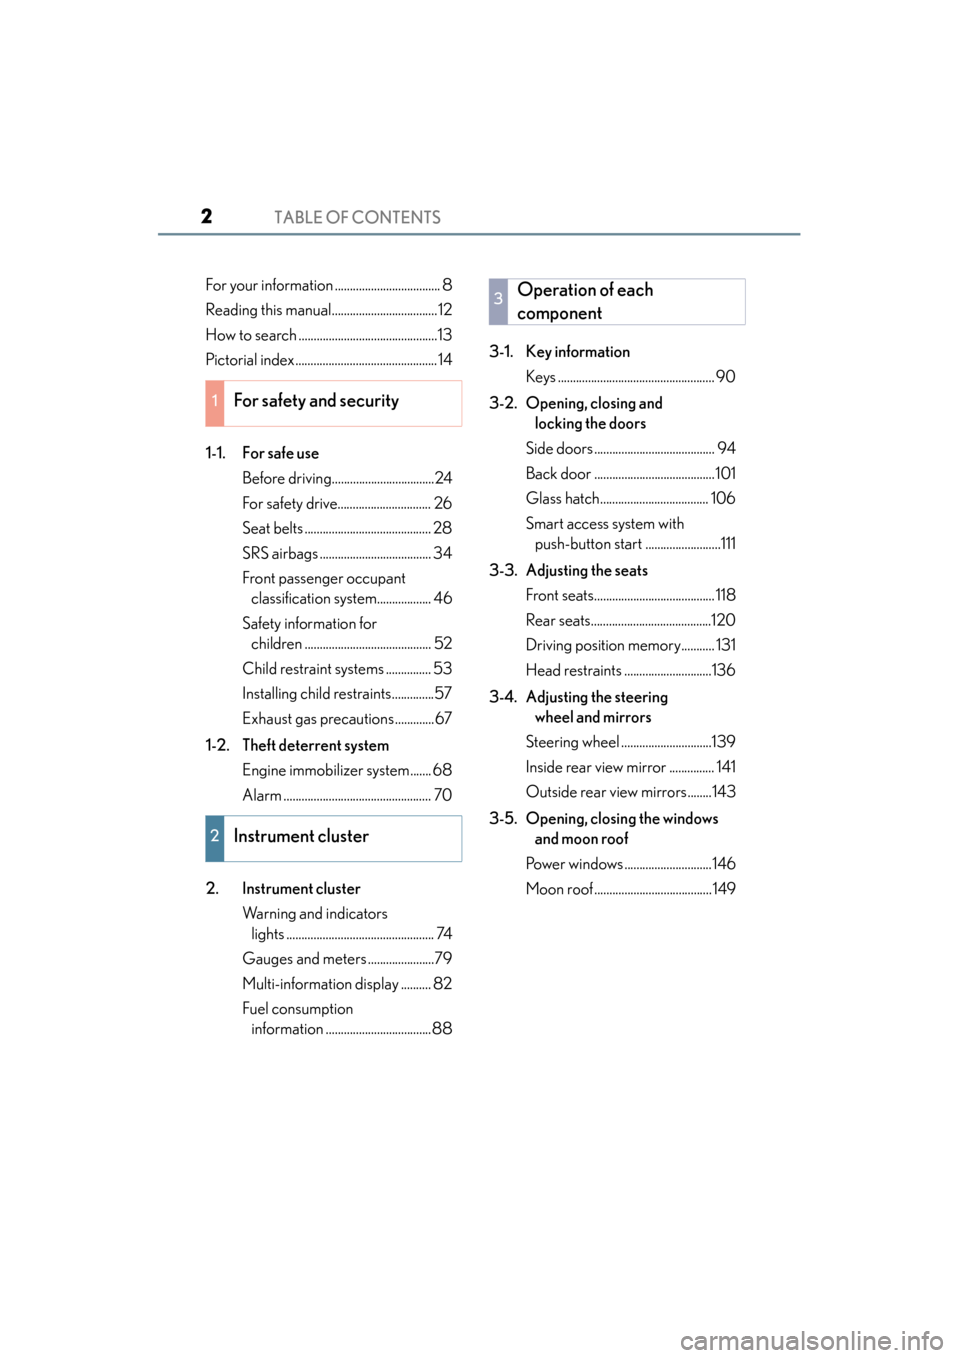
TABLE OF CONTENTS2
GX 460 _O M_ OM6 0L 72U _( U)
For your information ................................... 8
Reading this manual................................... 12
How to search ..............................................13
Pictorial index ............................................... 14
1-1. For safe useBefore driving..................................24
For safety drive............................... 26
Seat belts .......................................... 28
SRS airbags ..................................... 34
Front passenger occupant classification system.................. 46
Safety information for children .......................................... 52
Child restraint systems ............... 53
Installing child restraints..............57
Exhaust gas precautions.............67
1-2. Theft deterrent system Engine immobilizer system....... 68
Alarm ................................................. 70
2. Instrument cluster Warning and indicators lights ................................................. 74
Gauges and meters ......................79
Multi-information display .......... 82
Fuel consumption information ...................................88 3-1. Key information
Keys .................................................... 90
3-2. Opening, closing and locking the doors
Side doors ........................................ 94
Back door ........................................101
Glass hatch.................................... 106
Smart access system with push-button start .........................111
3-3. Adjusting the seats Front seats........................................ 118
Rear seats........................................120
Driving position memory........... 131
Head restraints .............................136
3-4. Adjusting the steering wheel and mirrors
Steering wheel ..............................139
Inside rear view mirror ............... 141
Outside rear view mirrors........143
3-5. Opening, closing the windows and moon roof
Power windows .............................146
Moon roof .......................................149
1For safety and security
2Instrument cluster
3Operation of each
component
GX460_OM_OM60L72U_(U).book Page 2 Friday, May 16, 2014 3:03 PM
Page 16 of 634
15Pictorial index
GX 460 _O M_ OM6 0L 72U _( U)
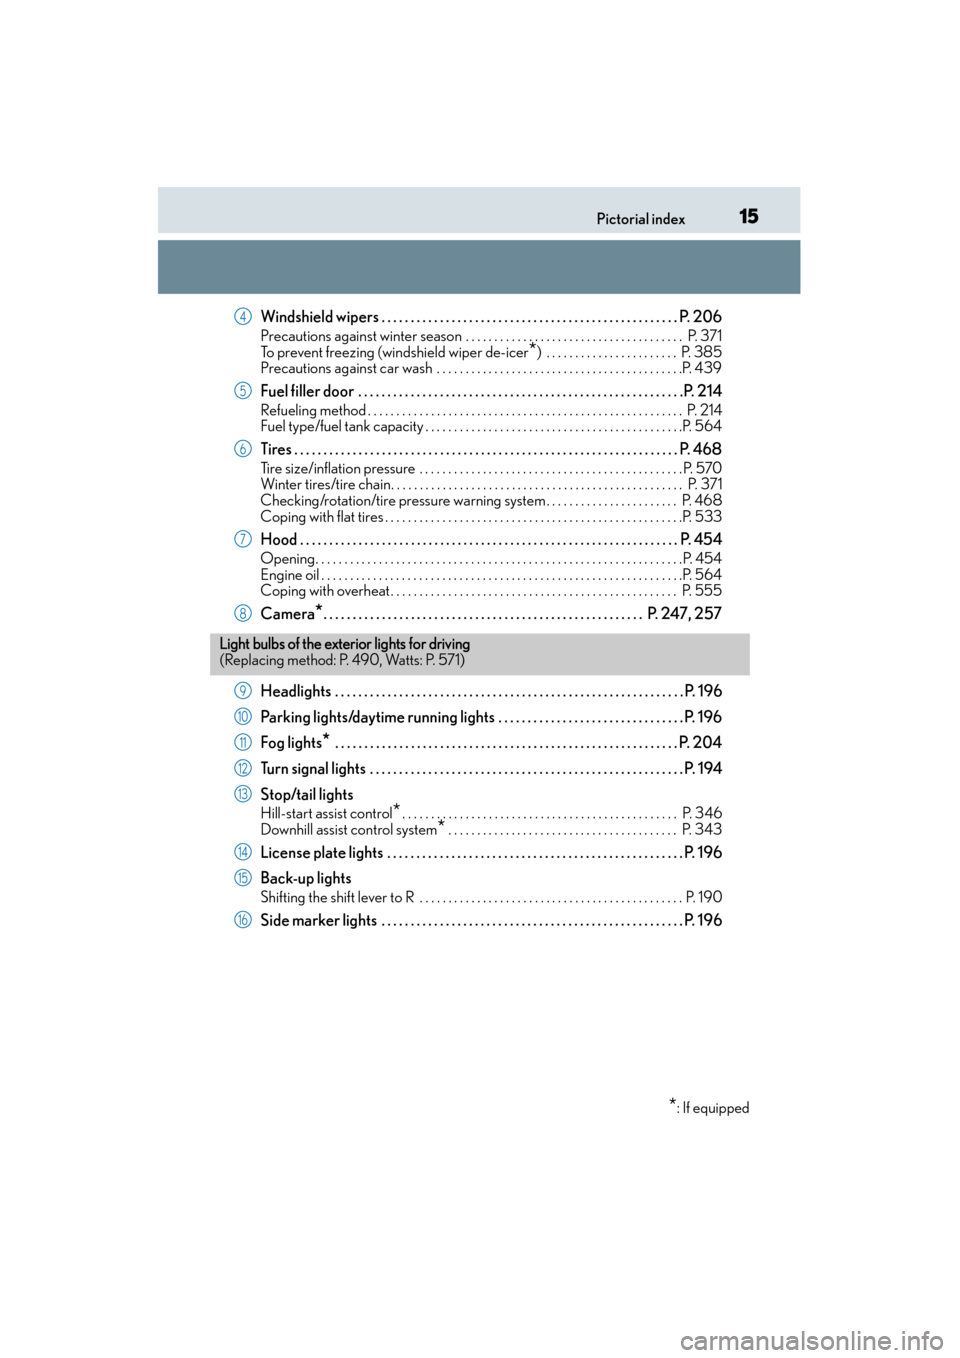
Windshield wipers . . . . . . . . . . . . . . . . . . . . . . . . . . . . . . . . . . . . . . . . . . . . . . . . . . . P. 206
Precautions against winter season . . . . . . . . . . . . . . . . . . . . . . . . . . . . . . . . . . . . . . P. 371
To prevent freezing (windshield wiper de-icer
*) . . . . . . . . . . . . . . . . . . . . . . . P. 385
Precautions against car wash . . . . . . . . . . . . . . . . . . . . . . . . . . . . . . . . . . . . . . . . . . .P. 439
Fuel filler door . . . . . . . . . . . . . . . . . . . . . . . . . . . . . . . . . . . . . . . . . . . . . . . . . . . . . . . .P. 214
Refueling method . . . . . . . . . . . . . . . . . . . . . . . . . . . . . . . . . . . . . . . . . . . . . . . . . . . . . . . P . 214
Fuel type/fuel tank capacity . . . . . . . . . . . . . . . . . . . . . . . . . . . . . . . . . . . . . . . . . . . . .P. 564
Tires . . . . . . . . . . . . . . . . . . . . . . . . . . . . . . . . . . . . . . . . . . . . . . . . . . . . . . . . . . . . . . . . . . P. 468
Tire size/inflation pressure . . . . . . . . . . . . . . . . . . . . . . . . . . . . . . . . . . . . . . . . . . . . . . P. 570
Winter tires/tire chain. . . . . . . . . . . . . . . . . . . . . . . . . . . . . . . . . . . . . . . . . . . . . . . . . . . P. 371
Checking/rotation/tire pressure warning system . . . . . . . . . . . . . . . . . . . . . . . P. 468
Coping with flat tires . . . . . . . . . . . . . . . . . . . . . . . . . . . . . . . . . . . . . . . . . . . . . . . . . . . .P. 533
Hood . . . . . . . . . . . . . . . . . . . . . . . . . . . . . . . . . . . . . . . . . . . . . . . . . . . . . . . . . . . . . . . . . P. 454
Opening. . . . . . . . . . . . . . . . . . . . . . . . . . . . . . . . . . . . . . . . . . . . . . . . . . . . . . . . . . . . . . . .P. 454
Engine oil . . . . . . . . . . . . . . . . . . . . . . . . . . . . . . . . . . . . . . . . . . . . . . . . . . . . . . . . . . . . . . .P. 564
Coping with overheat . . . . . . . . . . . . . . . . . . . . . . . . . . . . . . . . . . . . . . . . . . . . . . . . . . P. 555
Camera*. . . . . . . . . . . . . . . . . . . . . . . . . . . . . . . . . . . . . . . . . . . . . . . . . . . . . . . P. 247, 257
Headlights . . . . . . . . . . . . . . . . . . . . . . . . . . . . . . . . . . . . . . . . . . . . . . . . . . . . . . . . . . . . P. 196
Parking lights/daytime running lights . . . . . . . . . . . . . . . . . . . . . . . . . . . . . . . . P. 196
Fog lights
* . . . . . . . . . . . . . . . . . . . . . . . . . . . . . . . . . . . . . . . . . . . . . . . . . . . . . . . . . . . P. 204
Turn signal lights . . . . . . . . . . . . . . . . . . . . . . . . . . . . . . . . . . . . . . . . . . . . . . . . . . . . . . P . 194
Stop/tail lights
Hill-start assist control*. . . . . . . . . . . . . . . . . . . . . . . . . . . . . . . . . . . . . . . . . . . . . . . . P. 346
Downhill assist control system
* . . . . . . . . . . . . . . . . . . . . . . . . . . . . . . . . . . . . . . . . P. 343
License plate lights . . . . . . . . . . . . . . . . . . . . . . . . . . . . . . . . . . . . . . . . . . . . . . . . . . . P. 196
Back-up lights
Shifting the shift lever to R . . . . . . . . . . . . . . . . . . . . . . . . . . . . . . . . . . . . . . . . . . . . . . P. 19 0
Side marker lights . . . . . . . . . . . . . . . . . . . . . . . . . . . . . . . . . . . . . . . . . . . . . . . . . . . . P. 196
4
5
6
7
8
Light bulbs of the exterior lights for driving
( R e p l a c i n g m e t h o d : P. 4 9 0 , Wa t t s : P. 5 7 1 )
*: If equipped
9
10
11
12
13
14
15
16
GX460_OM_OM60L72U_(U).book Page 15 Friday, May 16, 2014 3:03 PM
Page 18 of 634
17Pictorial index
GX 460 _O M_ OM6 0L 72U _( U)
Multi-information display . . . . . . . . . . . . . . . . . . . . . . . . . . . . . . . . . . . . . . . . . . . . P. 82
Display . . . . . . . . . . . . . . . . . . . . . . . . . . . . . . . . . . . . . . . . . . . . . . . . . . . . . . . . . . . . . . . . . . P. 82
When the warning messages are displayed . . . . . . . . . . . . . . . . . . . . . . . . . . . . . P. 519
Parking brake . . . . . . . . . . . . . . . . . . . . . . . . . . . . . . . . . . . . . . . . . . . . . . . . . . . . . . . . .P . 195
Applying/releasing. . . . . . . . . . . . . . . . . . . . . . . . . . . . . . . . . . . . . . . . . . . . . . . . . . . . . . P . 195
Precautions against winter season . . . . . . . . . . . . . . . . . . . . . . . . . . . . . . . . . . . . . . P. 372
Warning buzzer/message. . . . . . . . . . . . . . . . . . . . . . . . . . . . . . . . . . . . . . . . . . . . . . . P. 521
Turn signal lever. . . . . . . . . . . . . . . . . . . . . . . . . . . . . . . . . . . . . . . . . . . . . . . . . . . . . . . P . 194
Headlight switch . . . . . . . . . . . . . . . . . . . . . . . . . . . . . . . . . . . . . . . . . . . . . . . . . . . . . . P. 1 96
Headlights/parking lights/tail lights/daytime running lights . . . . . . . . . . . . . . P. 196
Fog lights*1 . . . . . . . . . . . . . . . . . . . . . . . . . . . . . . . . . . . . . . . . . . . . . . . . . . . . . . . . . . . . P. 204
Windshield wiper and washer switch. . . . . . . . . . . . . . . . . . . . . . . . . . . . . . . . P. 206
Usage . . . . . . . . . . . . . . . . . . . . . . . . . . . . . . . . . . . . . . . . . . . . . . . . . . . . . . . . . . . . . . . . . P. 206
Adding washer fluid . . . . . . . . . . . . . . . . . . . . . . . . . . . . . . . . . . . . . . . . . . . . . . . . . . . . P. 467
Warning messages . . . . . . . . . . . . . . . . . . . . . . . . . . . . . . . . . . . . . . . . . . . . . . . . . . . . . P. 52 4
Emergency flasher switch . . . . . . . . . . . . . . . . . . . . . . . . . . . . . . . . . . . . . . . . . . . P. 502
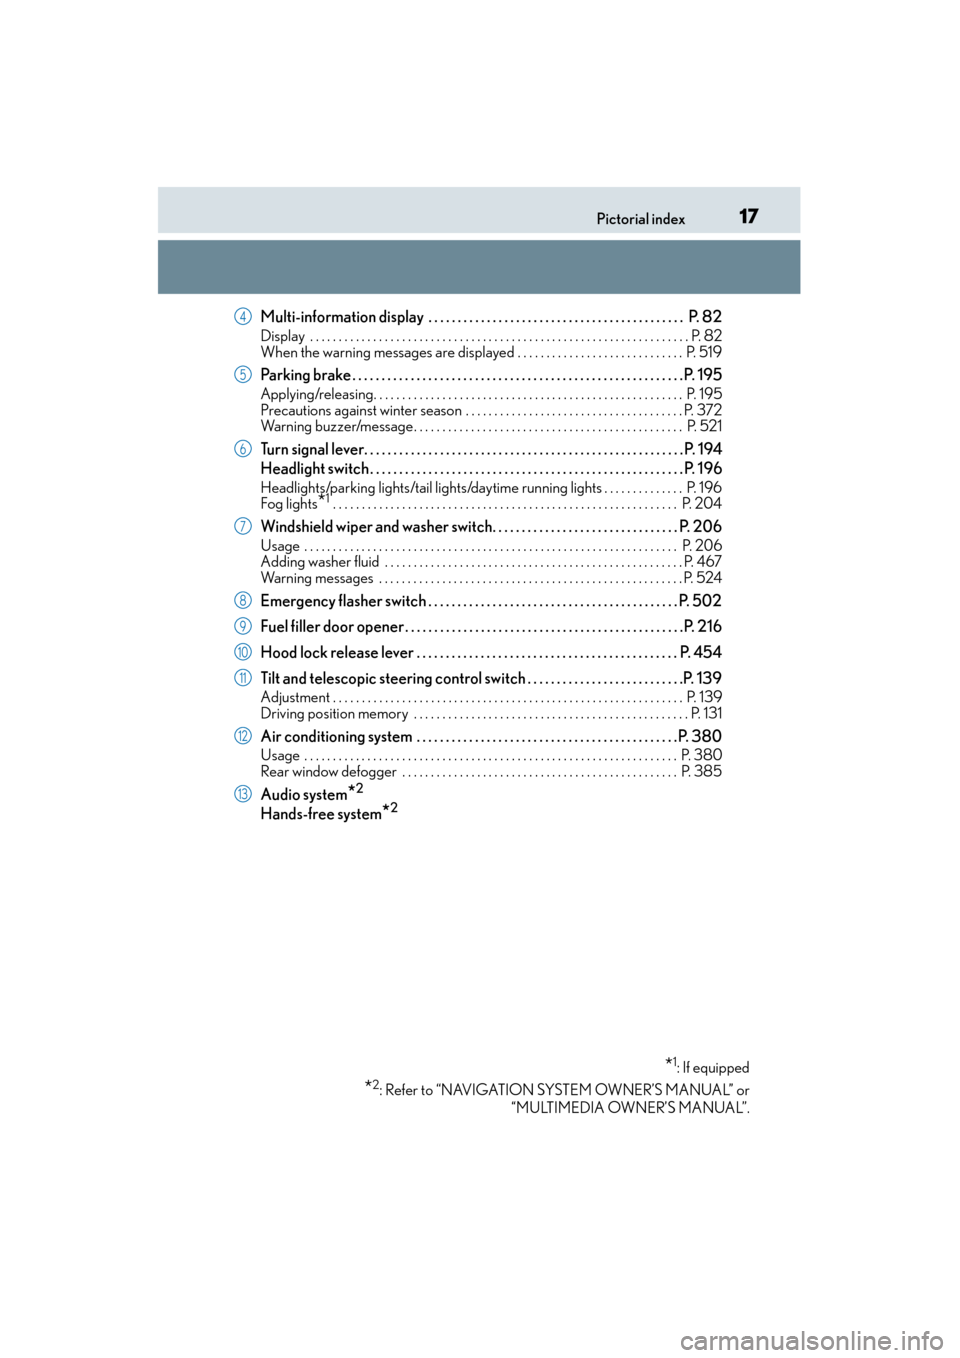
Fuel filler door opener . . . . . . . . . . . . . . . . . . . . . . . . . . . . . . . . . . . . . . . . . . . . . . . .P. 216
Hood lock release lever . . . . . . . . . . . . . . . . . . . . . . . . . . . . . . . . . . . . . . . . . . . . . P. 454
Tilt and telescopic steering control switch . . . . . . . . . . . . . . . . . . . . . . . . . . .P. 139
Adjustment . . . . . . . . . . . . . . . . . . . . . . . . . . . . . . . . . . . . . . . . . . . . . . . . . . . . . . . . . . . . . P. 139
Driving position memory . . . . . . . . . . . . . . . . . . . . . . . . . . . . . . . . . . . . . . . . . . . . . . . . P. 131
Air conditioning system . . . . . . . . . . . . . . . . . . . . . . . . . . . . . . . . . . . . . . . . . . . . .P. 380
Usage . . . . . . . . . . . . . . . . . . . . . . . . . . . . . . . . . . . . . . . . . . . . . . . . . . . . . . . . . . . . . . . . . P. 380
Rear window defogger . . . . . . . . . . . . . . . . . . . . . . . . . . . . . . . . . . . . . . . . . . . . . . . . P. 385
Audio system*2
Hands-free system*2
*1: If equipped
*2: Refer to “NAVIGATION SYSTEM OWNER’S MANUAL” or
“MULTIMEDIA OWNER’S MANUAL”.
4
5
6
7
8
9
10
11
12
13
GX460_OM_OM60L72U_(U).book Page 17 Friday, May 16, 2014 3:03 PM
Page 76 of 634
GX 460 _O M_ OM6 0L 72U _( U)
752. Instrument cluster
2
Instrument cluster
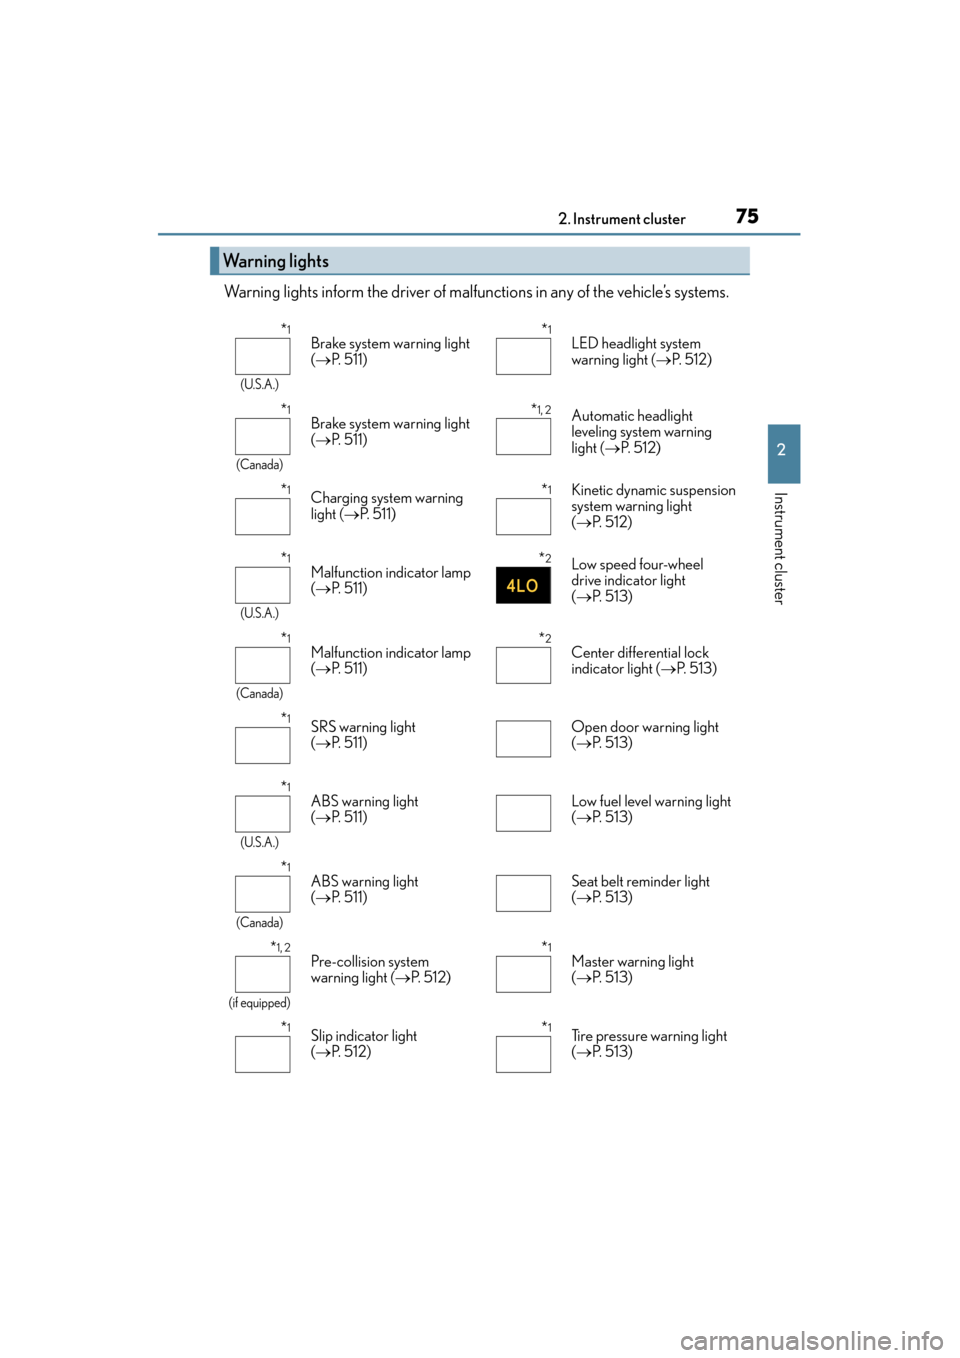
Warning lights inform the driver of malfunctions in any of the vehicle’s systems.
Warning lights
*1
(U.S.A.)
Brake system warning light
(→ P. 511)*1LED headlight system
warning light ( →P. 5 1 2 )
*1
(Canada)
Brake system warning light
(→ P. 511)*1, 2Automatic headlight
leveling system warning
light ( →P. 5 1 2 )
*1Charging system warning
light ( →P. 511)*1Kinetic dynamic suspension
system warning light
(→ P. 5 1 2 )
*1
(U.S.A.)
Malfunction indicator lamp
(→ P. 511)*2Low speed four-wheel
drive indicator light
(→ P. 5 1 3 )
*1
(Canada)
Malfunction indicator lamp
(→ P. 511)*2Center differential lock
indicator light ( →P. 5 1 3 )
*1SRS warning light
(→ P. 511) Open door warning light
(
→ P. 5 1 3 )
*1
(U.S.A.)
ABS warning light
(→ P. 511) Low fuel level warning light
(
→ P. 5 1 3 )
*1
(Canada)
ABS warning light
(→ P. 511) Seat belt reminder light
(
→ P. 5 1 3 )
*1, 2
(if equipped)
Pre-collision system
warning light ( →P. 5 1 2 )*1Master warning light
(→ P. 5 1 3 )
*1Slip indicator light
(→ P. 5 1 2 )*1Tire pressure warning light
(→ P. 5 1 3 )
GX460_OM_OM60L72U_(U).book Page 75 Friday, May 16, 2014 3:03 PM
Page 199 of 634
198
GX 460 _O M_ OM6 0L 72U _( U)4-3. Operating the lights and wipers
■Daytime running light system
●To make your vehicle more visible to other drivers, the parking lights turn on automati-
cally whenever the engine is started and th
e parking brake is released. Daytime running
lights are not designed for use at night.
For the U.S.A.: Daytime running lights can be turned off by operating the switch.
●Compared to turning on the headlights, the daytime running light system offers greater
durability and consumes less electricity, so it can help improve fuel economy.
■Headlight control sensor
■Automatic light off system
●When only the tail lights are on: All lights turn off if the engine switch is turned to
ACCESSORY mode or turned of f and the driver’s door is opened.
●When the headlights are on: All lights turn off 30 seconds after a door or the glass
hatch is opened and closed.
To turn the lights on again, turn the engine switch to IGNITION ON mode, or turn the
light switch off once and then back to or .
■Automatic headlight leveling system
The level of the headlights is automatically adjusted according to the number of passen-
gers and the loading condition of the vehicle to ensure that the headlights do not inter-
fere with other road users.
■If the automatic headlight leveling system warning light flashes
It may indicate a malfunction in the system. Contact your Lexus dealer.
■Customization
Settings (e.g. light sensor sensitivity) can be changed.
(Customizable features: →P. 5 8 6 )
The sensor may not function properly if an
object is placed on the sensor, or anything that
blocks the sensor is affixed to the windshield.
Doing so interferes with the sensor detecting
the level of ambient light and may cause the
automatic headlight system to malfunction.
NOTICE
■To prevent battery discharge
Do not leave the lights on longer than ne
cessary when the engine is not running.
GX460_OM_OM60L72U_(U).book Page 198 Friday, May 16, 2014 3:03 PM
Page 215 of 634

214
GX 460 _O M_ OM6 0L 72U _( U)4-4. Refueling
Opening the fuel tank cap
●Close all the doors and windows, and turn the engine switch off.
●Confirm the type of fuel.
■Fuel types
Unleaded gasoline (Octane Rating 91 [Research Octane Number 96] or higher)
Perform the following steps to open the fuel tank cap.
Before refueling the vehicle
CAUTION
■When refueling the vehicle
Observe the following precautions while refueling the vehicle. Failure to do so may
result in death or serious injury.
●After exiting the vehicle and before opening the fuel door, touch an unpainted metal
surface to discharge any static electricity. It
is important to discharge static electricity
before refueling because sparks resulting fr om static electricity can cause fuel vapors
to ignite while refueling.
●Always hold the grips on the fuel tank cap and turn it slowly to remove it.
A whooshing sound may be heard when the fuel tank cap is loosened. Wait until the
sound cannot be heard before fully removing the cap. In hot weather, pressurized fuel
may spray out of the filler neck and cause injury.
●Do not allow anyone that has not discharged static electricity from their body to come
close to an open fuel tank.
●Do not inhale vaporized fuel.
Fuel contains substances that are harmful if inhaled.
●Do not smoke while refueling the vehicle.
Doing so may cause the fuel to ignite and cause a fire.
●Do not return to the vehicle or touch any person or object that is statically charged.
This may cause static electricity to build up , resulting in a possible ignition hazard.
GX460_OM_OM60L72U_(U).book Page 214 Friday, May 16, 2014 3:03 PM
Page 217 of 634
216
GX 460 _O M_ OM6 0L 72U _( U)4-4. Refueling
Press the opener to open the fuel
filler door.
Turn the fuel tank cap slowly to open,
and hang the fuel tank cap on the
back of the fuel filler door.
Opening the fuel tank cap
1
2
GX460_OM_OM60L72U_(U).book Page 216 Friday, May 16, 2014 3:03 PM
Page 218 of 634
GX 460 _O M_ OM6 0L 72U _( U)
2174-4. Refueling
4
Driving
■When the fuel filler door cannot be opened by pressing the inside switch
After refueling, turn the fuel tank cap
until you hear a click. Once the cap is
released, it will turn slightly in the oppo-
site direction.
Remove the cover inside the luggage compart-
ment and pull the lever.
Closing the fuel tank cap
CAUTION
■When replacing the fuel tank cap
Do not use anything but a genuine Lexus fuel tank cap designed for your vehicle. Doing
so may cause a fire or other incident which may result in death or serious injury.
GX460_OM_OM60L72U_(U).book Page 217 Friday, May 16, 2014 3:03 PM
Page 388 of 634

GX 460 _O M_ OM6 0L 72U _( U)
3875-1. Using the air conditioning system and defogger
5
Interior features
■Registering air conditioning settings to electronic keys
●Unlocking the vehicle using an electronic key and turning the engine switch to
IGNITION ON mode will recall that key’s registered air conditioning settings.
●When the engine switch is turned off, the current air conditioning settings will automat-
ically be registered to the electronic key that was used to unlock the vehicle.
The system may not operate correctly if more th an one electronic key is in the vicinity or
if the smart access system with push-button start is used to unlock a passenger door.
Settings for the electronic key and the corresponding door can be changed.
Contact your Lexus dealer.
■Using automatic mode
Fan speed is adjusted automatically according to the temperature setting and the ambi-
ent conditions.
Therefore, the fan may stop for a while until warm or cool air is ready to flow immediately
after the “AUTO” button is pressed.
■When the outside temperature exceeds 75 °F (24 °C) and the air conditioning system
is on
●In order to reduce the air conditioning power consumption, the air conditioning system
may switch to recirculated air mode automatically.
This may also reduce fuel consumption.
●Recirculated air mode is selected as a default mode when the engine switch is turned to
IGNITION ON mode.
●It is possible to switch to outsid e air mode at any time by pressing or
.
■Fogging up of the windows
●The windows will easily fog up when the humidity in the vehicle is high. Touching “A/C”
on will dehumidify the air from the outlet s and defog the windshield effectively.
●If you turn “A/C” off, the windows may fog up more easily.
●The windows may fog up if the recirculated air mode is used.
■Outside/recirculated air mode
●When driving on dusty roads such as tunnels or in heavy traffic, set the outside/recircu-
lated air mode button to the recirculated air mode. This is effective in preventing out-
side air from entering the vehicle interi or. During cooling operation, setting the
recirculated air mode will also cool the vehicle interior effectively.
●Outside/recirculated air mode may automatically switch depending on the tempera-
ture setting or the inside temperature.
GX460_OM_OM60L72U_(U).book Page 387 Friday, May 16, 2014 3:03 PM
Page 439 of 634
438
GX 460 _O M_ OM6 0L 72U _( U)6-1. Maintenance and care
Cleaning and protecting the vehicle exterior
●Working from top to bottom, liberally
apply water to the vehicle body, wheel
wells and underside of the vehicl e to remove any dirt and dust.
●Wash the vehicle body using a sponge or soft cloth, such as a chamois.
●For hard-to-remove marks, use car wash soap and rinse thoroughly with
water.
●Wipe away any water.
●Wax the vehicle when the waterproof coating deteriorates.
If water does not bead on a clean surface, apply wax when the vehicle body is cool.
■Automatic car washes
●Fold the mirrors back before washing the vehicle. Start washing from the front of the
vehicle. Make sure to extend the mirrors before driving.
●Brushes used in automatic car washes may scratch the vehicle surface and harm your
vehicle’s paint.
■High pressure car washes
●Do not allow the nozzles of the car wash to come within close proximity of the windows
and the air suspension unit.
●Before using the car wash, check that the fuel filler door on your vehicle is closed prop-
erly.
■Aluminum wheels
●Remove any dirt immediately by using a neutral detergent. Do not use hard brushes or
abrasive cleaners. Do not use strong or harsh chemical cleaners. Use the same mild
detergent and wax as used on the paint.
●Do not use detergent on the wheels when they are hot, for example after driving for
long distance in the hot weather.
●Wash detergent from the wheels immediately after use.
■Bumpers and side moldings
Do not scrub with abrasive cleaners.
Perform the following to protect the vehicle and maintain it in prime condi-
tion:
GX460_OM_OM60L72U_(U).book Page 438 Friday, May 16, 2014 3:03 PM