lock Lexus GX470 2007 Instrument cluster / LEXUS 2007 GX470 (OM60C64U) Repair Manual
[x] Cancel search | Manufacturer: LEXUS, Model Year: 2007, Model line: GX470, Model: Lexus GX470 2007Pages: 436, PDF Size: 11.52 MB
Page 179 of 436

159
2-5. Driving information
2
When driving
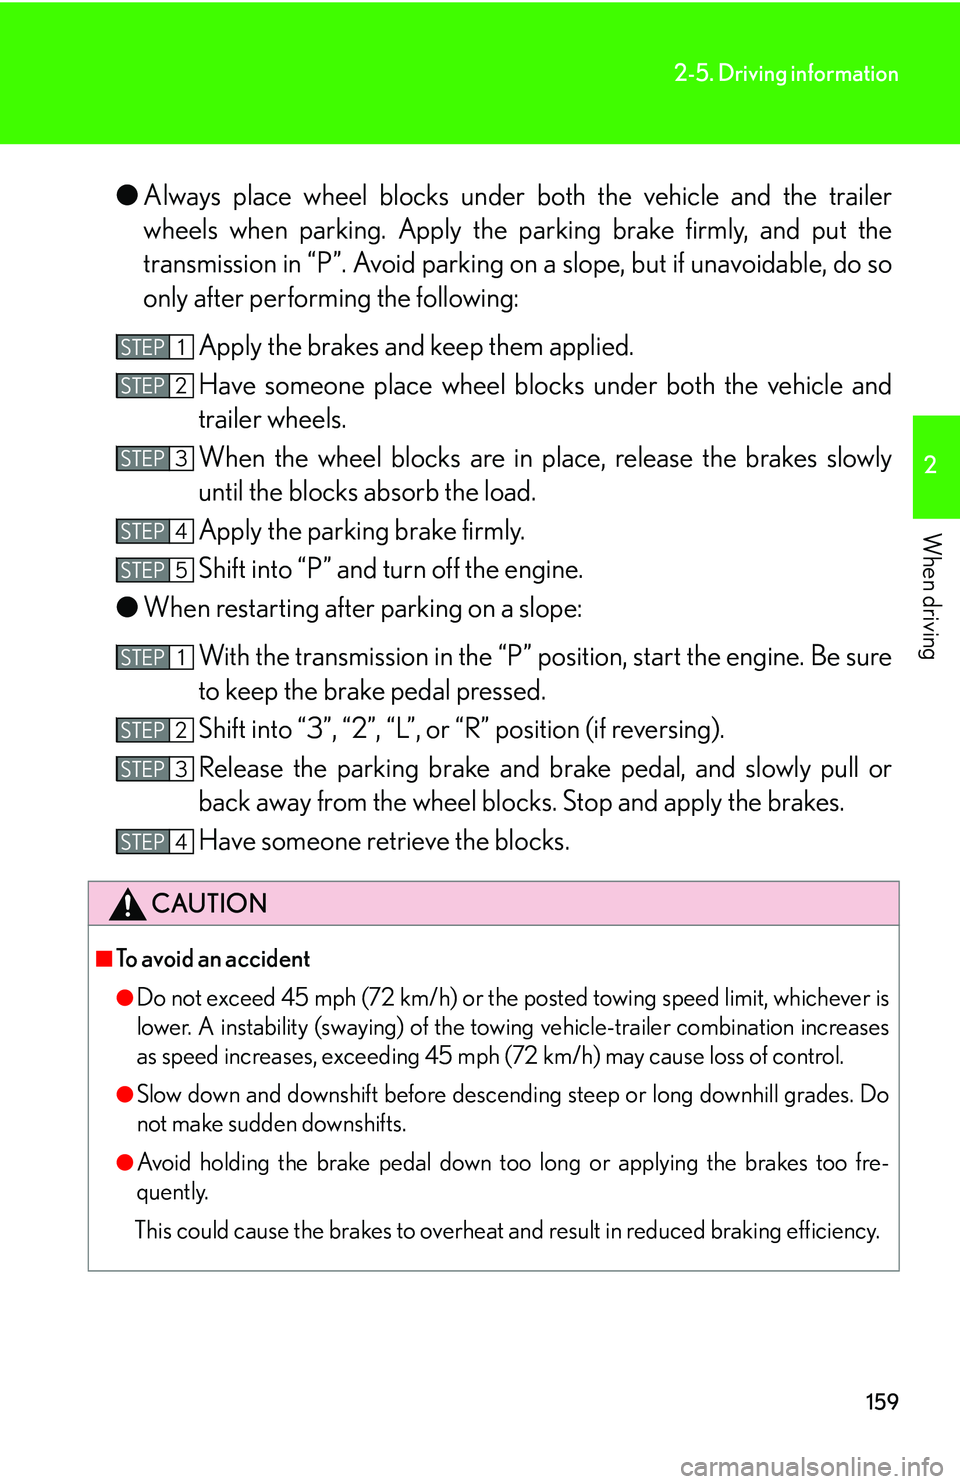
●Always place wheel blocks under both the vehicle and the trailer
wheels when parking. Apply the pa rking brake firmly, and put the
transmission in “P”. Avoi d parking on a slope, but if unavoidable, do so
only after performing the following:
Apply the brakes and keep them applied.
Have someone place wheel blocks under both the vehicle and
trailer wheels.
When the wheel blocks are in pl ace, release the brakes slowly
until the blocks absorb the load.
Apply the parking brake firmly.
Shift into “P” and turn off the engine.
● When restarting after parking on a slope:
With the transmission in the “P” position, start the engine. Be sure
to keep the brake pedal pressed.
Shift into “3”, “2”, “L”, or “R” position (if reversing).
Release the parking brake and br ake pedal, and slowly pull or
back away from the wheel blocks. Stop and apply the brakes.
Have someone retrieve the blocks.
CAUTION
■To avoid an accident
●Do not exceed 45 mph (72 km/h) or the posted towing speed limit, whichever is
lower. A instability (swaying) of the towing vehicle-trailer combination increases
as speed increases, exceeding 45 mph (72 km/h) may cause loss of control.
●Slow down and downshift before descending steep or long downhill grades. Do
not make sudden downshifts.
●Avoid holding the brake pedal down too long or applying the brakes too fre-
quently.
This could cause the brakes to overheat and result in reduced braking efficiency.
STEP1STEP1
STEP2STEP2
STEP1STEP3STEP3
STEP1STEP4STEP4
STEP1STEP5STEP5STEP5
STEP1STEP1
STEP2STEP2
STEP1STEP3STEP3
STEP1STEP4STEP4
Page 181 of 436

Interior features3
161
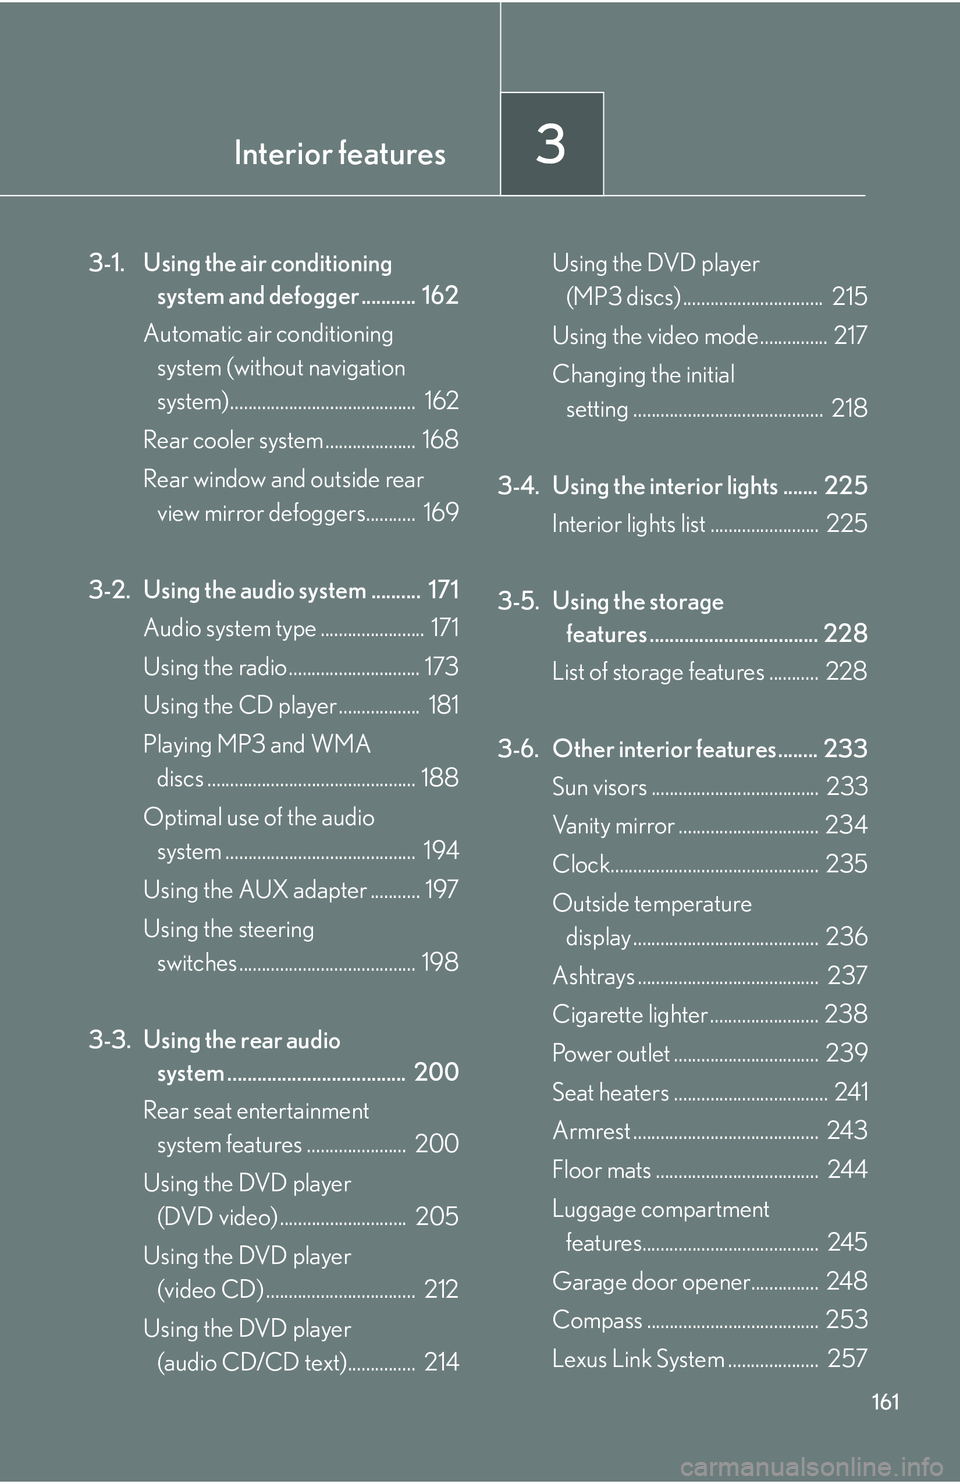
3-1. Using the air conditioning system and defogger ........... 162
Automatic air conditioning system (without navigation
system)......................................... 162
Rear cooler system .................... 168
Rear window and outside rear view mirror defoggers........... 169
3-2. Using the audio system .......... 171 Audio system type ....................... 171
Using the radio ............................. 173
Using the CD player .................. 181
Playing MP3 and WMA discs .............................................. 188
Optimal use of the audio system .......................................... 194
Using the AUX adapter ........... 197
Using the steering switches ....................................... 198
3-3. Using the rear audio system .................................... 200
Rear seat entertainment system features ...................... 200
Using the DVD player (DVD video) ............................ 205
Using the DVD player (video CD) ................................. 212
Using the DVD player (audio CD/CD text)............... 214 Using the DVD player
(MP3 discs) ............................... 215
Using the video mode............... 217
Changing the initial setting .......................................... 218
3-4. Using the interior lights ....... 225 Interior lights list ........................ 225
3-5. Using the storage features .................................. 228
List of storage features ........... 228
3-6. Other interior features........ 233
Sun visors ..................................... 233
Vanity mirror ............................... 234
Clock.............................................. 235
Outside temperature display ......................................... 236
Ashtrays ........................................ 237
Cigarette lighter ........................ 238
Power outlet ................................ 239
Seat heaters .................................. 241
Armrest ......................................... 243
Floor mats .................................... 244
Luggage compartment features....................................... 245
Garage door opener............... 248
Compass ...................................... 253
Lexus Link System .................... 257
Page 187 of 436

167
3-1. Using the air conditioning system and defogger
3
Interior features
CAUTION
■To prevent the windshield from fogging up
Do not use during cool air operation in extremely humid weather. The differ-
ence between the temperature of the outs ide air and that of the windshield can
cause the outer surface of the windshield to fog up, blocking your vision.
NOTICE
■To prevent battery discharge
Do not leave the automatic air conditioning system on longer than necessary when
the engine is stopped.
Page 221 of 436

201
3-3. Using the rear audio system
3
Interior features
Opening and closing the displayPress the lock release button to
open the display.
Pull the display down to an easily
viewable angle (between 90 and
125 ).
To close the display, press the dis-
play up until a click is heard.
The screen is automatically turned
off when the display is closed.
However, the rear seat entertain-
ment system is not turned off.
Loading a disc
Insert the disc into the slot with the
label side up.
The DISC indicator light turns on
while the disc is loaded.
The player will play the track or
chapter, and will repeat it after it
reaches the end.
Page 222 of 436

202
3-3. Using the rear audio system
Ejecting a discPress and remove the disc.
Headphone jacks To use the headphones, connect
them to the jack.
To adjust the volume
Turn the dial clockwise to
increase the volume, and coun-
terclockwise to decrease the
volume.
Page 238 of 436

218
3-3. Using the rear audio system
Changing the initial setting
Changing the audio languageSelect “Audio Language”.
Select the language you want to
hear, and press “ENT” to input it.
Select “Others” if you cannot find
the language you want to hear.
Enter the appropriate 4-digit lan-
guage code. Select a number, and
press “ENT” to input it.
Language code list (P. 222)
If a code that is not in the list is
entered, Incorrect Code will
appear on the screen.
Press or select to
display the initial settings
screen.
The following settings can be
changed here.
• Audio language
• Subtitle language
• DVD language
• Angle mark
• Parental lock
Page 240 of 436

220
3-3. Using the rear audio system
Select “Others” if you cannot find
the desired language.
Enter the appropriate 4-digit lan-
guage code. Select a number, and
press “ENT” to input it.
Language code list (P. 222)
If a code that is not in the list is
entered, Incorrect Code will
appear on the screen.
Turning the angle mark on and off
The angle mark can be turned on fo r discs that are multi-angle compati-
ble.
Each time you press “ENT” when “Angle Mark” is selected, the angle mark
turns on or off alternately.
Setting viewer restriction levels
Setting a password allows use of
the viewer restriction function.
Select “Parental Lock”.
Enter the password and press
“ENT”.
The setting cannot be changed
unless the password is entered.
It is necessary to initialize the pass-
word if you forget it. (P. 2 2 1 )
Page 245 of 436

225
3
Interior features
3-4. Using the interior lights
Interior lights list
Illuminated entry system: The various lights automatically turn on/off
according to whether the doors are locked/unlocked, whether the doors
are open/closed, the ignition switch position, and the vehicle’s speed.
Foot light
Ignition switch light
Personal light
Center console spot lights
Inside door handle lights
Center interior light
Running board lights
When the instrument panel light contro l dial is turned to minimum, the
foot lights will turn off. ( P. 1 0 4 )
Page 248 of 436

228
3-5. Using the storage features
List of storage features
Glove boxOpen
Lock with the key
Unlock with the key
Glove box
Overhead console
Cup holders
Door pocket
Console box
Page 255 of 436

235
3-6. Other interior features
3
Interior features
Clock
■The clock is displayed when
The ignition switch is in the “ACC” or “ON” position.
■When the 12 volt battery is disconnected
The time display will automatically be set to 1:00.
■Adjust clock
Push and hold the “MODE” button until “ILL” appear on the
display.
Push “MODE” button once . The time will blink.
Adjust hours.
Adjust minutes.
Round the nearest hour.
After setting, push “MODE”
button.
STEP1
STEP2
STEP3