ESP Lexus GX470 2008 Navigation Manual
[x] Cancel search | Manufacturer: LEXUS, Model Year: 2008, Model line: GX470, Model: Lexus GX470 2008Pages: 312, PDF Size: 4.02 MB
Page 4 of 312
3
For safety reasons, this manual indicates
items requiring particular attention with the
following marks.
CAUTION
This is a warning against anything
which may cause injury to people if
the warning is ignored. You are in-
formed about what you must or must
not do in order to reduce the risk of
injury to yourself and others.
NOTICE
This is a warning against anything
which may cause damage to the ve-
hicle or its equipment if the warning
is ignored. You are informed about
what you must or must not do in or-
der to avoid or reduce the risk of dam-
age to your vehicle and its equip-
ment.
INFORMATION
This provides additional information.
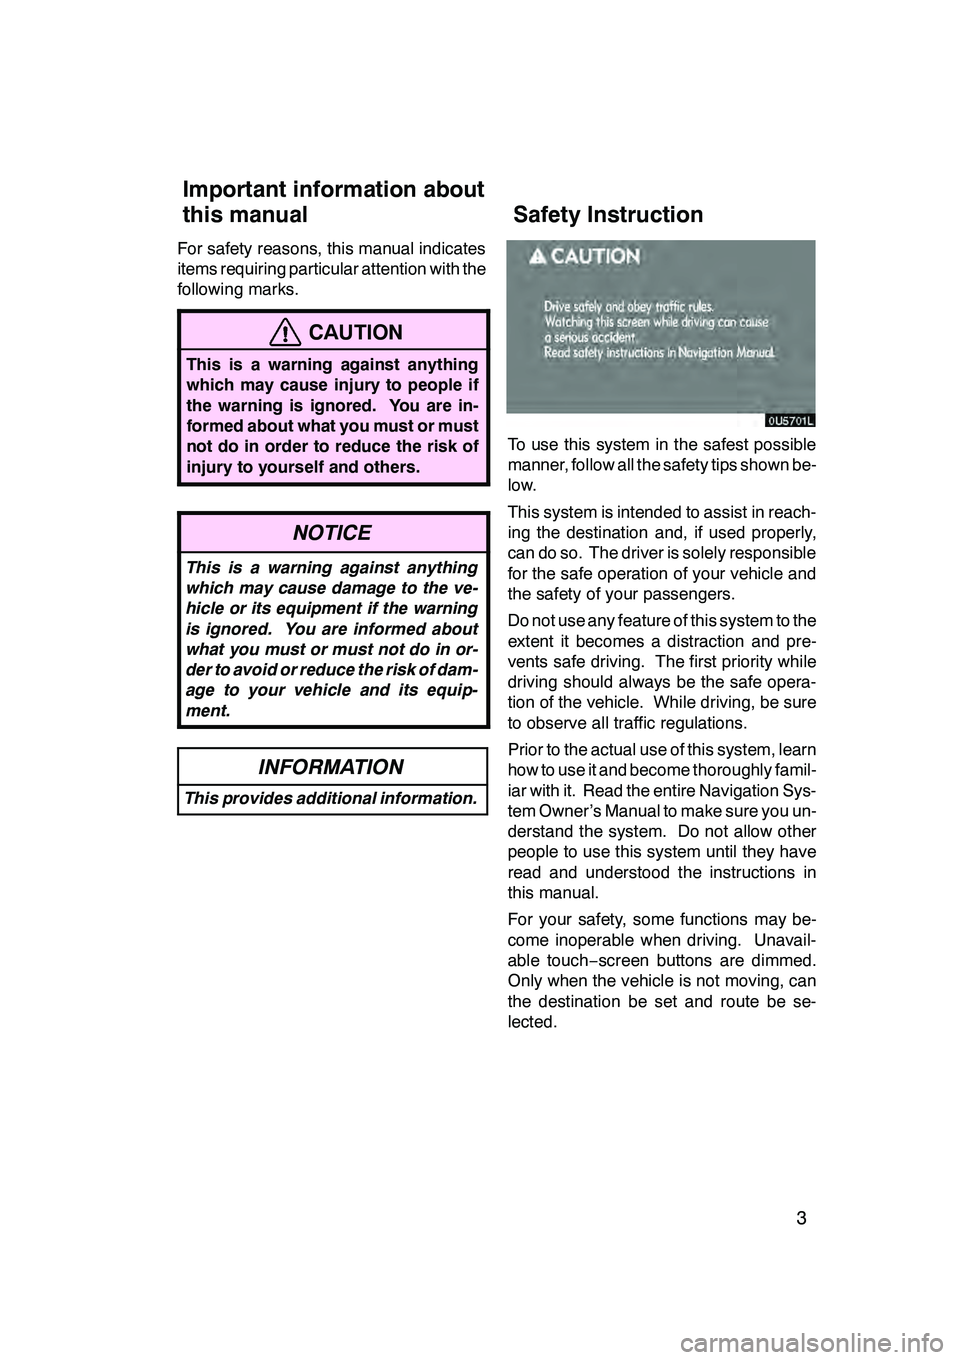
To use this system in the safest possible
manner, follow all the safety tips shown be-
low.
This system is intended to assist in reach-
ing the destination and, if used properly,
can do so. The driver is solely responsible
for the safe operation of your vehicle and
the safety of your passengers.
Do not use any feature of this system to the
extent it becomes a distraction and pre-
vents safe driving. The first priority while
driving should always be the safe opera-
tion of the vehicle. While driving, be sure
to observe all traffic regulations.
Prior to the actual use of this system, learn
how to use it and become thoroughly famil-
iar with it. Read the entire Navigation Sys-
tem Owner’s Manual to make sure you un-
derstand the system. Do not allow other
people to use this system until they have
read and understood the instructions in
this manual.
For your safety, some functions may be-
come inoperable when driving. Unavail-
able touch−screen buttons are dimmed.
Only when the vehicle is not moving, can
the destination be set and route be se-
lected.
GX470_Navi_U (OM60D58U) 07/06/16
Important information about
this manual Safety Instruction
Page 24 of 312
BASIC FUNCTIONS
23
D
Memo information
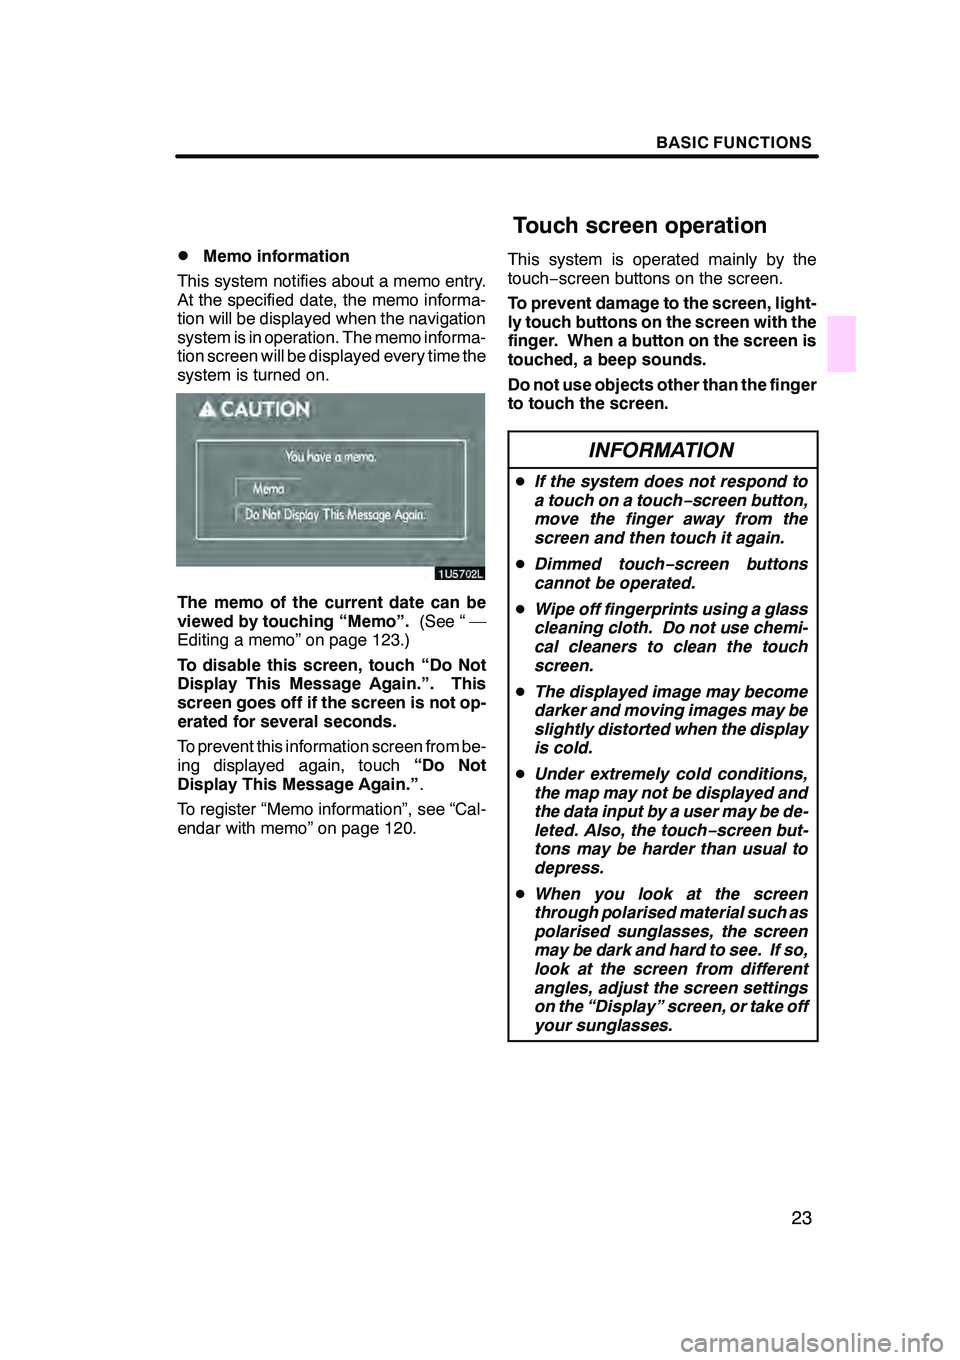
This system notifies about a memo entry.
At the specified date, the memo informa-
tion will be displayed when the navigation
system is in operation. The memo informa-
tion screen will be displayed every time the
system is turned on.
The memo of the current date can be
viewed by touching “Memo”. (See “ —
Editing a memo” on page 123.)
To disable this screen, touch “Do Not
Display This Message Again.”. This
screen goes off if the screen is not op-
erated for several seconds.
To prevent this information screen from be-
ing displayed again, touch “Do Not
Display This Message Again.” .
To register “Memo information”, see “Cal-
endar with memo” on page 120. This system is operated mainly by the
touch−
screen buttons on the screen.
To prevent damage to the screen, light-
ly touch buttons on the screen with the
finger. When a button on the screen is
touched, a beep sounds.
Do not use objects other than the finger
to touch the screen.
INFORMATION
D If the system does not respond to
a touch on a touch −screen button,
move the finger away from the
screen and then touch it again.
D Dimmed touch− screen buttons
cannot be operated.
D Wipe off fingerprints using a glass
cleaning cloth. Do not use chemi-
cal cleaners to clean the touch
screen.
D The displayed image may become
darker and moving images may be
slightly distorted when the display
is cold.
D Under extremely cold conditions,
the map may not be displayed and
the data input by a user may be de-
leted. Also, the touch −screen but-
tons may be harder than usual to
depress.
D When you look at the screen
through polarised material such as
polarised sunglasses, the screen
may be dark and hard to see. If so,
look at the screen from different
angles, adjust the screen settings
on the “Display” screen, or take off
your sunglasses.
GX470_Navi_U (OM60D58U) 07/06/16
Touch screen operation
Page 40 of 312
DESTINATION SEARCH
39
9“Freeway Ent./Exit”
The name of a freeway (interstate) en-
trance or exit can be entered. 57 ......
10“?”
Function help for the “Destination” screen
can be viewed on this screen. 27 ......
11“Del. Dest.”
Set destinations can be deleted 58 ....
12“Change”
To change the selected region to search,
touch this button. 40 .................
13Quick access touch −screen but-
tons
One of 5 preset destinations can be se-
lected by touching the screen directly. If a
quick access point has not been regis-
tered, a message will be displayed and will
automatically switch to the setting screen.
To use this function, it is necessary to set
the “Quick Access” for each memory point.
(To register a “Quick Access”, see “ —
Editing memory points” on page 93.) 42
.................................
14Home touch− screen button
A personal home address can be selected
without entering the address each time. If
home has not been registered, a message
will be displayed and will automatically
switch to the setting screen. To use this
function, it is necessary to set “Home” for
the memory point. (To register “Home”,
see “ — Registering home” on page 98.) 42
.................................
15“Coordinates”
A destination can be set by using latitude
and longitude as coordinates. 58 ......
05UGX03a
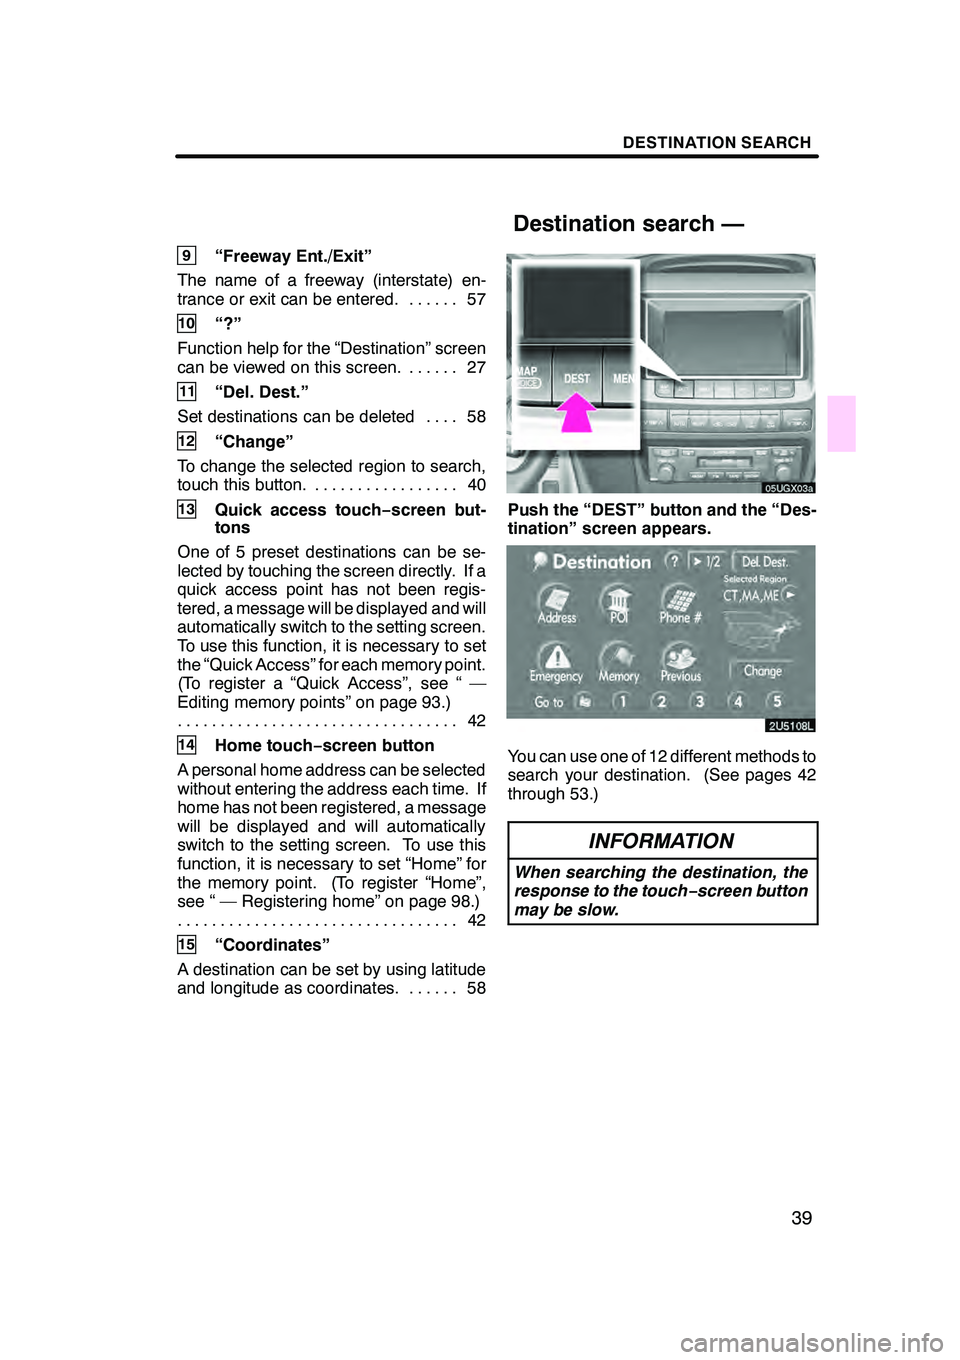
Push the “DEST” button and the “Des-
tination” screen appears.
You can use one of 12 different methods to
search your destination. (See pages 42
through 53.)
INFORMATION
When searching the destination, the
response to the touch−screen button
may be slow.
GX470_Navi_U (OM60D80U) 07/08/09
Destination search —
Page 45 of 312
DESTINATION SEARCH
44
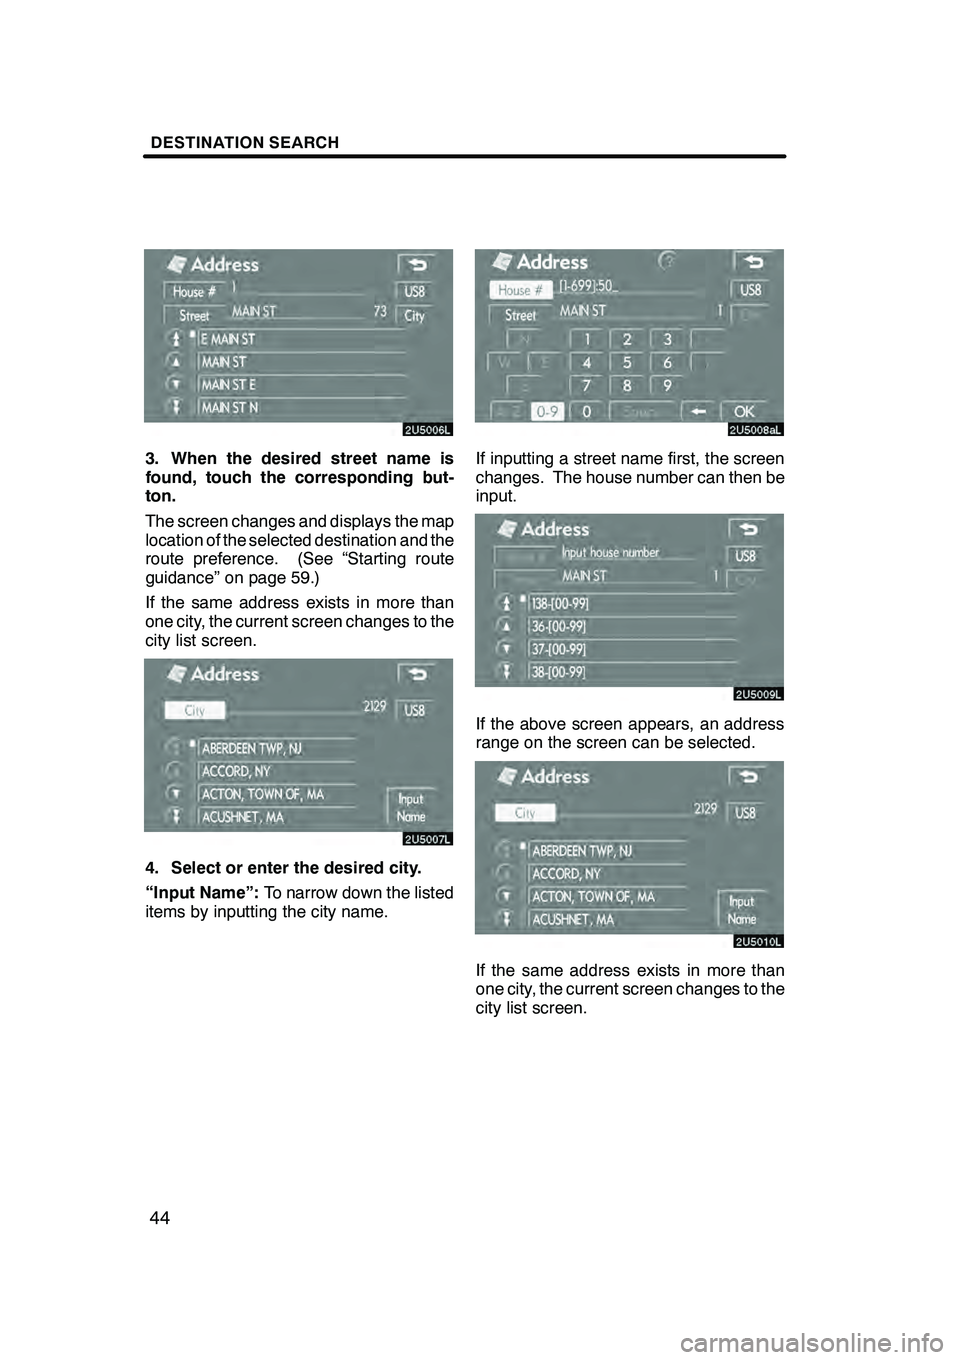
3. When the desired street name is
found, touch the corresponding but-
ton.
The screen changes and displays the map
location of the selected destination and the
route preference. (See “Starting route
guidance” on page 59.)
If the same address exists in more than
one city, the current screen changes to the
city list screen.
4. Select or enter the desired city.
“Input Name”:To narrow down the listed
items by inputting the city name.
If inputting a street name first, the screen
changes. The house number can then be
input.
If the above screen appears, an address
range on the screen can be selected.
If the same address exists in more than
one city, the current screen changes to the
city list screen.
GX470_Navi_U (OM60D58U) 07/06/16
Page 128 of 312
OTHER FUNCTIONS
127
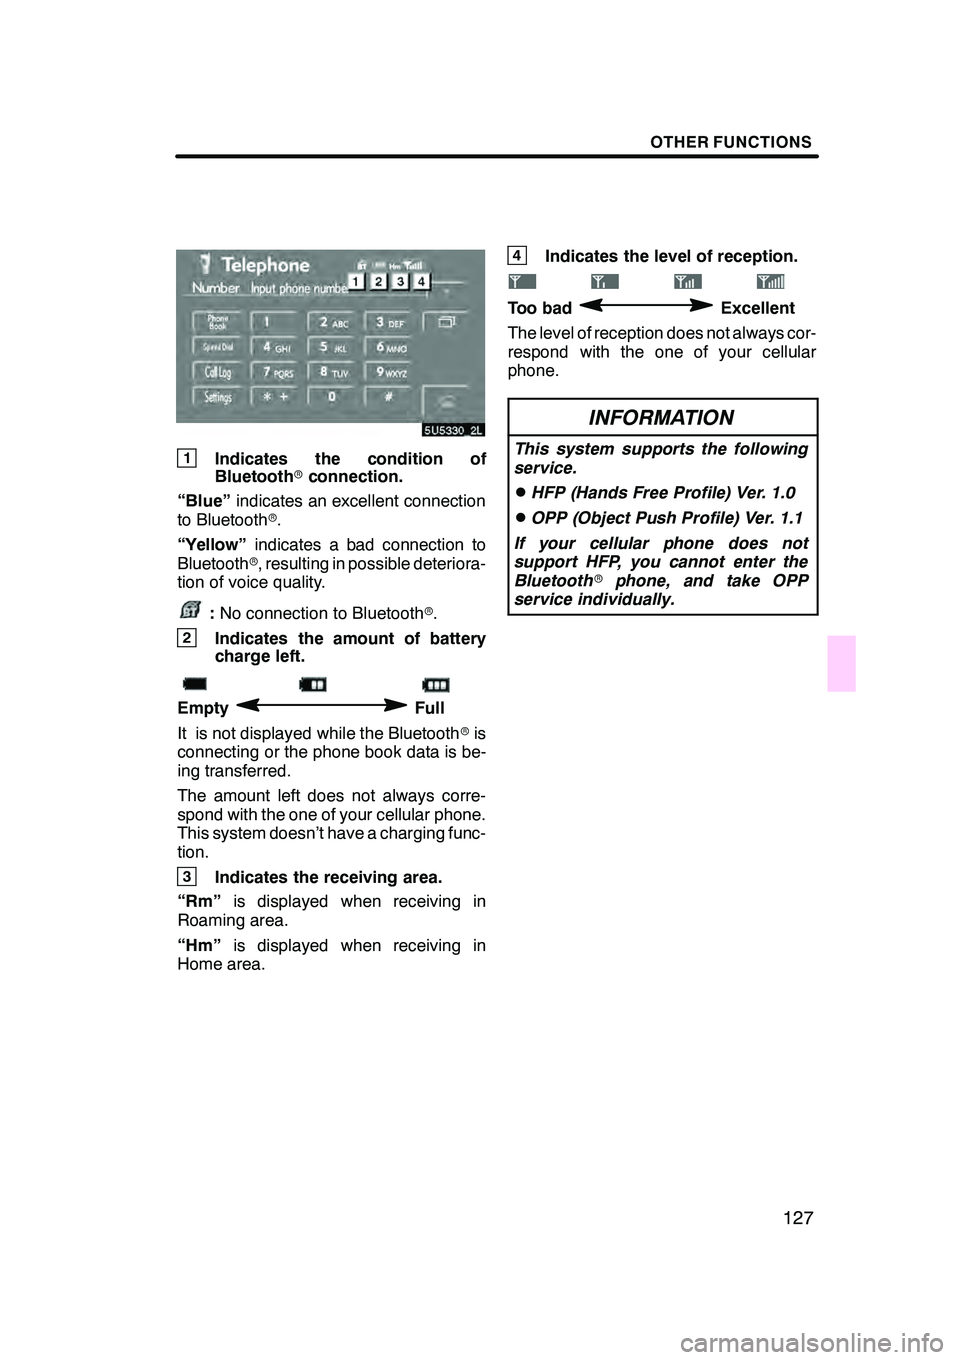
1Indicates the condition of
Bluetoothrconnection.
“Blue” indicates an excellent connection
to Bluetooth r.
“Yellow” indicates a bad connection to
Bluetooth r, resulting in possible deteriora-
tion of voice quality.
: No connection to Bluetooth r.
2Indicates the amount of battery
charge left.
EmptyFull
It is not displayed while the Bluetooth ris
connecting or the phone book data is be-
ing transferred.
The amount left does not always corre-
spond with the one of your cellular phone.
This system doesn’t have a charging func-
tion.
3Indicates the receiving area.
“Rm” is displayed when receiving in
Roaming area.
“Hm” is displayed when receiving in
Home area.
4Indicates the level of reception.
Too badExcellent
The level of reception does not always cor-
respond with the one of your cellular
phone.
INFORMATION
This system supports the following
service.
DHFP (Hands Free Profile) Ver. 1.0
DOPP (Object Push Profile) Ver. 1.1
If your cellular phone does not
support HFP, you cannot enter the
Bluetooth rphone, and take OPP
service individually.
GX470_Navi_U (OM60D58U) 07/06/16
Page 174 of 312
OTHER FUNCTIONS
173
The speech command system enables
you to operate the navigation system,
audio system and hands−free system
by giving a command.
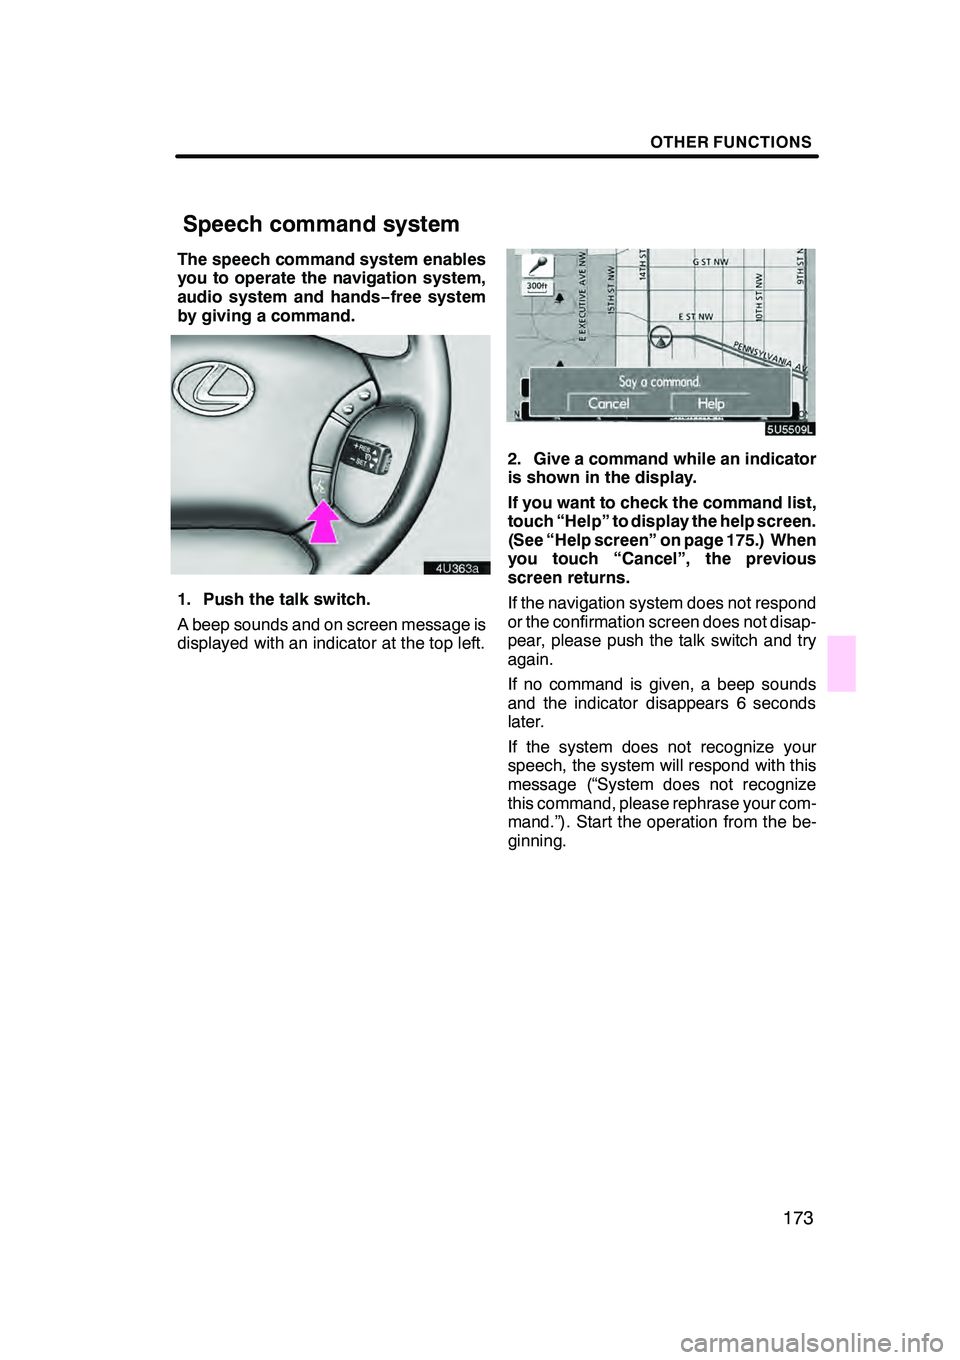
1. Push the talk switch.
A beep sounds and on screen message is
displayed with an indicator at the top left.
2. Give a command while an indicator
is shown in the display.
If you want to check the command list,
touch “Help” to display the help screen.
(See “Help screen” on page 175.) When
you touch “Cancel”, the previous
screen returns.
If the navigation system does not respond
or the confirmation screen does not disap-
pear, please push the talk switch and try
again.
If no command is given, a beep sounds
and the indicator disappears 6 seconds
later.
If the system does not recognize your
speech, the system will respond with this
message (“System does not recognize
this command, please rephrase your com-
mand.”). Start the operation from the be-
ginning.
GX470_Navi_U (OM60D80U) 08/01/11
Speech command system
Page 189 of 312
AUDIO/VIDEO SYSTEM
188
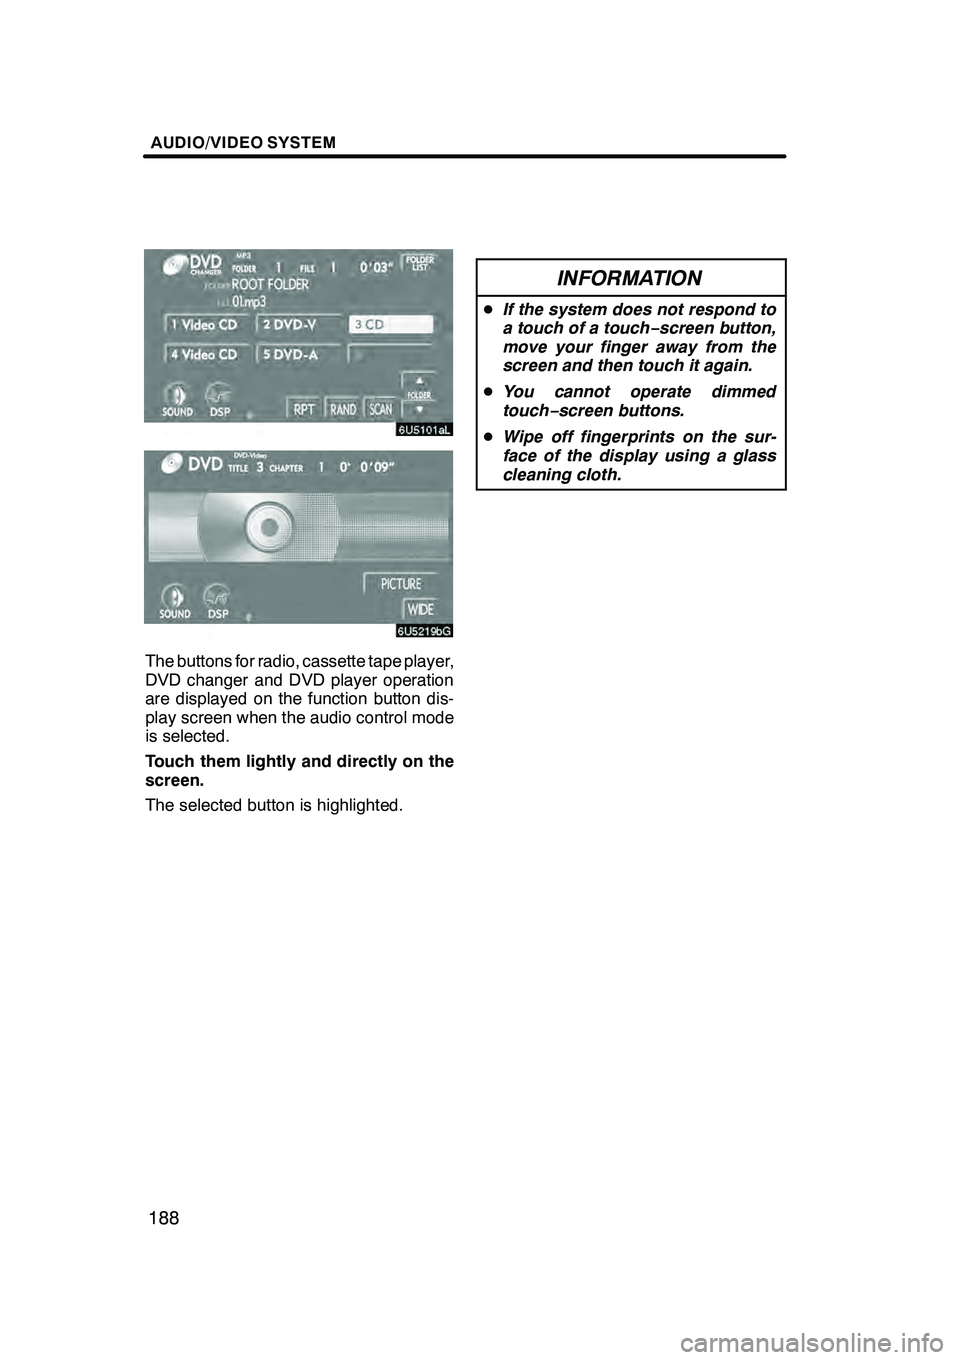
The buttons for radio, cassette tape player,
DVD changer and DVD player operation
are displayed on the function button dis-
play screen when the audio control mode
is selected.
Touch them lightly and directly on the
screen.
The selected button is highlighted.
INFORMATION
DIf the system does not respond to
a touch of a touch− screen button,
move your finger away from the
screen and then touch it again.
D You cannot operate dimmed
touch− screen buttons.
D Wipe off fingerprints on the sur-
face of the display using a glass
cleaning cloth.
GX470_Navi_U (OM60D58U) 07/06/16
Page 198 of 312
AUDIO/VIDEO SYSTEM
197
To listen to a satellite radio broadcast in
your vehicle, an additional genuine Lexus
satellite receiver and antenna must be pur-
chased and installed, and the subscription
to the XMrSatellite Radio is necessary.
DHow to subscribe to an XM rSatellite
Radio
An XM rSatellite Radio is a tuner designed
exclusively to receive broadcasts provided
under a separate subscription. Availability
is limited to the 48 contiguous states.
How to subscribe: You must enter into a
separate service agreement with the XM r
Satellite Radio in order to receive satellite
broadcast programming in the vehicle.
Additional activation and service subscrip-
tion fees apply that are not included in the
purchase price of the vehicle and optional
digital satellite tuner. For complete infor-
mation on subscription rates and terms, or
to subscribe to the XM rSatellite Radio,
visit XM ron the web at www.xmradio.com
or call an XM r’s Listener Care at
1− 877− 515−3987. The XM rSatellite Ra-
dio is solely responsible for the quality,
availability and content of the satellite ra-
dio services provided, which are subject to
the terms and conditions of the XM rSatel-
lite Radio customer service agreement.
Customers should have their radio ID
ready; the radio ID can be found by select-
ing “channel 000” on the radio. For details,
see the “Displaying the radio ID” that fol-
lows.
All fees and programming are the respon-
sibility of the XM rSatellite Radio and are
subject to change.
Satellite tuner technology notice:
Toyota’s satellite radio tuners are awarded
Type Approval Certificates from XM r
Satellite Radio Inc. as proof of
compatibility with the services offered by
the XM rSatellite Radio.
DDisplaying the radio ID
Each XM rtuner is identified with a unique
radio ID. You will need the radio ID when
activating XM rservice or when reporting
a problem.
If you select the “CH 000” using the
“TUNE” knob, the ID code of 8 alphanu-
meric characters appears. If you select
another channel, display of the ID code is
canceled.
GX470_Navi_U (OM60D58U) 07/06/16
— Radio operation
(XM rSatellite Radio
broadcast)
Page 204 of 312
AUDIO/VIDEO SYSTEM
203
NOTICE
This equipment has been tested and
found to comply with the limits for a
class B digital device, pursuant to
Part 15 of the FCC Rules. These lim-
its are designed to provide reason-
able protection against harmful inter-
ference in a residential installation.
This equipment generates, uses and
can radiate radio frequency energy
and, if not installed and used in ac-
cordance with the instructions, may
cause harmful interference to radio
communications. However, there is
no guarantee that interference will
not occur in a particular installation.
If this equipment does cause harmful
interference to radio or television re-
ception, which can be determined by
turning the equipment off and on, the
user is encouraged to try to correct
the interference by one or more of the
following measures:
— Reorient or relocate the receiving
antenna.
— Increase the separation between
the equipment and receiver.
— Connect the equipment into an
outlet on a circuit different from that
to which the receiver is connected.
— Consult the dealer or an experi-
enced radio/TV technician for help.
Information to user
Alternation or modifications carried
out without appropriate authoriza-
tion may invalidate the user’s right to
operate the equipment.
INFORMATION
This XMrtuner supports “Audio Ser-
vices” (Music and Talk) of only XM r
Satellite Radio and “Text Informa-
tion”* linked to the respective “Audio
Services”.
*Text Information includes, Station
Name, (Artist) Name, (Song) Title and
Category Name.
GX470_Navi_U (OM60D58U) 07/06/16
Page 207 of 312
AUDIO/VIDEO SYSTEM
206
D
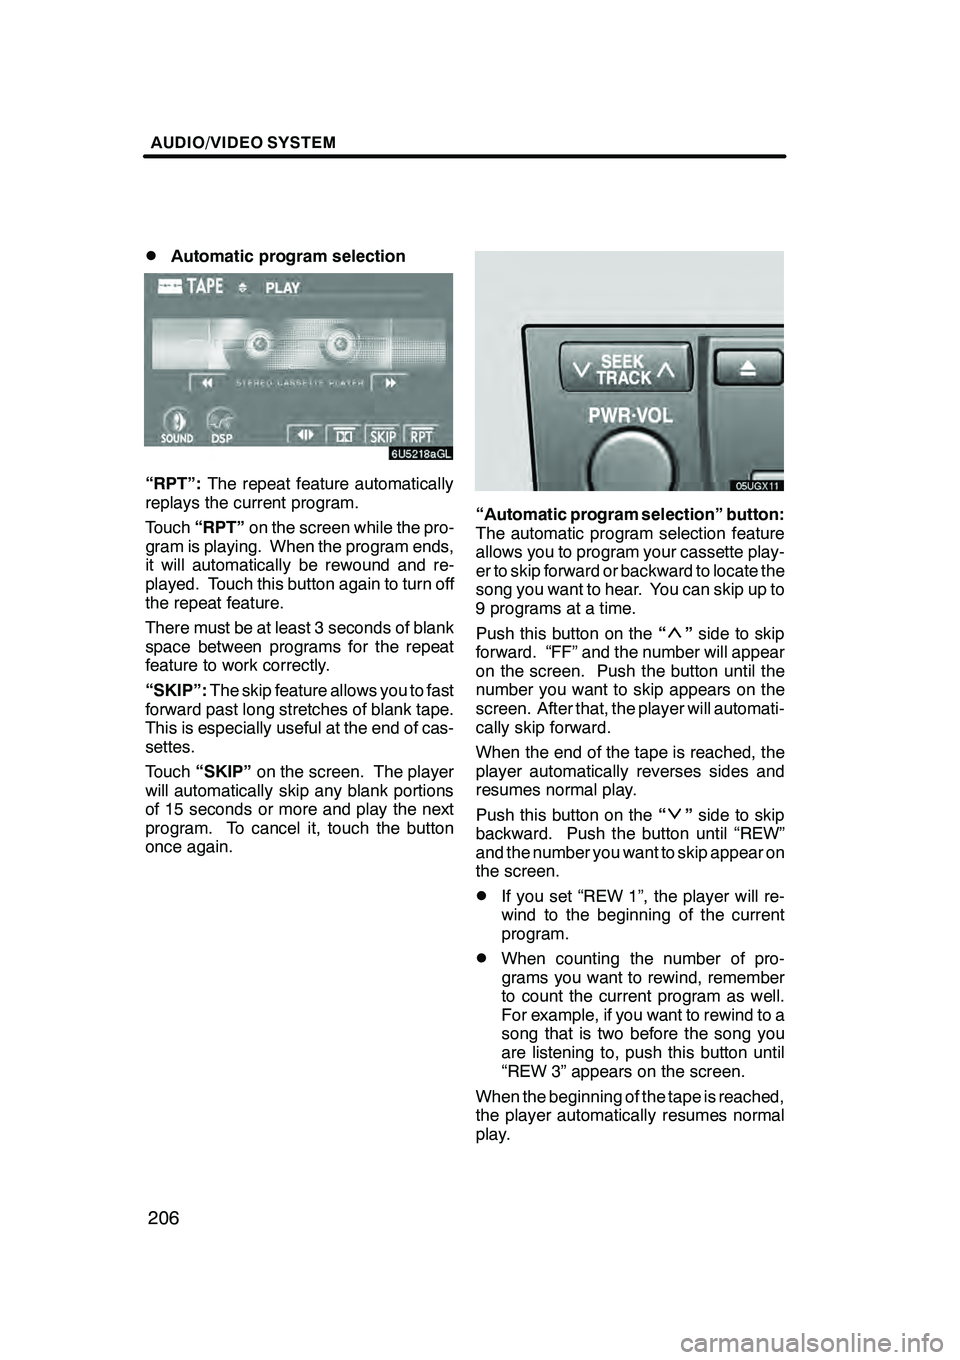
Automatic program selection
“RPT”:
The repeat feature automatically
replays the current program.
Touch “RPT” on the screen while the pro-
gram is playing. When the program ends,
it will automatically be rewound and re-
played. Touch this button again to turn off
the repeat feature.
There must be at least 3 seconds of blank
space between programs for the repeat
feature to work correctly.
“SKIP”: The skip feature allows you to fast
forward past long stretches of blank tape.
This is especially useful at the end of cas-
settes.
Touch “SKIP” on the screen. The player
will automatically skip any blank portions
of 15 seconds or more and play the next
program. To cancel it, touch the button
once again.
“Automatic program selection” button:
The automatic program selection feature
allows you to program your cassette play-
er to skip forward or backward to locate the
song you want to hear. You can skip up to
9 programs at a time.
Push this button on the “
”side to skip
forward. “FF” and the number will appear
on the screen. Push the button until the
number you want to skip appears on the
screen. After that, the player will automati-
cally skip forward.
When the end of the tape is reached, the
player automatically reverses sides and
resumes normal play.
Push this button on the “
”side to skip
backward. Push the button until “REW”
and the number you want to skip appear on
the screen.
DIf you set “REW 1”, the player will re-
wind to the beginning of the current
program.
DWhen counting the number of pro-
grams you want to rewind, remember
to count the current program as well.
For example, if you want to rewind to a
song that is two before the song you
are listening to, push this button until
“REW 3” appears on the screen.
When the beginning of the tape is reached,
the player automatically resumes normal
play.
GX470_Navi_U (OM60D58U) 07/06/16