reset Lexus GX470 2008 Using other driving systems / LEXUS 2008 GX470 OWNER'S MANUAL (OM60D82U)
[x] Cancel search | Manufacturer: LEXUS, Model Year: 2008, Model line: GX470, Model: Lexus GX470 2008Pages: 458, PDF Size: 7.3 MB
Page 45 of 458

45
1
1-3. Adjustable components (seats, mirrors, steering wheel, etc.)
Before driving
Driving position memory system
Your preferred driving position (the po sition of the driver’s seat, steering
wheel and outside rear view mirrors) can be entered into the computer’s
memory and recalled with the touch of a button.
Two different driving positions can be entered into memory.
■Entering a position into memory
Check that the shift lever is set in “P”.
Turn the engine switch to the “ON” position.
Adjust the driver’s seat, steeri ng wheel, and outside rear view
mirrors to the desired positions.
While pushing the “SET” button,
push button “1” or “2” until the
signal beeps.
If the selected button has
already been preset, the previ-
ously recorded position will be
overwritten.
STEP1
STEP2
STEP3STEP3
Page 46 of 458

46
1-3. Adjustable components (seats, mirrors, steering wheel, etc.)
■Retained accessory power
Each memorized position (except for the tilt and telescopic steering column) can
be activated within 30 seconds after the driver’s door is opened, even if the key is
not in the engine switch.
■If any position memory button is push ed while the adjustments are being made
The operation will stop. To reactivate the system, push the button again.
■If the battery is disconnected
The memorized positions must be reset because the computer’s memory is erased
when the battery is disconnected.
CAUTION
■Seat adjustment caution
Take care during seat adjustment that the seat does not strike the rear passenger or
squeeze your body against the steering wheel.
If this happens, you can stop the movement by pressing another seat position mem-
ory button.
■ Recalling the memorized position
Check that the shift lever is set in “P”.
Turn the engine switch to the “ON” position. Push button “1” or “2” to recall
the desired position.
STEP1
STEP2
Page 126 of 458

126
2-2. Instrument cluster
Gauges and meters
The units used on the speedometer may differ depending on the target
region.
The following gauges and meters illuminate when the engine switch is
in the “ON” position.
Fuel gauge
Displays the quantity of fuel remaining in the tank.
Speedometer
Displays the vehicle speed.
Tachometer
Displays the engine speed in revolutions per minute.
Engine coolant temperature gauge
Displays the engine coolant temperature.
Odometer/trip meter and trip meter reset knob
Switches between odometer and trip meter displays. Pushing and holding
the knob will reset the trip meter when the trip meter is being displayed.
Page 127 of 458

127
2-2. Instrument cluster
2
When drivingInstrument panel light controlThe brightness of the instrument panel lights can be adjusted. Brighter
Darker
Odometer
Displays the total distance the vehicle has been driven.
Trip meter
Displays the distance the vehicle has been driven since the meter was last
reset. Trip meters A and B can be used to record and display different dis-
tances independently.
Page 133 of 458

133
2-2. Instrument cluster
2
When driving
Display light controlPush and hold the “MODE ” button until “ILL” appears on the display.
Push “ ▲” or “▼ ” to adjust the brightness.
You can adjust the brightness to 3 levels (when the tail lights are off) or 6 lev-
els (when the tail lights are on).
Trip information
■ Driving range
■ Average fuel consumption after refueling
■ Current fuel consumption
■ Average vehicle speed Displays the estimated maximum distance that can
be driven with the quantity of fuel remaining.
This distance is computed based on your average fuel
consumption. As a result, the actual distance that can be
driven may differ from that displayed.
When only a small amount of fuel is added to the tank,
the display may not be updated.
Displays the average fuel
consumption since the
vehicle was last refueled.
Displays the current rate of fuel consumption.
Displays the average vehicle speed since the engine
was started or the function was reset.
The function can be reset by pushing the “RESET” but-
ton for longer than 1 second when the average vehicle
speed is displayed.
Page 134 of 458

134
2-2. Instrument cluster
■Barometer
■ Altimeter
■ Current fuel consumption
Displays the atmospheric pressure in the vehicle.
The displayed atmospheric pressure ranges from 17.8
IN.HG (600 hPa) up to 31.0 IN.HG (1050 hPa).
Displays the approximate altitude.
The displayed altitude ranges from -1500 ft. (-500 m)
up to 13000 ft. (4000 m).
Displays the elapsed time after the engine starts.
When the engine is started, driving time is counted
from 0:00.
Up to 19:59 (19 hours, 59 minutes) can be displayed.
■Altimeter mode
The indicated altitude of a single position may deviate according to the atmospheric
pressure and temperature.
While the altitude mode is displayed, push the “ ▲” or “▼ ” button to increase/
decrease the altitude by 50 ft. (or 10 m).
To reset the adjusted altitude, push and hold the “RESET” button for more than 1
second.
CAUTION
■Caution while driving
Do not adjust the display.
Doing so may cause the driver to mishandle the vehicle and an accident, resulting in
death or serious injury.
Page 144 of 458

144
2-4. Using other driving systems
■Cruise control can be set when
●The shift lever is in “D” or “4”.
●Vehicle speed is between approximately 25 mph (40 km/h) and 125 mph
(200 km/h).
■Accelerating
The vehicle can be accelerated normally. After acceleration, the set speed
resumes.
■Automatic cruise control cancelation
The set speed is automatically canceled in any of the following situations.
●Actual vehicle speed falls more than 10 mph (16 km/h) below the preset vehicle
speed
●Actual vehicle speed is below 25 mph (40 km/h)
●VSC is activated
■If the cruise control indicator light flashes
Turn the “ON-OFF” button off once, and then reactivate the system.
If the cruise control speed cannot be set or if the cruise control cancels immediately
after being activated, there may be a malfun ction in the cruise control system. Have
the vehicle inspected by your Lexus dealer.
Page 204 of 458

204
3-2. Using the audio system
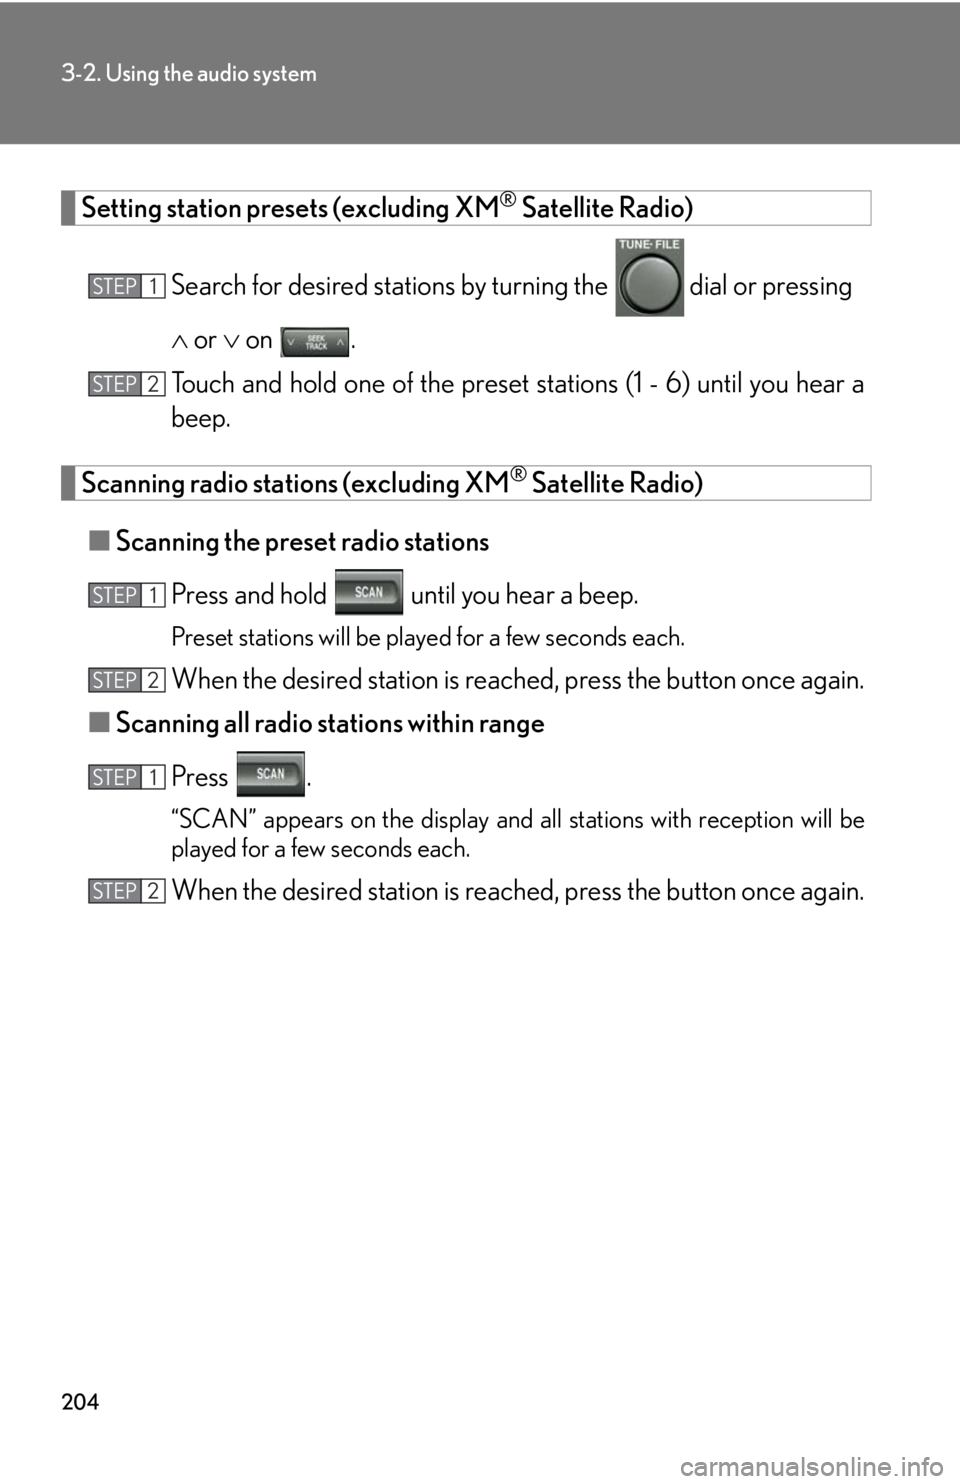
Setting station presets (excluding XM® Satellite Radio)
Search for desired stations by turning the
dial or pressing
or on .
Touch and hold one of the preset st ations (1 - 6) until you hear a
beep.
Scanning radio stations (excluding XM® Satellite Radio)
■ Scanning the preset radio stations
Press and hold until you hear a beep.
Preset stations will be played for a few seconds each.
When the desired station is reach ed, press the button once again.
■ Scanning all radio stations within range
Press .
“SCAN” appears on the display and all stations with reception will be
played for a few seconds each.
When the desired station is reach ed, press the button once again.
STEP1
STEP2
STEP1
STEP2
STEP1
STEP2
Page 207 of 458

207
3-2. Using the audio system
3
Interior features
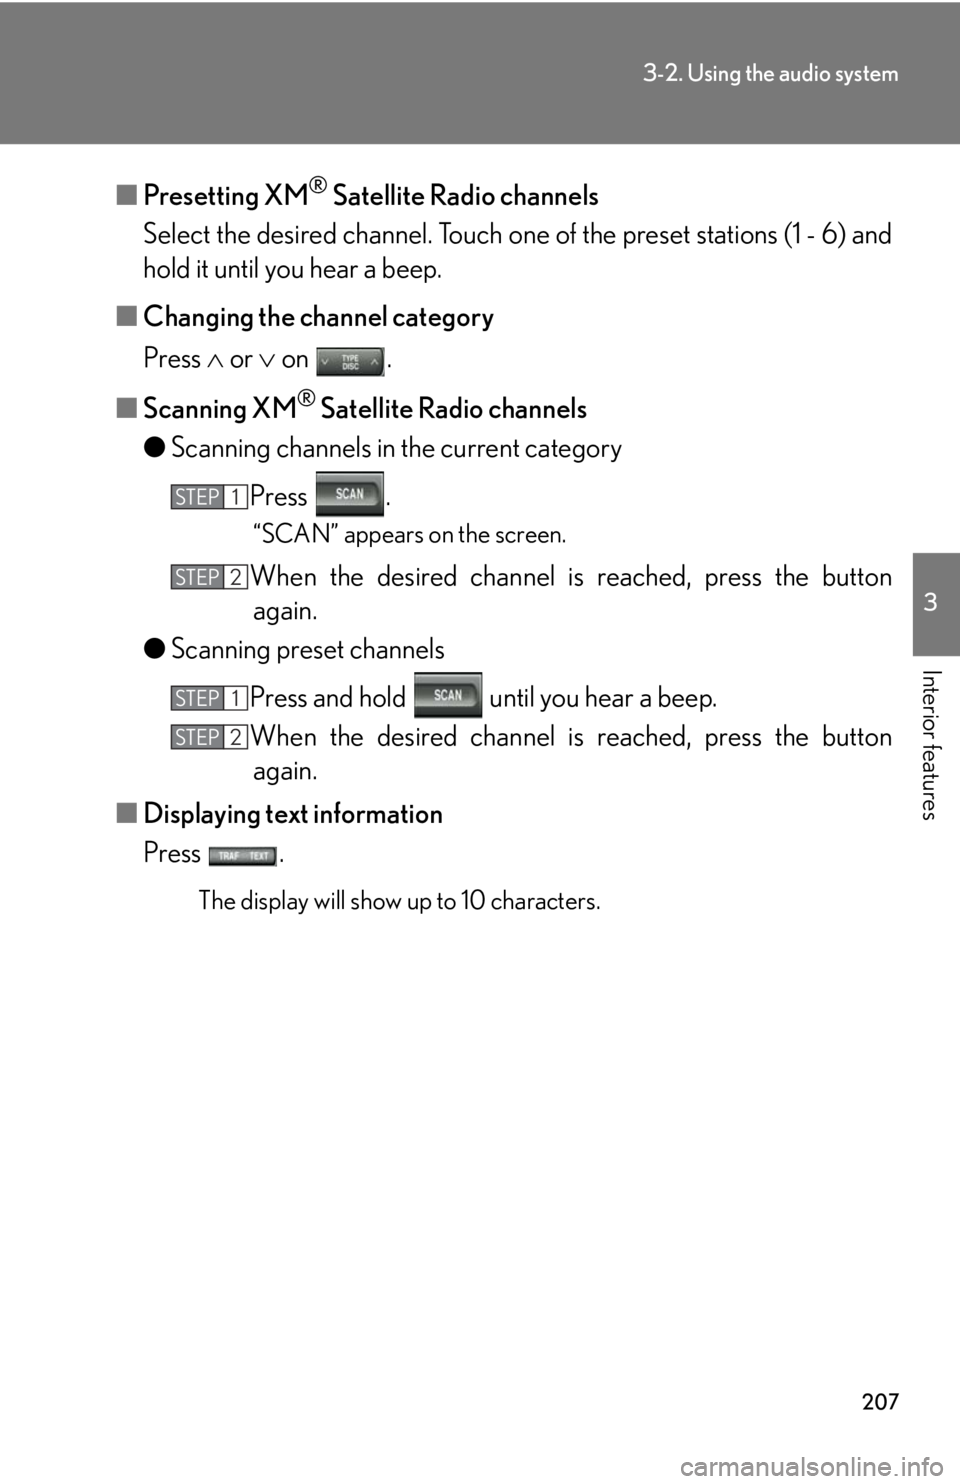
■Presetting XM® Satellite Radio channels
Select the desired channe l. Touch one of the preset stations (1 - 6) and
hold it until you hear a beep.
■ Changing the channel category
Press or on .
■ Scanning XM
® Satellite Radio channels
● Scanning channels in the current category
Press .
“SCAN” appears on the screen.
When the desired channel is reached, press the button
again.
● Scanning preset channels
Press and hold until you hear a beep.
When the desired channel is reached, press the button
again.
■ Displaying text information
Press .
The display will show up to 10 characters.
STEP1
STEP2
STEP1
STEP2
Page 208 of 458

208
3-2. Using the audio system
■When the battery is disconnected
All preset stations are erased.
■Reception sensitivity
●Maintaining perfect radio reception at all times is difficult due to the continually
changing position of the antenna, differences in signal strength and surrounding
objects, such as trains, transmitters, etc.
●The radio antenna is mounted inside the quarter window. To maintain clear
radio reception, do not attach metallic window tinting or other metallic objects
to the antenna wire mounted inside the quarter window.
■Receiving XM® Satellite Radio
The optional Lexus genuine satellite radio tuner and antenna allows you to receive
and play XM
® Satellite Radio broadcasts. (Subsc ription is required. Not available
in Hawaii and Alaska.)
*
●XM® subscriptions
For detailed information about XM® Satellite Radio or to subscribe, visit XM®
on the web at www.xmradio.com or call 1-877-515-3987.
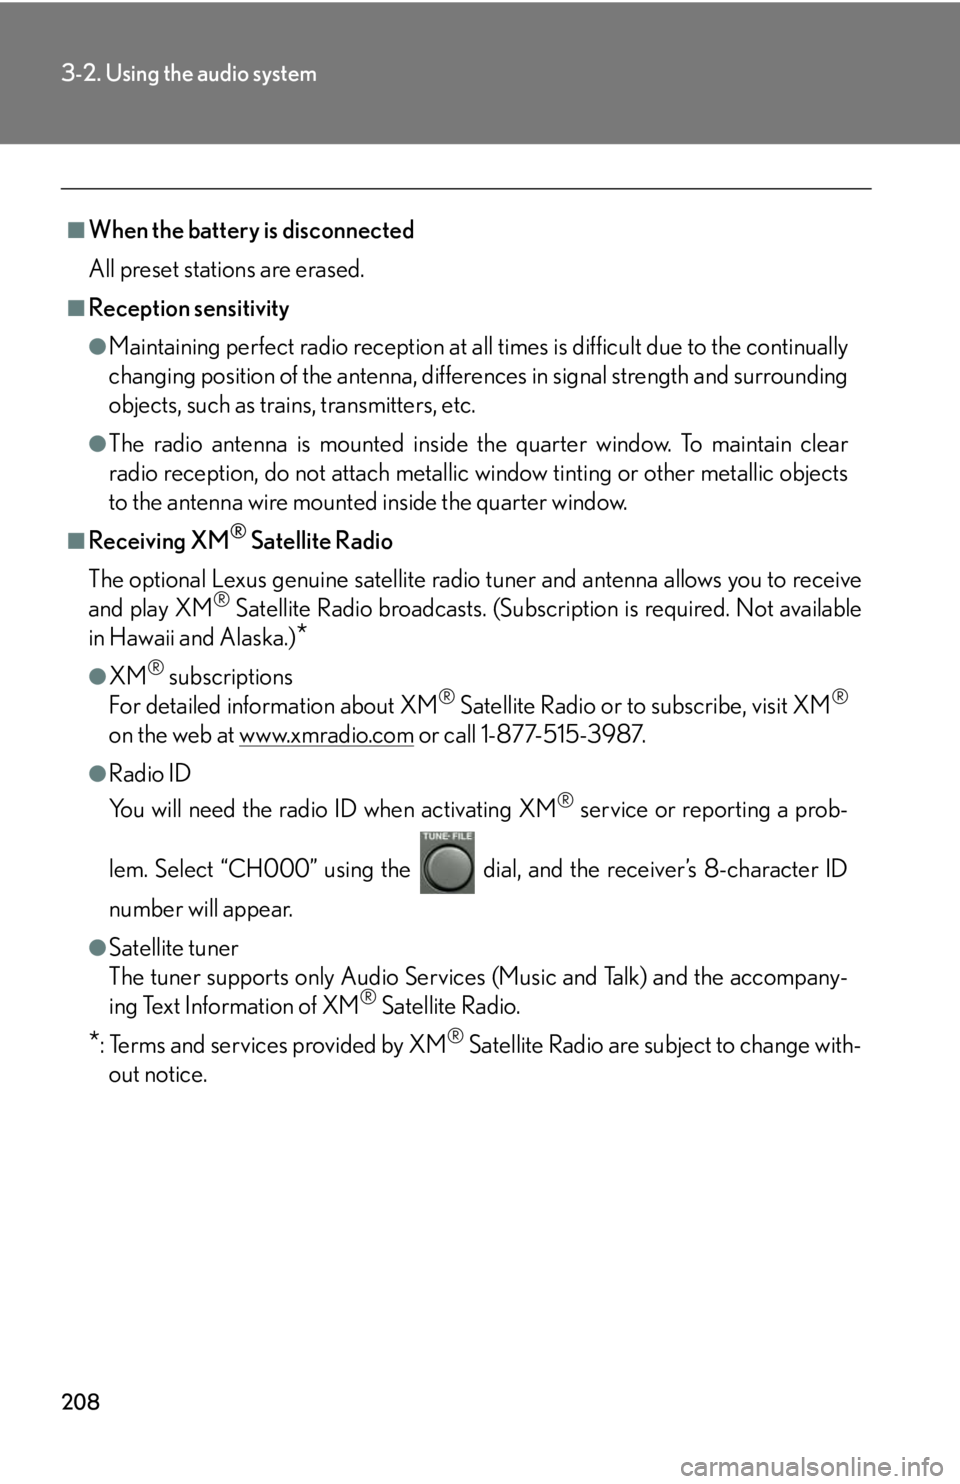
●Radio ID
You will need the radio ID when activating XM
® service or reporting a prob-
lem. Select “CH000” using the dial , and the receiver’s 8-character ID
number will appear.
●Satellite tuner
The tuner supports only Audio Services (Music and Talk) and the accompany-
ing Text Information of XM
® Satellite Radio.
*: Terms and services provided by XM® Satellite Radio are subject to change with-
out notice.