audio Lexus HS250h 2011 Do-it-yourself maintenance / LEXUS 2011 HS250H (OM75037U) User Guide
[x] Cancel search | Manufacturer: LEXUS, Model Year: 2011, Model line: HS250h, Model: Lexus HS250h 2011Pages: 628, PDF Size: 10.69 MB
Page 184 of 628
184
2-2. Instrument cluster
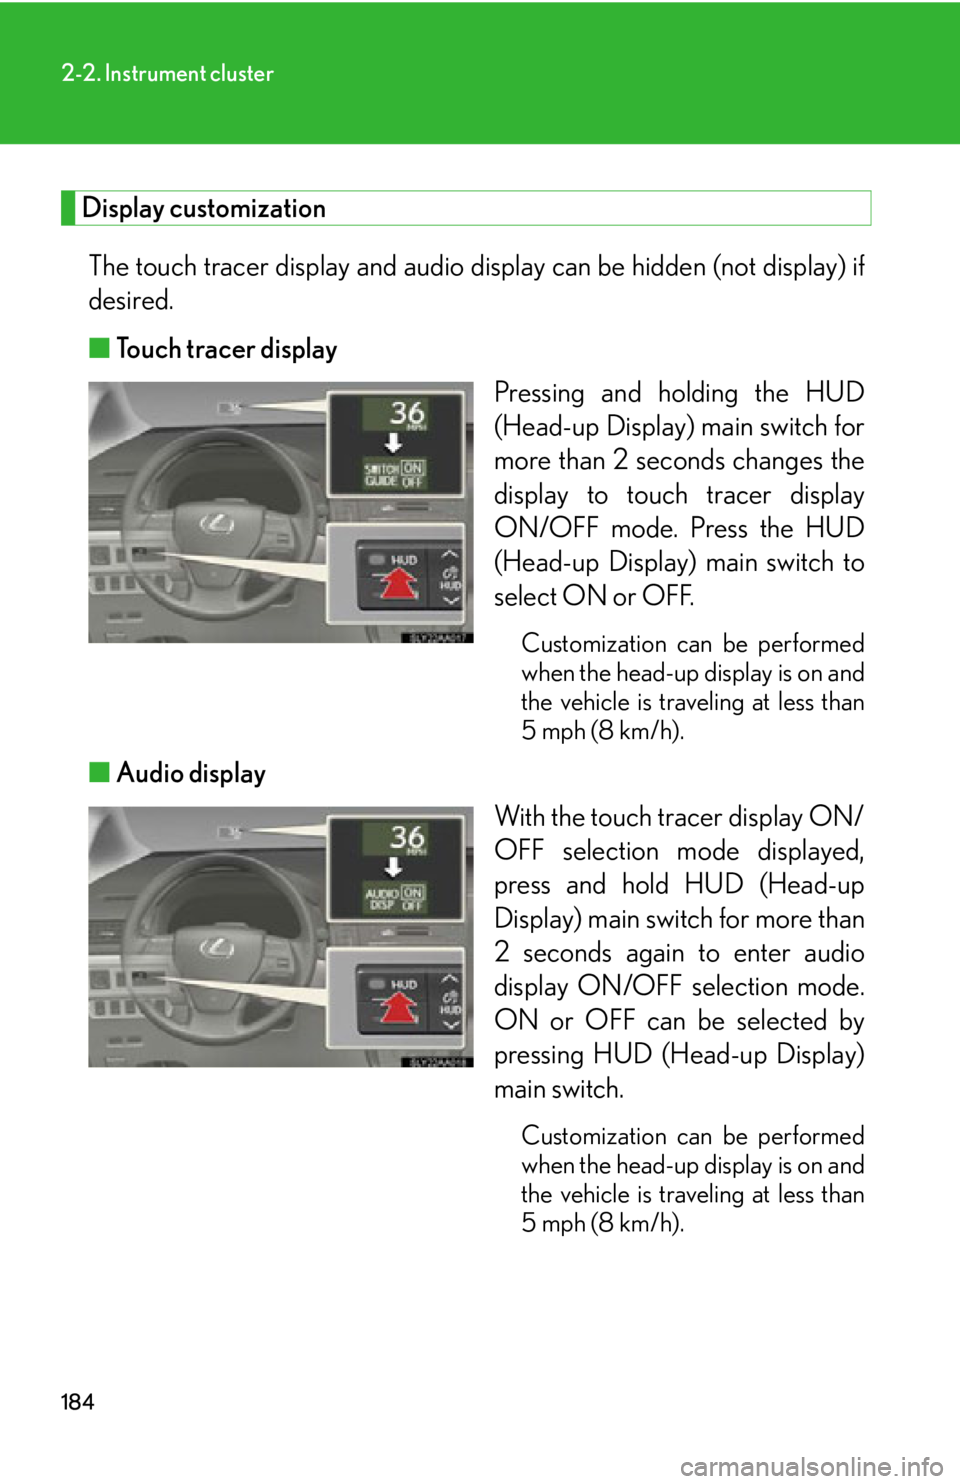
Display customizationThe touch tracer display and audio disp lay can be hidden (not display) if
desired.
■ Touch tracer display
Pressing and holding the HUD
(Head-up Display) main switch for
more than 2 seconds changes the
display to touc h tracer display
ON/OFF mode. Press the HUD
(Head-up Display) main switch to
select ON or OFF.
Customization can be performed
when the head-up display is on and
the vehicle is traveling at less than
5 mph (8 km/h).
■ Audio display
With the touch tracer display ON/
OFF selection mode displayed,
press and hold HUD (Head-up
Display) main switch for more than
2 seconds again to enter audio
display ON/OFF selection mode.
ON or OFF can be selected by
pressing HUD (Head-up Display)
main switch.
Customization can be performed
when the head-up display is on and
the vehicle is traveling at less than
5 mph (8 km/h).
Page 254 of 628
254
3-1. Using the air conditioning system and defogger
Automatic air conditioning
system..................................... 256
Rear window defogger switch ...................................... 264
Windshield wiper de-icer .... 265
3-2. Using the audio system Audio system........................... 266
Using the radio ....................... 269
Using the CD player .............. 277
Playing MP3 and WMA discs......................................... 285
Operating an iPod ................. 292
Operating a USB memory.................................. 300
Optimal use of the audio
system..................................... 308
Using the AUX port ................ 311
Using the steering wheel
audio switches....................... 312
Interior features3
Page 255 of 628
Interior features3
255
3-3. Using the Bluetooth® audio
system
Bluetooth
® audio system ..... 315
Using the Bluetooth® audio
system ...................................... 318
Operating a Bluetooth
®
enabled portable player... 323
Setting up a Bluetooth
®
enabled portable player.... 326
Bluetooth
® audio system
setup ......................................... 331
3-4. Using the hands-free phone system (for cellular phones)
Hands-free system for
cellular phones.................... 332
Using the hands-free system (for cellular phones) ........... 336
Making a phone call .............. 344
Setting a cellular phone ....... 349
Security and system setup ........................................ 354
Using the phone book.......... 358
3-5. Using the interior lights Interior lights list ..................... 364
• Interior lights ........................ 365
• Personal lights ...................... 365 3-6. Using the storage features
List of storage features.......... 367
• Glove box .............................. 368
• Console box ......................... 369
• Cup holders ........................... 371
• Bottle holders....................... 373
• Auxiliary boxes .................... 374
3-7. Other interior features Sun visors ................................. 375
Vanity mirrors .......................... 376
Clock .......................................... 377
Power outlets .......................... 378
Seat heaters and ventilators ............................. 379
Armrest ..................................... 381
Rear sunshade ........................ 382
Floor mat .................................. 384
Trunk compartment features .................................. 386
Garage door opener ............ 388
Compass .................................. 396
Safety Connect ...................... 400
Page 266 of 628
266
3-2. Using the audio system
Audio system
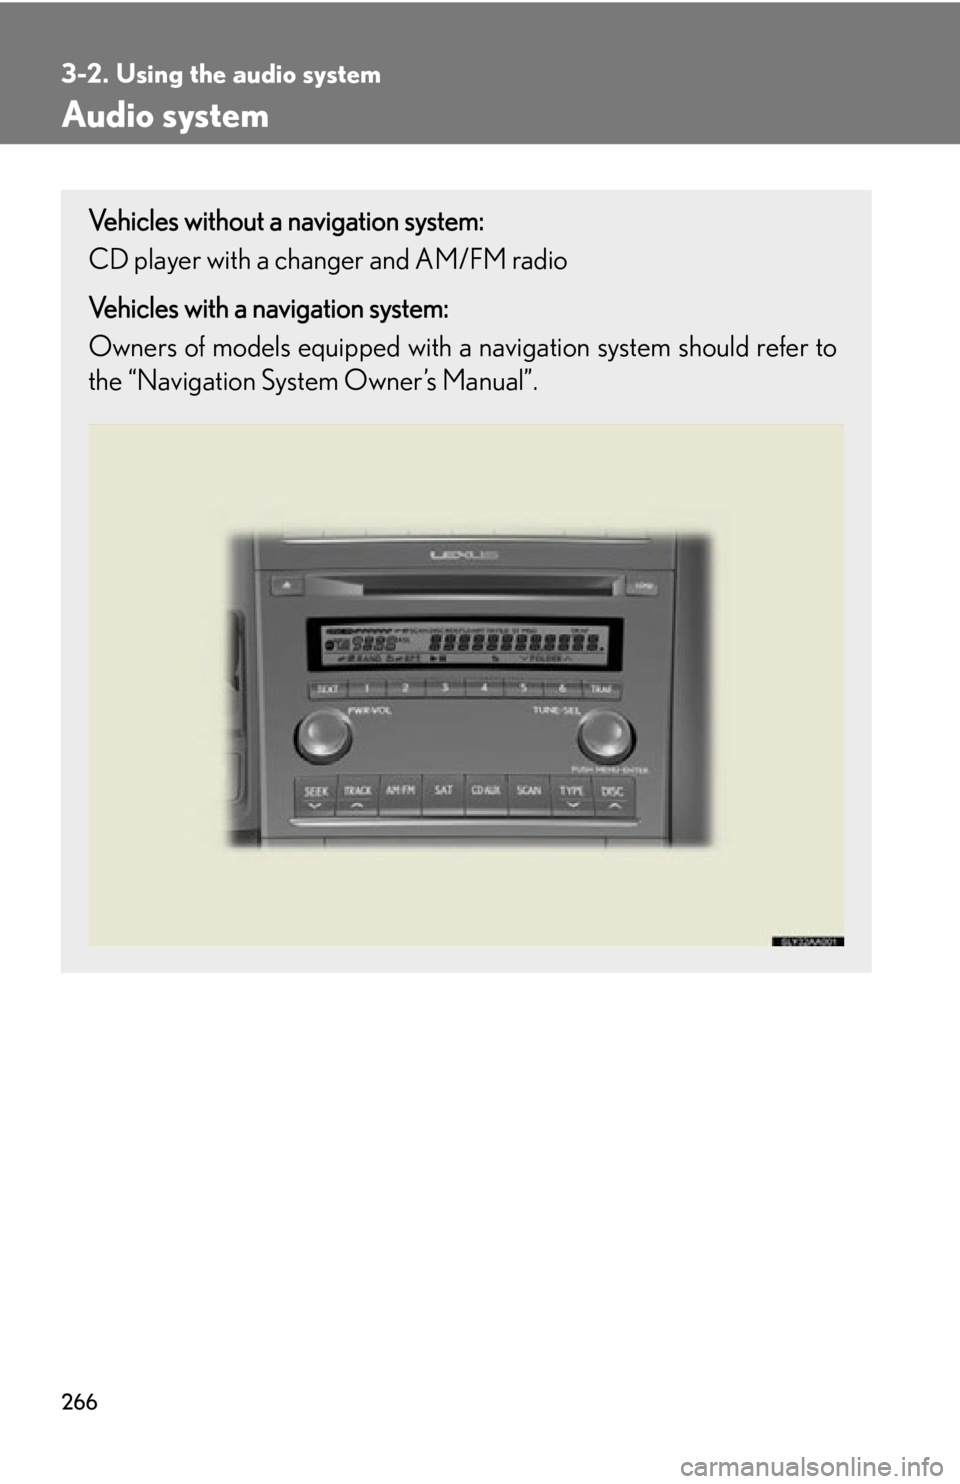
Vehicles without a navigation system:
CD player with a changer and AM/FM radio
Vehicles with a navigation system:
Owners of models equi pped with a navigation system should refer to
the “Navigation System Owner’s Manual”.
Page 267 of 628
267
3-2. Using the audio system
3
Interior features
■Using cellular phones
Interference may be heard through the audio system’s speakers if a cellular phone is
being used inside or close to the vehicle while the audio system is operating.
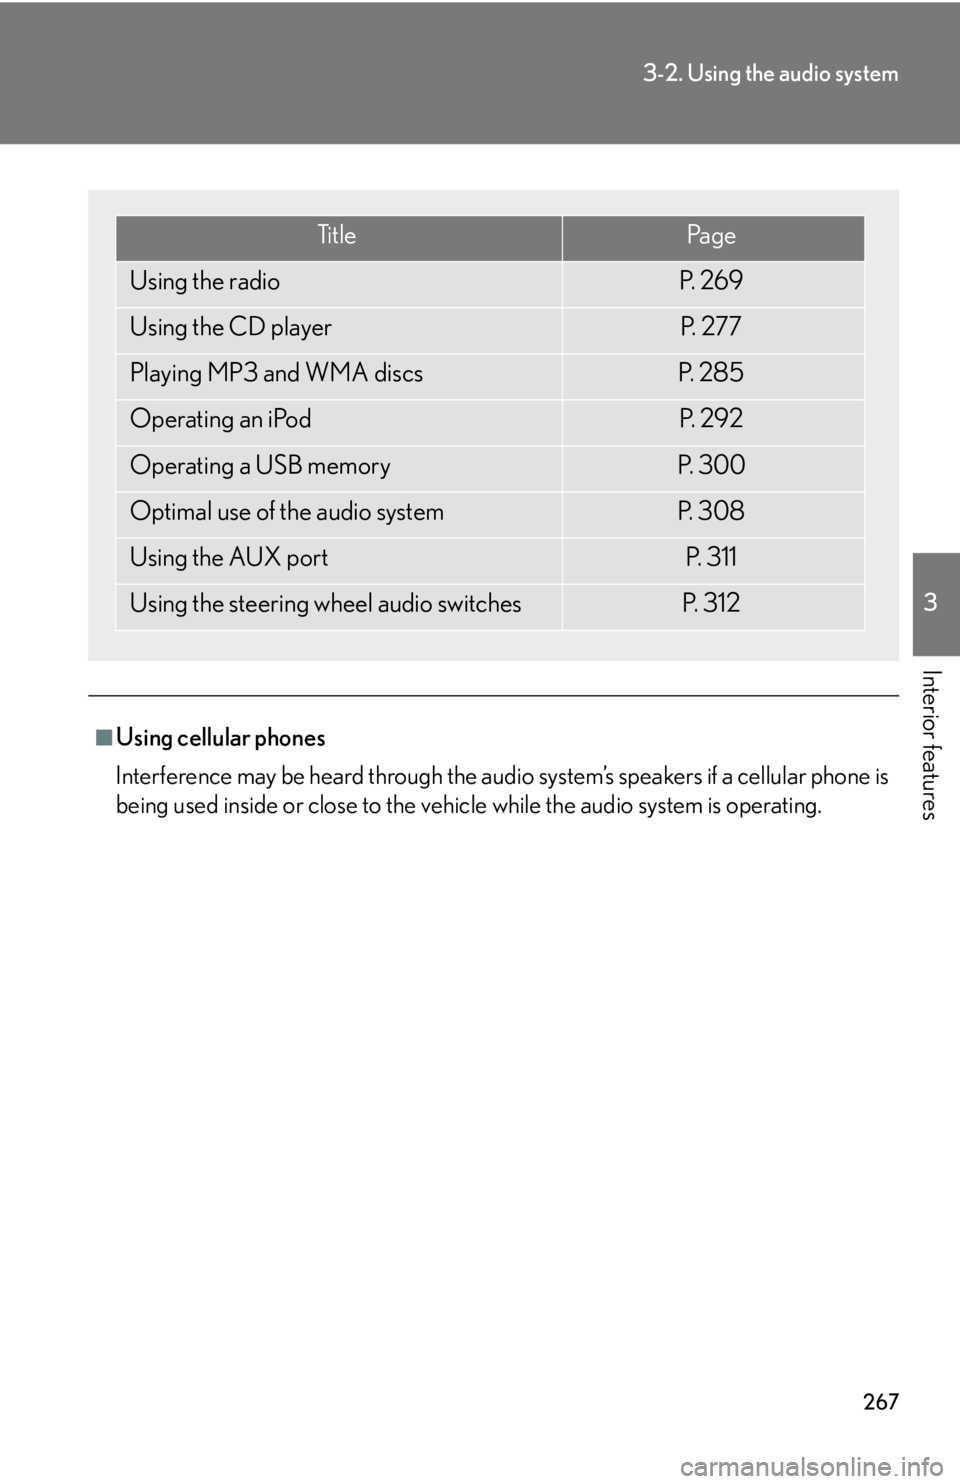
Ti t l ePa g e
Using the radioP. 2 6 9
Using the CD playerP. 2 7 7
Playing MP3 and WMA discsP. 2 8 5
Operating an iPodP. 2 9 2
Operating a USB memoryP. 3 0 0
Optimal use of the audio systemP. 3 0 8
Using the AUX portP. 3 1 1
Using the steering wheel audio switchesP. 3 1 2
Page 268 of 628
268
3-2. Using the audio system
CAUTION
■Certification
●Pa r t 1 5 o f t h e F CC Ru l e s
FCC Warning:
Any unauthorized changes or modifications to this equipment will void the user’s
authority to operate this device.
●Laser products
• Do not take this unit apart or attempt to make any changes by yourself. This is an intricate unit that uses a lase r pickup to retrieve information from the
surface of compact discs. The laser is carefully shielded so that its rays remain
inside the cabinet. Therefore, never try to disassemble the player or alter any
of its parts since you may be exposed to laser rays and dangerous voltages.
• This product utilizes a laser. Use of controls or adjustments or performance of procedures other than
those specified herein may result in hazardous radiation exposure.
NOTICE
■To prevent battery discharge
Do not leave the audio system on longer than necessary with the engine off.
■To avoid damaging the audio system
Take care not to spill drinks or other fluids over the audio system.
Page 269 of 628
269
3-2. Using the audio system
3
Interior features
Using the radio
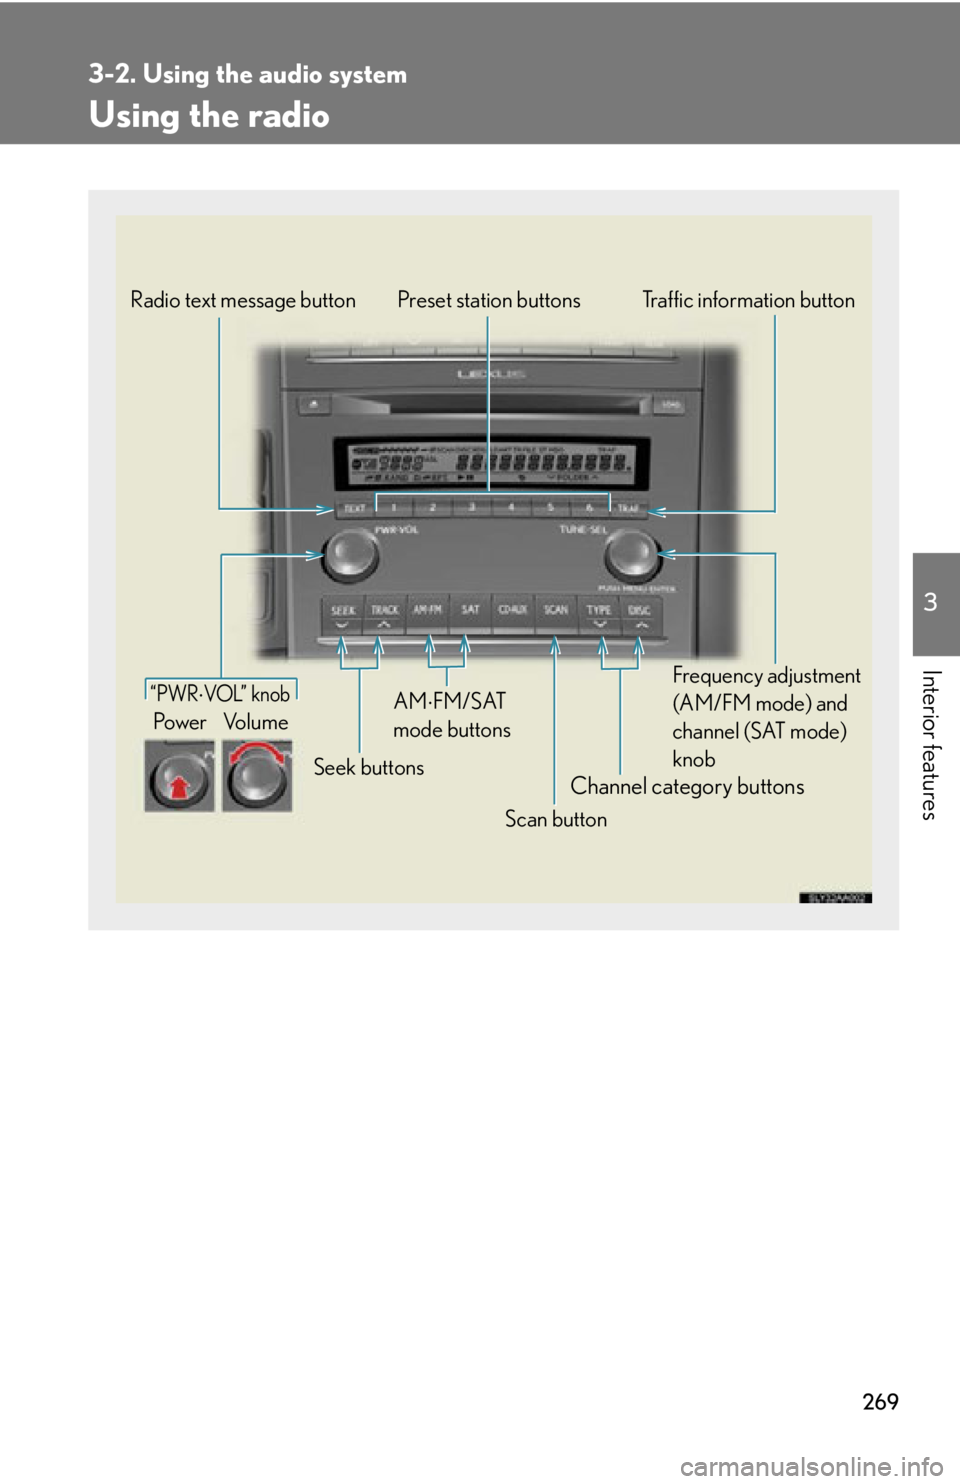
Channel category buttons
“PWRVOL” k nob
Pow e r Vo l u m eTraffic information button
Preset station buttons
Scan button
Seek buttons
Radio text message button
Frequency adjustment
(AM/FM mode) and
channel (SAT mode)
knob
AMFM/SAT
mode buttons
Page 270 of 628
270
3-2. Using the audio system
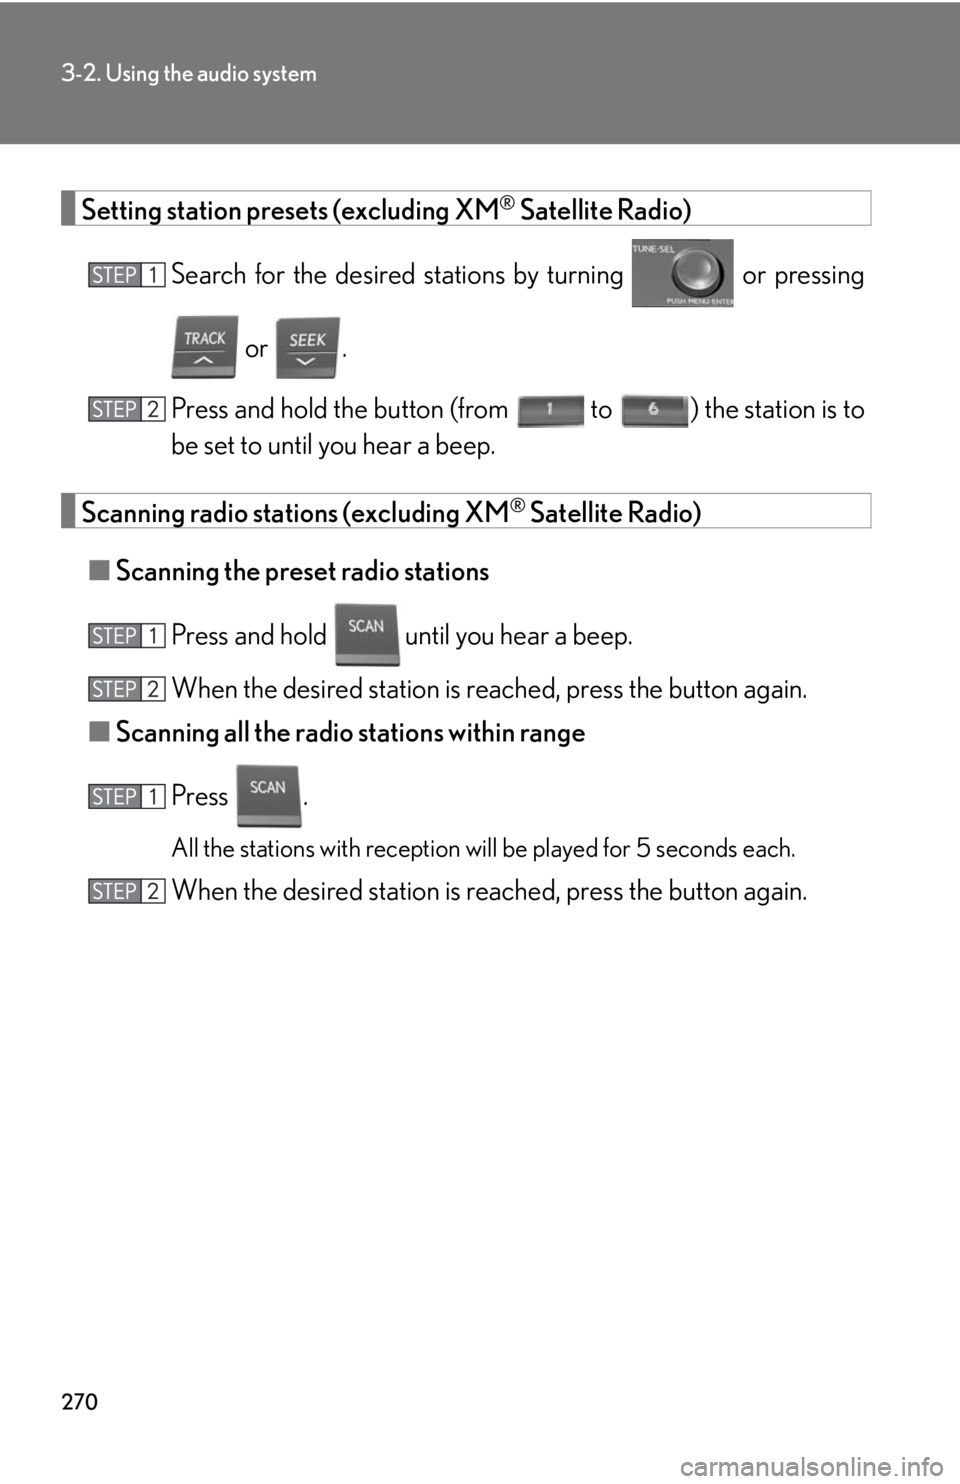
Setting station presets (excluding XM® Satellite Radio)
Search for the desired statio ns by turning or pressing
or .
Press and hold th e button (from
to ) the station is to
be set to until you hear a beep.
Scanning radio stations (excluding XM® Satellite Radio)
■ Scanning the preset radio stations
Press and hold
until you hear a beep.
When the desired station is reached, press the button again.
■ Scanning all the radio stations within range
Press .
All the stations with reception will be played for 5 seconds each.
When the desired station is reached, press the button again.
Page 271 of 628
271
3-2. Using the audio system
3
Interior features
RDS (Radio Data System)This feature allows your radio to receive station identification information
and program information (classical, ja zz, etc.) from radio stations which
broadcast this information.
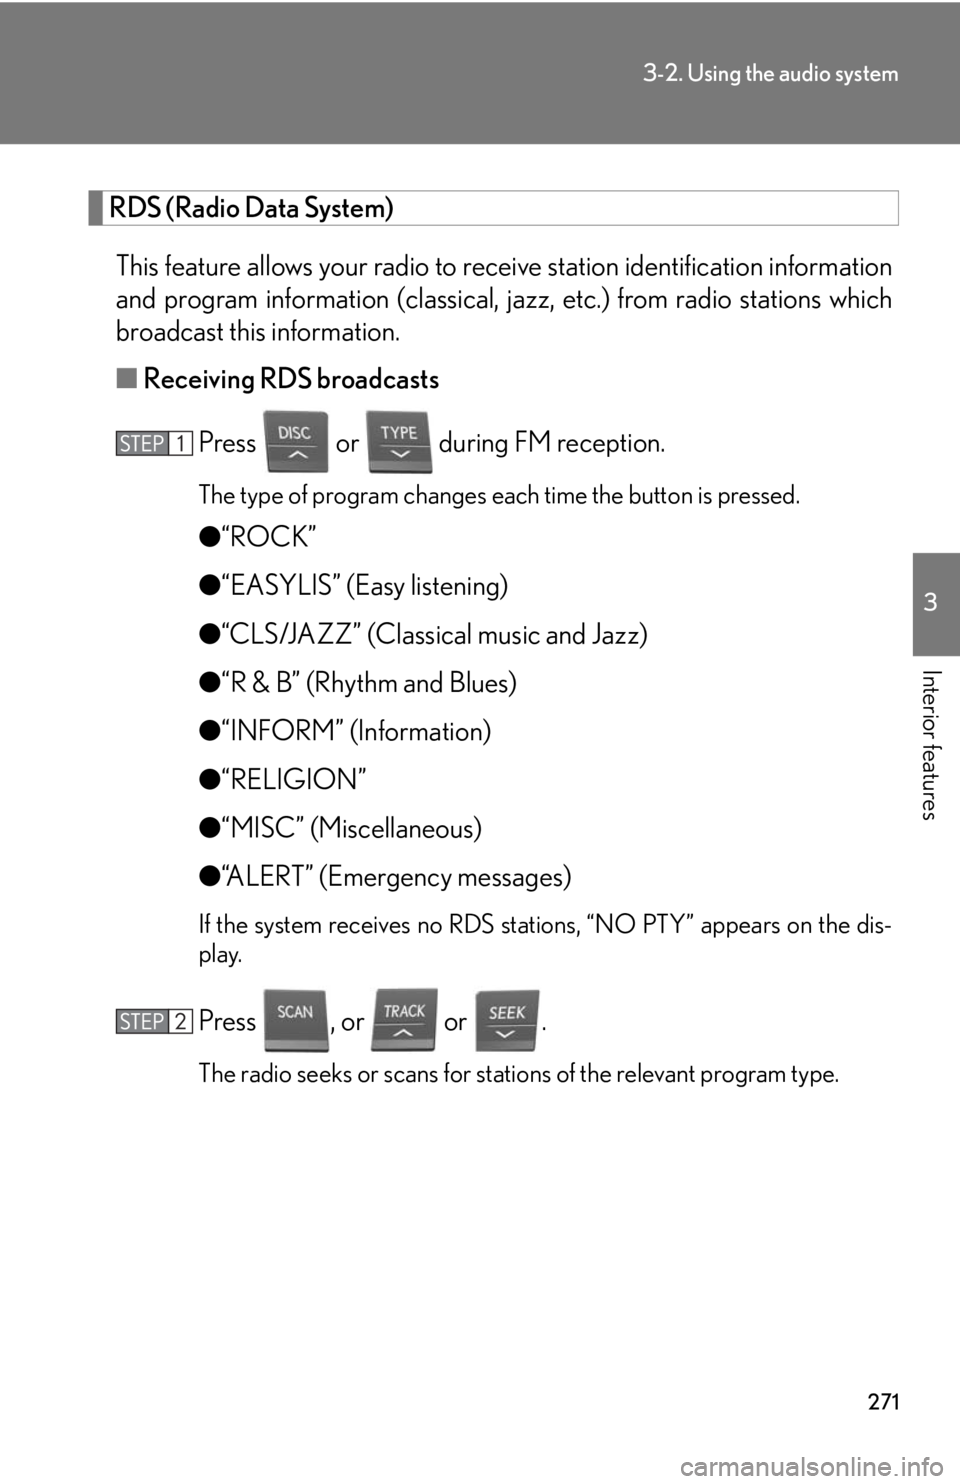
■ Receiving RDS broadcasts
Press or during FM reception.
The type of program changes each time the button is pressed.
●“ROCK”
● “EASYLIS” (Easy listening)
● “CLS/JAZZ” (Classical music and Jazz)
● “R & B” (Rhythm and Blues)
● “INFORM” (Information)
● “RELIGION”
● “MISC” (Miscellaneous)
● “ALERT” (Emergency messages)
If the system receives no RDS stations, “NO PTY” appears on the dis-
play.
Press , or or .
The radio seeks or scans for stations of the relevant program type.
Page 272 of 628
272
3-2. Using the audio system
■Displaying radio station names
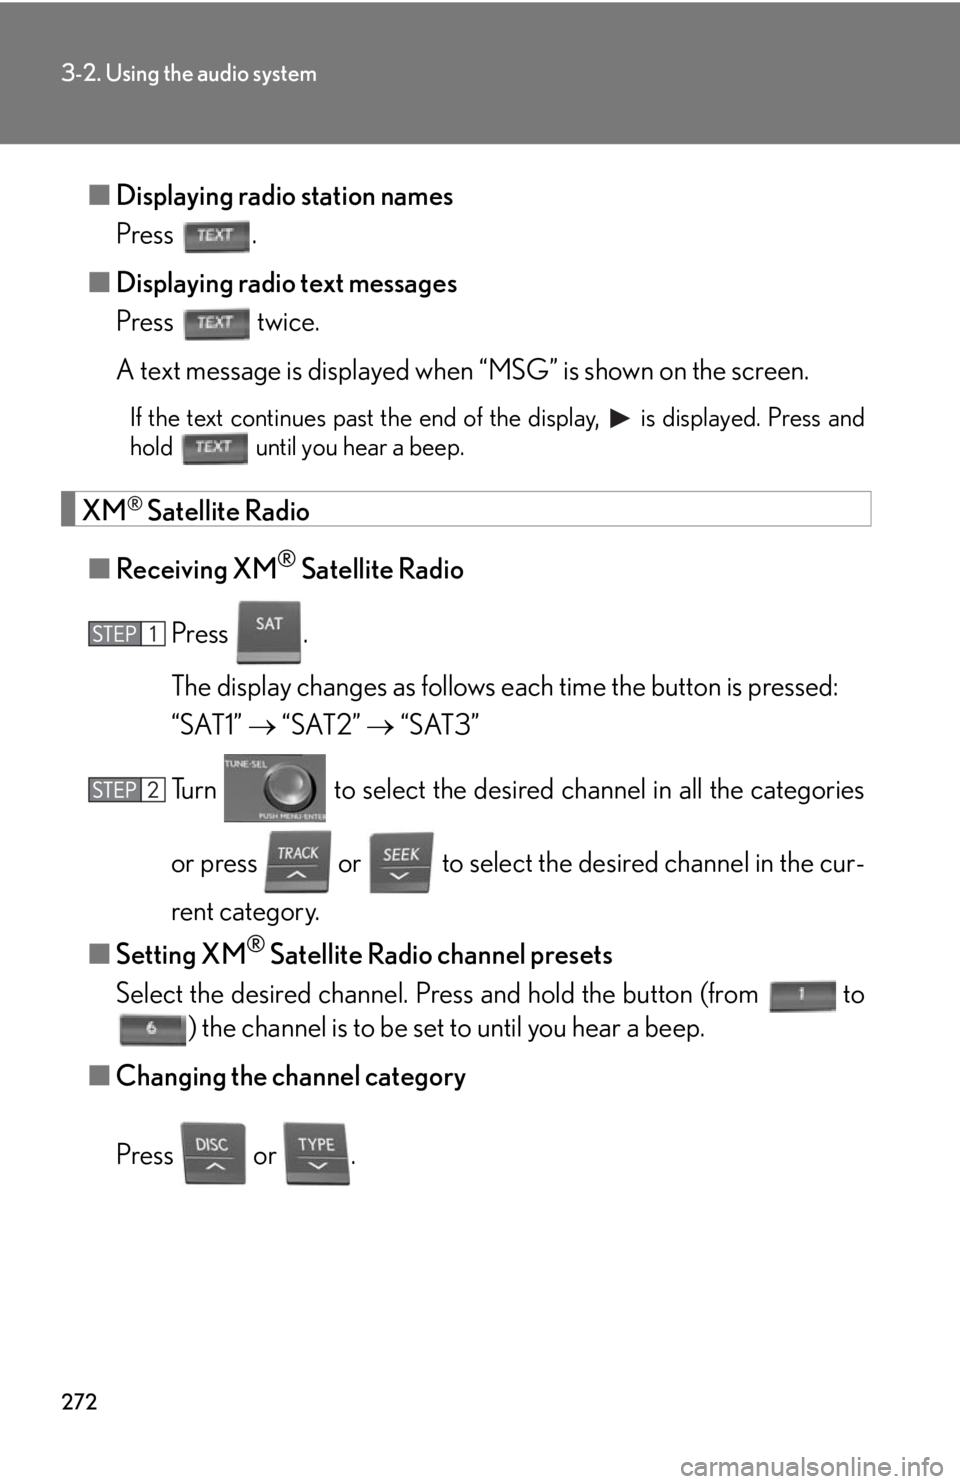
Press .
■ Displaying radio text messages
Press twice.
A text message is displayed when “MSG” is shown on the screen.
If the text continues past the end of the display, is displayed. Press and
hold until you hear a beep.
XM® Satellite Radio
■ Receiving XM
® Satellite Radio
Press .
The display changes as follows each time the button is pressed:
“SAT1” “SAT2” “SAT3”
Turn to select the desired channel in all the categories
or press or to select the desired channel in the cur-
rent category.
■ Setting XM
® Satellite Radio channel presets
Select the desired channel. Pr ess and hold the button (from
to
) the channel is to be set to until you hear a beep.
■ Changing the channel category
Press or .