air condition Lexus IS F 2010 User Guide
[x] Cancel search | Manufacturer: LEXUS, Model Year: 2010, Model line: IS F, Model: Lexus IS F 2010Pages: 542, PDF Size: 6.77 MB
Page 176 of 542
175
2-4. Using other driving systems
2
When driving
10_IS F_U
■Sensor detection information
●Certain vehicle conditions and the surrounding environment may affect the
ability of the sensor to correctly detect obstacles. Particular instances where this
may occur are listed below.
• There is dirt, snow or ice on the sensor.
• The sensor is frozen.
• The sensor is covered in any way.
• The vehicle is leaning considerably to one side.
• On an extremely bumpy road, on an incline, on gravel, or on grass.
• The vicinity of the vehicle is noisy due to vehicle horns, motorcycle engines,air brakes of large vehicles, or other loud noises producing ultrasonic waves.
• There is another vehicle equipped with parking assist sensors in the vicinity.
• The sensor is coated with a sheet of spray or heavy rain.
• The vehicle is equipped with a fender pole or wireless antenna.
• A towing eyelet is installed.
• The bumper or sensor receives a strong impact.
• The vehicle is approaching a tall or curved curb.
• In harsh sunlight or intense cold weather
In addition to the examples above, there are instances in which, because of their
shapes, signs and other objects may be judged by the sensor to be closer than they
are.
●The shape of the obstacle may prevent the sensor from detecting it. Pay particu-
lar attention to the following obstacles.
• Wires, fences, ropes etc.
• Cotton, snow and other materials that absorb radio waves
• Sharply-angled objects
•Low obstacles
• Tall obstacles with upper sections projecting outwards in the direction of your
vehicle
■If the display flashes and a message is displayed
→ P. 4 5 1
Page 193 of 542
192
2-5. Driving information
10_IS F_U
Winter driving tips
Carry out the necessary preparations and inspections before driving the
vehicle in winter. Always drive the vehicle in a manner appropriate to the
prevailing weather conditions.
■Pre-winter preparations
● Use fluids that are appropriate to the prevailing outside tempera-
tures.
• Engine oil
• Engine coolant
• Washer fluid
● Have a service technician inspect the level and specific gravity of
battery electrolyte.
● Have the vehicle fitted with four snow tires.
Ensure that all tires are the specified size and the same brand.
■Before driving the vehicle
Perform the following according to the driving conditions.
● Do not try to forcibly open a window or move a wiper that is fro-
zen. Pour warm water over the frozen area to melt the ice. Wipe
away the water immediately to prevent it from freezing.
● To ensure proper operation of the climate control system fan,
remove any snow that has accumulated on the air inlet vents in
front of the windshield.
● Remove any ice that has accumulated on the vehicle chassis.
● Periodically check for and remove any excess ice or snow that
may have accumulated in the wheel well or on the brakes.
Page 194 of 542
193
2-5. Driving information
2
When driving
10_IS F_U
CAUTION
■Driving with snow tires
Observe the following precautions to reduce the risk of accidents.
Failing to do so may result in a loss of vehicle control and cause death or serious
injury.
●Use tires of the size specified for your vehicle.
●Maintain the recommended level of air pressure.
●Do not drive in excess of 75 mph (120 km/h), regardless of the type of snow tires
being used.
●Use snow tires on all, not just some wheels.
NOTICE
■Driving with tire chains
Do not fit tire chains. Tire chains may damage the vehicle body and adversely affect
driving performance.
■Repairing or replacing snow tires
Request repairs of and obtain replacement snow tires from Lexus dealers or legiti-
mate tire retailers.
This is because the removal and attachment of snow tires affects the operation of
the tire pressure warning system.
■When driving the vehicle
Accelerate the vehicle slowly and drive at a reduced speed suitable
to road conditions.
■ When parking the vehicle
Park the vehicle and move the shift lever to P without setting the
parking brake. The parking brake may freeze up, preventing it from
being released. If necessary, block the wheels to prevent inadvert-
ent sliding or creeping.
Page 197 of 542
196
10_IS F_U
3-1. Using the air conditioning system and defogger
Automatic air conditioning system ...................................... 198
Rear window and
outside rear view
mirror defoggers................. 206
3-2. Using the audio system Audio system type ................. 207
Using the radio ........................ 210
Using the CD player .............. 218
Playing back MP3 and WMA discs ........................... 225
Operating an iPod
®.............. 233
Operating a USB memory...................... 241
Optimal use of the audio
system ..................................... 250
Using the AUX adapter....... 252
Using the steering wheel
audio switches...................... 254
Page 199 of 542

198
10_IS F_U
3-1. Using the air conditioning system and defogger
Automatic air conditioning system
Using the automatic modePress .
The air conditioning system begins to operate. Air outlets and fan
speed are automatically adjusted according to the temperature setting.
Press to switch to automatic mode.
The air conditioning system automati cally switches between outside air
and recirculated air modes.
Air outlets and fan speed are automatically adjusted according to the tem-
perature setting.
With navigation system
Owners of models equipped with a navigation system should refer to the
“Navigation System Owner's Manual”.
Without navigation system
Automatic mode
Driver’s side temperature
setting display Changes the air outlets used
Off Fan speed
Airflow display
Fan speed display
Passenger’s side temperature
setting display
Micro dust and pollen filter
Driver's side
temperature control Air conditioning on/off Outside air or recirculated air modeWindshield defoggerPa ss e n g e r ’s s i d e
temperature control
Dual operation
STEP1
STEP2
Page 200 of 542
199
3-1. Using the air conditioning system and defogger
3
Interior features
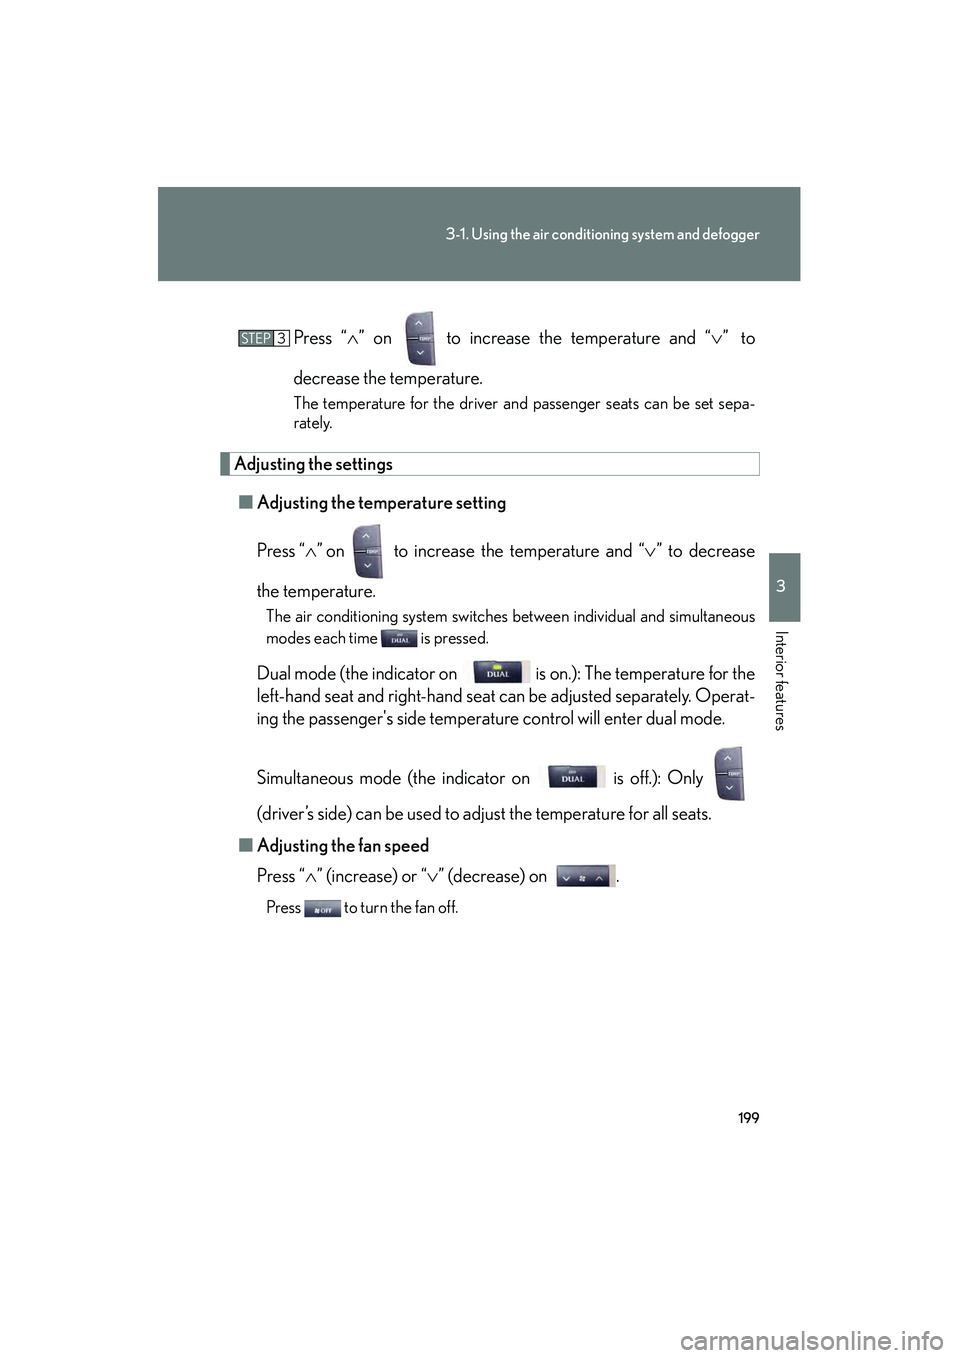
10_IS F_UPress “
∧” on to increase the temperature and “ ∨” to
decrease the temperature.
The temperature for the driver and passenger seats can be set sepa-
rately.
Adjusting the settings ■ Adjusting the temperature setting
Press “ ∧” on to increase the temperature and “∨ ” to decrease
the temperature.
The air conditioning system switches between individual and simultaneous
modes each time is pressed.
Dual mode (the indicator on is on.): The temperature for the
left-hand seat and right-hand seat can be adjusted separately. Operat-
ing the passenger's side temperature control will enter dual mode.
Simultaneous mode (the indicator on is off.): Only
(driver’s side) can be used to adjust the temperature for all seats.
■ Adjusting the fan speed
Press “ ∧” (increase) or “∨ ” (decrease) on .
Press to turn the fan off.
STEP3
Page 201 of 542

200
3-1. Using the air conditioning system and defogger
10_IS F_U■
Changing the air outlets
Press .
The air outlets switch each time is pressed. The air flow shown on
the display indicates the following.
Upper body
Upper body and feet
Feet
Page 202 of 542
201
3-1. Using the air conditioning system and defogger
3
Interior features
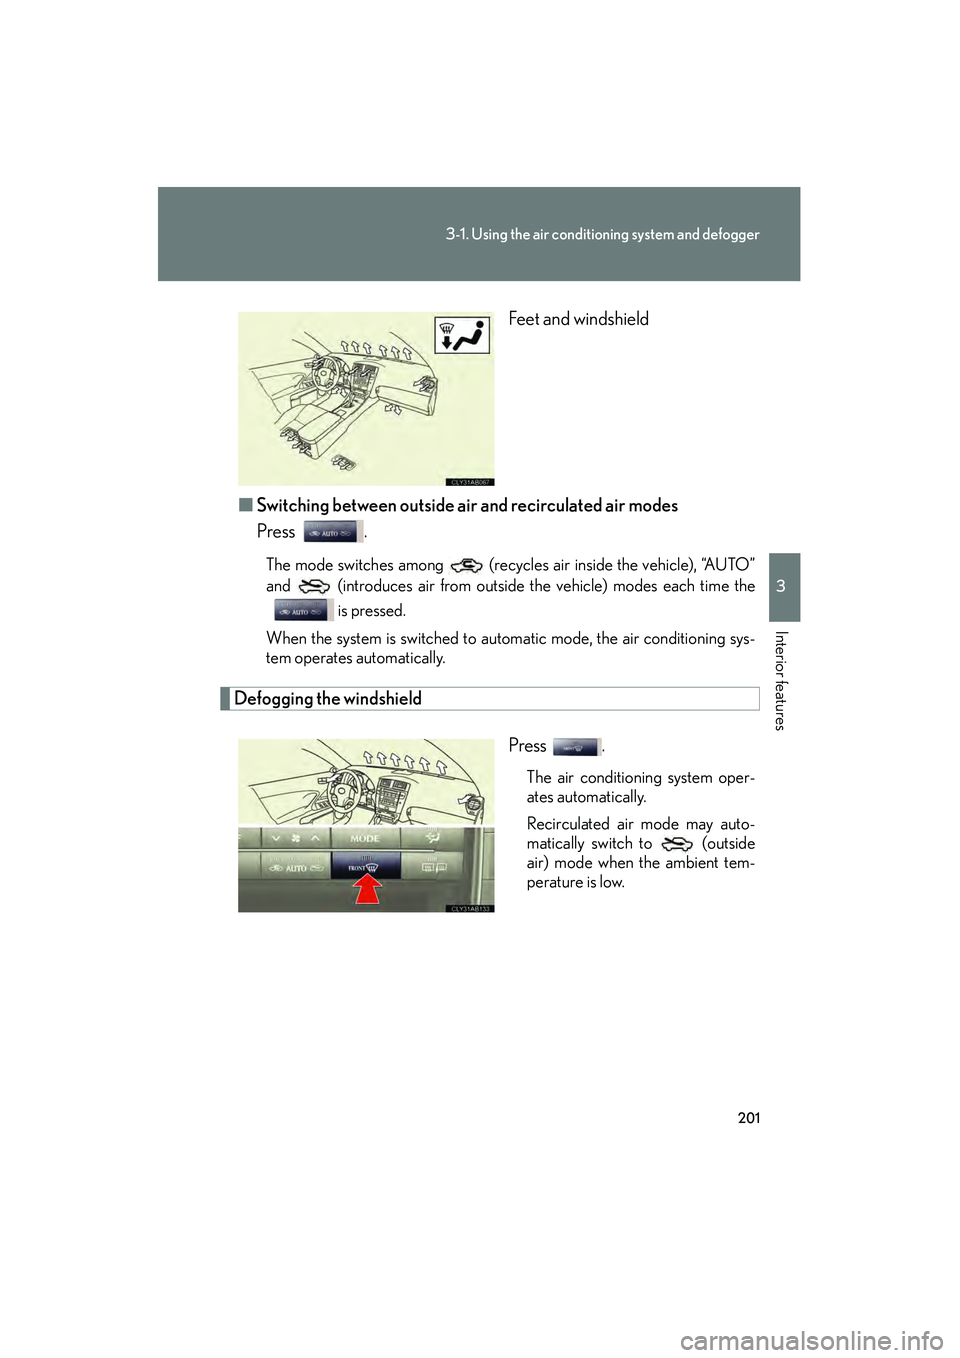
10_IS F_U Feet and windshield
■ Switching between outside air and recirculated air modes
Press .
The mode switches among (recycles air inside the vehicle), “AUTO”
and (introduces air from outside the vehicle) modes each time the
is pressed.
When the system is switched to automatic mode, the air conditioning sys-
tem operates automatically.
Defogging the windshield
Press .
The air conditioning system oper-
ates automatically.
Recirculated air mode may auto-
matically switch to (outside
air) mode when the ambient tem-
perature is low.
Page 203 of 542

202
3-1. Using the air conditioning system and defogger
10_IS F_U
Micro dust and pollen filterPress .
Outside air mode switches to (recirculated air) mode. Pol-
len is removed from the air and the
air flows to the upper part of the
body.
Usually the system will turn off
automatically after approximately 1
to 3 minutes.
To stop the operation, press again.
Adjusting the sensitivity of the air intake control in automatic mode
Press for 2 or more sec-
onds.
Press “∧” (increase) or “ ∨”
(decrease) on .
From -3 (low) to 3 (high) can be
set.
STEP1
STEP2
Page 204 of 542
203
3-1. Using the air conditioning system and defogger
3
Interior features
10_IS F_U
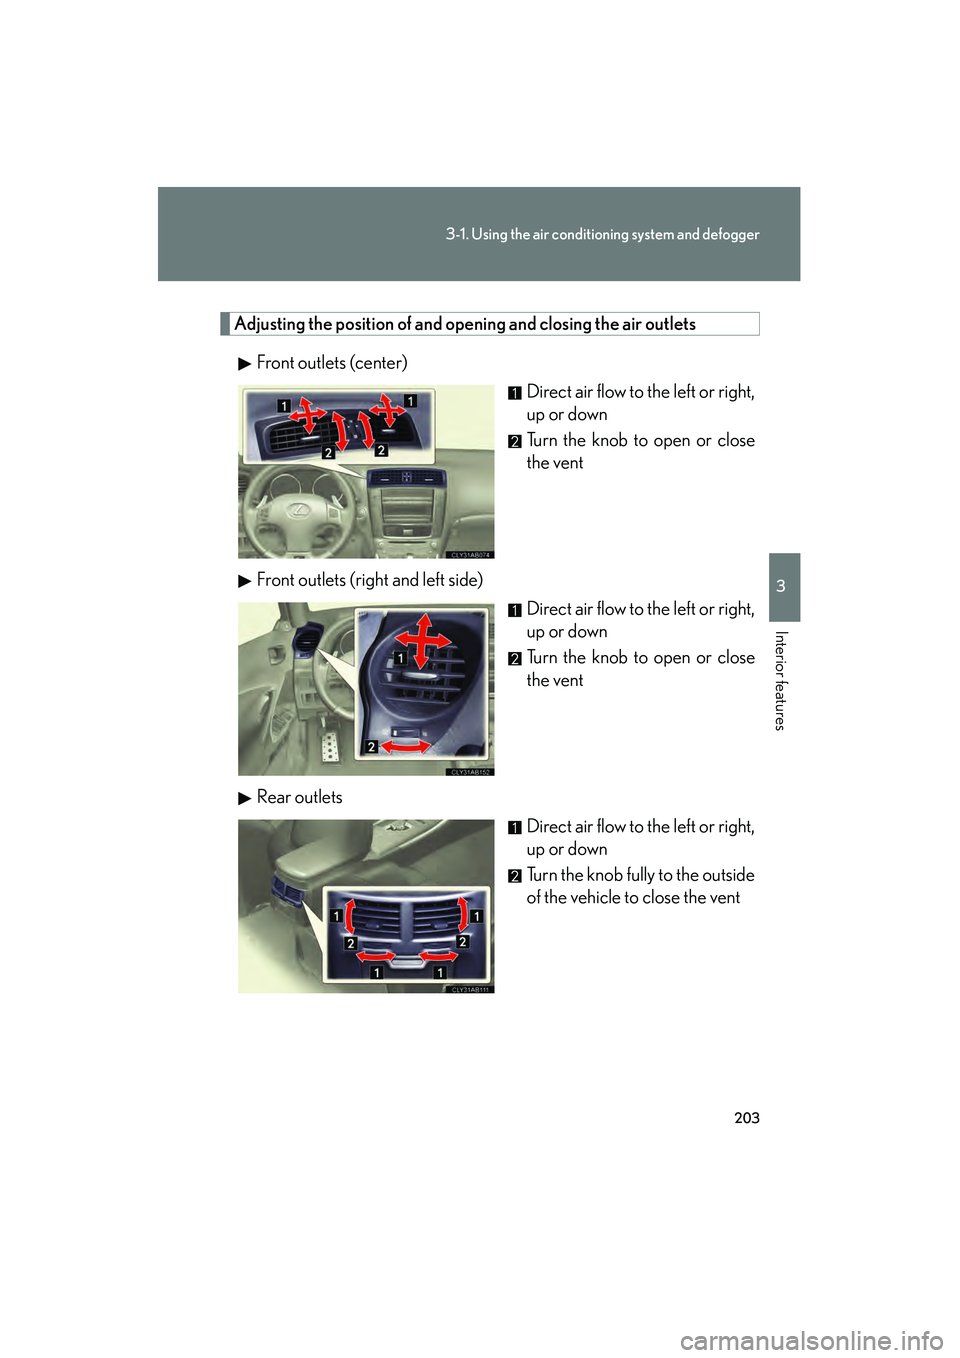
Adjusting the position of and op ening and closing the air outlets
Front outlets (center) Direct air flow to the left or right,
up or down
Turn the knob to open or close
the vent
Front outlets (right and left side) Direct air flow to the left or right,
up or down
Turn the knob to open or close
the vent
Rear outlets Direct air flow to the left or right,
up or down
Turn the knob fully to the outside
of the vehicle to close the vent