sat nav Lexus IS250 2010 Navigation Manual
[x] Cancel search | Manufacturer: LEXUS, Model Year: 2010, Model line: IS250, Model: Lexus IS250 2010Pages: 391, PDF Size: 38.06 MB
Page 180 of 391
SECTION7
AUDIO/VIDEO SYSTEM
179
AUDIO/VIDEO SYSTEM
DQuick reference 180 .......................................
D Using your audio/video system 185
........................
Some basics 185 .......................................
Radio operation 193 .....................................
Radio operation (XMr Satellite Radio broadcast) 198 .........
CD changer operation 204 ...............................
DVD changer operation 218 ..............................
Bluetooth raudio operation 243 ...........................
USB memory/iPod operation 251 ..........................
D Audio/video remote controls (steering switches) 258 ............
D Audio/video system operating hints 260 ......................
ISF/IS NAVI (U)
Finish
7
Page 182 of 391
AUDIO/VIDEO SYSTEM
181
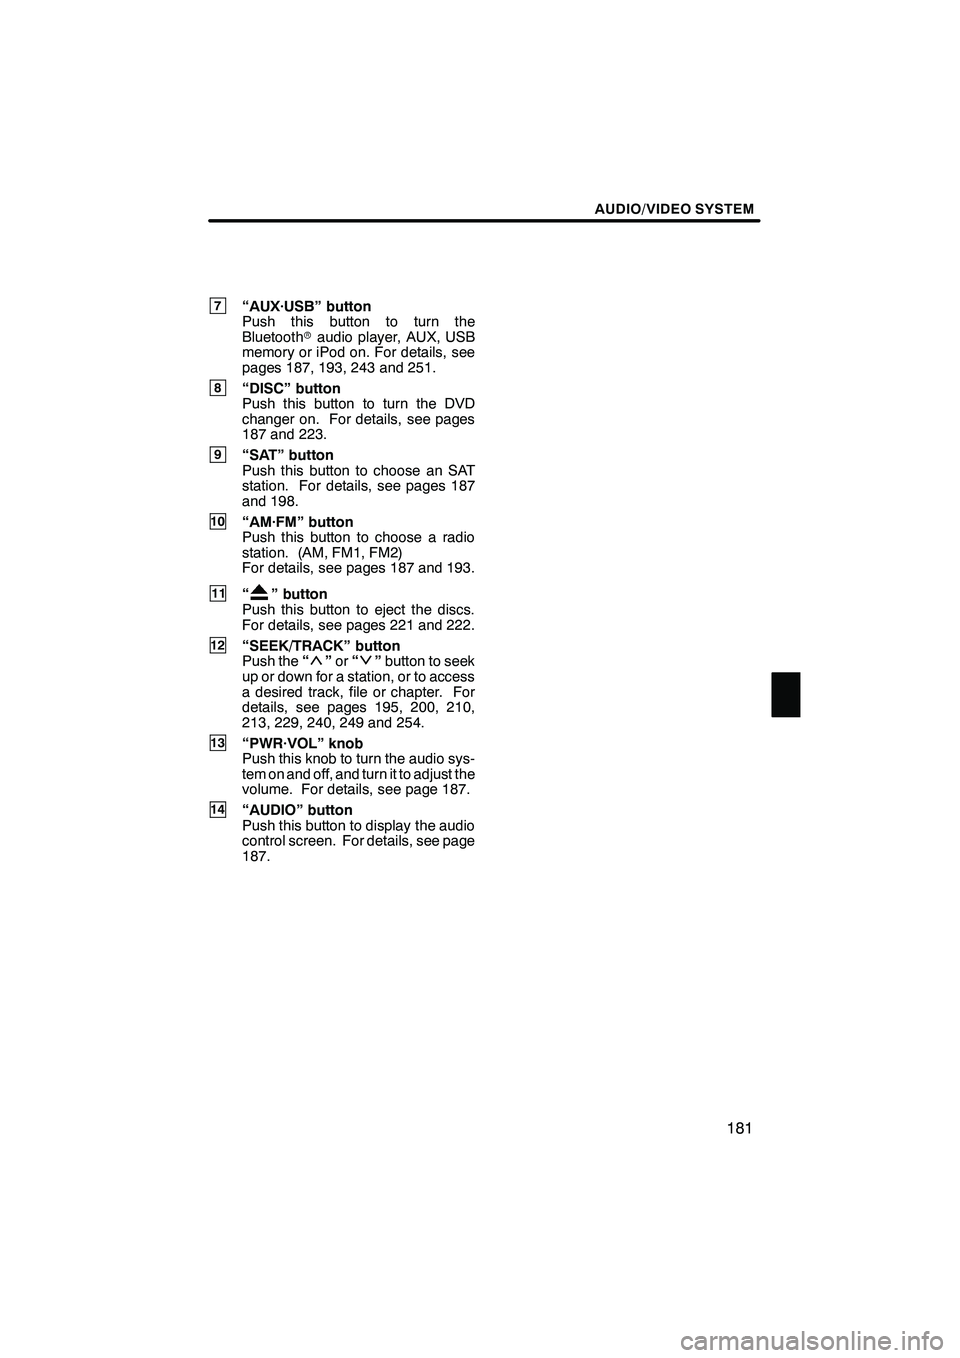
7“AUX·USB” button
Push this button to turn the
Bluetoothraudio player, AUX, USB
memory or iPod on. For details, see
pages 187, 193, 243 and 251.
8“DISC” button
Push this button to turn the DVD
changer on. For details, see pages
187 and 223.
9“SAT” button
Push this button to choose an SAT
station. For details, see pages 187
and 198.
10“AM·FM” button
Push this button to choose a radio
station. (AM, FM1, FM2)
For details, see pages 187 and 193.
11“” button
Push this button to eject the discs.
For details, see pages 221 and 222.
12“SEEK/TRACK” button
Push the “”or “”button to seek
up or down for a station, or to access
a desired track, file or chapter. For
details, see pages 195, 200, 210,
213, 229, 240, 249 and 254.
13“PWR·VOL” knob
Push this knob to turn the audio sys-
tem on and off, and turn it to adjust the
volume. For details, see page 187.
14“AUDIO” button
Push this button to display the audio
control screen. For details, see page
187.
ISF/IS NAVI (U)
Finish
7
Page 186 of 391
AUDIO/VIDEO SYSTEM
185
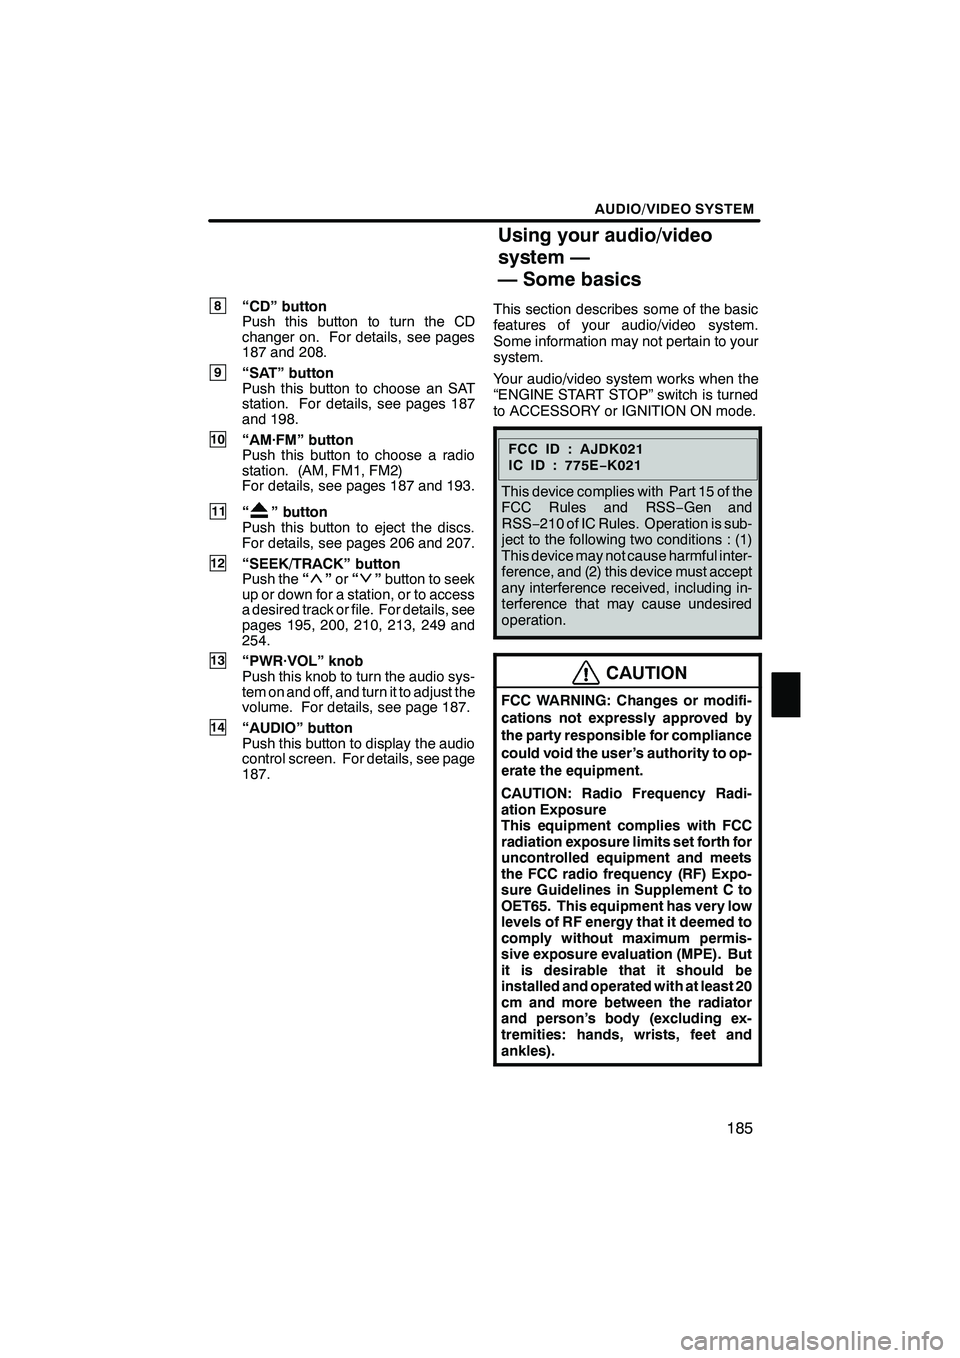
8“CD” button
Push this button to turn the CD
changer on. For details, see pages
187 and 208.
9“SAT” button
Push this button to choose an SAT
station. For details, see pages 187
and 198.
10“AM·FM” button
Push this button to choose a radio
station. (AM, FM1, FM2)
For details, see pages 187 and 193.
11“” button
Push this button to eject the discs.
For details, see pages 206 and 207.
12“SEEK/TRACK” button
Push the “”or “”button to seek
up or down for a station, or to access
a desired track or file. For details, see
pages 195, 200, 210, 213, 249 and
254.
13“PWR·VOL” knob
Push this knob to turn the audio sys-
tem on and off, and turn it to adjust the
volume. For details, see page 187.
14“AUDIO” button
Push this button to display the audio
control screen. For details, see page
187. This section describes some of the basic
features of your audio/video system.
Some information may not pertain to your
system.
Your audio/video system works when the
“ENGINE START STOP” switch is turned
to ACCESSORY or IGNITION ON mode.
FCCID:AJDK021
IC ID : 775E
−K021
This device complies with Part 15 of the
FCC Rules and RSS −Gen and
RSS− 210 of IC Rules. Operation is sub-
ject to the following two conditions : (1)
This device may not cause harmful inter-
ference, and (2) this device must accept
any interference received, including in-
terference that may cause undesired
operation.
CAUTION
FCC WARNING: Changes or modifi-
cations not expressly approved by
the party responsible for compliance
could void the user’s authority to op-
erate the equipment.
CAUTION: Radio Frequency Radi-
ation Exposure
This equipment complies with FCC
radiation exposure limits set forth for
uncontrolled equipment and meets
the FCC radio frequency (RF) Expo-
sure Guidelines in Supplement C to
OET65. This equipment has very low
levels of RF energy that it deemed to
comply without maximum permis-
sive exposure evaluation (MPE). But
it is desirable that it should be
installed and operated with at least 20
cm and more between the radiator
and person’s body (excluding ex-
tremities: hands, wrists, feet and
ankles).
ISF/IS NAVI (U)
Finish
Using your audio/video
system —
— Some basics
7
Page 188 of 391
AUDIO/VIDEO SYSTEM
187
(b) Turning the system on and off
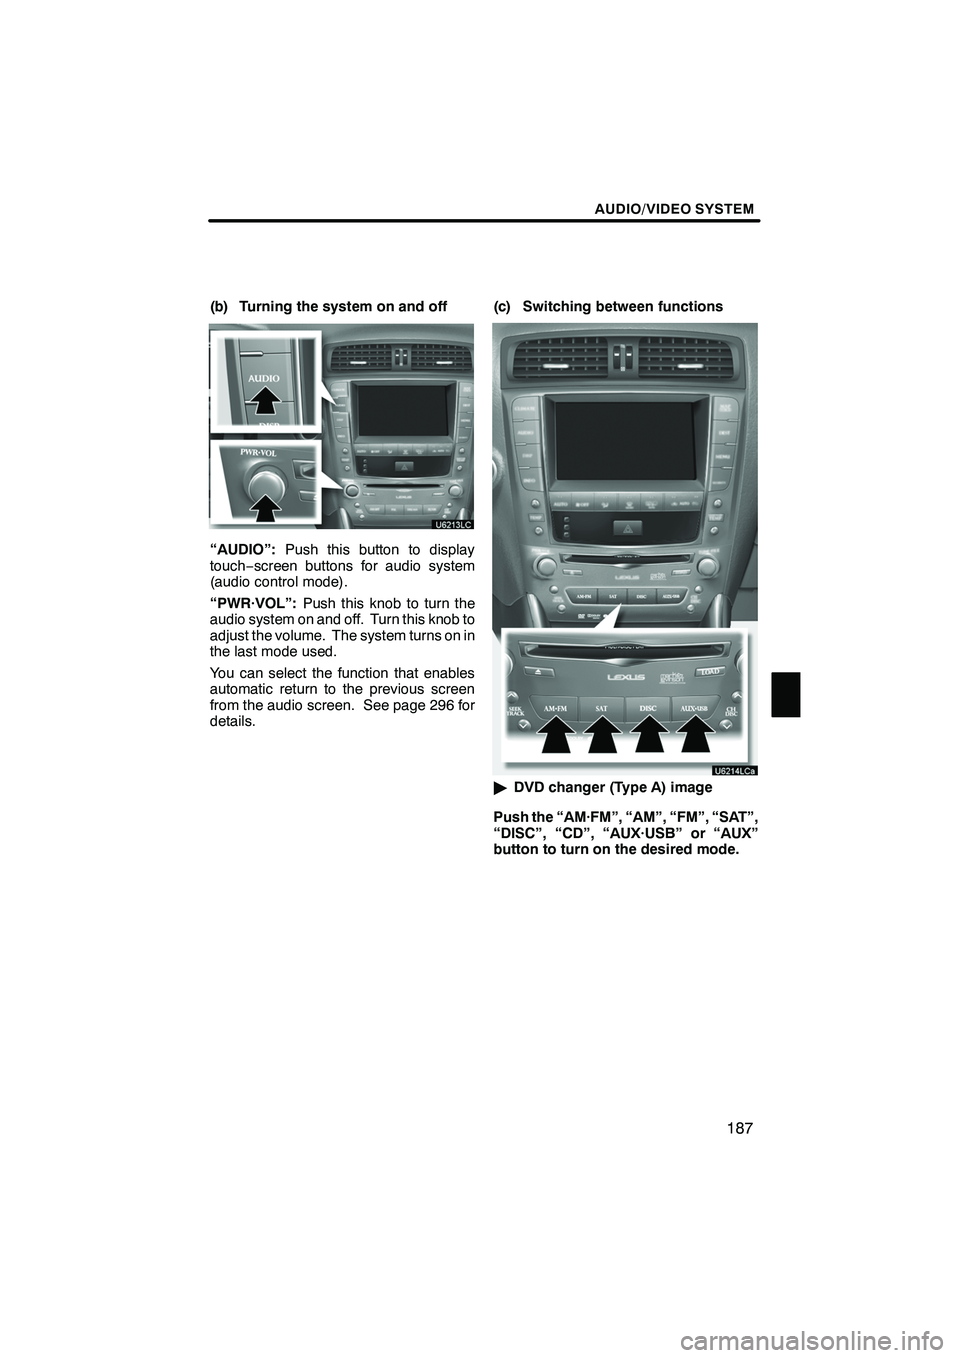
“AUDIO”:Push this button to display
touch− screen buttons for audio system
(audio control mode).
“PWR·VOL”: Push this knob to turn the
audio system on and off. Turn this knob to
adjust the volume. The system turns on in
the last mode used.
You can select the function that enables
automatic return to the previous screen
from the audio screen. See page 296 for
details. (c) Switching between functions
"
DVD changer (Type A) image
Push the “AM·FM”, “AM”, “FM”, “SAT”,
“DISC”, “CD”, “AUX·USB” or “AUX”
button to turn on the desired mode.
ISF/IS NAVI (U)
Finish
7
Page 189 of 391
AUDIO/VIDEO SYSTEM
188
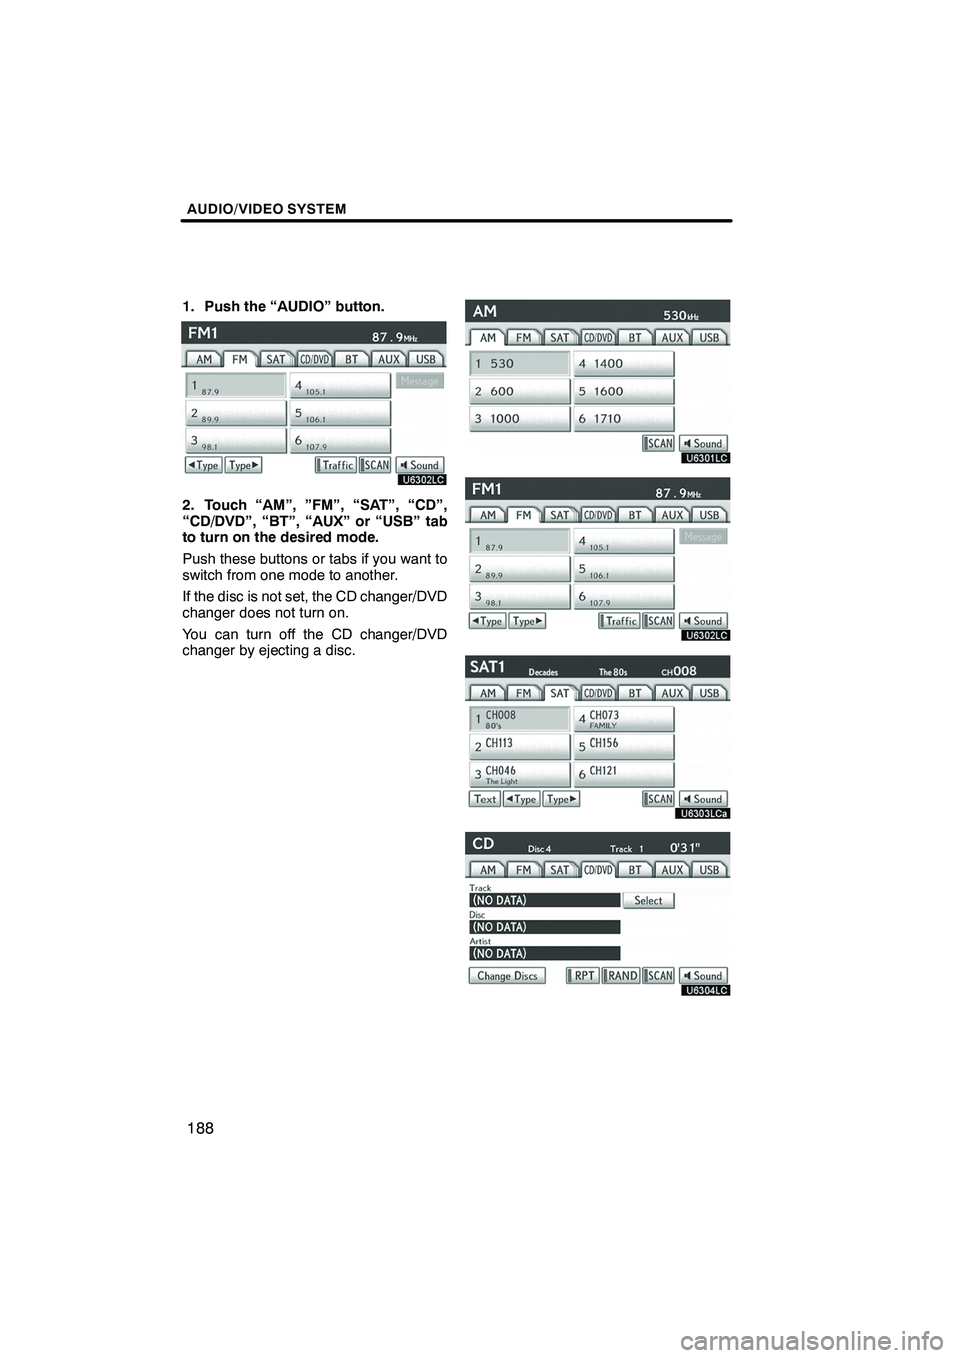
1. Push the “AUDIO” button.
2. Touch “AM”, ”FM”, “SAT”, “CD”,
“CD/DVD”, “BT”, “AUX” or “USB” tab
to turn on the desired mode.
Push these buttons or tabs if you want to
switch from one mode to another.
If the disc is not set, the CD changer/DVD
changer does not turn on.
You can turn off the CD changer/DVD
changer by ejecting a disc.
ISF/IS NAVI (U)
Finish
Page 194 of 391
AUDIO/VIDEO SYSTEM
193
(h) AUX adapter
The sound of portable audio players
connected to the AUX adapter can be
enjoyed. Push the“AUX”or“AUX·USB”
button, or push the “AUDIO”button to
display audio screen and touch “AUX”tab
to switch to AUX mode. When the portable
audio player is not connected to the AUX
adapter, the tab will tone down. For
details, refer to the “ Owner’s Manual”.(a) Listening to the radio
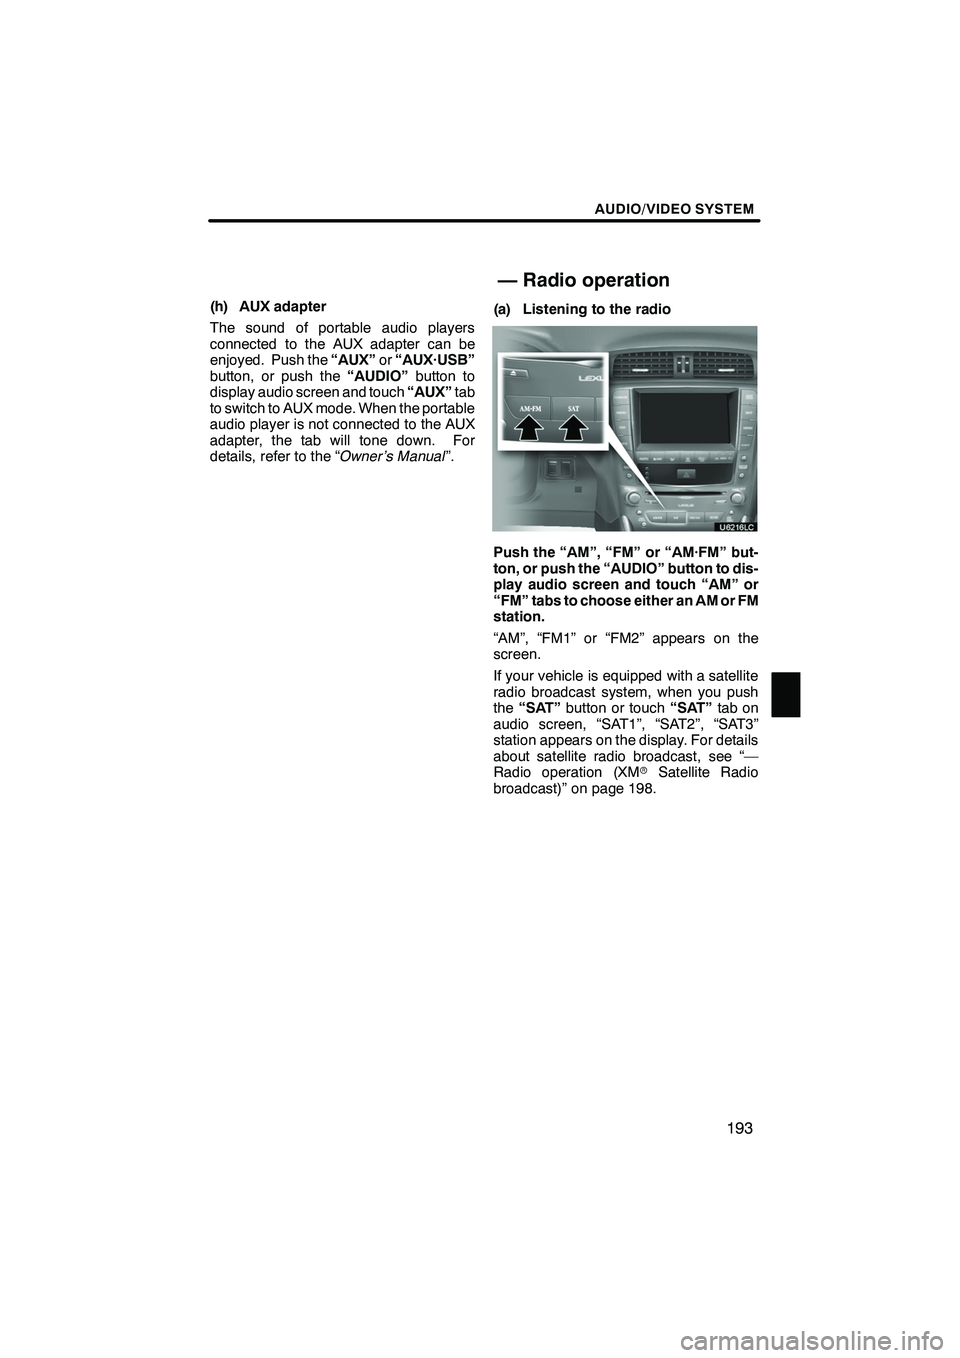
Push the “AM”, “FM” or “AM·FM” but-
ton, or push the “AUDIO” button to dis-
play audio screen and touch “AM” or
“FM” tabs to choose either an AM or FM
station.
“AM”, “FM1” or “FM2” appears on the
screen.
If your vehicle is equipped with a satellite
radio broadcast system, when you push
the
“SAT” button or touch “SAT”tab on
audio screen, “SAT1”, “SAT2”, “SAT3”
station appears on the display. For details
about satellite radio broadcast, see “—
Radio operation (XM rSatellite Radio
broadcast)” on page 198.
ISF/IS NAVI (U)
Finish
— Radio operation
7
Page 199 of 391
AUDIO/VIDEO SYSTEM
198
To listen to a satellite radio broadcast in
your vehicle, a subscription to the XMr
Satellite Radio service is necessary.
(a) How to subscribe to an XM rSatel-
lite Radio
An XM rSatellite Radio is a tuner designed
exclusively to receive broadcasts provided
under a separate subscription. Availability
is limited to the 48 contiguous U.S. states
and some Canadian provinces.
How to subscribe:
You must enter into a separate service
agreement with the XM rSatellite Radio in
order to receive satellite broadcast pro-
gramming in the vehicle. Additional activa-
tion and service subscription fees apply
that are not included in the purchase price
of the vehicle and optional digital satellite
tuner.
For complete information on subscription
rates and terms, or to subscribe to the XM r
Satellite Radio.
U.S.A.—
Visit on the web at www.xmradio.com
or
call 1 −877− 515−3987.
Canada—
Visit on the web at www.xmradio.ca
or call
1− 877− 515−3987. The XM
rSatellite Radio is solely responsi-
ble for the quality, availability and content
of the satellite radio services provided,
which are subject to the terms and condi-
tions of the XM rSatellite Radio customer
service agreement.
Customers should have their radio ID
ready; the radio ID can be found by tuning
to “channel 000” on the radio. For details,
see “(b) Displaying the radio ID” below.
All fees and programming are the respon-
sibility of the XM rSatellite Radio and are
subject to change.
Satellite tuner technology notice:
Lexus’s satellite radio tuners are awarded
Type Approval Certificates from XM rSat-
ellite Radio Inc. as proof of compatibility
with the services offered by the XM rSatel-
lite Radio.
(b) Displaying the radio ID
Each XM rtuner is identified with a unique
radio ID. You will need the radio ID when
activating XM rservice or when reporting
a problem.
If you select the “CH 000” using the
“TUNE·FILE” knob, the ID code of 8 al-
phanumeric characters appears. If you se-
lect another channel, display of the ID
code is canceled. The channel(000) alter-
nates the display between the radio ID and
the specific radio ID code.
ISF/IS NAVI (U)
Finish
— Radio operation
(XMrSatellite Radio
broadcast)
Page 200 of 391
AUDIO/VIDEO SYSTEM
199
(c) Listening to satellite radio
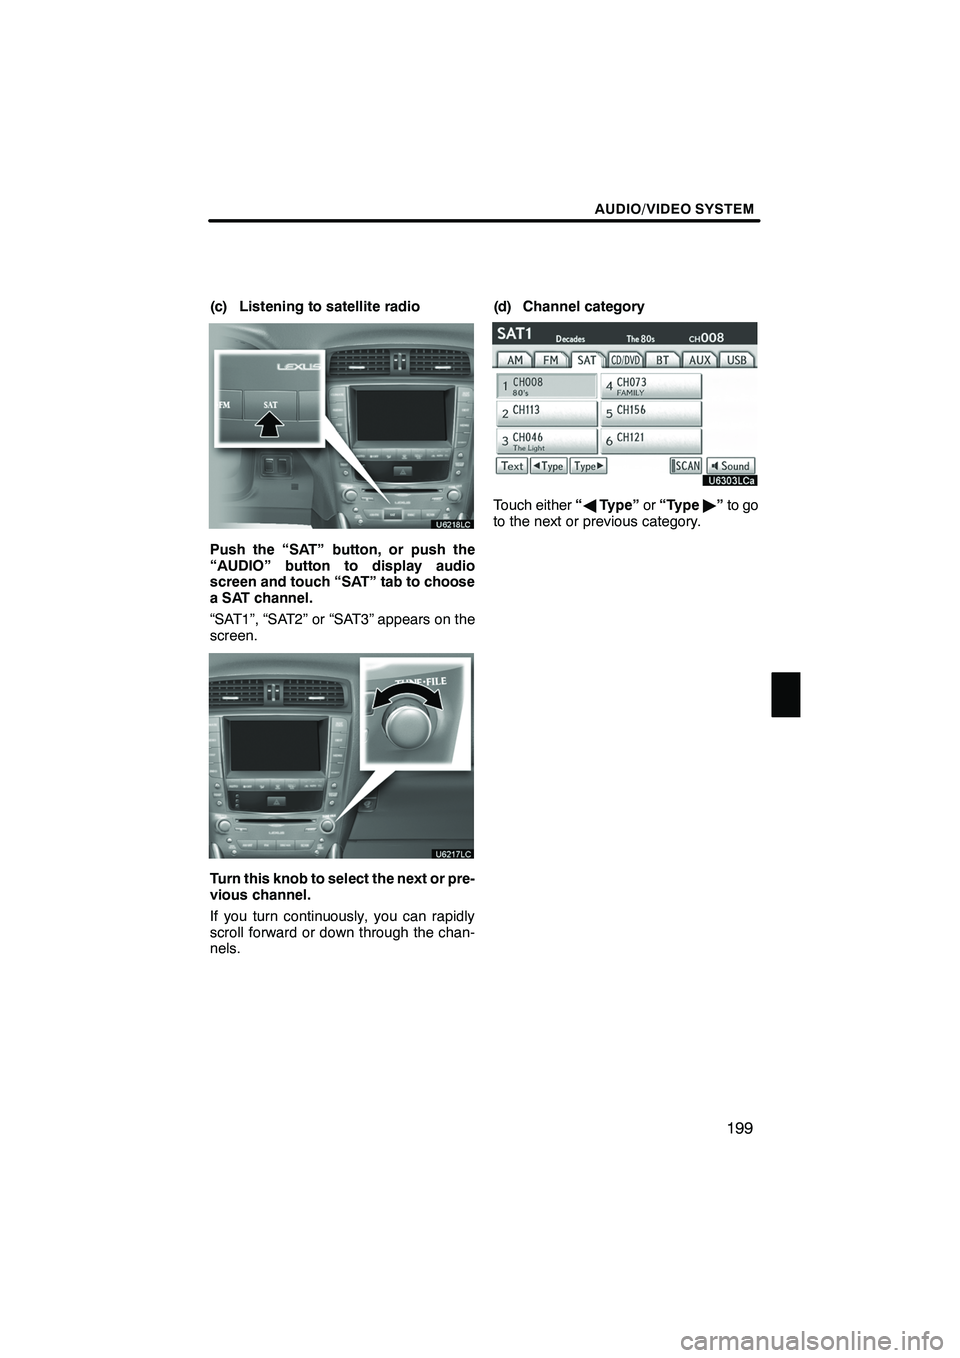
Push the “SAT” button, or push the
“AUDIO” button to display audio
screen and touch “SAT” tab to choose
a SAT channel.
“SAT1”, “SAT2” or “SAT3” appears on the
screen.
Turn this knob to select the next or pre-
vious channel.
If you turn continuously, you can rapidly
scroll forward or down through the chan-
nels.(d) Channel category
Touch either
“A Type” or“Type "”to go
to the next or previous category.
ISF/IS NAVI (U)
Finish
7
Page 201 of 391
AUDIO/VIDEO SYSTEM
200
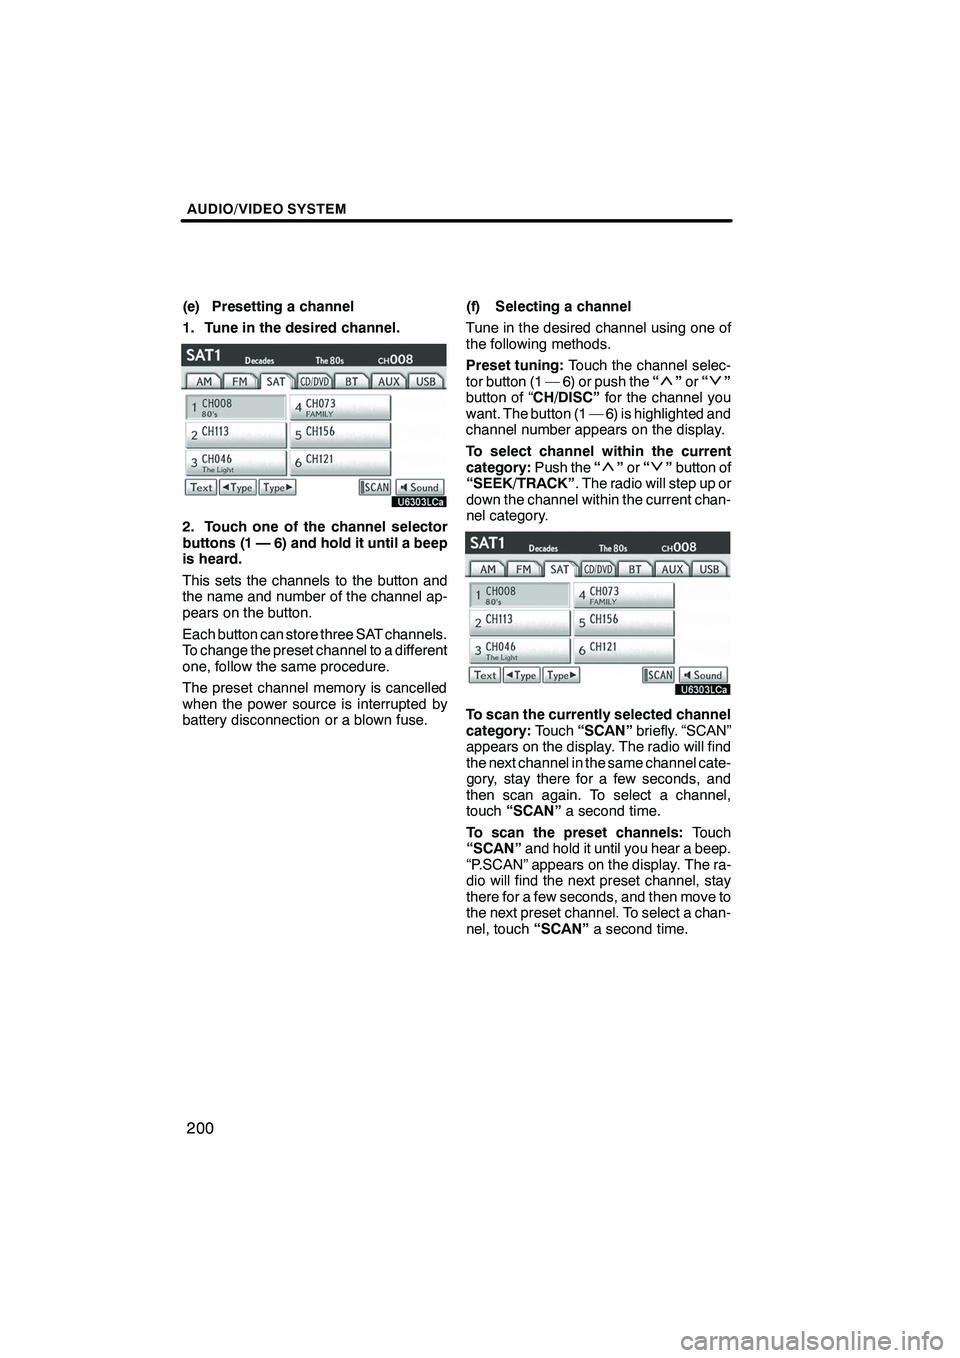
(e) Presetting a channel
1. Tune in the desired channel.
2. Touch one of the channel selector
buttons (1 — 6) and hold it until a beep
is heard.
This sets the channels to the button and
the name and number of the channel ap-
pears on the button.
Each button can store three SAT channels.
To change the preset channel to a different
one, follow the same procedure.
The preset channel memory is cancelled
when the power source is interrupted by
battery disconnection or a blown fuse.(f) Selecting a channel
Tune in the desired channel using one of
the following methods.
Preset tuning:
Touch the channel selec-
tor button (1 — 6) or push the “
”or “”
button of “CH/DISC” for the channel you
want. The button (1 — 6) is highlighted and
channel number appears on the display.
To select channel within the current
category: Push the“
”or “”button of
“SEEK/TRACK” . The radio will step up or
down the channel within the current chan-
nel category.
To scan the currently selected channel
category: Touch“SCAN” briefly. “SCAN”
appears on the display. The radio will find
the next channel in the same channel cate-
gory, stay there for a few seconds, and
then scan again. To select a channel,
touch “SCAN” a second time.
To scan the preset channels: Touch
“SCAN” and hold it until you hear a beep.
“P.SCAN” appears on the display. The ra-
dio will find the next preset channel, stay
there for a few seconds, and then move to
the next preset channel. To select a chan-
nel, touch “SCAN”a second time.
ISF/IS NAVI (U)
Finish
Page 203 of 391
AUDIO/VIDEO SYSTEM
202
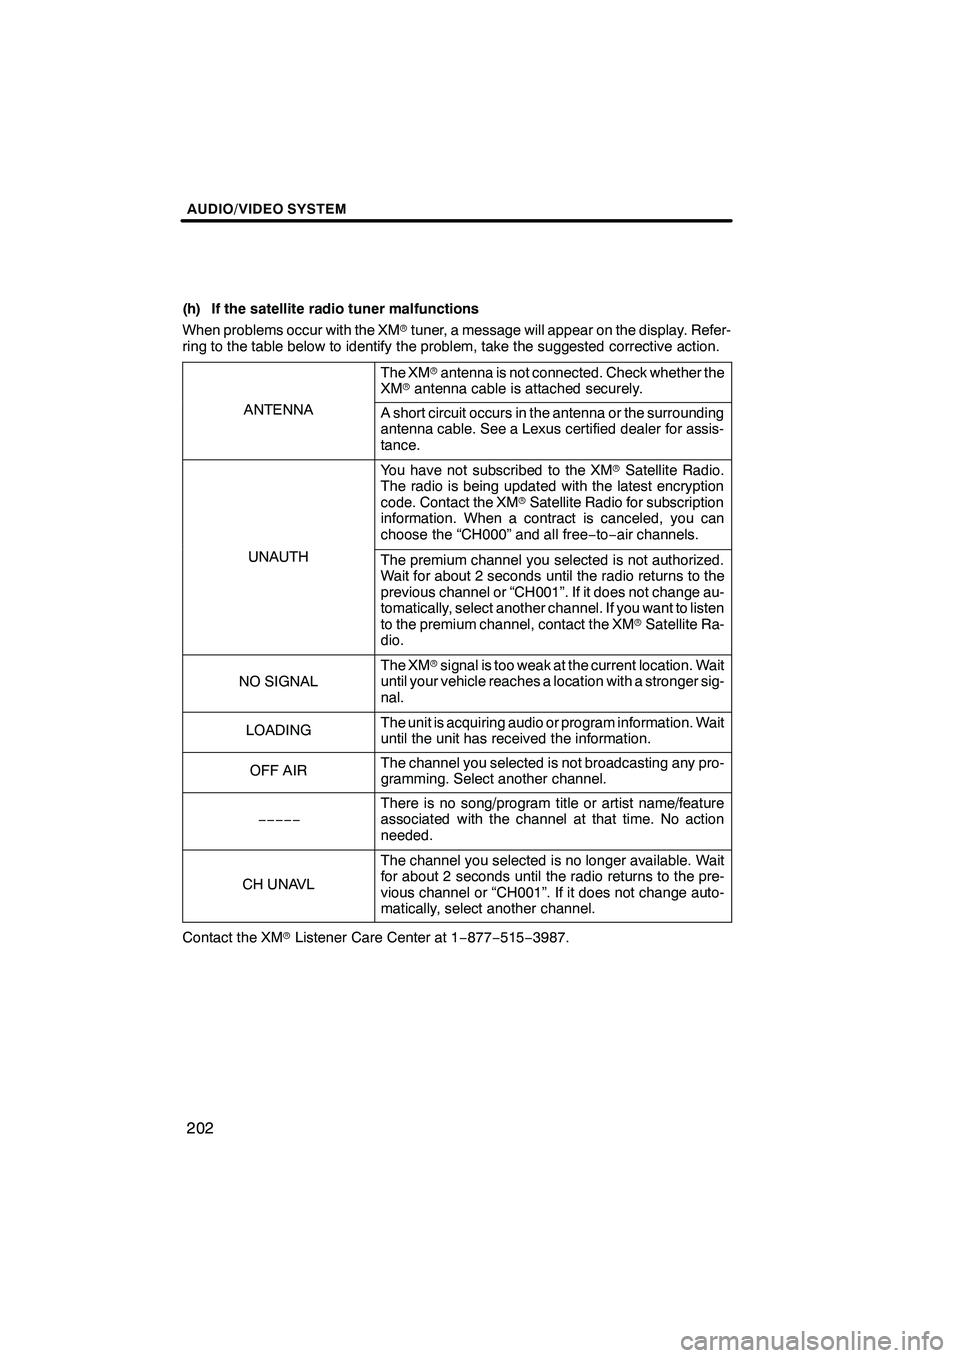
(h) If the satellite radio tuner malfunctions
When problems occur with the XMrtuner, a message will appear on the display. Refer-
ring to the table below to identify the problem, take the suggested corrective action.
The XM rantenna is not connected. Check whether the
XM rantenna cable is attached securely.
ANTENNAA short circuit occurs in the antenna or the surrounding
antenna cable. See a Lexus certified dealer for assis-
tance.
You have not subscribed to the XM rSatellite Radio.
The radio is being updated with the latest encryption
code. Contact the XM rSatellite Radio for subscription
information. When a contract is canceled, you can
choose the “CH000” and all free −to− air channels.
UNAUTHThe premium channel you selected is not authorized.
Wait for about 2 seconds until the radio returns to the
previous channel or “CH001”. If it does not change au-
tomatically, select another channel. If you want to listen
to the premium channel, contact the XM rSatellite Ra-
dio.
NO SIGNAL
The XM rsignal is too weak at the current location. Wait
until your vehicle reaches a location with a stronger sig-
nal.
LOADINGThe unit is acquiring audio or program information. Wait
until the unit has received the information.
OFF AIRThe channel you selected is not broadcasting any pro-
gramming. Select another channel.
−−−−−
There is no song/program title or artist name/feature
associated with the channel at that time. No action
needed.
CH UNAVL
The channel you selected is no longer available. Wait
for about 2 seconds until the radio returns to the pre-
vious channel or “CH001”. If it does not change auto-
matically, select another channel.
Contact the XM rListener Care Center at 1 −877− 515−3987.
ISF/IS NAVI (U)
Finish