lock Lexus IS250 2012 Using the air conditioning system and defogger / LEXUS 2012 IS250,IS350 OWNERS MANUAL (OM53A87U)
[x] Cancel search | Manufacturer: LEXUS, Model Year: 2012, Model line: IS250, Model: Lexus IS250 2012Pages: 592, PDF Size: 6.2 MB
Page 455 of 592

455
4-3. Do-it-yourself maintenance
4
Maintenance and care
■Parking lights (vehicles with halogen headlights)
Release the lock and remove the
cover.
Turn the bulb base counterclock-
wise.
Remove the light bulb.
■ Back-up lights
Open the trunk door and remove
the trunk panel cover clips.
STEP1
STEP2
STEP3
STEP1
Page 456 of 592

456
4-3. Do-it-yourself maintenance
Partly remove the trunk panel
cover and turn the bulb base coun-
terclockwise.
Remove the light bulb.
■ Rear turn signal lights
Open the trunk door and remove
the cover.
Turn the bulb base counterclock-
wise.STEP2
STEP3
STEP1
STEP2
Page 459 of 592

459
4-3. Do-it-yourself maintenance
4
Maintenance and care
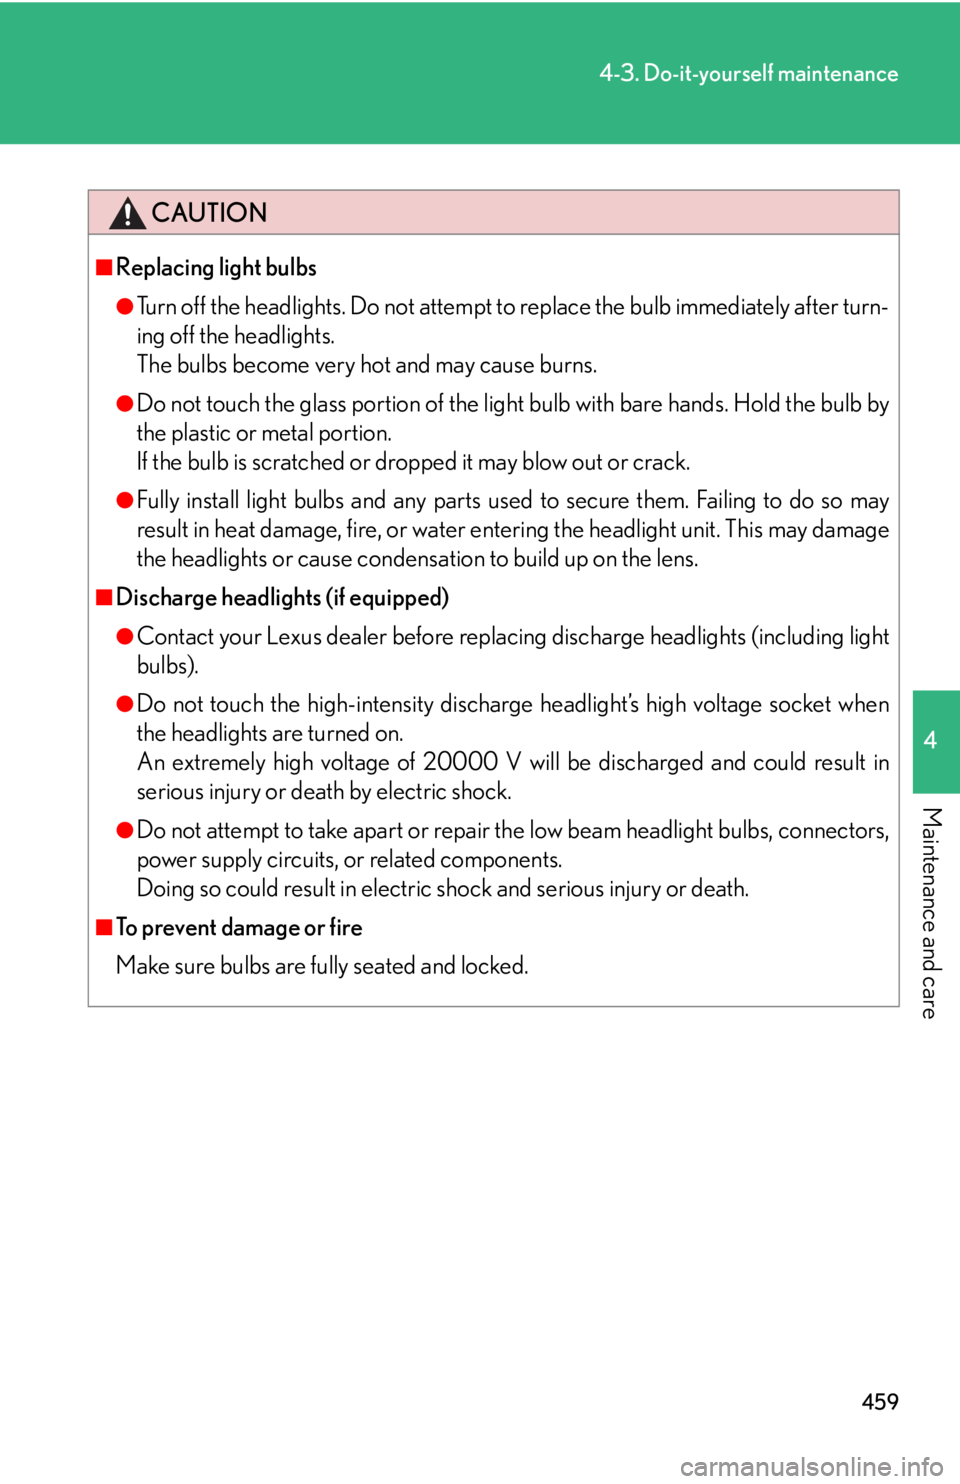
CAUTION
■Replacing light bulbs
●Turn off the headlights. Do not attempt to replace the bulb immediately after turn-
ing off the headlights.
The bulbs become very hot and may cause burns.
●Do not touch the glass portion of the light bulb with ba re hands. Hold the bulb by
the plastic or metal portion.
If the bulb is scratched or dropped it may blow out or crack.
●Fully install light bulbs and any parts used to secure them. Failing to do so may
result in heat damage, fire, or water en tering the headlight unit. This may damage
the headlights or cause condensation to build up on the lens.
■Discharge headlights (if equipped)
●Contact your Lexus dealer be fore replacing discharge headlights (including light
bulbs).
●Do not touch the high-intensity discharge headlight’s high voltage socket when
the headlights are turned on.
An extremely high voltage of 20000 V wi ll be discharged and could result in
serious injury or death by electric shock.
●Do not attempt to take apart or repair the low beam headligh t bulbs, connectors,
power supply circuits, or related components.
Doing so could result in electric shock and serious injury or death.
■To prevent damage or fire
Make sure bulbs are fully seated and locked.
Page 467 of 592

5
When trouble arises
467
5-1. Essential information
Towing with a wheel lift-type truckFrom the front Vehicles with an automatic trans-
mission: Use a towing dolly under
the rear wheels.
Vehicles with a manual transmis-
sion: We recommend to use a tow-
ing dolly under the rear wheels.
When not using a towing dolly,
release the parking brake and shift
the shift lever to N.
From the rear (2WD models)Switch to ACCESSORY mode so
that the steering wheel is
unlocked.
From the rear (AWD models) Use a towing dolly under the front
wheels.
Page 468 of 592

468
5-1. Essential information
Using a flat bed truckIf your Lexus is transported by a
flat bed truck, it should be tied
down at the locations shown in the
illustration.
If you use chains or cables to tie
down your vehicle, the angles
shaded in black must be 45 .
Do not overly tighten the tie downs
or the vehicle may be damaged.
NOTICE
■To prevent causing serious damage to the transmission
(vehicles with an automatic transmission)
Never tow this vehicle from the front with the rear wheels on the ground.
■To prevent damaging the vehicle
●Do not tow the vehicle from the rear with the “ENGINE START STOP” switch
OFF.
The steering lock mechanism is not st rong enough to hold the front wheels
straight.
●When raising the vehicle from the rear, ensure adequate ground clearance for
towing at the opposite end of the raised vehicle. Without adequate clearance, the
vehicle could be damaged while being towed from the rear.
Page 482 of 592

482
5-2. Steps to take in an emergency
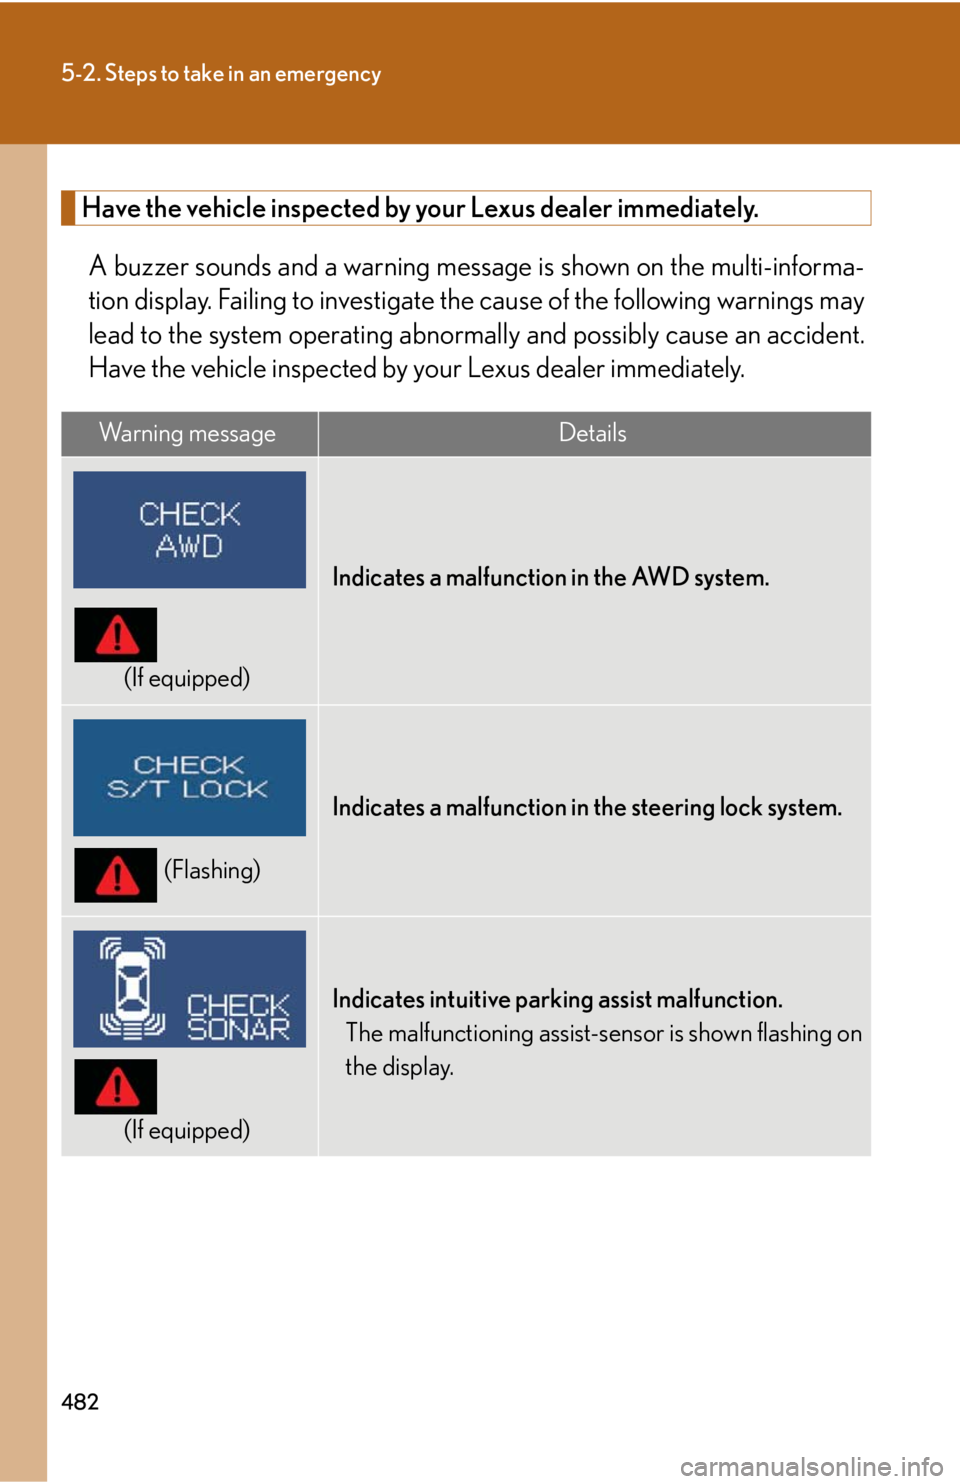
Have the vehicle inspected by your Lexus dealer immediately.
A buzzer sounds and a warning message is shown on the multi-informa-
tion display. Failing to investigate the cause of the following warnings may
lead to the system operating abnormally and possibly cause an accident.
Have the vehicle inspected by your Lexus dealer immediately.
Wa r n i n g m e s s a g eDetails
(If equipped)
Indicates a malfunction in the AWD system.
(Flashing)
Indicates a malfunction in the steering lock system.
(If equipped)
Indicates intuitive parking assist malfunction.
The malfunctioning assist-sensor is shown flashing on
the display.
Page 490 of 592

490
5-2. Steps to take in an emergency
Once
(Vehicles with an auto-matic transmission)
Indicates that a
door has been
opened or closed
and the “ENGINE
START STOP”
switch has been
switched twice to
ACCESSORY
mode from OFF.
Press the
“ENGINE START
STOP” switch
while applying the
brakes.
Once
(Vehicles with a manual transmission)
Indicates that a
door has been
opened or closed
and the “ENGINE
START STOP”
switch has been
switched twice to
ACCESSORY
mode from OFF.
Press the
“ENGINE START
STOP” switch
while depressing
the clutch pedal.
(Flashing)
Indicates that the
steering lock has
not released
within 3 seconds
of pressing the
“ENGINE START
STOP” switch.Press the
“ENGINE START
STOP” switch
again while turn-
ing the steering
wheel with the
brake pedal
depressed.
InteriorbuzzerExterior buzzerWa r n i n g m e s s a g eDetailsCorrection
procedure
Page 501 of 592

5
When trouble arises
501
5-2. Steps to take in an emergency
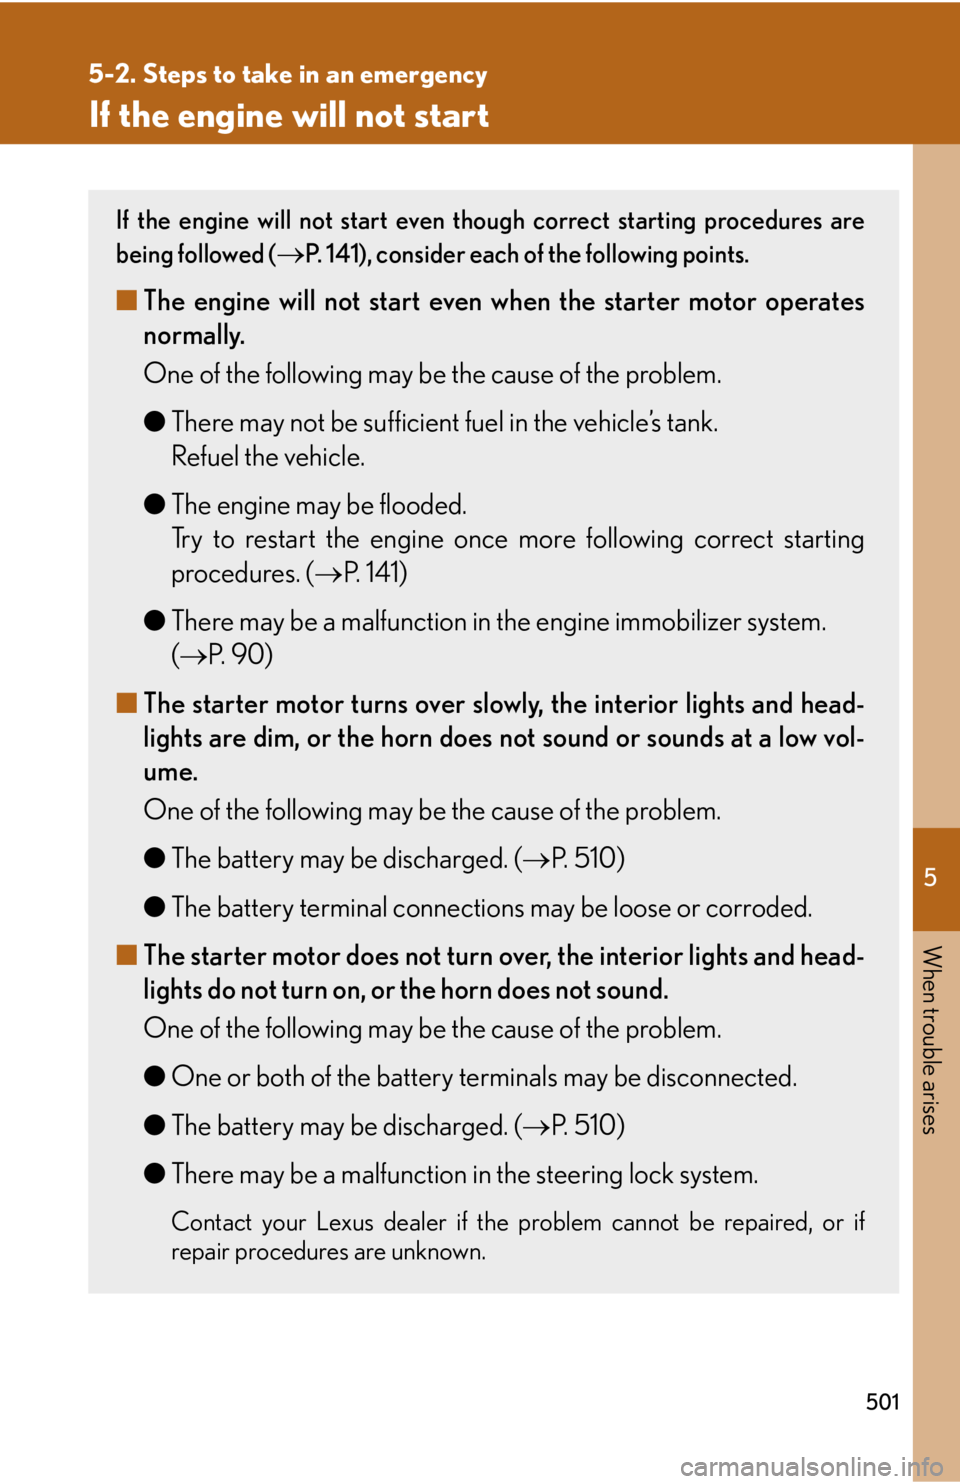
If the engine will not start
If the engine will not start even though correct starting procedures are
being followed (
P. 141), consider each of the following points.
■The engine will not start even when the starter motor operates
normally.
One of the following may be the cause of the problem.
● There may not be sufficient fuel in the vehicle’s tank.
Refuel the vehicle.
● The engine may be flooded.
Try to restart the engine once more following correct starting
procedures. ( P. 141)
● There may be a malfunction in the engine immobilizer system.
( P. 9 0 )
■ The starter motor turns over slow ly, the interior lights and head-
lights are dim, or the horn does not sound or sounds at a low vol-
ume.
One of the following may be the cause of the problem.
● The battery may be discharged. ( P. 510)
● The battery terminal connections may be loose or corroded.
■ The starter motor does not turn over, the interior lights and head-
lights do not turn on, or the horn does not sound.
One of the following may be the cause of the problem.
● One or both of the battery terminals may be disconnected.
● The battery may be discharged. ( P. 510)
● There may be a malfunction in the steering lock system.
Contact your Lexus dealer if the problem cannot be repaired, or if
repair procedures are unknown.
Page 503 of 592

5
When trouble arises
503
5-2. Steps to take in an emergency
If the shift lever cannot be shifted from P
If the shift lever cannot be shifted with your foot on the brake, there may be
a problem with the shift lock system (a system to prevent accidental opera-
tion of the shift lever). Have the vehicle inspected by your Lexus dealer
immediately.
The following steps may be used as an emergency measure to ensure that
the shift lever can be shifted.
Set the parking brake.
Turn the “ENGINE START STOP” switch to ACCESSORY
mode.
Depress the brake pedal.
Pry the cover up with a flathead
screwdriver or equivalent.
Press the shift lock override but-
ton.
The shift lever can be shifted
while the button is pressed.
STEP1
STEP2
STEP3
STEP4
STEP5
�
: If equipped
Page 505 of 592

5
When trouble arises
505
5-2. Steps to take in an emergency
If the electronic key does not operate properly
Locking and unlocking the doors, unlocking the trunk and key linked functions
Use the mechanical key built in to the electronic keys to operate the
doors. (P. 2 9 )
Doors Remove the cover on the driver’s
door handle.
Locks all the doors
Closes the windows and moon
roof (turn and hold)
Unlocks the door
Turning the key rearward unlocks
the driver's door. Turning the key
once again unlocks the other
doors.
Opens the windows and moon
roof (turn and hold)
If communication between the electron ic key and vehicle is interrupted
( P. 37) or the electronic key canno t be used because the battery is
depleted, the smart access system with push-button start and wireless
remote control cannot be used. In su ch cases, the doors and trunk can be
opened or the engine can be started by following the procedure below.
STEP1
STEP2