key Lexus IS250 2012 Using the air conditioning system and defogger / LEXUS 2012 IS250,IS350 (OM53A87U) Owner's Guide
[x] Cancel search | Manufacturer: LEXUS, Model Year: 2012, Model line: IS250, Model: Lexus IS250 2012Pages: 592, PDF Size: 6.2 MB
Page 131 of 592
131
2-1. Driving procedures
2
When driving
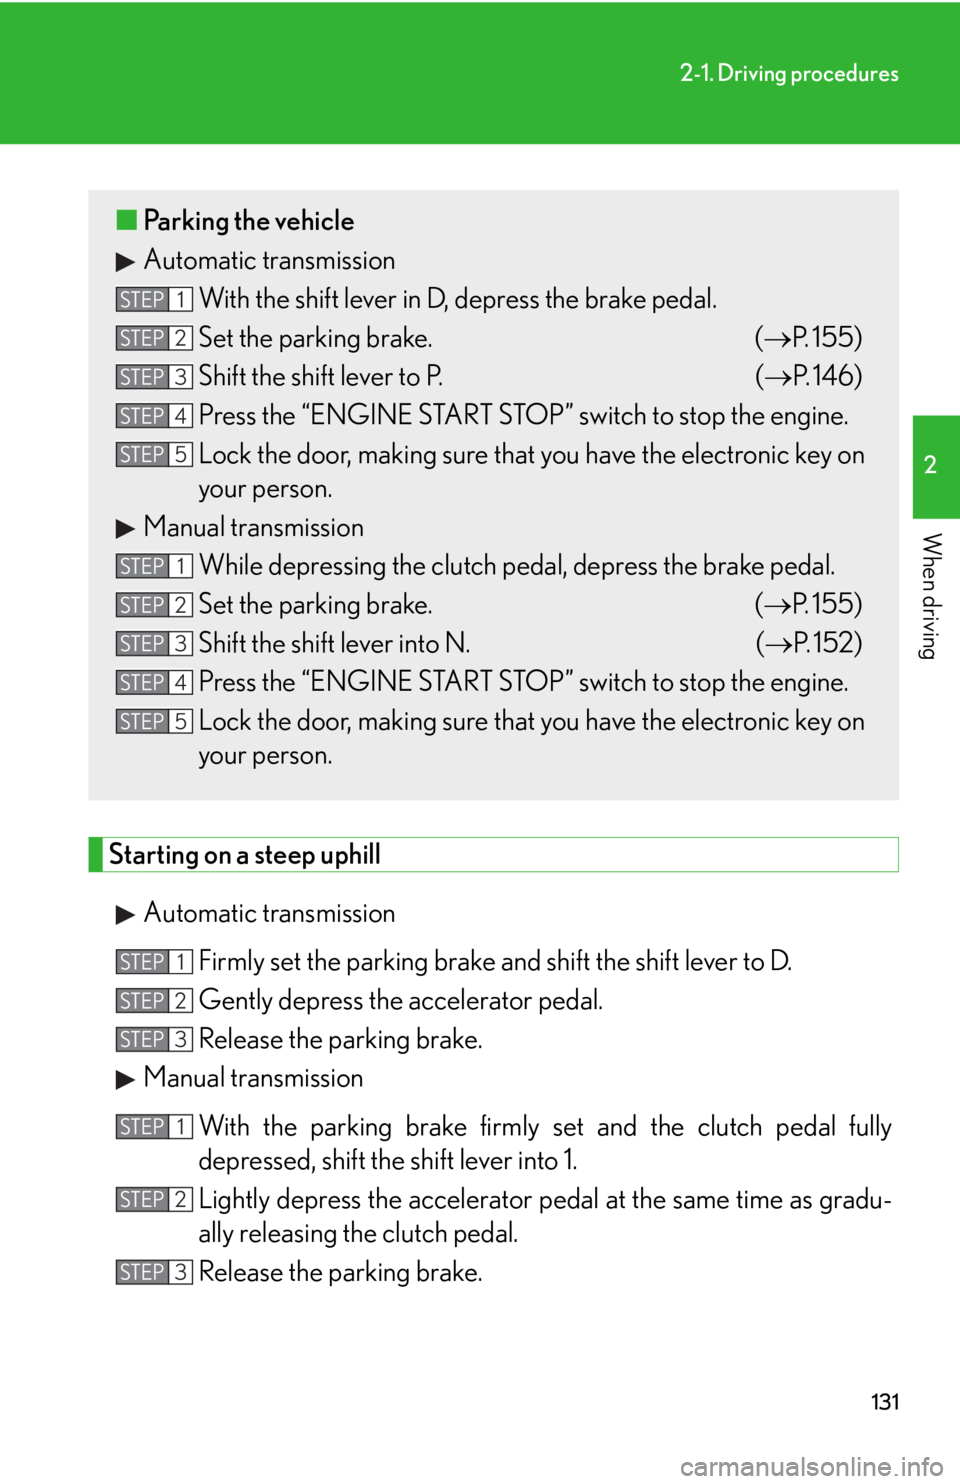
Starting on a steep uphillAutomatic transmission Firmly set the parking brake and shift the shift lever to D.
Gently depress the accelerator pedal.
Release the parking brake.
Manual transmission
With the parking brake firmly set and the clutch pedal fully
depressed, shift the shift lever into 1.
Lightly depress the accelerator pedal at the same time as gradu-
ally releasing the clutch pedal.
Release the parking brake.
■ Parking the vehicle
Automatic transmission
With the shift lever in D, depress the brake pedal.
Set the parking brake. ( P. 155)
Shift the shift lever to P. ( P. 146)
Press the “ENGINE START STOP” switch to stop the engine.
Lock the door, making sure that you have the electronic key on
your person.
Manual transmission While depressing the clutch pedal, depress the brake pedal.
Set the parking brake. ( P. 155)
Shift the shift lever into N. ( P. 1 5 2 )
Press the “ENGINE START STOP” switch to stop the engine.
Lock the door, making sure that you have the electronic key on
your person.
STEP1
STEP2
STEP3
STEP4
STEP5
STEP1
STEP2
STEP3
STEP4
STEP5
STEP1
STEP2
STEP3
STEP1
STEP2
STEP3
Page 141 of 592

141
2-1. Driving procedures
2
When driving
Engine (ignition) switch
Performing the following operations when carrying the electronic key on
your person starts the engine or changes “ENGINE START STOP” switch
modes.
■Starting the engine
Automatic transmission
Check that the parking brake is set.
Check that the shift lever is set in P.
Sit in the driver’s seat and firmly depress the brake pedal.
The “ENGINE START STOP” switch indicator turns green.
Press the “ENGINE START
STOP” switch.
The engine will crank until it
starts or for up to 30 seconds,
whichever is less.
Continue depressing the brake
pedal until the engine is com-
pletely started.
The engine can be started from
any “ENGINE START STOP”
switch mode.
STEP1
STEP2
STEP3
STEP4
Page 144 of 592
144
2-1. Driving procedures
■If the engine does not start
The engine immobilizer system may not have been deactivated. (P. 9 0 )
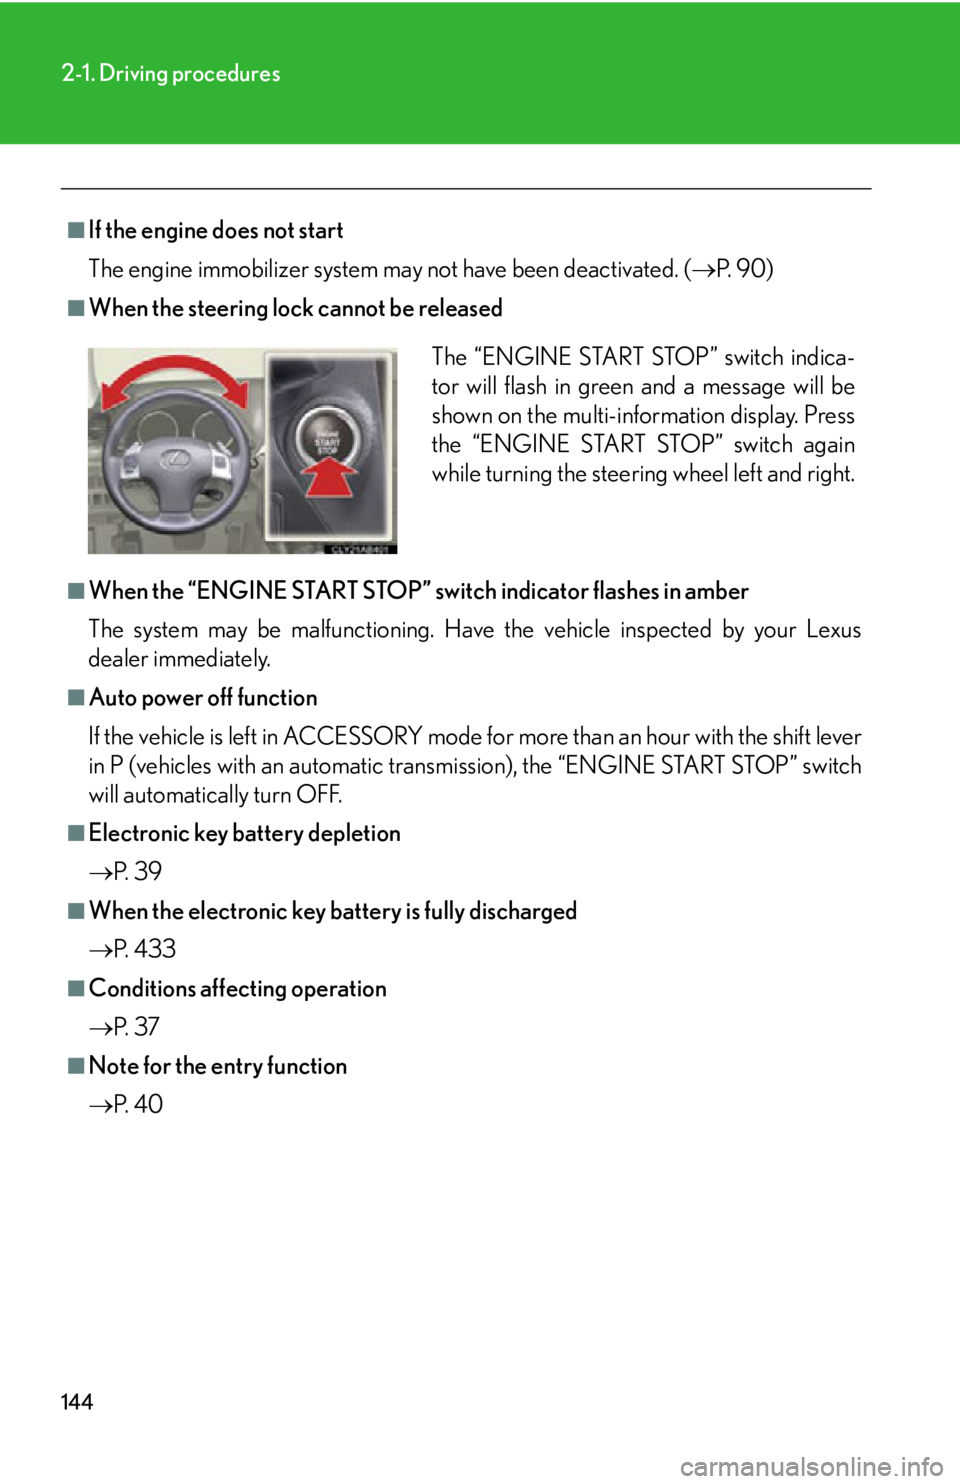
■When the steering lock cannot be released
■When the “ENGINE START STOP” switch indicator flashes in amber
The system may be malfunctioning. Have the vehicle inspected by your Lexus
dealer immediately.
■Auto power off function
If the vehicle is left in ACCESSORY mode fo r more than an hour with the shift lever
in P (vehicles with an automatic transmission), the “ENGINE START STOP” switch
will automatically turn OFF.
■Electronic key battery depletion
P. 3 9
■When the electronic key battery is fully discharged
P. 4 3 3
■Conditions affecting operation
P. 3 7
■Note for the entry function
P. 4 0
The “ENGINE START STOP” switch indica-
tor will flash in green and a message will be
shown on the multi-information display. Press
the “ENGINE START STOP” switch again
while turning the steering wheel left and right.
Page 175 of 592
175
2-3. Operating the lights and windshield wipers
2
When driving
■Automatic light off system
This system is active when the “ENGINE START STOP” switch is in IGNITION
ON mode and the headlight lever is in any position other than
or .
●When the headlights come on: The headlights and tail lights turn off 30 seconds
after a door is opened and closed if the “ENGINE START STOP” switch has
been switched to ACCESSORY mode or turned OFF. (The lights turn off
immediately if on the key is pressed after all doors are locked.)
●When only the tail lights come on: The tail lights turn off automatically if the
“ENGINE START STOP” switch is switched to ACCESSORY mode or turned
OFF and driver’s door is opened.
To turn the lights on again, switch to IGNITION ON mode, or turn the light switch
off once and then back to or
.
■Automatic headlight leveling system (vehicles with discharge headlights)
The level of the headlights is automatically adjusted according to the number of
passengers and the loading condition of the vehicle to ensure that the headlights do
not interfere with other road users.
■Customization that can be configured at Lexus dealer
Settings (e.g. light sensor sensitivity) can be changed.
(Customizable features P. 5 5 3 )
NOTICE
■To prevent battery discharge
Do not leave the lights on longer than necessary when the engine is not running.
Page 281 of 592
281
3-3. Using the Bluetooth® audio system
3
Interior features
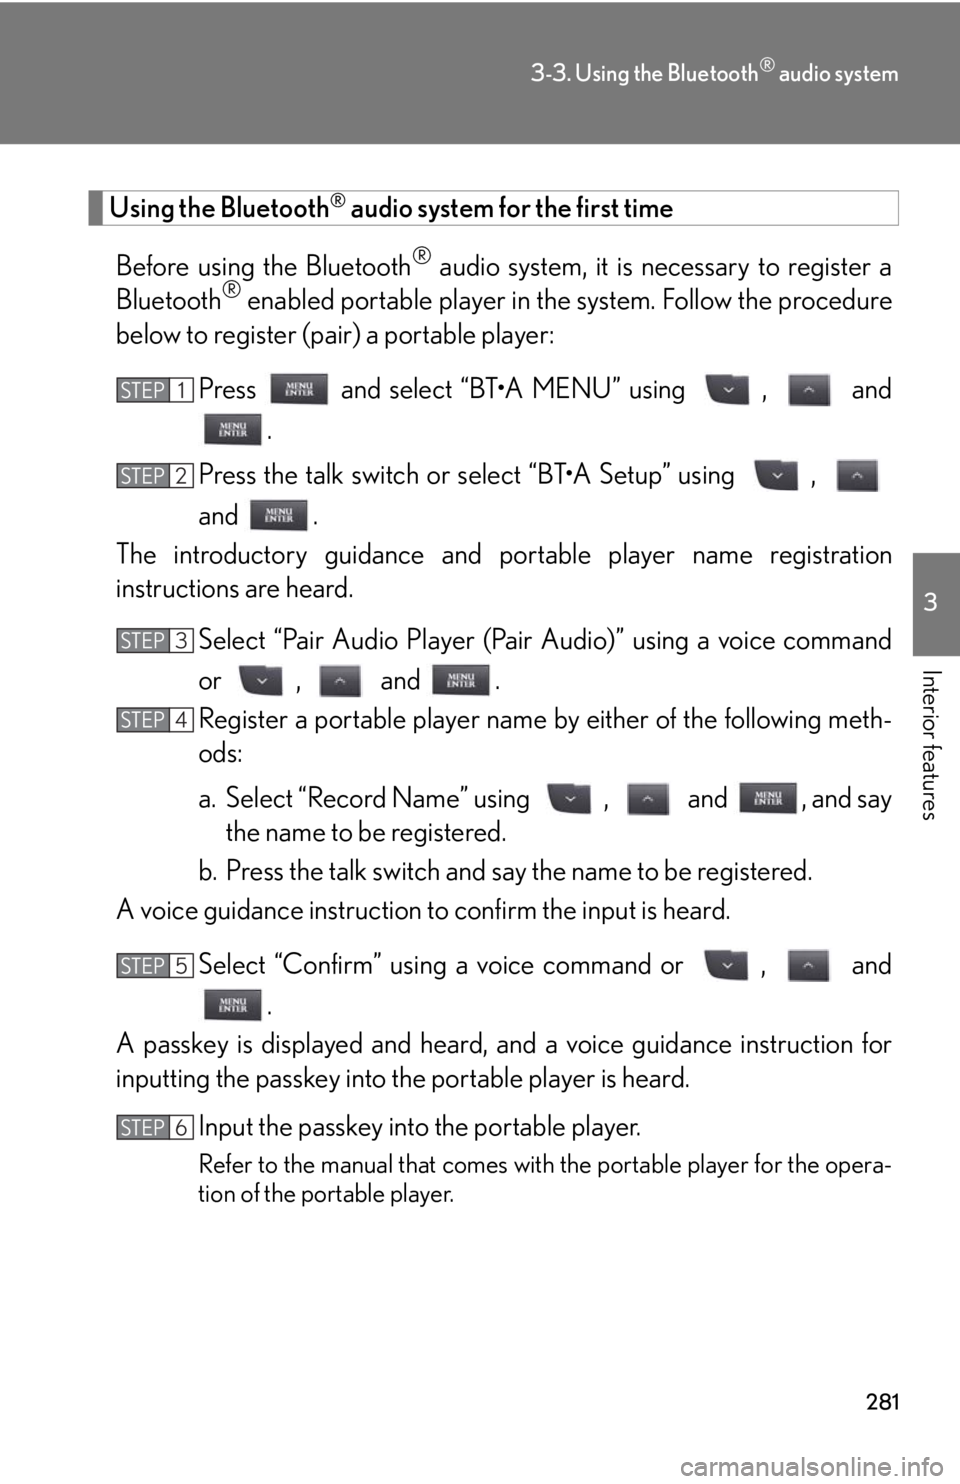
Using the Bluetooth® audio system for the first time
Before using the Bluetooth
® audio system, it is necessary to register a
Bluetooth® enabled portable player in th e system. Follow the procedure
below to register (pair) a portable player:
Press and select “BT•A MENU” using , and.
Press the talk switch or select “BT•A Setup” using ,
and .
The introductory guidance and portable player name registration
instructions are heard.
Select “Pair Audio Player (Pair Audio)” using a voice command
or , and .
Register a portable player name by either of the following meth-
ods:
a. Select “Record Name” using , and , and say the name to be registered.
b. Press the talk switch and say the name to be registered.
A voice guidance instruction to confirm the input is heard.
Select “Confirm” using a voice command or , and .
A passkey is displayed and heard, an d a voice guidance instruction for
inputting the passkey into the portable player is heard.
Input the passkey into the portable player.
Refer to the manual that comes with the portable player for the opera-
tion of the portable player.
STEP1
STEP2
STEP3
STEP4
STEP5
STEP6
Page 282 of 592
282
3-3. Using the Bluetooth® audio system
Guidance for registration completion is heard.
If the portable player has a Bluetooth
® phone, the phone can be regis-
tered at the same time. A voice guidan ce instruction to register a Blue-
tooth
® phone is heard.
Select “Yes” or “No” using a voice command or ,
and . (Bluetooth
® phone P. 2 9 8 )
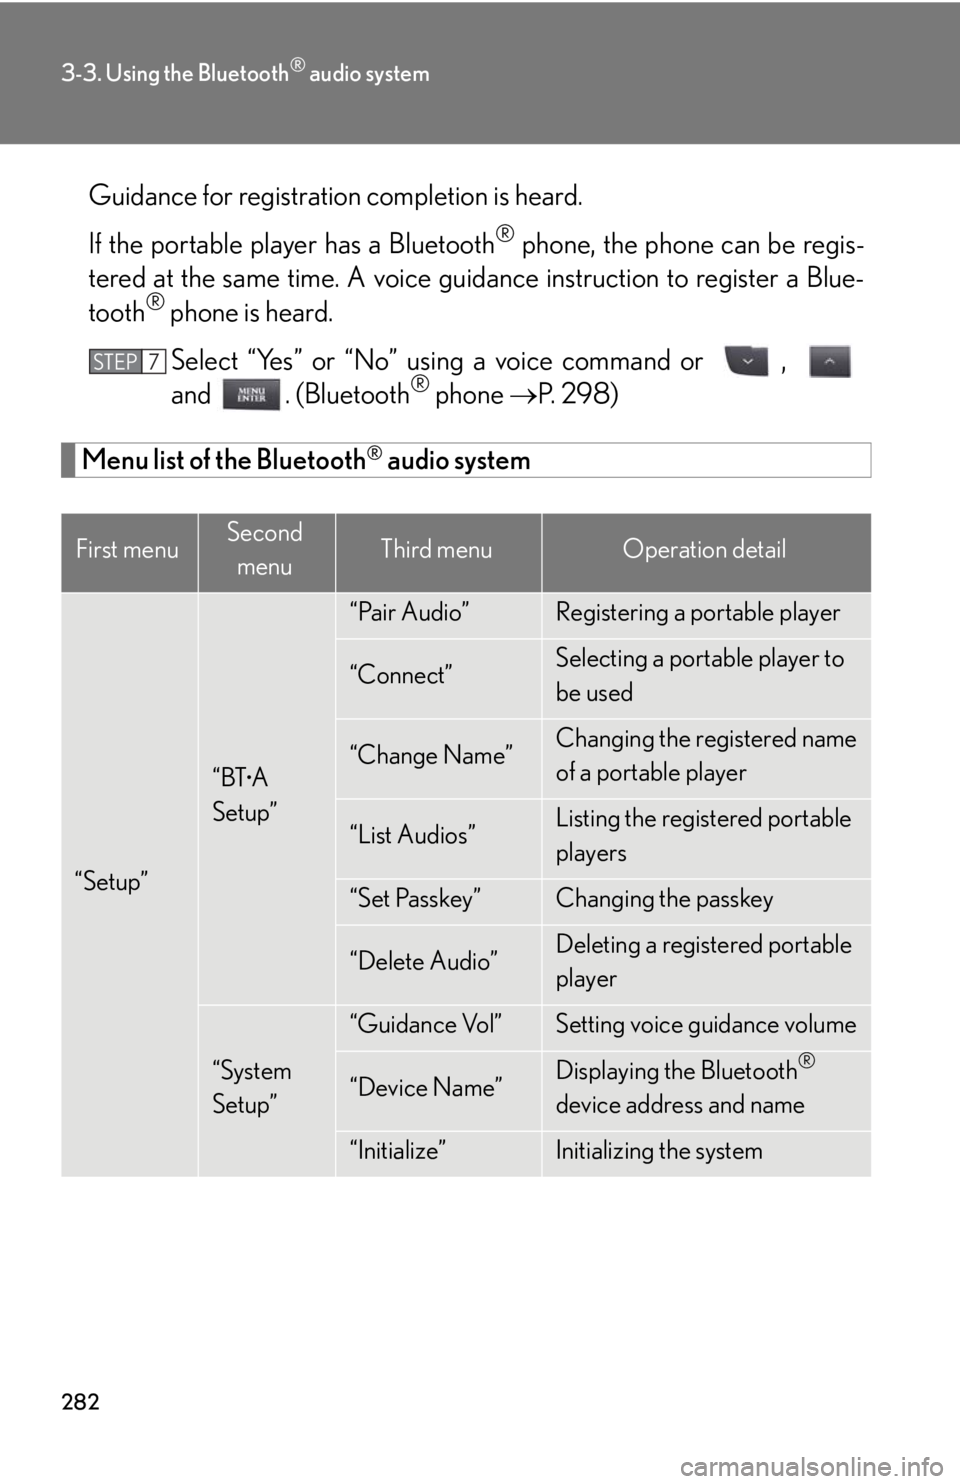
Menu list of the Bluetooth® audio system
First menuSecond
menuThird menuOperation detail
“Setup”
“BT•A
Setup”
“Pair Audio”Registering a portable player
“Connect”Selecting a portable player to
be used
“Change Name”Changing the registered name
of a portable player
“List Audios”Listing the registered portable
players
“Set Passkey”Changing the passkey
“Delete Audio”Deleting a registered portable
player
“System
Setup”
“Guidance Vol”Setting voice guidance volume
“Device Name”Displaying the Bluetooth®
device address and name
“Initialize”Initializing the system
STEP7
Page 283 of 592
283
3-3. Using the Bluetooth® audio system
3
Interior features
■When using a voice command
For numbers, say a combination of single digits from zero to nine.
Say the command correctly and clearly.
■Situations in which the system may not recognize your voice
●When driving on rough roads
●When driving at high speeds
●When air is blowing out of the vents onto the microphone
●When the air conditioning fan emits a loud noise
■Operations that cannot be performed while driving
●Operating the system with , and
●Registering a portable player to the system
■Changing the passkey
P. 2 9 1
Page 287 of 592
287
3-3. Using the Bluetooth® audio system
3
Interior features
Setting up a Bluetooth® enabled portable player
Registering a portable player in the Bluetooth® audio system allows the
system to function. The following functions can be used for registered por-
table players:
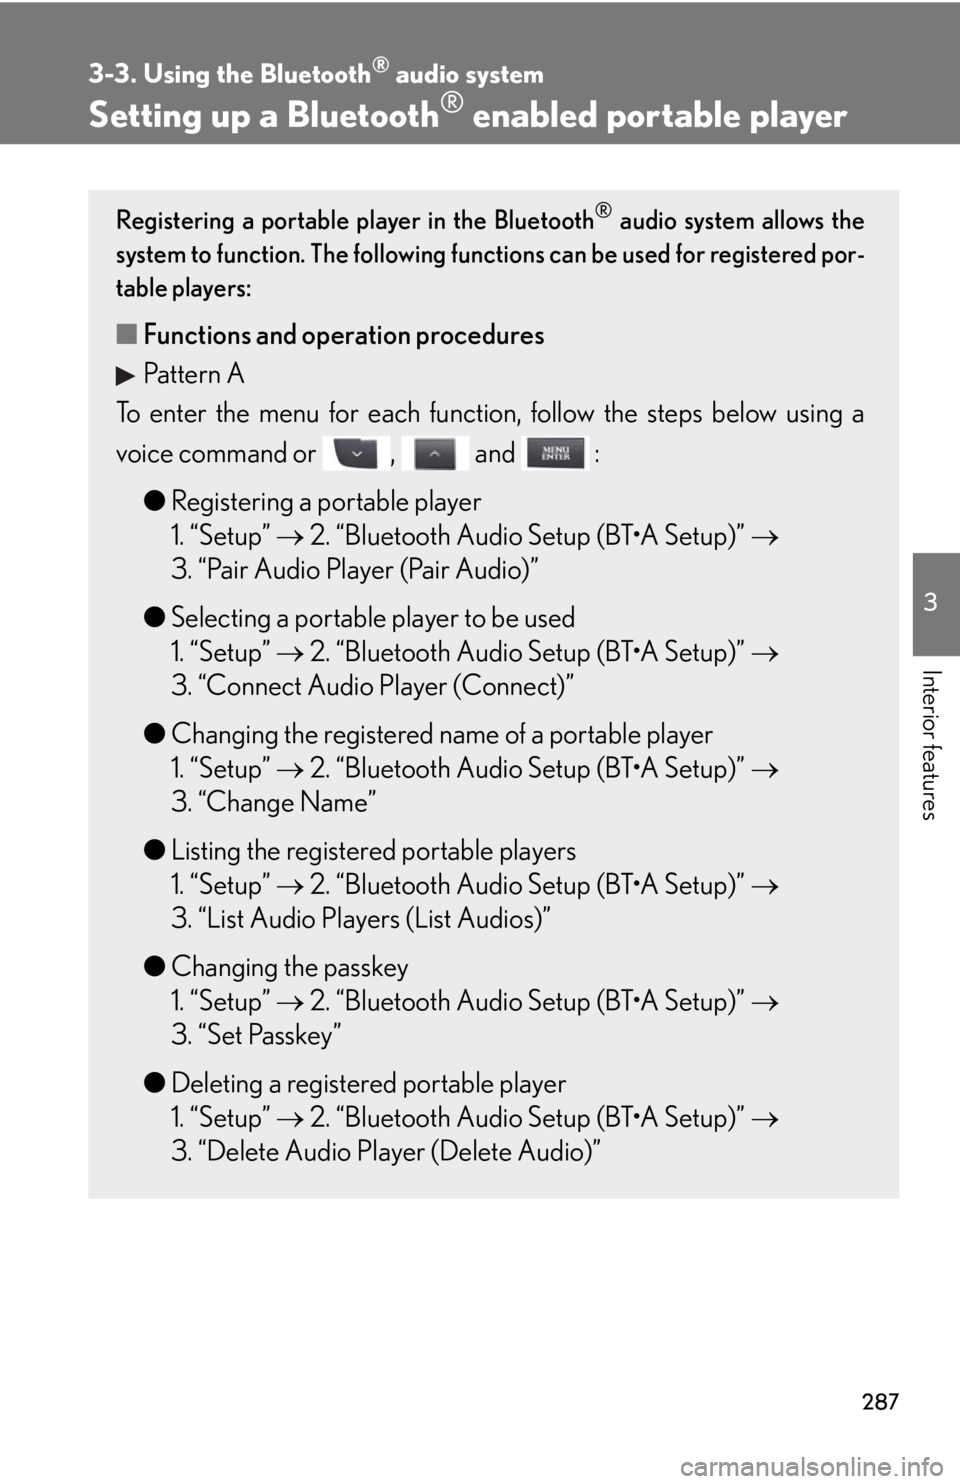
■ Functions and operation procedures
Pattern A
To enter the menu for each function , follow the steps below using a
voice command or , and :
●Registering a portable player
1. “Setup” 2. “Bluetooth Audio Setup (BT•A Setup)”
3. “Pair Audio Player (Pair Audio)”
● Selecting a portable player to be used
1. “Setup” 2. “Bluetooth Audio Setup (BT•A Setup)”
3. “Connect Audio Player (Connect)”
● Changing the registered name of a portable player
1. “Setup” 2. “Bluetooth Audio Setup (BT•A Setup)”
3. “Change Name”
● Listing the registered portable players
1. “Setup” 2. “Bluetooth Audio Setup (BT•A Setup)”
3. “List Audio Players (List Audios)”
● Changing the passkey
1. “Setup” 2. “Bluetooth Audio Setup (BT•A Setup)”
3. “Set Passkey”
● Deleting a registered portable player
1. “Setup” 2. “Bluetooth Audio Setup (BT•A Setup)”
3. “Delete Audio Player (Delete Audio)”
Page 288 of 592
288
3-3. Using the Bluetooth® audio system
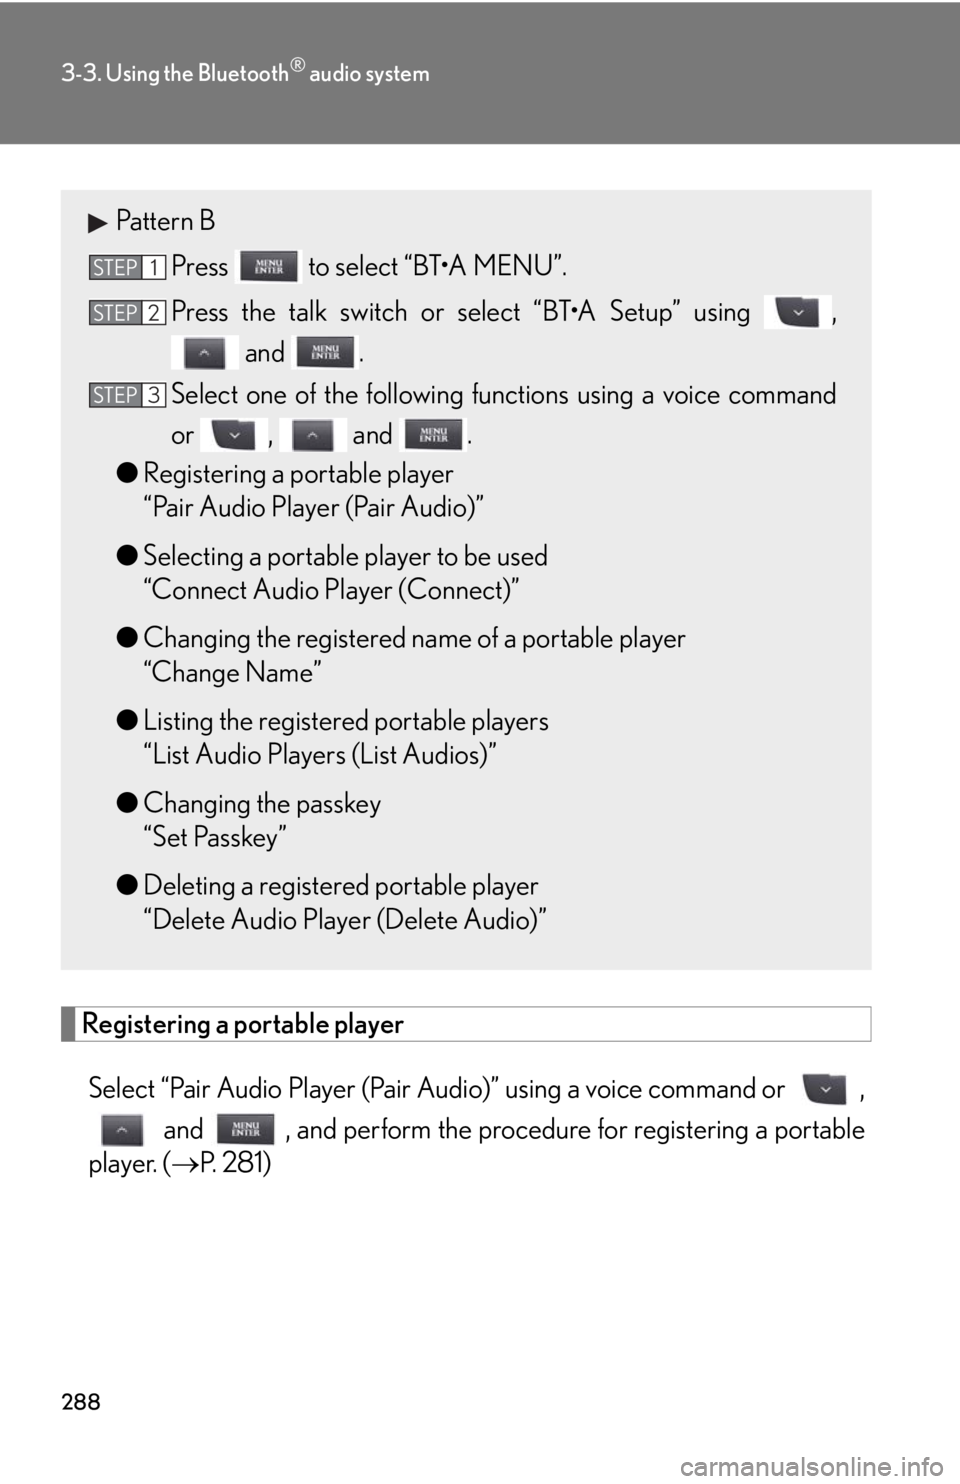
Registering a portable playerSelect “Pair Audio Player (Pair Audio)” using a voice command or , and , and perform the proced ure for registering a portable
player. ( P. 2 8 1 )
Pattern B
Press to select “BT•A MENU”.
Press the talk switch or select “BT•A Setup” using , and .
Select one of the following functions using a voice command
or , and .
● Registering a portable player
“Pair Audio Player (Pair Audio)”
● Selecting a portable player to be used
“Connect Audio Player (Connect)”
● Changing the registered name of a portable player
“Change Name”
● Listing the registered portable players
“List Audio Players (List Audios)”
● Changing the passkey
“Set Passkey”
● Deleting a registered portable player
“Delete Audio Player (Delete Audio)”
STEP1
STEP2
STEP3
Page 291 of 592
291
3-3. Using the Bluetooth® audio system
3
Interior features
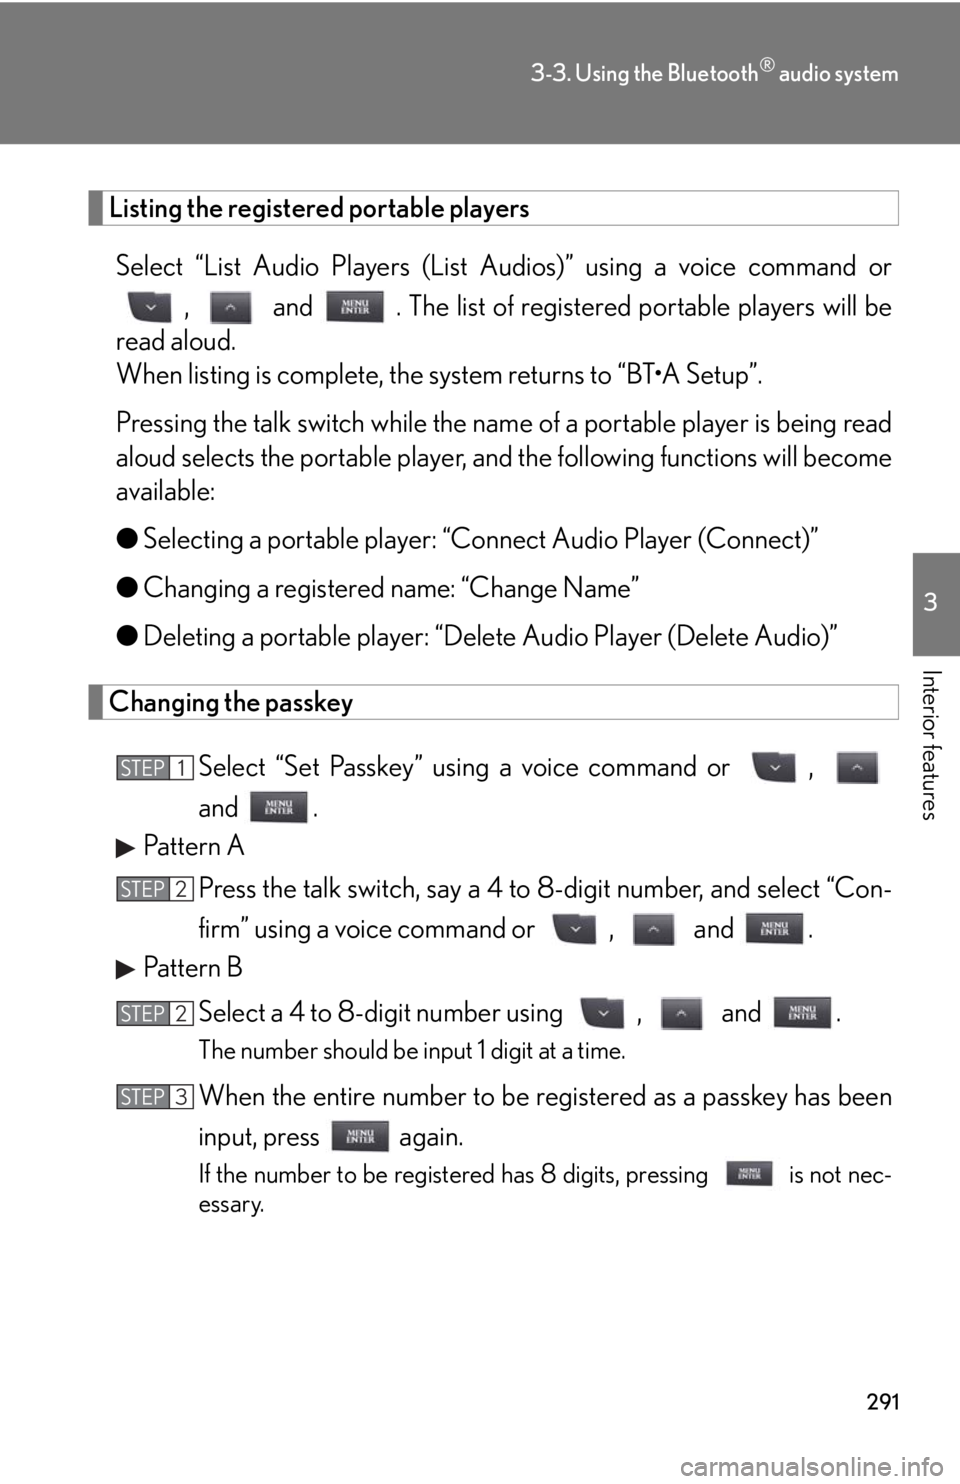
Listing the registered portable playersSelect “List Audio Players (List Audios)” using a voice command or
, and . The list of register ed portable players will be
read aloud.
When listing is complete, the system returns to “BT•A Setup”.
Pressing the talk switch while the name of a portable player is being read
aloud selects the portable player, an d the following functions will become
available:
● Selecting a portable player: “Connect Audio Player (Connect)”
● Changing a registered name: “Change Name”
● Deleting a portable player: “Delete Audio Player (Delete Audio)”
Changing the passkey
Select “Set Passkey” using a voice command or ,
and .
Pattern A
Press the talk switch, say a 4 to 8-digit number, and select “Con-
firm” using a voice command or , and .
Pattern B
Select a 4 to 8-digit number using , and .
The number should be input 1 digit at a time.
When the entire number to be re gistered as a passkey has been
input, press again.
If the number to be registered has 8 digits, pressing is not nec-
essary.
STEP1
STEP2
STEP2
STEP3