ECO mode Lexus IS250C 2010 Do-It-Yourself Maintenance / LEXUS 2010 IS350C/250C (OM53A20U) User Guide
[x] Cancel search | Manufacturer: LEXUS, Model Year: 2010, Model line: IS250C, Model: Lexus IS250C 2010Pages: 592, PDF Size: 7.18 MB
Page 143 of 592

143
2-1. Driving procedures
2
When driving
Manual transmissionCheck that the parking brake is set.
Check that the shift lever is set in N.
Firmly depress the clutch pedal.
The “ENGINE START STOP” switch indicator turns green.
Press the “ENGINE START
STOP” switch.
The engine will crank until it
starts or for up to 30 seconds,
whichever is less.
Continue depressing the clutch
pedal until the engine is com-
pletely started.
The engine can be started from
any mode.
STEP1
STEP2
STEP3
STEP4
Page 146 of 592

146
2-1. Driving procedures
CAUTION
■When starting the engine
Always start the engine while sitting in the driver’s seat. Do not press the accelera-
tor while starting the engine under any circumstances.
Doing so may cause an accident resulting in death or serious injury.
■Stopping the engine in an emergency
If you want to stop the engine in an emergency while driving the vehicle, push and
hold the “ENGINE START STOP” switch for more than 3 seconds.
However, do not touch the “ENGINE START STOP” switch while driving except in
an emergency. If the engine stops while the vehicle is being driven, this could lead to
an unexpected accident.
NOTICE
■To prevent battery discharge
Do not leave the “ENGINE START STOP” switch in ACCESSORY or IGNITION
ON mode for long periods without the engine running.
■When starting the engine
●Do not race a cold engine.
●If the engine becomes difficult to start or stalls frequently, have the engine
checked immediately.
Page 147 of 592

147
2-1. Driving procedures
2
When driving
Automatic transmission
: If equipped
Select a shift position appropriate for the driving conditions.
■Shifting the shift lever
While the “ENGINE START STOP” switch is in IGNITION
ON mode, depress the brake pedal and move the shift lever.
■ Shift position uses
*1: Shifting to the D position allows the sy stem to select a gear suitable for the
driving conditions. Setting the shift le ver to the D position is recommended
for normal driving.
*2: Selecting shift ranges using S mode re stricts the upper limit of the possible
gear ranges, controls engine brakin g forces, and prevents unnecessary
upshifting.
Shift positionFunction
PParking the vehicle or starting the engine
RReversing
NNeutral
DNormal driving*1
SS mode driving*2 ( P. 151)
Page 163 of 592

163
2-2. Instrument cluster
2
When driving
■Changing the indicator setting
The satellite switch can be used to change the set speed at which the
yellow speed or tacho ind icator ring comes on.
The setting can be made only when the “ENGINE START STOP”
switch is in IGNITION ON mode and the vehicle is stopped.
Push “
” or “” to select the speed or tach o indicator set mode. ( ) Turn
the speed or tacho indi cator to “OFF” and then “ON” by pushing the
“ON/OFF” button. ( )
After one second, the mode enters
the indicator setting mode.
The speedometer or tachometer
needle moves to the previously set
speed.
STEP1
Page 164 of 592

164
2-2. Instrument cluster
Push “” or “” within 6 seconds of the speedometer or tachometer nee-
dle moving to change the setting of the desired speed, then turn the indi-
cator mode to “ON” by pushing the “ON/OFF” button.
Pushing and holding the button chan ges values at a faster rate.
If the satellite switch is not operated for some time, the multi-information dis-
play returns to its previously displayed content.
The yellow indicator is displayed to indicate that the desired speed has
been set.
STEP2
Page 181 of 592

181
2-3. Operating the lights and windshield wipers
2
When driving
■Raindrop sensor (vehicles with the rain-sensing windshield wipers)
●If the wiper switch is turned to “AUTO” position while the “ENGINE START
STOP” switch is in IGNITION ON mode , the wiper will operate once to show
that auto mode is activated.
●If the temperature of the raindrop sensor is 194 F (90 C) or higher, or -22 F
(-30 C) or lower, automatic operation may not occur. In this case, operate
the wipers in any mode other than “AUTO”.
■Outside rear view mirror defogger activa tion linked to windshield wiper opera-
tion
The outside rear view mirror defogger au tomatically turns on when you operate the
windshield wipers.
■If no windshield washer fluid sprays
Check that the washer nozzles are not blocked if there is washer fluid in the wind-
shield washer fluid reservoir.
■Customization that can be configured at Lexus dealer
Settings (e.g. drip prevention function) can be changed.
(Customizable features P. 5 6 4 )
CAUTION
■Caution regarding the use of windshield wipers in “AUTO” mode
The windshield wipers may operate unexpectedly if the sensor is touched or the
windshield is subject to vibration in “AUT O” mode. Take care that your fingers or
anything else do not become caught in the windshield wipers.
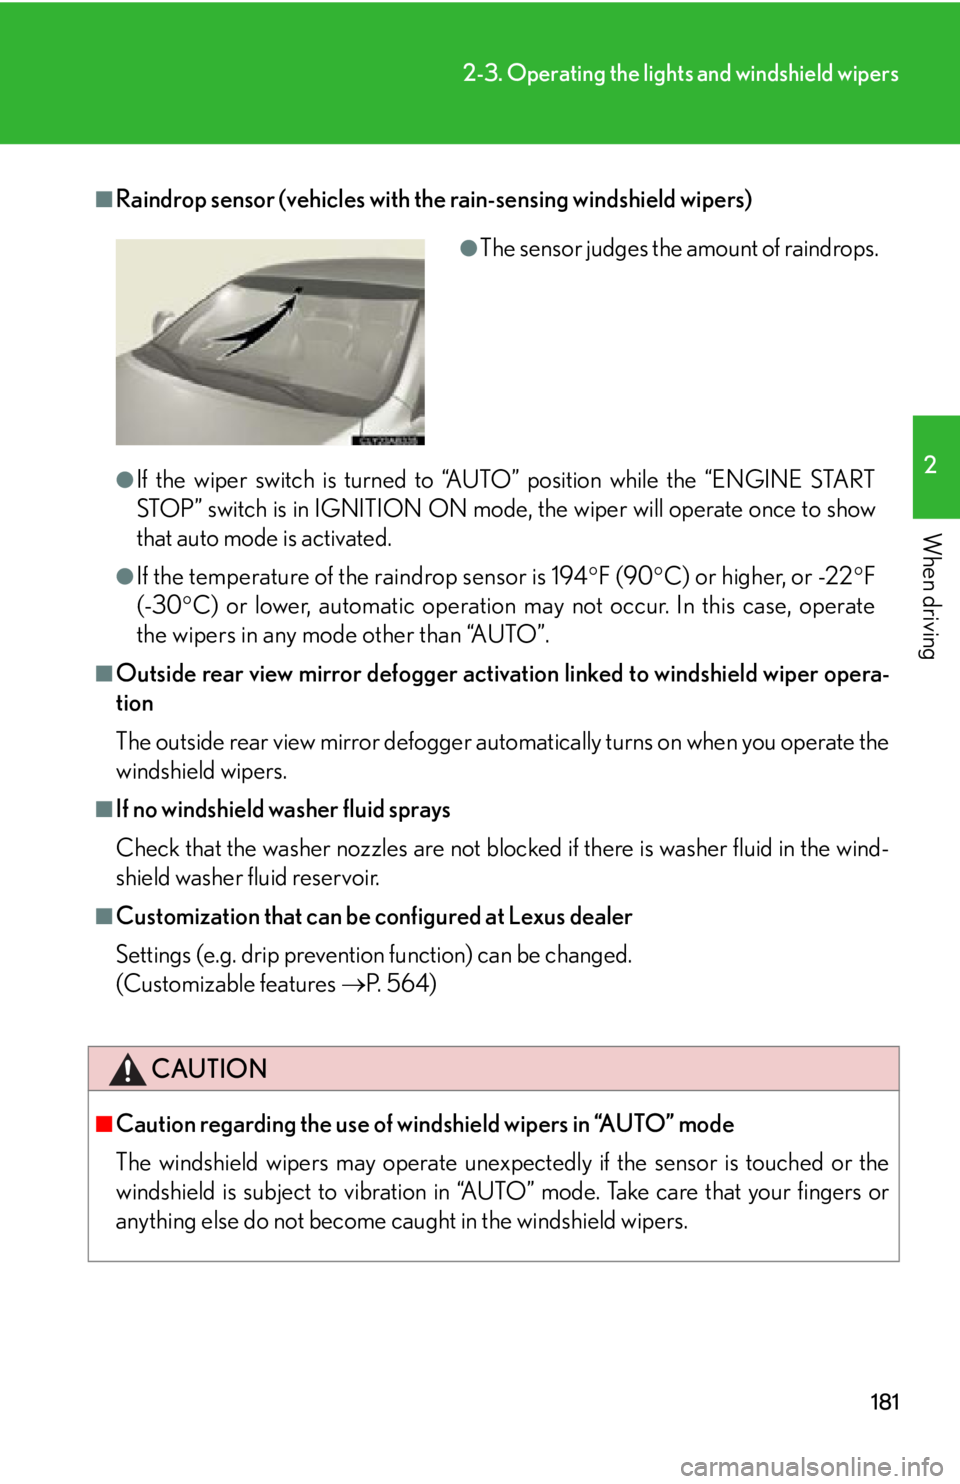
●The sensor judges the amount of raindrops.
Page 188 of 592

188
2-4. Using other driving systems
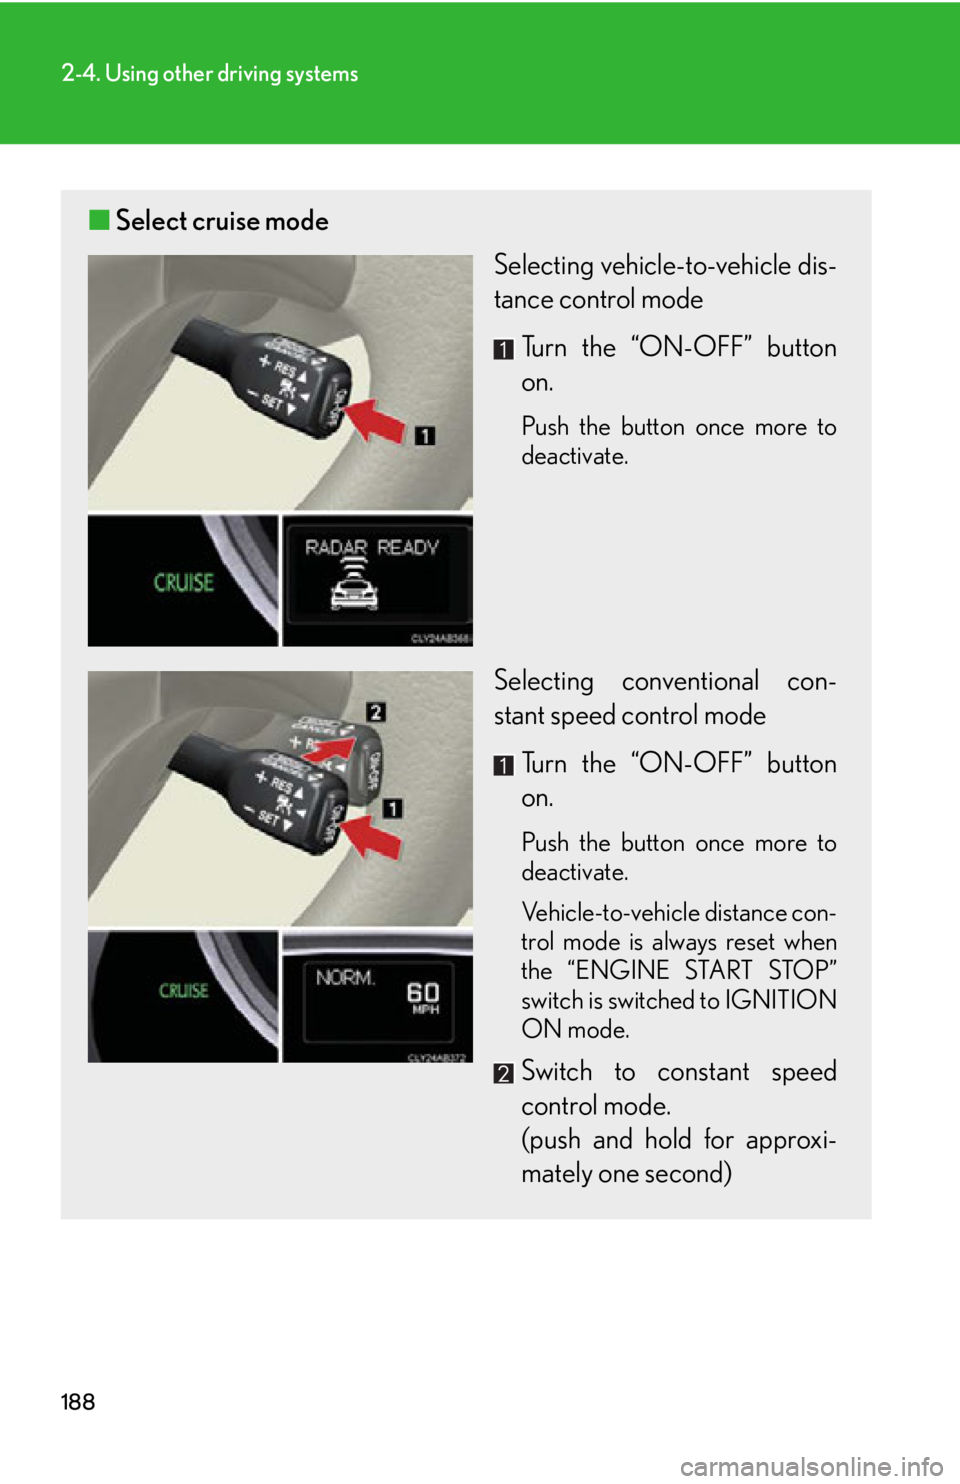
■Select cruise mode
Selecting vehicle-to-vehicle dis-
tance control mode
Turn the “ON-OFF” button
on.
Push the button once more to
deactivate.
Selecting conventional con-
stant speed control mode Turn the “ON-OFF” button
on.
Push the button once more to
deactivate.
Vehicle-to-vehicle distance con-
trol mode is always reset when
the “ENGINE START STOP”
switch is switched to IGNITION
ON mode.
Switch to constant speed
control mode.
(push and hold for approxi-
mately one second)
Page 226 of 592

226
2-5. Driving information
Dinghy towing (vehicles with a manual transmission)
Towing your vehicle with 4 wheels on the groundTo prevent damage to your vehicle, perform the following procedures
before towing. Shift the shift lever to neutral.
Switch to ACCESSORY mode. ( P. 144)
Ensure that the audio system and other powered devices have been
turned off.
Release the parking brake.
After towing, leave the engine in idle for at least 3 minutes before driv-
ing the vehicle.
■Necessary equipment and accessories
Specialized equipment and accessories are required for dinghy towing. Contact
the service branch of the motor home manufacturer regarding recommended
equipment.
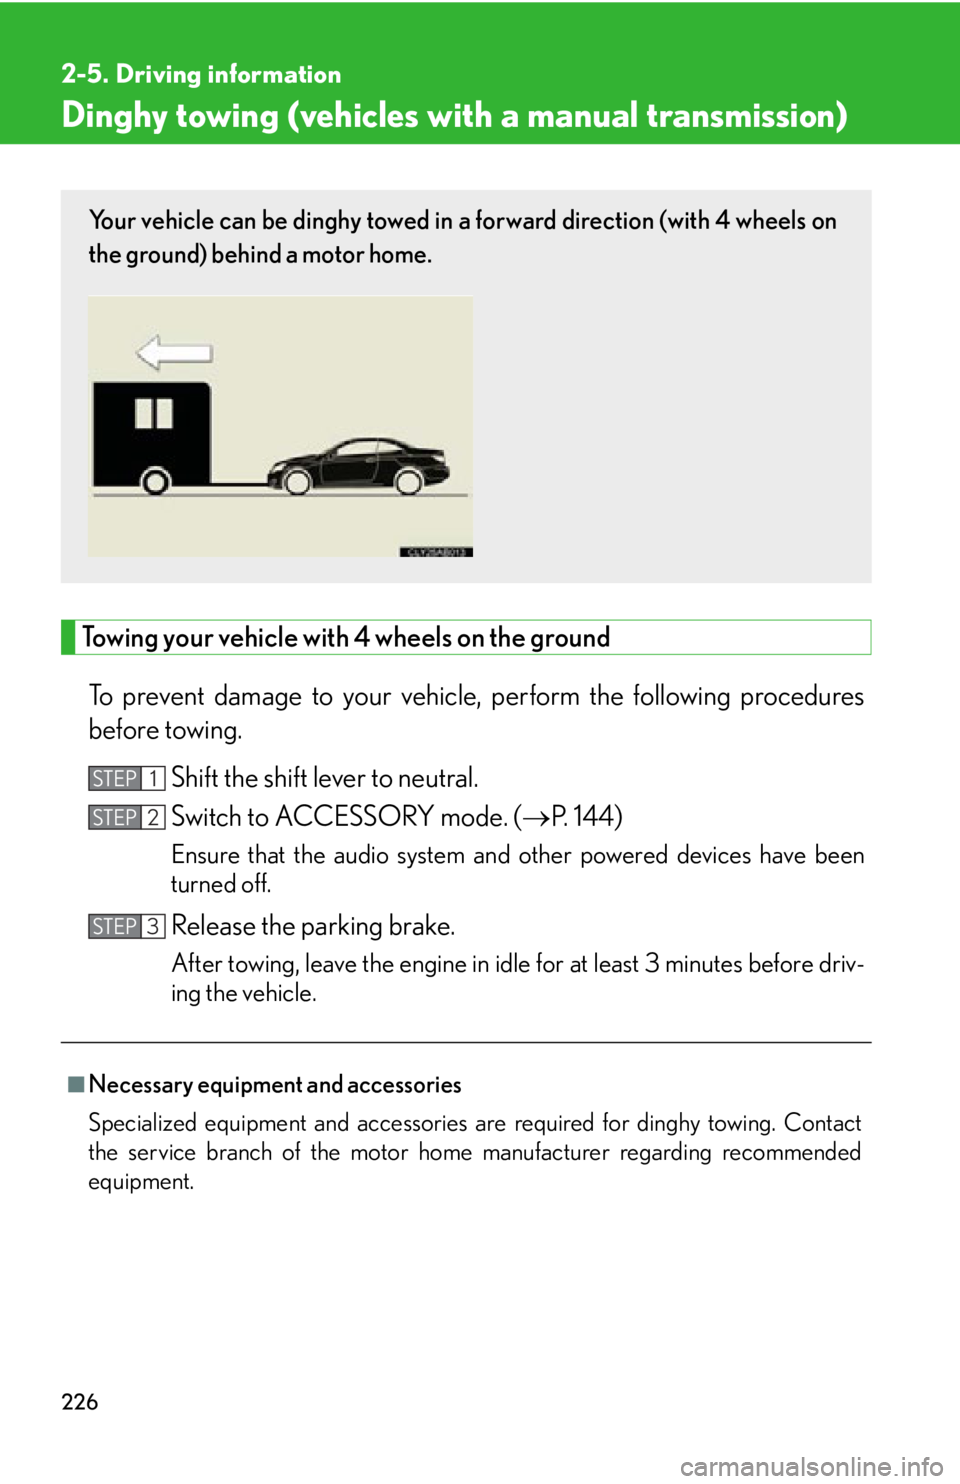
Your vehicle can be dinghy towed in a forward direction (with 4 wheels on
the ground) behind a motor home.
STEP1
STEP2
STEP3
Page 238 of 592

238
3-1. Using the air conditioning system and defogger
Rear window and outside rear view mirror defoggers
■The defogger can be operated when
The “ENGINE START STOP” switch is in IGNITION ON mode.
■When the retractable hardtop is open
The rear window defogger is not operable. The indicator will come on if the outside
rear view mirror defoggers are used.
CAUTION
■When the outside rear view mirror defoggers are on
Do not touch the outside surface of the rear view mirror, as it can become very hot
and burn you.
These features are used to defog the rear window, and to remove rain-
drops, dew and frost from the outside rear view mirrors.
On/off
The defoggers will automatically
turn off after 15 to 60 minutes.
The operation time changes
according to the ambient tem-
perature and vehicle speed.
Page 261 of 592

261
3-2. Using the audio system
3
Interior features
■Discs that can be used
Discs with the marks shown below can be used.
Playback may not be possible depending on recording format or disc features, or
due to scratches, dirt or deterioration.
■CD player protection feature
To protect the internal components, play back is automatically stopped when a
problem is detected while th e CD player is being used.
■If CDs are left inside the CD player or in the ejected position for extended peri-
ods
CDs may be damaged and may not play properly.
■Lens cleaners
Do not use lens cleaners. Doing so may damage the CD player.
■MP3 and WMA files
MP3 (MPEG Audio LAYER 3) is a standard audio compression format.
Files can be compressed to approximately 1 /10 of their original size by using MP3
compression.
WMA (Windows Media
TM Audio) is a Microsoft audio compression format.
This format compresses audio data to a size smaller than that of the MP3 format.
There is a limit to the MP3 and WMA file standards and to the media/formats
recorded by them that can be used.
●MP3 file compatibility
• Compatible standards MP3 (MPEG1 LAYER3, MPEG2 LSF LAYER3)
• Compatible sampling frequencies MPEG1 LAYER3: 32, 44.1, 48 (kHz)
MPEG2 LSF LAYER3: 16, 22.05, 24 (kHz)
• Compatible bit rates (compatible with VBR) MPEG1 LAYER3: 64, 80, 96, 112, 128, 160, 192, 224, 256, 320 (kbps)
MPEG2 LSF LAYER3: 64, 80, 96, 112, 128, 144, 160 (kbps)
• Compatible channel modes: stereo, joint stereo, dual channel and monaural