CD player Lexus IS250C 2010 User Guide
[x] Cancel search | Manufacturer: LEXUS, Model Year: 2010, Model line: IS250C, Model: Lexus IS250C 2010Pages: 586, PDF Size: 31.62 MB
Page 256 of 586

255
3-2. Using the audio system
3
Interior features
10_IS250C/350C_U
â– CD player protection feature
To protect the internal components, playback is automatically stopped when a
problem is detected.
â– If CDs are left inside the CD player or in the ejected position for extended peri-
ods
CDs may be damaged and may not play properly.
â– Lens cleaners
Do not use lens cleaners. Doing so may damage the CD player.
NOTICE
â– CDs and adapters that cannot be used
Do not use the following types of CDs, 3 in. (8 cm) CD adapters or Dual Disc.
Doing so may damage the CD player and/or the CD insert/eject function.
â—ŹCDs that have a diameter that is not 4.7 in.
(12 cm).
â—ŹLow-quality and deformed CDs.
Page 257 of 586

256
3-2. Using the audio system
10_IS250C/350C_U
NOTICE
â– CD player precautions
Failure to follow the precautions below may result in serious damage to the CDs or
the player itself.
â—ŹDo not insert anything other than CDs into the CD slot.
â—ŹDo not apply oil to the CD player.
â—ŹStore CDs away from direct sunlight.
â—ŹNever try to disassemble any part of the CD player.
â—ŹCDs with a transparent or translucent
recording area.
â—ŹCDs that have had tape, stickers or CD-R
labels attached to them, or that have had
the label peeled off.
â—ŹDo not insert more than one CD at a time.
Page 261 of 586
260
3-2. Using the audio system
10_IS250C/350C_U
â– Display
Up to 12 characters can be displayed at a time.
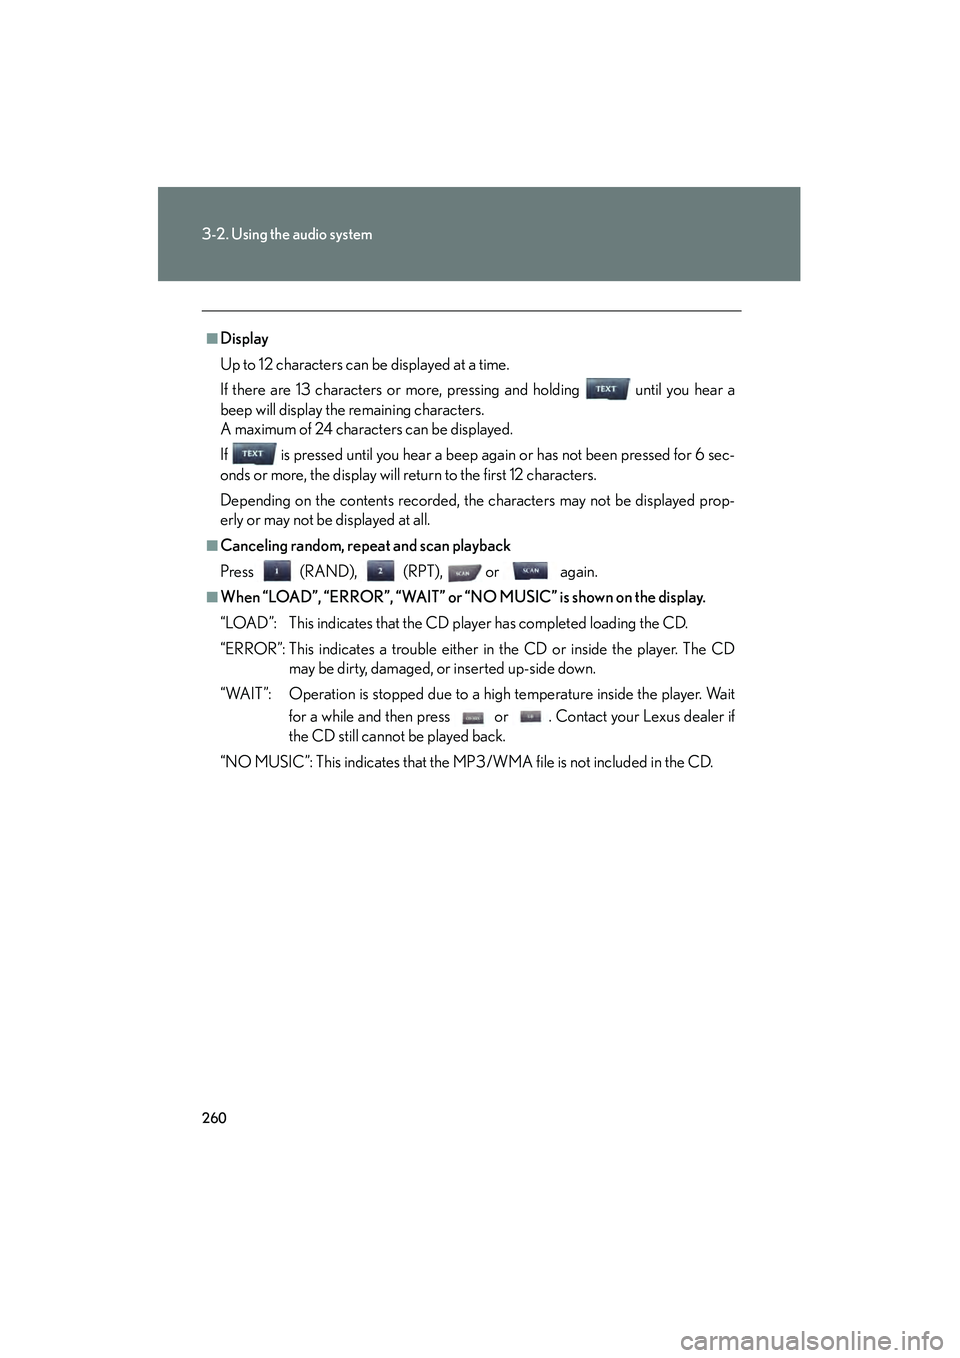
If there are 13 characters or more, pressing and holding until you hear a
beep will display the remaining characters.
A maximum of 24 characters can be displayed.
If is pressed until you hear a beep again or has not been pressed for 6 sec-
onds or more, the display will return to the first 12 characters.
Depending on the contents recorded, the characters may not be displayed prop-
erly or may not be displayed at all.
â– Canceling random, repeat and scan playback
Press (RAND), (RPT), or again.
■When “LOAD”, “ERROR”, “WAIT” or “NO MUSIC” is shown on the display.
“LOAD”: This indicates that the CD player has completed loading the CD.
“ERROR”: This indicates a trouble either in the CD or inside the player. The CDmay be dirty, damaged, or inserted up-side down.
“WAIT”: Operation is stopped due to a high temperature inside the player. Wait for a while and then press or . Contact your Lexus dealer if
the CD still cannot be played back.
“NO MUSIC”: This indicates that the MP3/WMA file is not included in the CD.
Page 262 of 586
261
3-2. Using the audio system
3
Interior features
10_IS250C/350C_U
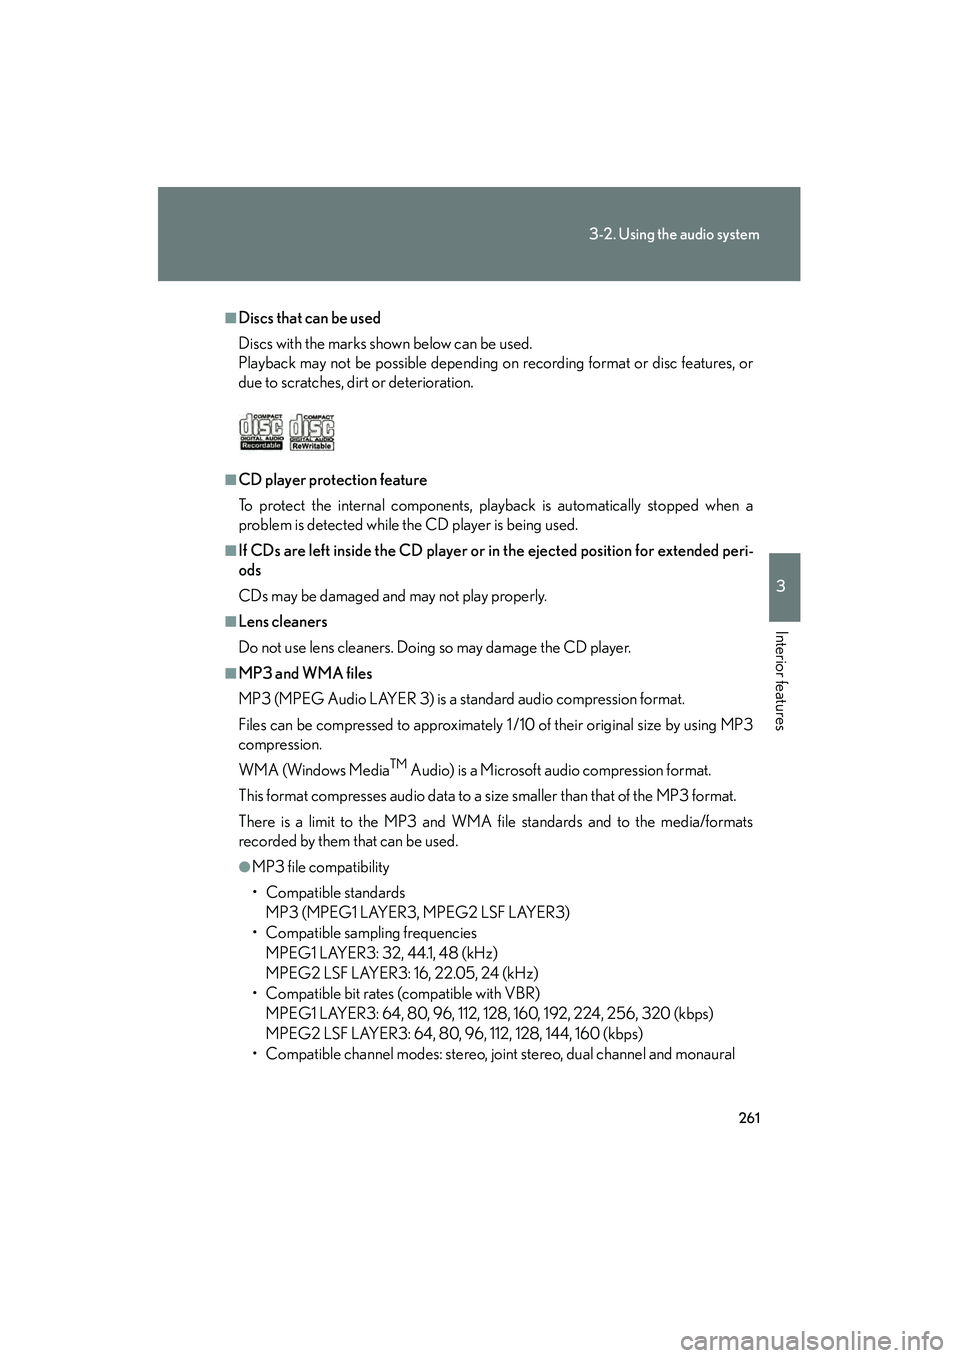
â– Discs that can be used
Discs with the marks shown below can be used.
Playback may not be possible depending on recording format or disc features, or
due to scratches, dirt or deterioration.
â– CD player protection feature
To protect the internal components, playback is automatically stopped when a
problem is detected while the CD player is being used.
â– If CDs are left inside the CD player or in the ejected position for extended peri-
ods
CDs may be damaged and may not play properly.
â– Lens cleaners
Do not use lens cleaners. Doing so may damage the CD player.
â– MP3 and WMA files
MP3 (MPEG Audio LAYER 3) is a standard audio compression format.
Files can be compressed to approximately 1 /10 of their original size by using MP3
compression.
WMA (Windows Media
TM Audio) is a Microsoft audio compression format.
This format compresses audio data to a size smaller than that of the MP3 format.
There is a limit to the MP3 and WMA file standards and to the media/formats
recorded by them that can be used.
â—ŹMP3 file compatibility
• Compatible standards MP3 (MPEG1 LAYER3, MPEG2 LSF LAYER3)
• Compatible sampling frequencies
MPEG1 LAYER3: 32, 44.1, 48 (kHz)
MPEG2 LSF LAYER3: 16, 22.05, 24 (kHz)
• Compatible bit rates (compatible with VBR) MPEG1 LAYER3: 64, 80, 96, 112, 128, 160, 192, 224, 256, 320 (kbps)
MPEG2 LSF LAYER3: 64, 80, 96, 112, 128, 144, 160 (kbps)
• Compatible channel modes: stereo, joint stereo, dual channel and monaural
Page 265 of 586
264
3-2. Using the audio system
10_IS250C/350C_U
NOTICE
â– CDs and adapters that cannot be used
→P. 2 5 5
â– CD player precautions
→P. 2 5 6
Page 266 of 586
265
3-2. Using the audio system
3
Interior features
10_IS250C/350C_U
Operating an iPod® player
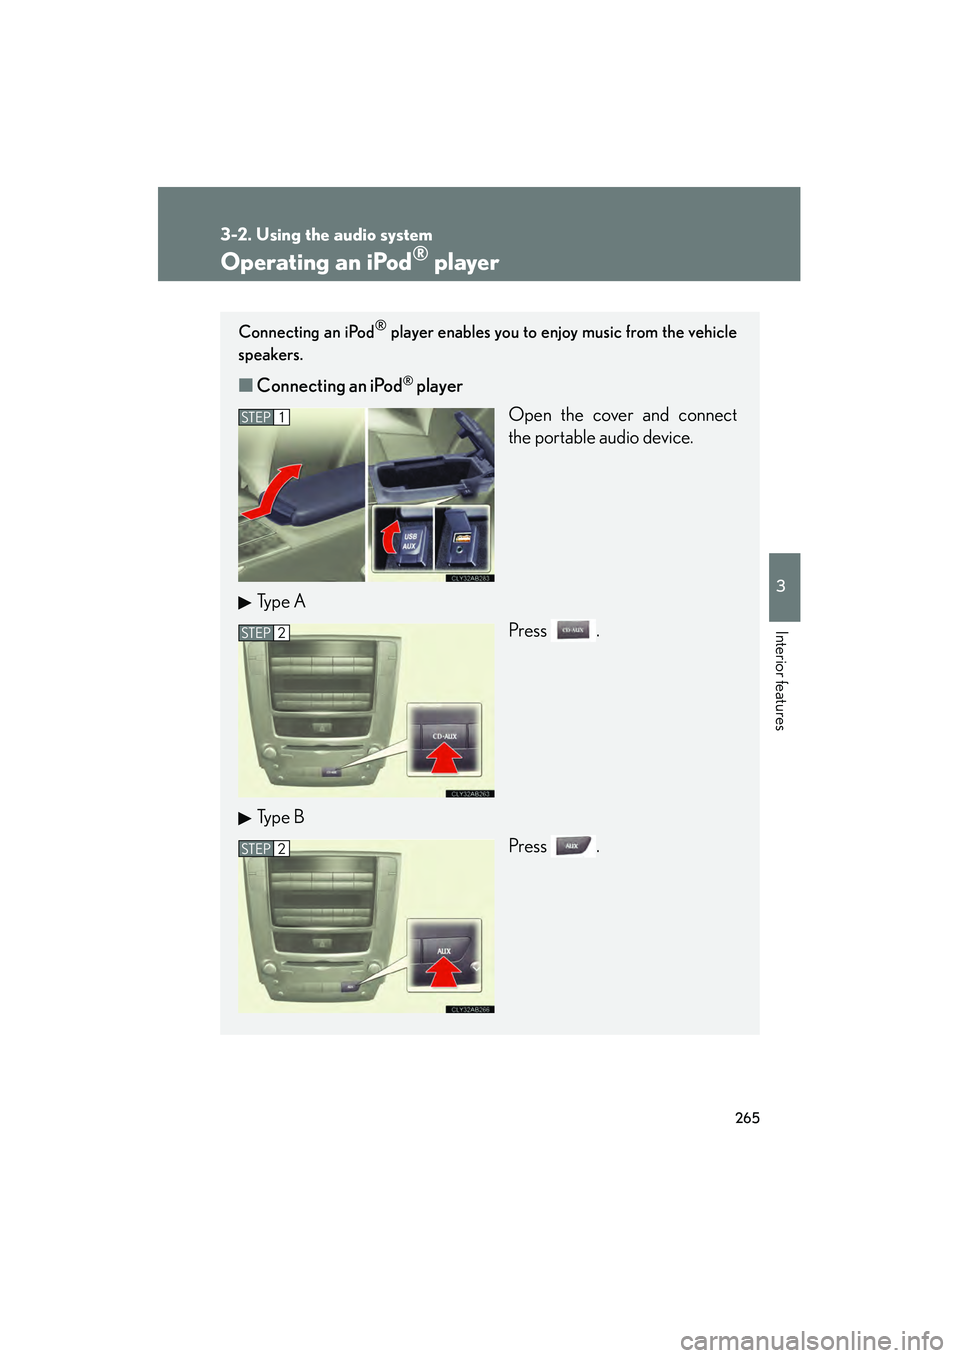
Connecting an iPod® player enables you to enjoy music from the vehicle
speakers.
■Connecting an iPod® player
Open the cover and connect
the portable audio device.
Ty p e A Press .
Ty p e B Press .
STEP1
STEP2
STEP2
Page 271 of 586
270
3-2. Using the audio system
10_IS250C/350C_U
Adjusting sound quality and volume balancePress to enter iPod
® menu mode.
Pressing changes sound modes. ( →P. 283)
■About iPod®
iPod is a registered trademark of Apple Inc.
■iPod® player functions
●When an iPod® player is connected and the audio source is changed to iPod®
player mode, the iPod® player will resume play from the same point in which it
was last used.
●Depending on the iPod® player that is connected to the system, certain func-
tions may not be available. If a function is unavailable due to a malfunction (as
opposed to a system specification), disconnecting the device and reconnecting
it once again may resolve the problem.
●While connected to the system, the iPod® player cannot be operated with its
own controls. It is necessary to use the controls of the vehicle's audio system
instead.
■iPod® player problems
To resolve most problems encountered when using your iPod
® player, disconnect
your iPod® player from the vehicle iPod® player connection and reset it.
For instructions on how to reset your iPod® player, refer to your iPod® player
Owner's Manual.
STEP1
STEP2
Page 272 of 586
271
3-2. Using the audio system
3
Interior features
10_IS250C/350C_U
â– Display
Up to 12 characters can be displayed at a time.
If there are 13 characters or more, pressing and holding until you hear a
beep will display the remaining characters.
A maximum of 24 characters can be displayed.
If is pressed until you hear a beep again or has not been pressed for 6 sec-
onds or more, the display will return to the first 12 characters.
Depending on the contents recorded, the characters may not be displayed prop-
erly or may not be displayed at all.
â– Canceling shuffle and repeat playback
Press (RAND) or (RPT) again.
â– Error messages
“ERROR”: This indicates a problem in the iPod
® player or its connection.
“NO MUSIC”: This indicates that there is no music data in the iPod
® player.
“EMPTY”: This indicates that some available songs are not found in a selected play- list.
“UPDATE”: This indicates that the version of the iPod
® player is not compatible.
Upgrade your iPod® software to the latest version.
â– Compatible models
●iPod® 5th generation Ver. 1.2 or later
●iPod® nano 3rd generation Ver. 1.0 or later
●iPod® nano 2nd generation Ver. 1.1.2 or later
●iPod® nano Ver. 1.3 or later
●iPod® touch Ver. 1.1 or later
●iPod® classic Ver. 1.0 or later
iPhone
®, iPod® mini, iPod® shuffle, iPod® photo and 4th generation and earlier
models of iPod® are not compatible with this system.
Items related to standards and limitations are as follows:
â—ŹMaximum number of lists in device: 9999
â—ŹMaximum number of songs in device: 65535
â—ŹMaximum number of songs per list: 65535
Page 273 of 586
272
3-2. Using the audio system
10_IS250C/350C_U
CAUTION
â– Caution while driving
Do not connect iPod
® players or operate the controls.
NOTICE
■To prevent damage to iPod® players
●Do not leave iPod® players in the vehicle. The temperature inside the vehicle may
become high, resulting in damage to the player.
●Do not push down on or apply unnecessary pressure to the iPod® player while it
is connected as this may damage the iPod® player or its terminal.
●Do not insert foreign objects into the port as this may damage the iPod® player
or its terminal.
Page 274 of 586
273
3-2. Using the audio system
3
Interior features
10_IS250C/350C_U
Operating a USB memory player
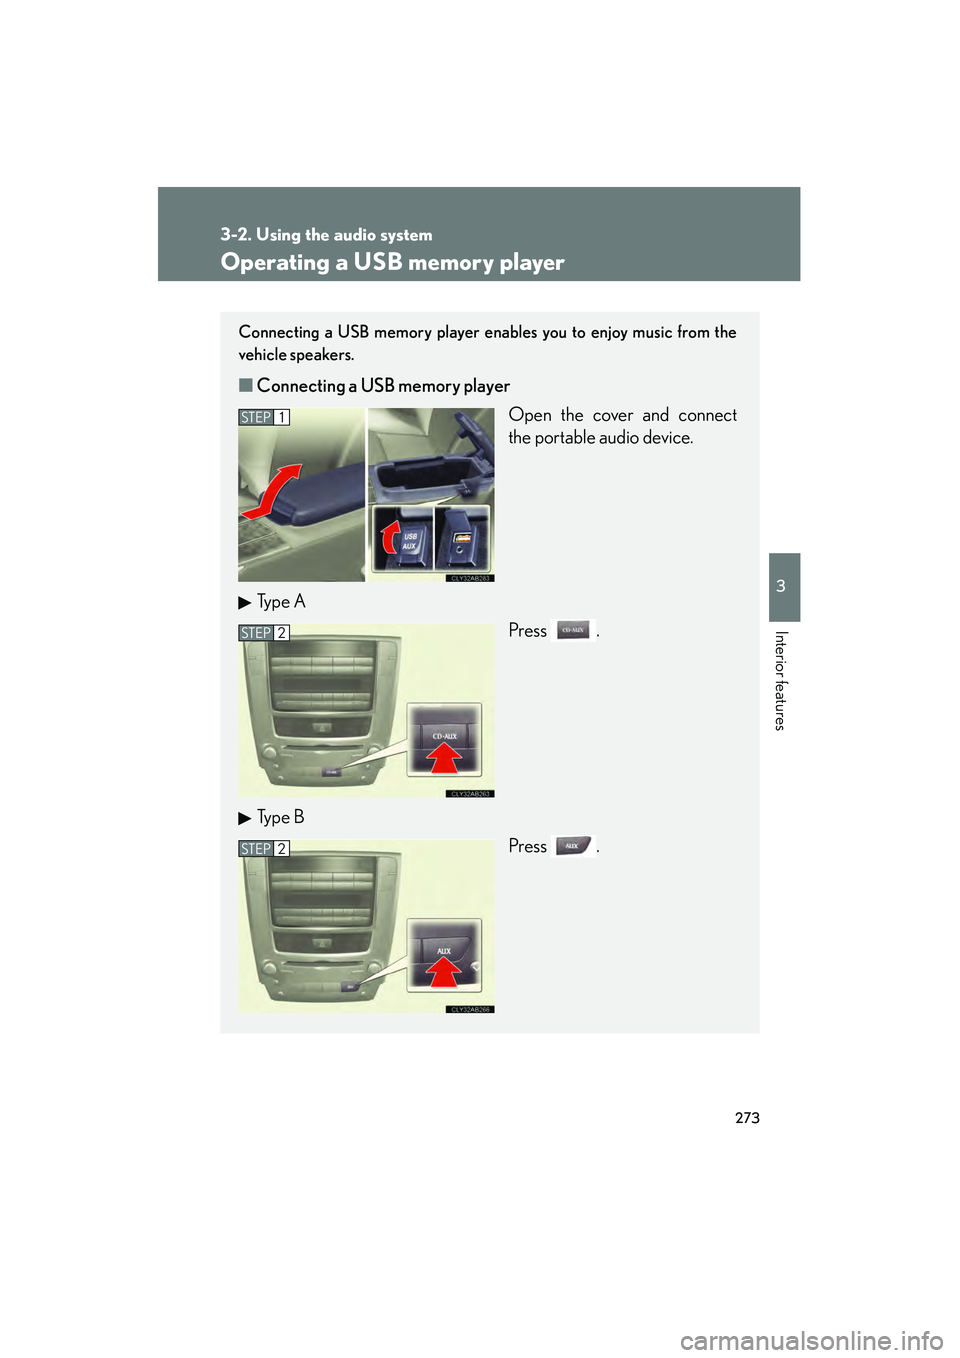
Connecting a USB memory player enables you to enjoy music from the
vehicle speakers.
â– Connecting a USB memory player
Open the cover and connect
the portable audio device.
Ty p e A Press .
Ty p e B Press .
STEP1
STEP2
STEP2