inflation pressure Lexus IS250C 2012 Instrument cluster / LEXUS 2012 IS250C,IS350C OWNERS MANUAL (OM53A62U)
[x] Cancel search | Manufacturer: LEXUS, Model Year: 2012, Model line: IS250C, Model: Lexus IS250C 2012Pages: 632, PDF Size: 6.77 MB
Page 5 of 632

1
2
3
4
5
6
7
5
3-6. Using the storage featuresList of storage fe atures................ 361
• Glove box .................................... 362
• Console box ................................ 363
• Cup holders................................. 364
• Auxiliary box ............................... 367
3-7. Other interior features Sun visors........................................ 368
Vanity mirror .................................. 369
Clock ................................................. 370
Satellite switches ........................... 371
Ashtrays ........................................... 374
Cigarette lighter ........................... 375
Power outlet ................................... 376
Seat heaters and ve ntilators .... 377
Floor mat......................................... 380
Trunk features................................. 381
Garage door opener................. 384
Compass......................................... 390
Safety Connect ............................. 394 4-1. Maintenance and care
Cleaning and protecting the vehicle exterior................... 402
Cleaning and protecting the vehicle interior .................... 407
4-2. Maintenance Maintenance requirements ...... 410
General maintena nce ................. 412
Emission inspection and maintenance (I/M)
programs ....................................... 415
4-3. Do-it-yourself maintenance Do-it-yourself service precautions ................................... 416
Hood .................................................. 419
Positioning a floor jack............... 420
Engine compartment.................. 422
Tires ................................................... 437
Tire inflation pressure................. 447
Wheels .............................................. 451
Air conditioning filter.................. 453
Electronic key battery ................ 456
Checking and replacing fuses ............................................... 458
Headlight aim ................................ 473
Light bulbs ....................................... 475
4Maintenance and care
Page 9 of 632
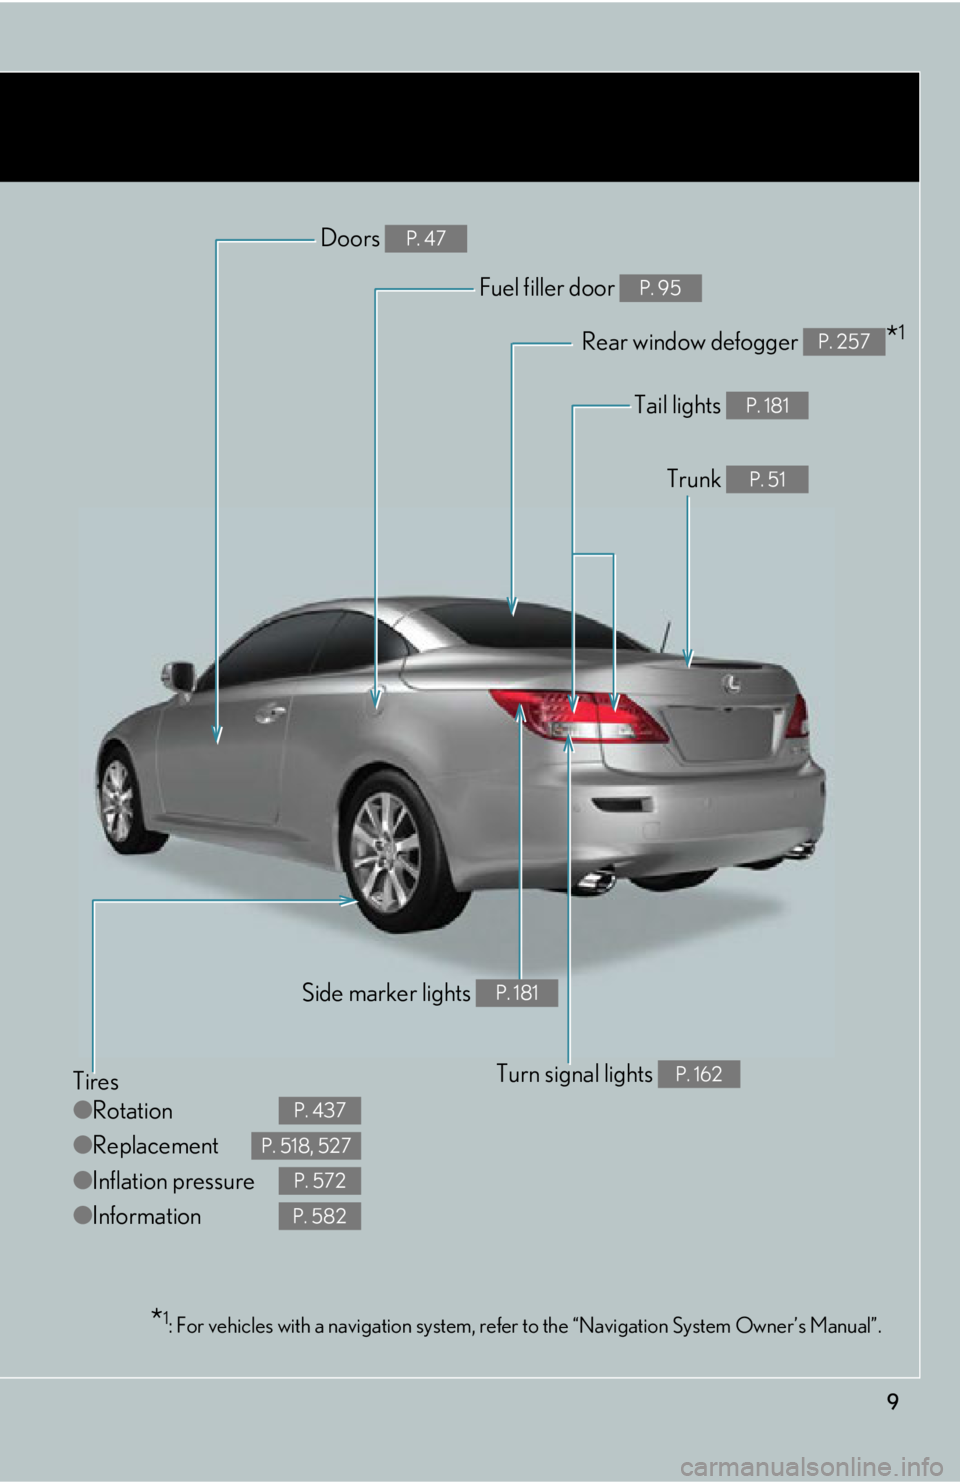
9
Tires
●Rotation
● Replacement
● Inflation pressure
● Information
P. 437
P. 518, 527
P. 572
P. 582
Tail lights P. 181
Trunk P. 51
Rear window defogger *1P. 257
Doors P. 47
Fuel filler door P. 95
Turn signal lights P. 162
Side marker lights P. 181
*1: For vehicles with a navigation system, refe r to the “Navigation System Owner’s Manual”.
Page 372 of 632

372
3-7. Other interior features
Change the settings.
Press the “ON/OFF” button to
change the settings (e.g. on/off).
■Items that can be set using the satellite switches
STEP3STEP3
Intuitive parking assist on/off (if equipped)
( P. 213)
Tire pressure warning system initialization
( P. 4 3 8 )
ID code selection for tire inflation pressure warn-
ing system ( P. 440)
Vehicle speed indicator on /off and speed setting
( P. 1 6 8 )
Tacho indicator on/off and engine speed (rpm)
setting ( P. 1 6 8 )
Pre-collision braking function activate/deactivate
(if equipped) ( P. 2 2 8 )
Page 401 of 632
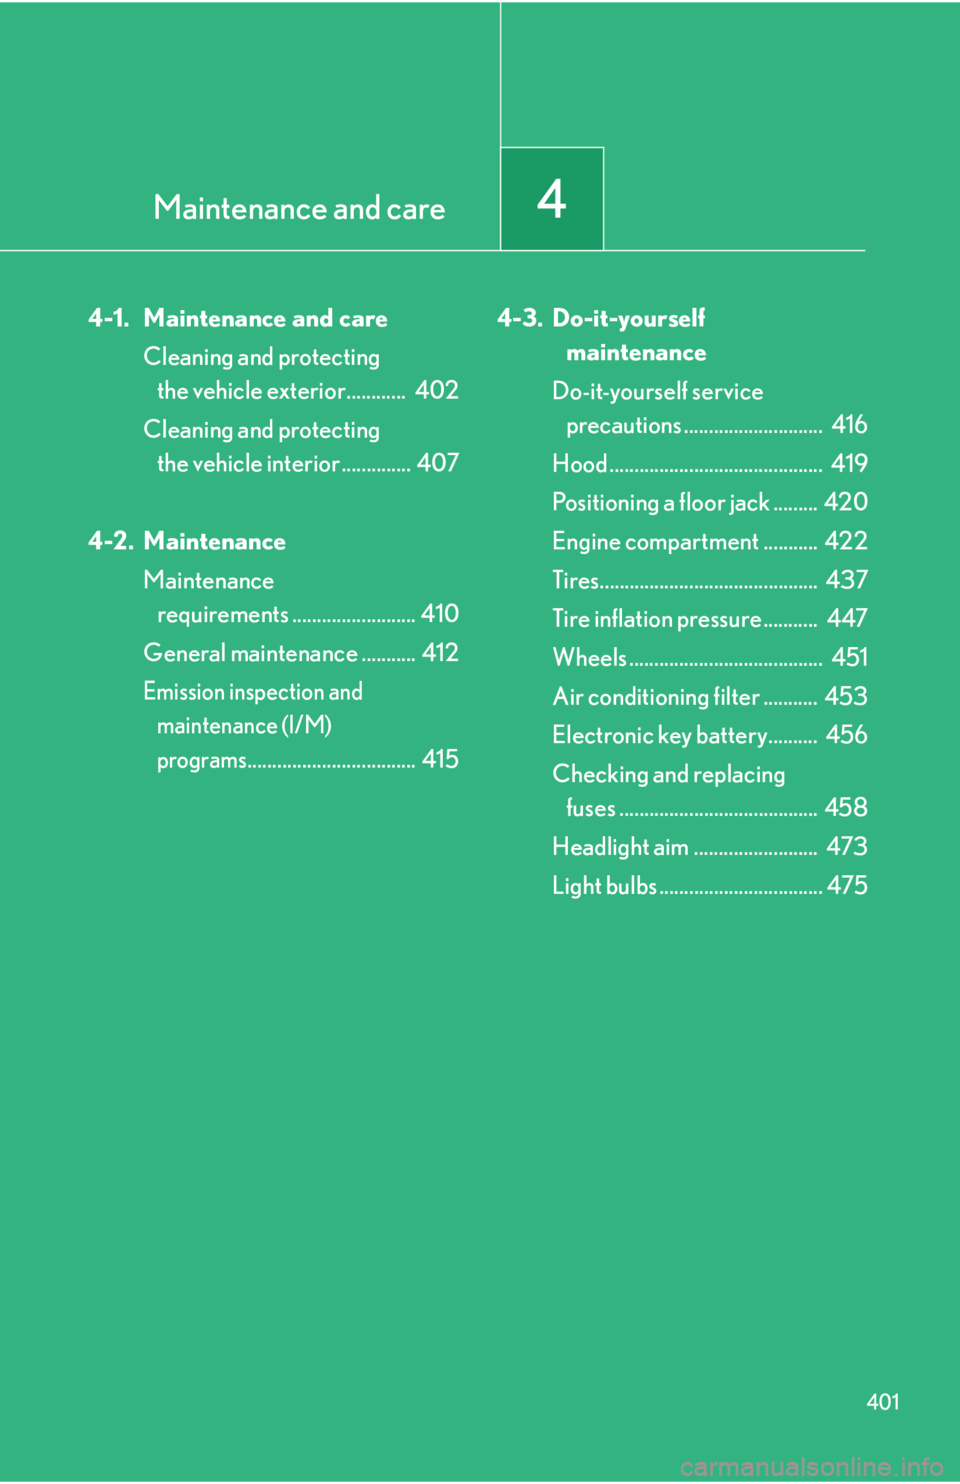
Maintenance and care4
401
4-1. Maintenance and careCleaning and protecting the vehicle exterior............ 402
Cleaning and protecting the vehicle interior .............. 407
4-2. Maintenance Maintenance requirements ......................... 410
General maintenance ........... 412
Emission inspection and maintenance (I/M)
programs
.................................. 415 4-3. Do-it-yourself
maintenance
Do-it-yourself service precautions ............................ 416
Hood ........................................... 419
Positioning a floor jack ......... 420
Engine compartment ........... 422
Tires............................................ 437
Tire inflation pressure........... 447
Wheels ....................................... 451
Air conditioning filter ........... 453
Electronic key battery.......... 456
Checking and replacing fuses ........................................ 458
Headlight aim ......................... 473
Light bulbs ................................. 475
Page 414 of 632
414
4-2. Maintenance
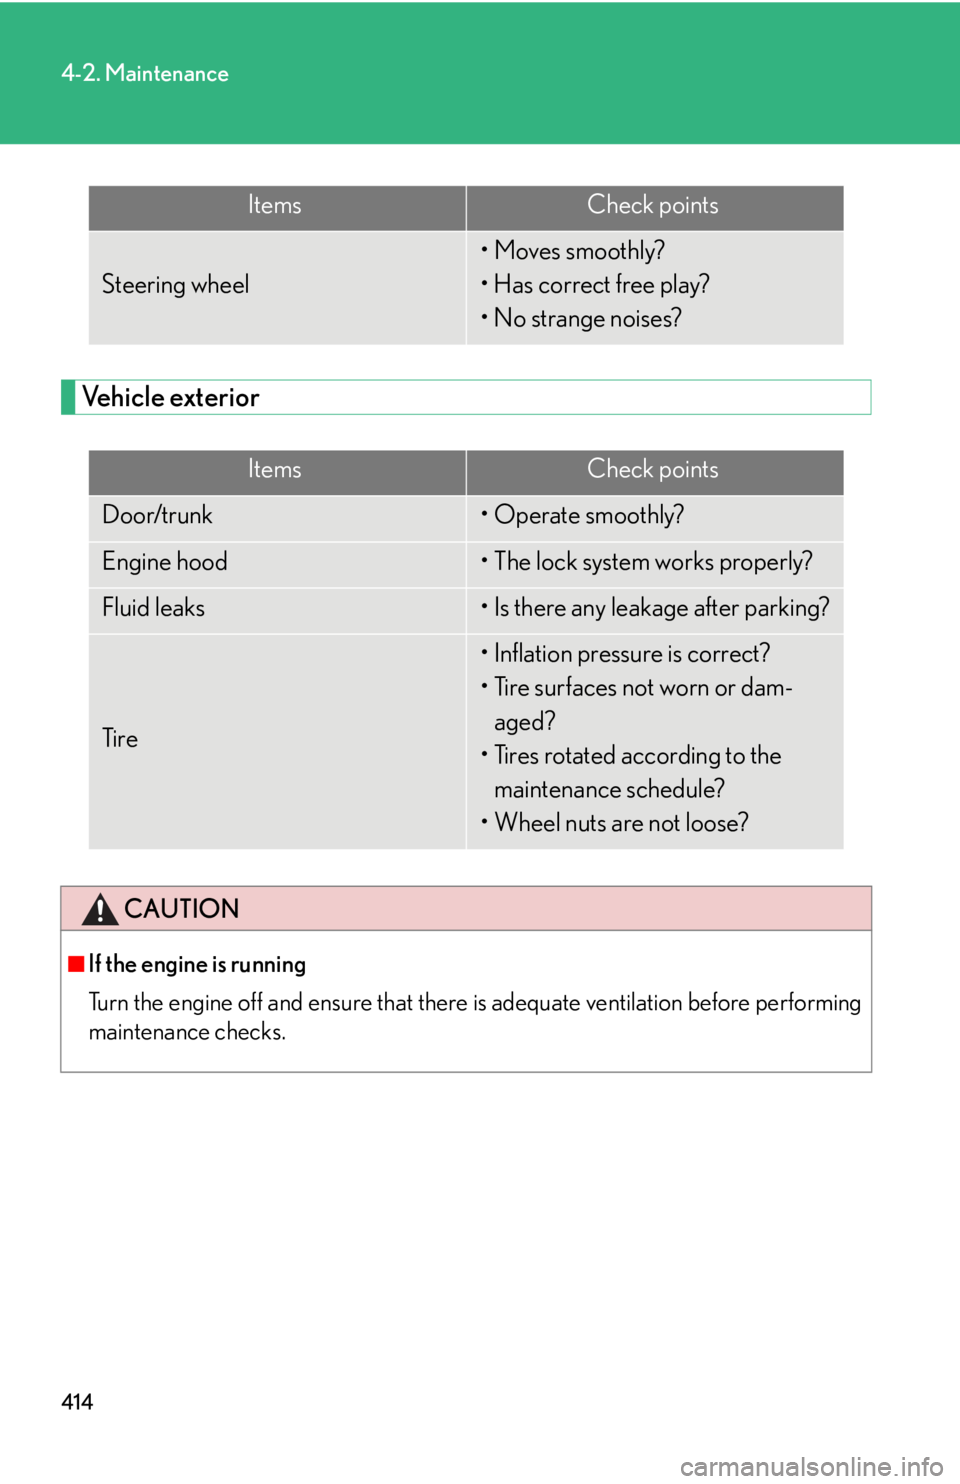
Vehicle exterior
Steering wheel
• Moves smoothly?
• Has correct free play?
• No strange noises?
ItemsCheck points
Door/trunk• Operate smoothly?
Engine hood• The lock system works properly?
Fluid leaks• Is there any leakage after parking?
Ti r e
• Inflation pressure is correct?
• Tire surfaces not worn or dam-aged?
• Tires rotated according to the maintenance schedule?
• Wheel nuts are not loose?
CAUTION
■If the engine is running
Turn the engine off and ensure that there is adequate ventilation before performing
maintenance checks.
ItemsCheck points
Page 417 of 632
417
4-3. Do-it-yourself maintenance
4
Maintenance and care
CAUTION
The engine compartment contains many mechanisms and fluids that may move sud-
denly, become hot, or become electrically energized. To avoid death or serious injury,
observe the following precautions.
■When working on the engine compartment
●Keep hands, clothing, and tools away from the moving fan and engine drive belt.
●Be careful not to touch the engine, radiator , exhaust manifold, etc. right after driv-
ing as they may be hot. Oil and other fluids may also be hot.
●Do not leave anything that may burn easi ly, such as paper or rags, in the engine
compartment.
●Do not smoke, cause sparks or expose an open flame to fuel or the battery. Fuel
and battery fumes are flammable.
●Be extremely cautious when working on the battery. It contains poisonous and
corrosive sulfuric acid.
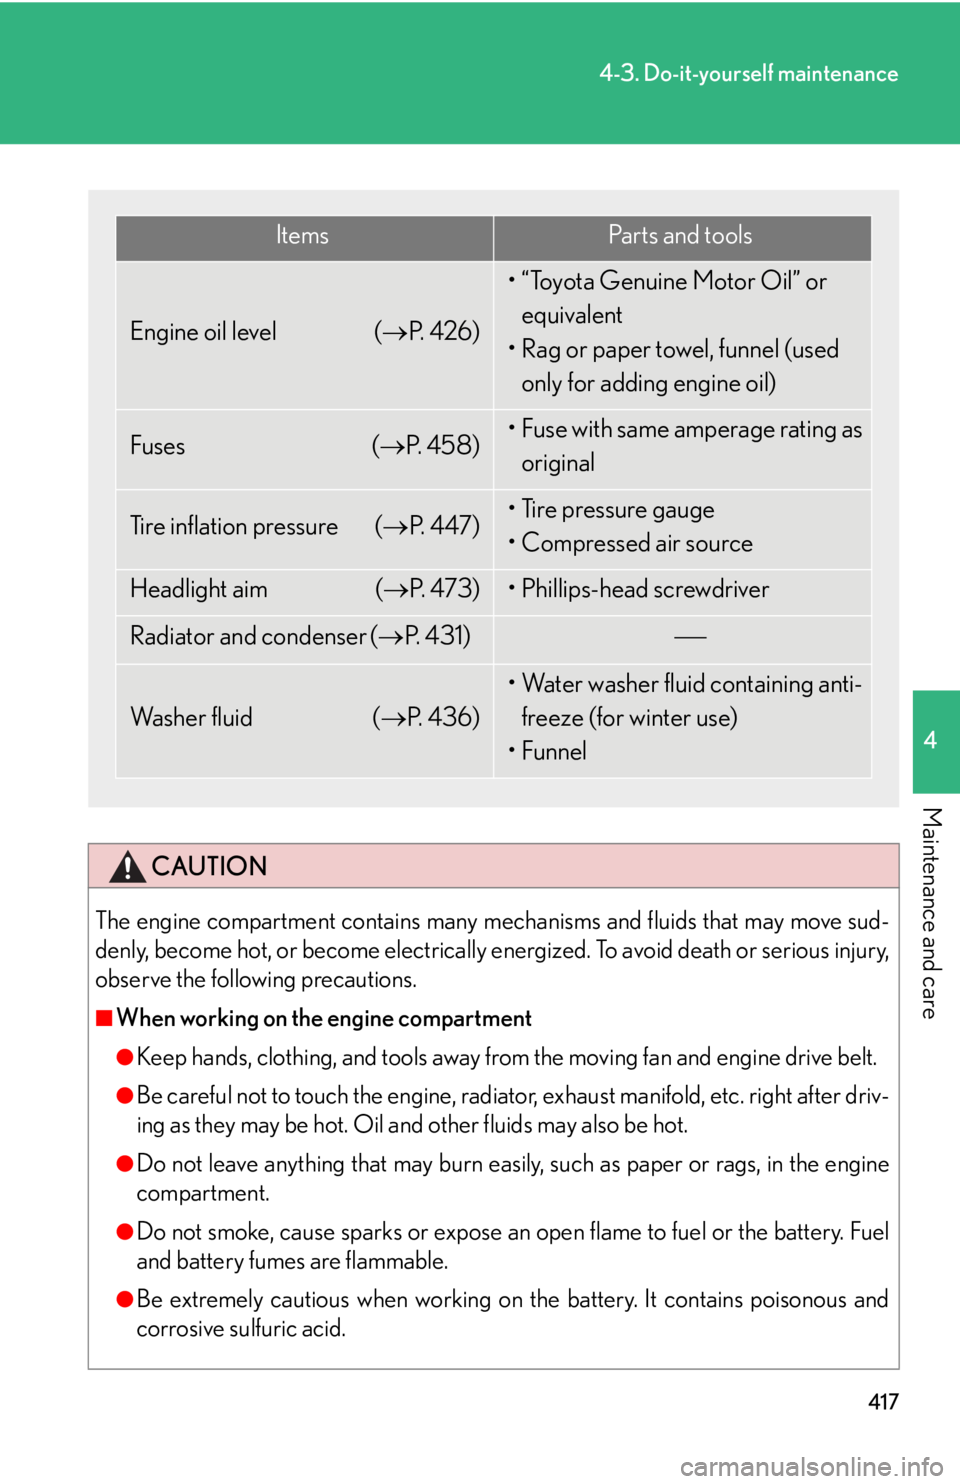
ItemsPa r t s a n d t o o l s
Engine oil level ( P. 4 2 6 )
• “Toyota Genuine Motor Oil” or
equivalent
• Rag or paper towel, funnel (used only for adding engine oil)
Fuses ( P. 4 5 8 )• Fuse with same amperage rating as
original
Tire inflation pressure ( P. 4 4 7 )• Tire pressure gauge
• Compressed air source
Headlight aim ( P. 4 7 3 )• Phillips-head screwdriver
Radiator and condenser ( P. 4 3 1 )
Wa s h e r f l u i d ( P. 4 3 6 )
• Water washer fluid containing anti-
freeze (for winter use)
•Funnel
Page 438 of 632
438
4-3. Do-it-yourself maintenance
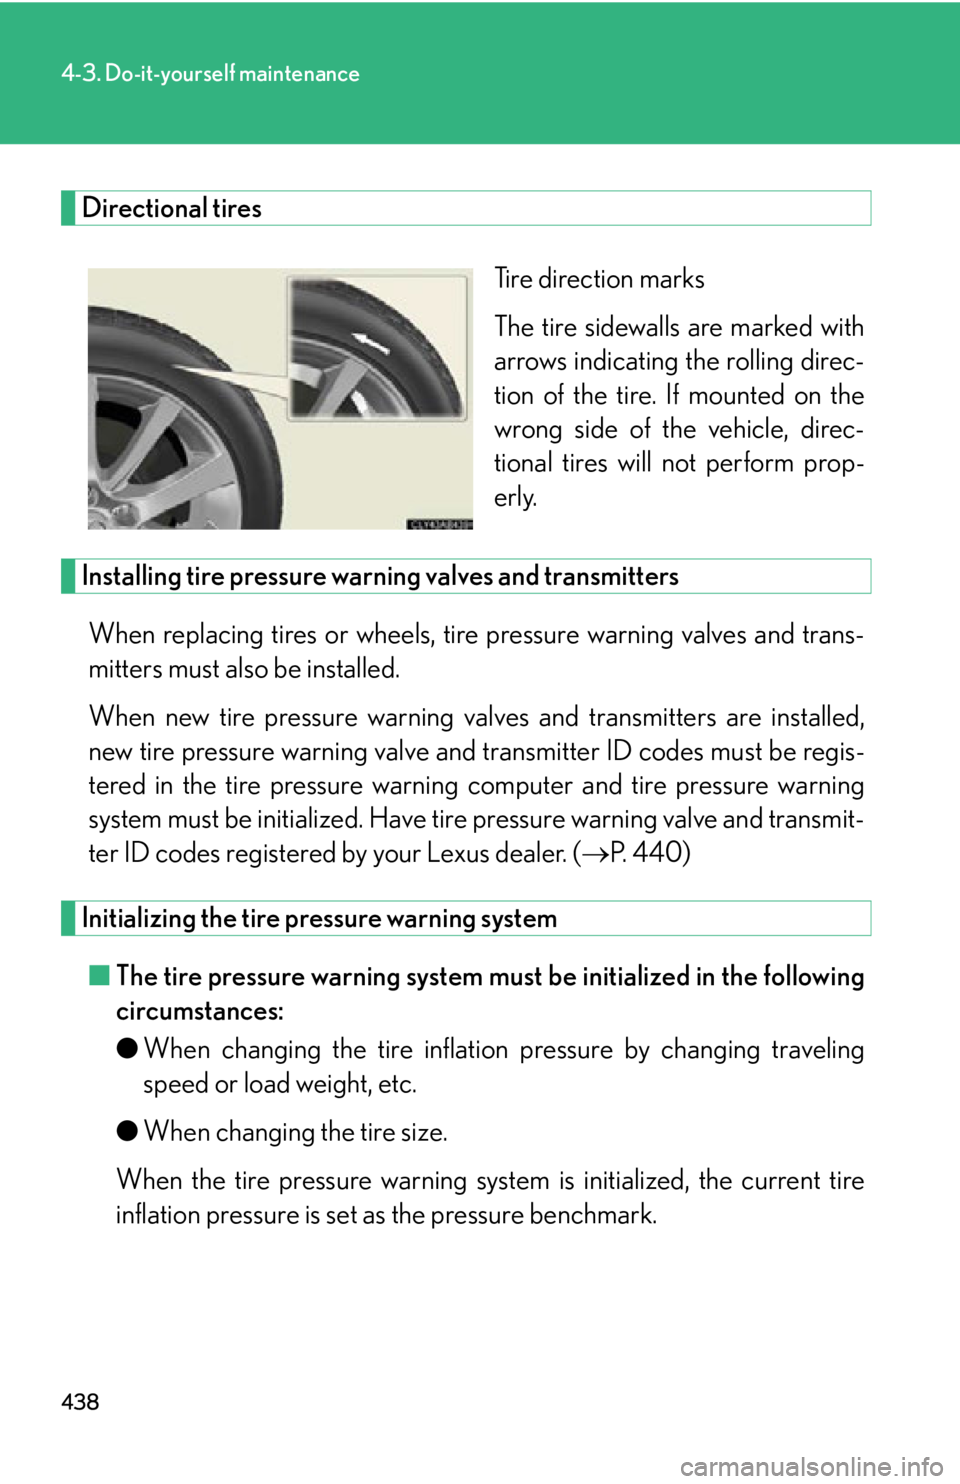
Directional tiresTire direction marks
The tire sidewalls are marked with
arrows indicating the rolling direc-
tion of the tire. If mounted on the
wrong side of the vehicle, direc-
tional tires will not perform prop-
erly.
Installing tire pressure warning valves and transmittersWhen replacing tires or wheels, tire pressure warning valves and trans-
mitters must also be installed.
When new tire pressure warning va lves and transmitters are installed,
new tire pressure warning valve and transmitter ID codes must be regis-
tered in the tire pressure warning computer and tire pressure warning
system must be initialized. Have tire pressure warning valve and transmit-
ter ID codes registered by your Lexus dealer. ( P. 440)
Initializing the tire pressure warning system
■ The tire pressure warning system must be initialized in the following
circumstances:
●When changing the ti re inflation pressure by changing traveling
speed or load weight, etc.
● When changing the tire size.
When the tire pressure warning sy stem is initialized, the current tire
inflation pressure is set as the pressure benchmark.
Page 439 of 632

439
4-3. Do-it-yourself maintenance
4
Maintenance and care
■How to initialize the tire pressure warning system
To initialize the system, use the satellite switch. ( P. 371)
Park the vehicle in safe plac e and turn the “ENGINE START
STOP” switch OFF.
While the vehicle is moving, initialization is not performed.
Adjust the tire inflation pressure to the specified cold tire inflation
pressure level. ( P. 5 7 2 )
Make sure to adjust the tire pressure to the specified cold tire inflation
pressure level. The tire pressure warning system will operate based on
this pressure level.
Turn the “ENGINE START STOP” switch to IGNITION ON
mode.
The tire inflation pressure initial-
ization setting display
Continue to press “” or “” until
the initialization setting display
appears.
Recording tire inflation pressure
settings
Push and hold the “ON/OFF” but-
ton until the tire pressure warning
light blinks slowly three times.
Wait for a few minutes with the IGNITION ON mode, and then
turn the “ENGINE START STOP” switch OFF.
STEP1
STEP2
STEP3
STEP4
STEP5
Page 443 of 632
443
4-3. Do-it-yourself maintenance
4
Maintenance and care
■Maximum load of tire
Check that the maximum load of the replacement tire is greater than 1 /2 of the
Gross Axle Weight Ratings (GAWR) of either the front axle or the rear axle, which-
ever is greater.
■Tire types
1 Summer tires
Summer tires are high-speed performance tires best suited to highway driving
under dry conditions. Since summer tires do not have the same traction perfor-
mance as snow tires, summer tires are inadequate for driving on snow-covered
or icy roads. For driving on snow-covered roads or icy roads, the use of snow tires
is recommended. When installing snow tires, be sure to replace all four tires.
2 All season tires All season tires are designed to provide better traction in snow and to be ade-
quate for driving in most winter conditions , as well as for use year round. All sea-
son tires, however, do not have adequate traction performance compared with
snow tires in heavy or loose snow. Also, al l season tires fall short in acceleration
and handling performance compared with summer tires in highway driving.
3Snow tires
For driving on snow-covered roads or ic y roads, we recommend using snow tires.
If you need snow tires, select tires of the same size, construction and load capac-
ity as the originally installed tires. Since your vehicle has radial tires as original
equipment, make sure your snow tires also have radial construction. Do not install
studded tires without first checking loca l regulations for possible restriction.
Snow tires should be installed on all wheels. ( P. 2 3 8 )
■Initializing the tire pressure warning system
Initialize the tire pressure warning system with the tire inflation pressure adjusted to
the specified level.
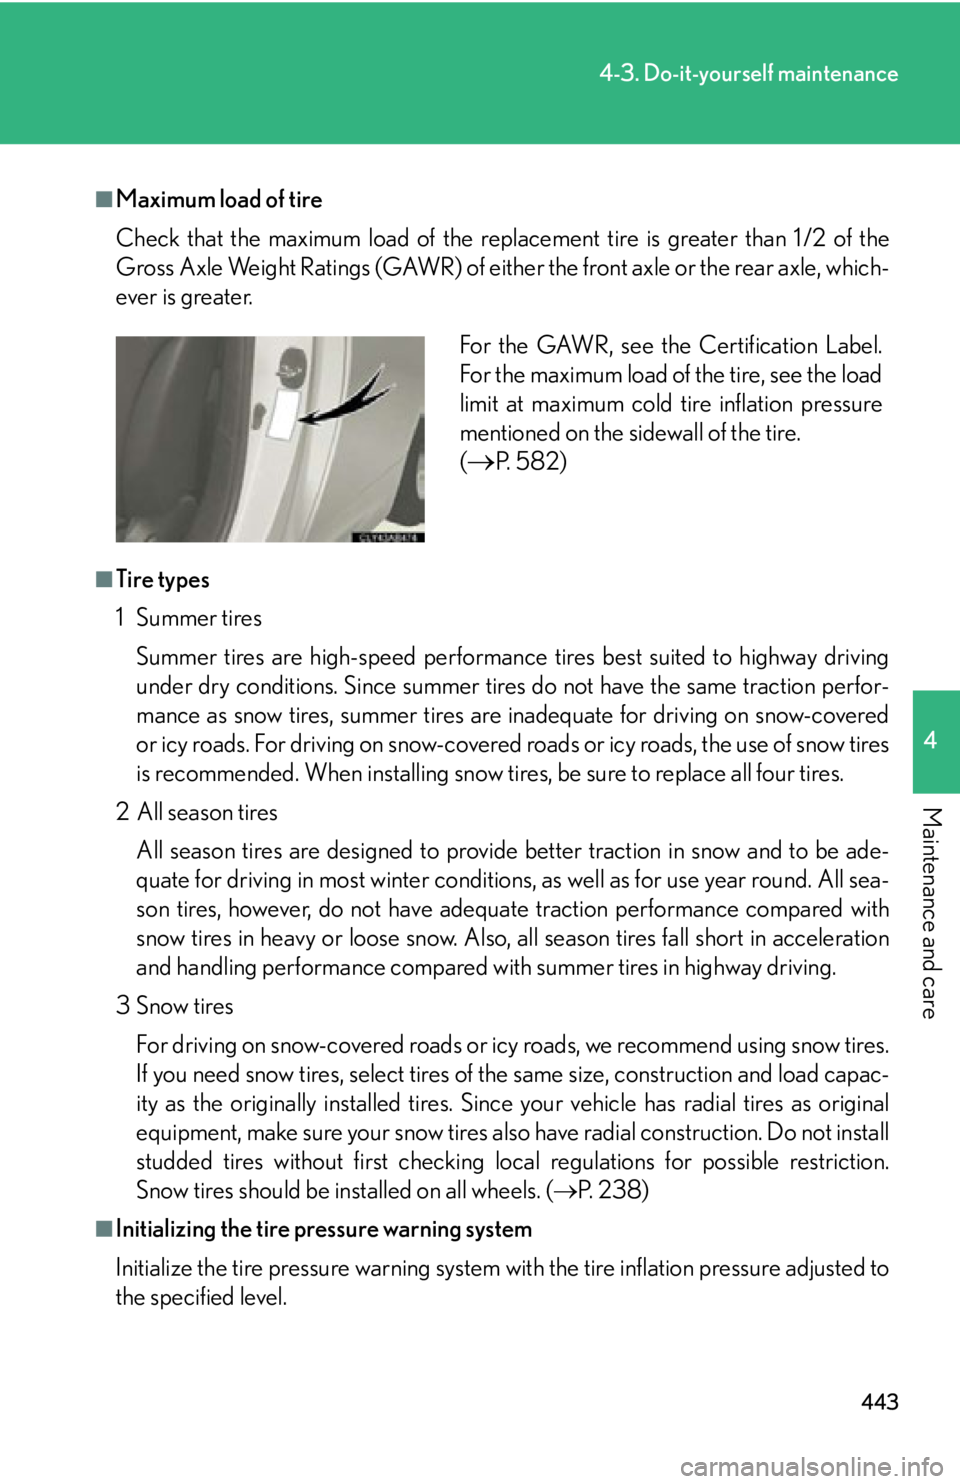
For the GAWR, see the Certification Label.
For the maximum load of the tire, see the load
limit at maximum cold tire inflation pressure
mentioned on the sidewall of the tire.
(
P. 5 8 2 )
Page 444 of 632

444
4-3. Do-it-yourself maintenance
■When the initialization of the tire pressure warning system has failed
Initialization can be completed in a few minutes. However, in the following cases,
the settings have not been recorded and the system will not operate properly. If
repeated attempts to record tire inflation pressure settings are unsuccessful, have
the vehicle inspected by your Lexus dealer.
●When operating the satellite switch, the tire pressure warning light does not
blink 3 times.
●After carrying out the initialization proc edure, the tire pressure warning light
blinks for 1 minute then stays on after driving for about 20 minutes.
■Routine tire inflation pressure checks
The tire pressure warning system does not replace routine tire inflation pressure
checks. Make sure to check tire inflation pressure as part of your routine of daily
vehicle checks.
■Tire pressure warning system certification
MODEL/FCC IDs:
Tr a n s m i t t e r : PA X P M V 1 0 7 J
Receiver: HYQ13BCEFor vehicles sold in the U.S.A.
This device complies with Part 15 of the FCC Rules. Operation is subject to the fol-
lowing two conditions: (1) this device may not cause harmful interference, and (2)
this device must accept any interference received, including interference that may
cause undesired operation.
FCC WARNING:
Changes or modifications not expressly approved by the party responsible for
compliance could void the user's authority to operate the equipment.
For vehicles sold in Canada
Operation is subject to the following two conditions: (1) this device may not cause
interference, and (2) this device must accept any interference, including interfer-
ence that may cause undesired operation of the device.