turn LEXUS IS300 2022 Owners Manual
[x] Cancel search | Manufacturer: LEXUS, Model Year: 2022, Model line: IS300, Model: LEXUS IS300 2022Pages: 440, PDF Size: 22.72 MB
Page 5 of 440
3TABLE OF CONTENTS
1
2
3
4
5
6
7
8
9
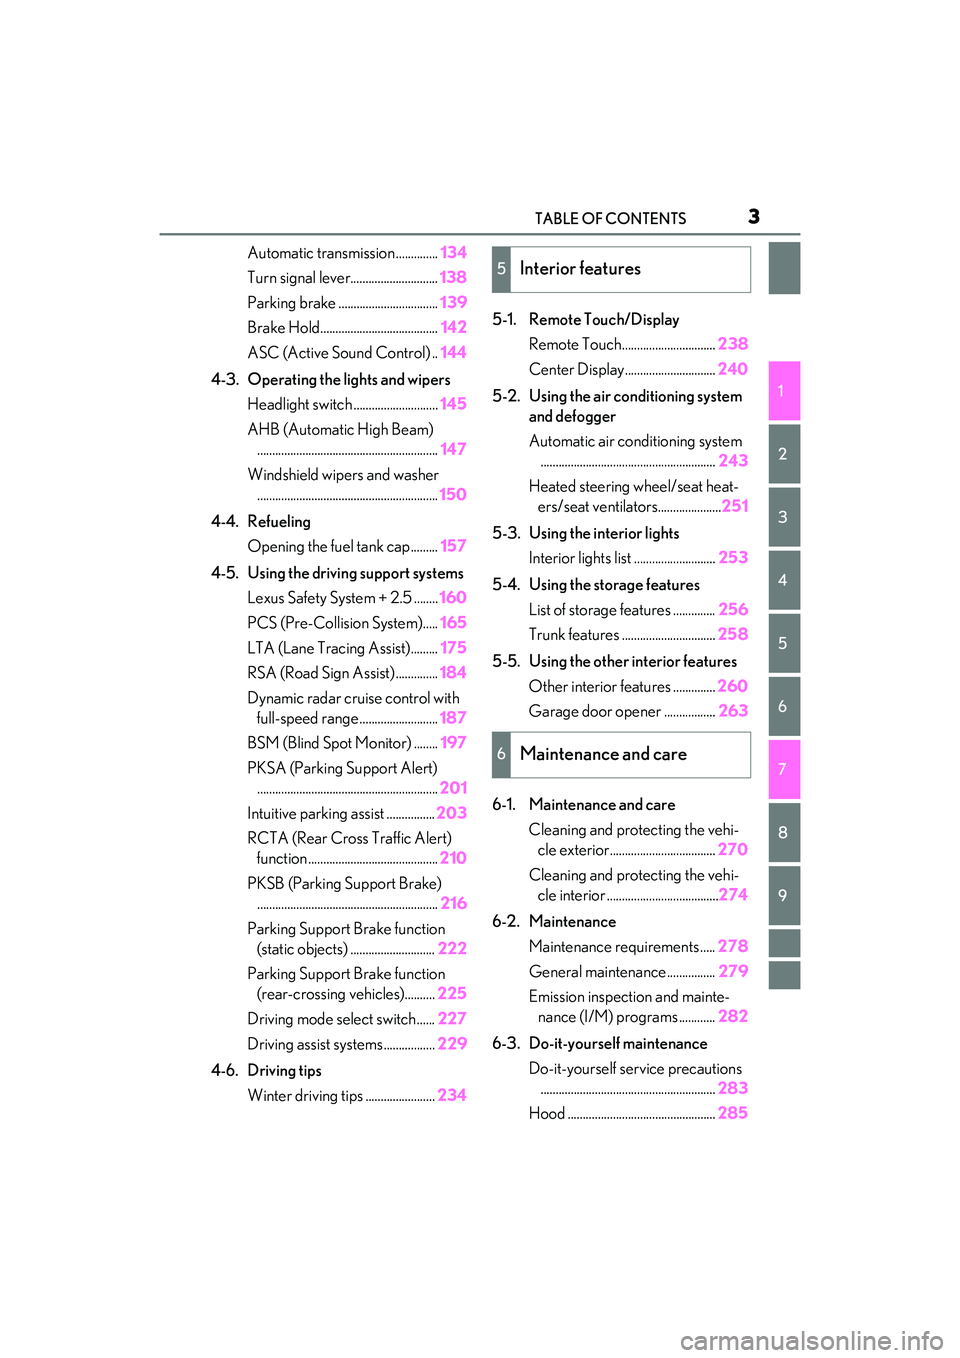
Automatic transmission..............134
Turn signal lever............................. 138
Parking brake ................................. 139
Brake Hold....................................... 142
ASC (Active Sound Control) .. 144
4-3. Operating the lights and wipers Headlight switch ............................ 145
AHB (Automatic High Beam) ............................................................ 147
Windshield wipers and washer ............................................................ 150
4-4. Refueling Opening the fuel tank cap......... 157
4-5. Using the driving support systems Lexus Safety System + 2.5 ........ 160
PCS (Pre-Collision System)..... 165
LTA (Lane Tracing Assist)......... 175
RSA (Road Sign Assist) .............. 184
Dynamic radar crui se control with
full-speed range .......................... 187
BSM (Blind Spot Monitor) ........ 197
PKSA (Parking Support Alert) ............................................................ 201
Intuitive parking assist ................ 203
RCTA (Rear Cross Traffic Alert) function ........................................... 210
PKSB (Parking Support Brake) ............................................................ 216
Parking Support Brake function (static objects) ............................ 222
Parking Support Brake function (rear-crossing vehicles).......... 225
Driving mode select switch...... 227
Driving assist systems................. 229
4-6. Driving tips Winter driving tips ....................... 2345-1. Remote Touch/Display
Remote Touch............................... 238
Center Display.............................. 240
5-2. Using the air conditioning system and defogger
Automatic air conditioning system.......................................................... 243
Heated steering wheel/seat heat- ers/seat ventilators..................... 251
5-3. Using the interior lights Interior lights list ........................... 253
5-4. Using the storage features List of storag e features .............. 256
Trunk features ............................... 258
5-5. Using the other interior features Other interior features .............. 260
Garage door opener ................. 263
6-1. Maintenance and care Cleaning and protecting the vehi-cle exterior................................... 270
Cleaning and protecting the vehi- cle interior .....................................274
6-2. Maintenance Maintenance re quirements .....278
General maintenance................ 279
Emission inspection and mainte- nance (I/M) programs ............ 282
6-3. Do-it-yourself maintenance Do-it-yourself service precautions.......................................................... 283
Hood ................................................. 2855Interior features
6Maintenance and care
Page 6 of 440

4TABLE OF CONTENTS
Positioning a floor jack...............285
Engine compartment.................. 287
Tires ................................................... 296
Tire inflation pressure................. 304
Wheels.............................................. 305
Air conditioning filter..................307
Electronic key battery ................ 308
Checking and replacing fuses ............................................................ 310
Headlight aim.................................. 312
Light bulbs ........................................ 313
7-1. Essential information Emergency flashers..................... 320
If your vehicle has to be stopped in an emergency ............................. 320
If the vehicle is submerged or water on the road is rising ................... 321
7-2. Steps to take in an emergency If your vehicle needs to be towed........................................................... 323
If you think something is wrong ........................................................... 327
Fuel pump shut off system ........ 328
If a warning light turns on or a warn- ing buzzer sounds ..................... 329
If a warning message is displayed ........................................................... 338
If you have a flat tire...................... 341
If the engine wi ll not start .......... 349
If you lose your keys .................... 350
If the fuel filler door cannot be opened............................................ 351
If the electronic key does not oper- ate properly .................................. 351If the vehicle battery is discharged
.......................................................... 353
If your vehicle overheats ........... 357
If the vehicle becomes stuck .... 361
8-1. Specifications Maintenance data (fuel, oil level, etc.) ................................................. 364
Fuel information............................ 376
Tire information ............................ 378
8-2. Customization Customizable features .............. 388
8-3. Initialization Items to initialize ........................... 398
9-1. For owners Reporting safety defects for U.S. owners ........................................... 400
Reporting safety defects for Cana- dian owners ................................. 400
Seat belt instructions for Canadian owners (in French) .................... 401
SRS airbag instructions for Cana- dian owners (in French) ......... 402
Headlight aim instructions for Canadian owners (in French)
.......................................................... 408
What to do if... (Troubleshooting) ............................................................ 412
Alphabetical Index ....................... 415
7When trouble arises
8Vehicle specifications
9For owners
Index
Page 7 of 440

5
Please note that this manual applies to
all models and explains all equipment,
including options. Therefore, you may
find explanations for equipment not
installed on your vehicle and the illus-
trations used may differ from your vehi-
cle.
All specifications provided in this man-
ual are current at the time of printing.
Over time, your vehicle may receive
updates that modify the vehicle and
make material in this manual incom-
plete and/or inaccurate. Because of
Lexus’ interest in continual product
improvement, Lexus reserves the right
to make changes to this manual at any
time without notice.
If Lexus chooses to update the manual,
updated versions can be viewed by
selecting your vehicle by model and
year at the following URL or on your
mobile device if you have access to the
Lexus app.
https://drivers.lexus.com
Approximately five hours after the
engine is turned off, you may hear
sound coming from under the vehicle
for several minutes. This is the sound of
a fuel evaporation leakage check and,
it does not indicate a malfunction. A wide variety of non-genuine spare
parts and accessories for Lexus vehi-
cles are currently available in the mar-
ket. You should know that Toyota does
not warrant these products and is not
responsible for their performance,
repair, or replacement, or for any dam-
age they may cause to, or adverse
effect they may have on, your Lexus
vehicle.
This vehicle should not be modified
with non-genuine Lexus products.
Modification with non-genuine Lexus
products could affect its performance,
safety or durability, and may even vio-
late governmental regulations. In addi-
tion, damage or performance
problems resulting from the modifica-
tion may not be covered under war-
ranty.
Also, remodeling like this will have an
effect on advanced safety equipment
such as Lexus Safety System + and
there is a danger that it will not work
properly or the danger that it may work
in situations where it should not be
working.
The installation of a mobile two-way
radio system in your vehicle could
affect electronic systems such as:
Multiport fuel injection sys-
tem/sequential multiport fuel injec-
For your information
Main Owner’s Manual
Noise from under vehicle after
turning off the engine
Accessories, spare parts and
modification of your Lexus
Installation of a mobile two-way
radio system
Page 11 of 440

9
Reading this manual
Explains symbols used in this man-
ual.
Symbols in this manual
SymbolsMeanings
WARNING:
Explains something that,
if not obeyed, could
cause death or serious
injury to people.
NOTICE:
Explains something that,
if not obeyed, could
cause damage to or a
malfunction in the vehi-
cle or its equipment.
Indicates operating or
working procedures. Fol-
low the steps in numeri-
cal order.
Symbols in illustrations
SymbolsMeanings
Indicates the action
(pushing, turning, etc.)
used to operate switches
and other devices.
Indicates the outcome of
an operation (e.g. a lid
opens).
SymbolsMeanings
Indicates the component
or position being
explained.
Means Do not, Do not do
this , or Do not let this
happen .
Page 14 of 440
12Pictorial index
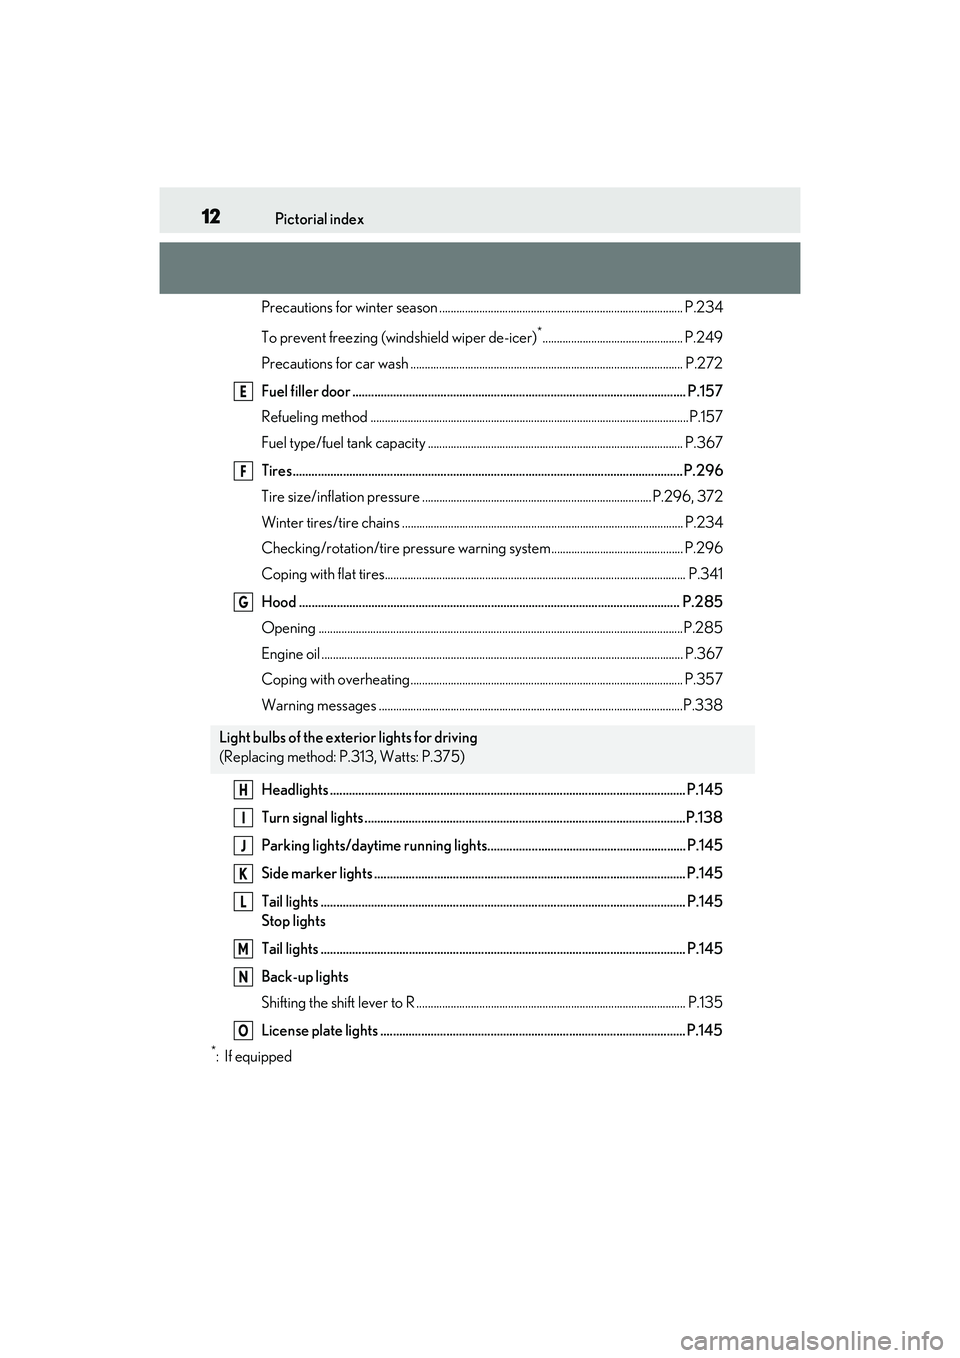
Precautions for winter season ..................................................................................... P.234
To prevent freezing (windshield wiper de-icer)
*................................................. P.249
Precautions for car wash ............................................................................................... P.272
Fuel filler door .......................................................................................................... P.157
Refueling method ............................................................................................................... P.157
Fuel type/fuel tank capacity ......................................................................................... P.367
Tires.......................................................................................................................... .. P.296
Tire size/inflation pressure ............................ .................................................... P.296, 372
Winter tires/tire chains .................................................................................................. P.234
Checking/rotation/tire pressure warning system.............................................. P.296
Coping with flat tires......................................................................................................... P.341
Hood ......................................................................................................................... P. 285
Opening ........................................................................................................................ .......P.285
Engine oil ..................................................................................................................... ......... P.367
Coping with overheating ............................................................................................... P.357
Warning messages ..........................................................................................................P.338
Headlights ................................................................................................................. P.14 5
Turn signal lights ......................................................................................................P.138
Parking lights/daytime running lights................ ............................................... P.145
Side marker lights ................................................................................................... P.145
Tail lights .................................................................................................................... P.145
Stop lights
Tail lights .................................................................................................................... P.145
Back-up lights
Shifting the shift lever to R .............................................................................................. P.13 5
License plate lights ................................................................................................. P.145
*:If equipped
Light bulbs of the exterior lights for driving
(Replacing method: P. 313, Watts: P.375)
E
F
G
H
I
J
K
L
M
N
O
Page 16 of 440
14Pictorial index
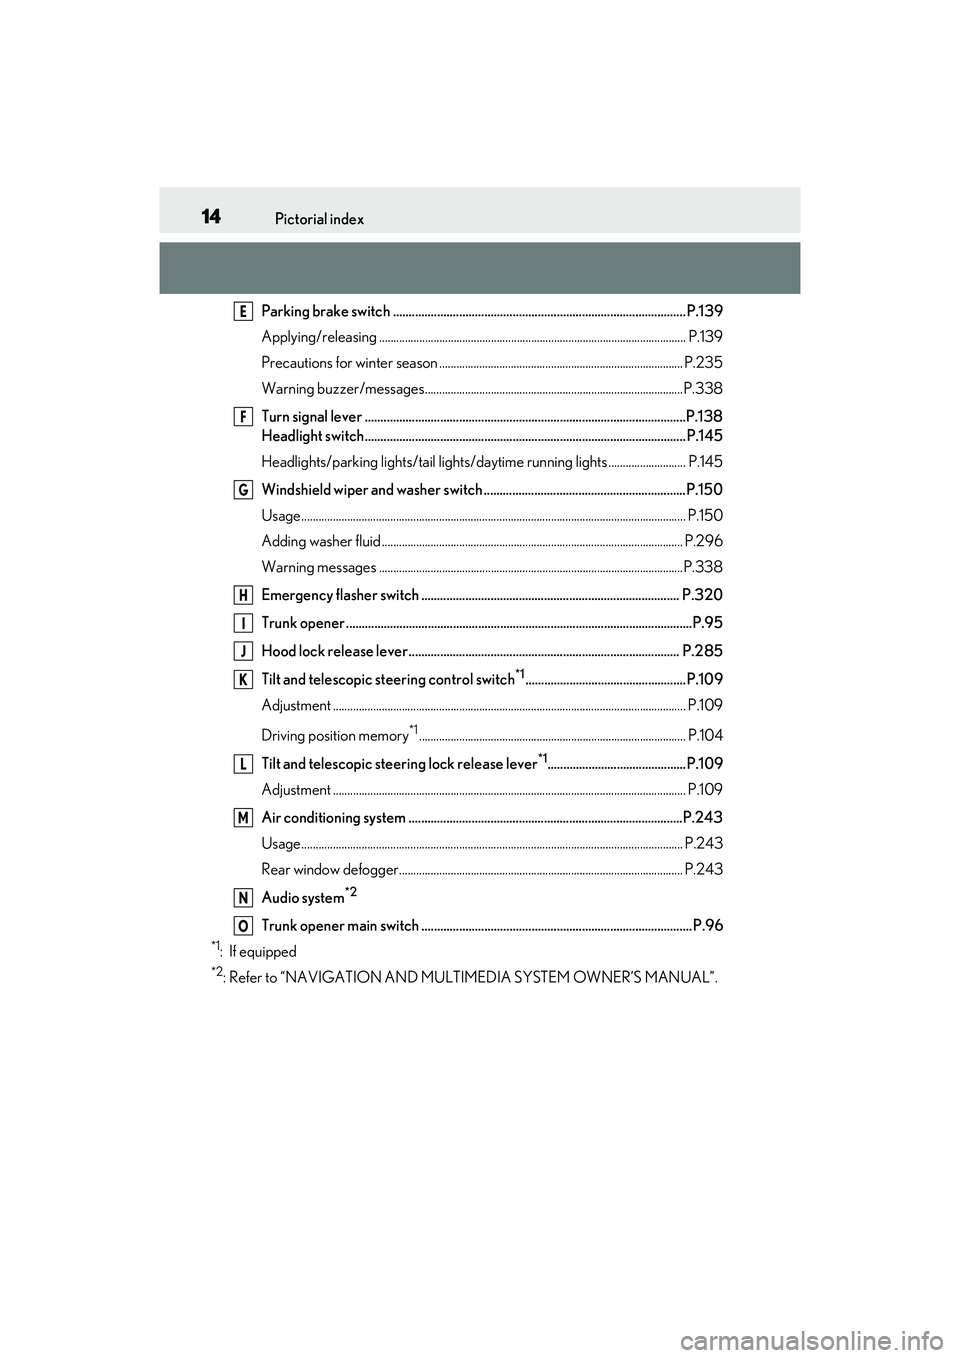
Parking brake switch ............................................................................................. P.139
Applying/releasing ........................................................................................................... P.139
Precautions for winter season ......................... ............................................................ P.235
Warning buzzer/messages..........................................................................................P.338
Turn signal lever ......................................................................................................P.138
Headlight switch...................................................................................................... P.145
Headlights/parking lights/tail lights/daytime running lights ........................... P.145
Windshield wiper and washer switch ................................................................P.150
Usage.......................................................................................................................... ............ P.150
Adding washer fluid ......................................................................................................... P.2 96
Warning messages ..........................................................................................................P.338
Emergency flasher switch .................................................................................. P.320
Trunk opener ..............................................................................................................P.95
Hood lock release lever ...................................................................................... P.285
Tilt and telescopic steering control switch
*1...................................................P.109
Adjustment ..................................................................................................................... ...... P.109
Driving position memory
*1............................................................................................. P.104
Tilt and telescopic stee ring lock release lever
*1............................................P.109
Adjustment ..................................................................................................................... ...... P.109
Air conditioning system .......................................................................................P.243
Usage.......................................................................................................................... ........... P.243
Rear window defogger................................................................................................... P.243
Audio system
*2
Trunk opener main switch ...................................................................................... P.96
*1: If equipped
*2: Refer to “NAVIGATION AND MULT IMEDIA SYSTEM OWNER’S MANUAL”.
E
F
G
H
I
J
K
L
M
N
O
Page 24 of 440

221-1. For safe use
1-1.For safe use
Use only floor mats designed specifi-
cally for vehicles of the same model
and model year as your vehicle. Fix
them securely in place onto the carpet.
1Insert the retaining hooks (clips)
into the floor mat eyelets.
2 Turn the upper knob of each retain-
ing hook (clip) to secure the floor
mats in place.
Always align the marks .
The shape of the reta ining hooks (clips)
may differ from that shown in the illustra-
tion.
Before driving
Observe the following before start-
ing off in the vehicle to ensure
safety of driving.
Installing floor mats
A
WARNING
Observe the following precautions.
Failure to do so may cause the driver’s
floor mat to slip, possibly interfering with
the pedals while driving. An unexpect-
edly high speed may result or it may
become difficult to stop the vehicle. This
could lead to an accident, resulting in
death or serious injury.
■When installing the driver’s floor mat
●Do not use floor mats designed for
other models or di fferent model year
vehicles, even if they are Lexus Genu-
ine floor mats.
●Only use floor mats designed for the
driver’s seat.
●Always install the floor mat securely
using the retaining hooks (clips) pro-
vided.
●Do not use two or more floor mats on
top of each other.
●Do not place the floor mat bot-
tom-side up or upside-down.
■Before driving
●Check that the floor mat is securely
fixed in the correct place with all the
provided retaining hooks (clips). Be
especially careful to perform this
check after cleaning the floor.
●With the engine stopped and the shift
lever in P, fully depress each pedal to
the floor to make sure it does not inter-
fere with the floor mat.
Page 32 of 440
301-1. For safe use
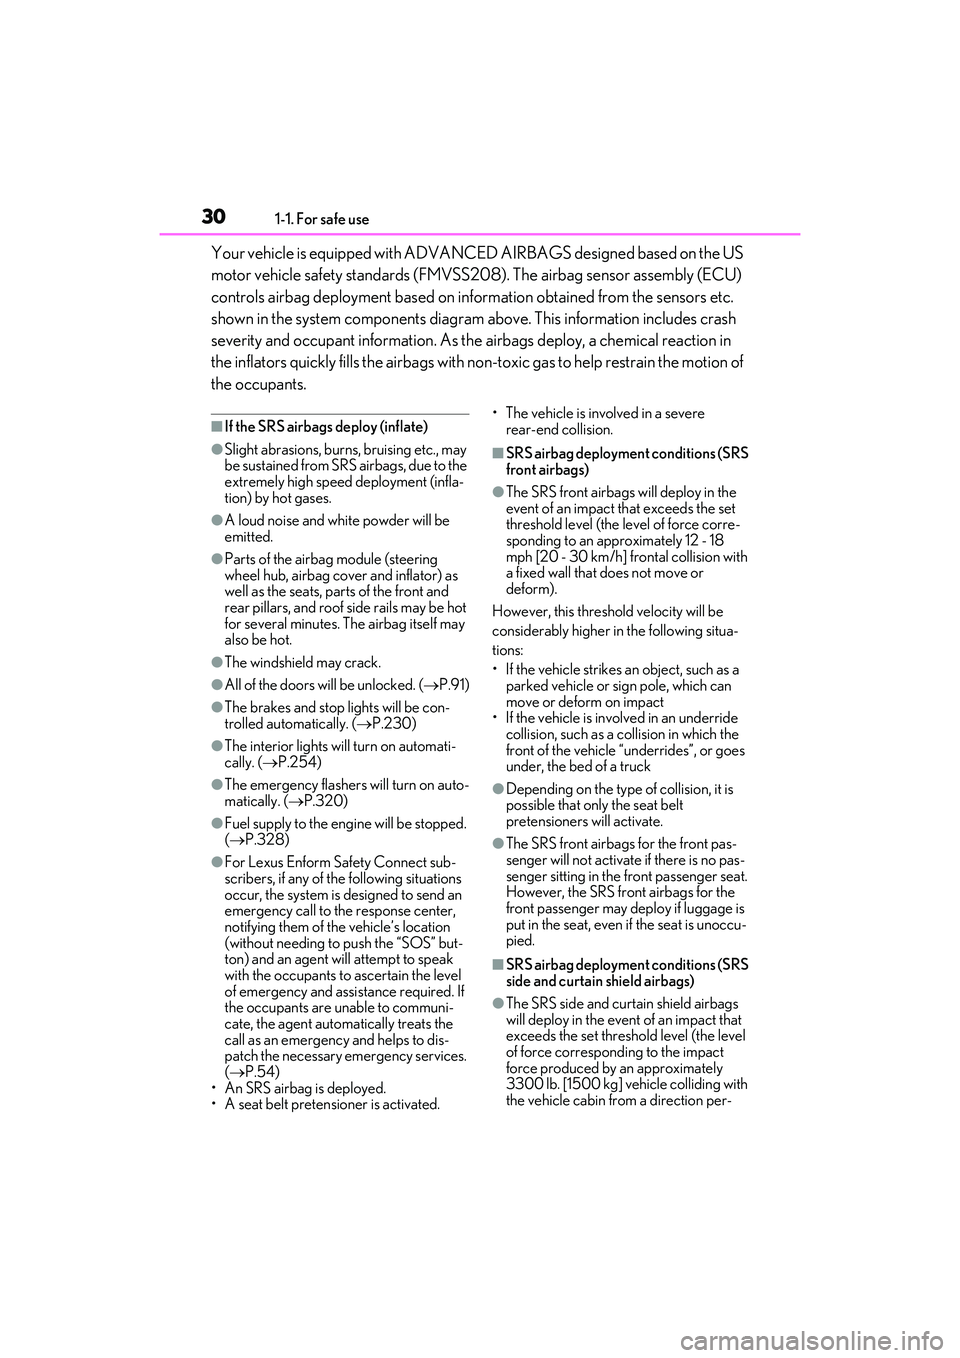
Your vehicle is equipped with ADVANCED AIRBAGS designed based on the US
motor vehicle safety standards (FMVSS20 8). The airbag sensor assembly (ECU)
controls airbag deployment based on information obtain ed from the sensors etc.
shown in the system components diagram above. This information includes crash
severity and occupant information. As th e airbags deploy, a chemical reaction in
the inflators quickly fills the airbags with no n-toxic gas to help restrain the motion of
the occupants.
■If the SRS airbags deploy (inflate)
●Slight abrasions, burns, bruising etc., may
be sustained from SRS airbags, due to the
extremely high speed deployment (infla-
tion) by hot gases.
●A loud noise and white powder will be
emitted.
●Parts of the airbag module (steering
wheel hub, airbag cover and inflator) as
well as the seats, parts of the front and
rear pillars, an d roof side rails may be hot
for several minutes. The airbag itself may
also be hot.
●The windshield may crack.
●All of the doors will be unlocked. ( P.91)
●The brakes and stop lights will be con-
trolled automatically. (P.230)
●The interior lights will turn on automati-
cally. (P.254)
●The emergency flashers will turn on auto-
matically. ( P.320)
●Fuel supply to the engine will be stopped.
(P.328)
●For Lexus Enform Safety Connect sub-
scribers, if any of the following situations
occur, the system is designed to send an
emergency call to the response center,
notifying them of the vehicle’s location
(without needing to push the “SOS” but-
ton) and an agent will attempt to speak
with the occupants to ascertain the level
of emergency and assi stance required. If
the occupants are unable to communi-
cate, the agent automatically treats the
call as an emergency and helps to dis-
patch the necessary emergency services.
( P.54)
• An SRS airbag is deployed.
• A seat belt pretensioner is activated. • The vehicle is involved in a severe
rear-end collision.
■SRS airbag deployment conditions (SRS
front airbags)
●The SRS front airbags will deploy in the
event of an impact that exceeds the set
threshold level (the level of force corre-
sponding to an approximately 12 - 18
mph [20 - 30 km/h] frontal collision with
a fixed wall that does not move or
deform).
However, this threshol d velocity will be
considerably higher in the following situa-
tions:
• If the vehicle strikes an object, such as a parked vehicle or sign pole, which can
move or deform on impact
• If the vehicle is involved in an underride
collision, such as a collision in which the
front of the vehicle “u nderrides”, or goes
under, the bed of a truck
●Depending on the type of collision, it is
possible that only the seat belt
pretensioners will activate.
●The SRS front airbags for the front pas-
senger will not activate if there is no pas-
senger sitting in the front passenger seat.
However, the SRS front airbags for the
front passenger may deploy if luggage is
put in the seat, even if the seat is unoccu-
pied.
■SRS airbag deployment conditions (SRS
side and curtain shield airbags)
●The SRS side and curtain shield airbags
will deploy in the event of an impact that
exceeds the set threshold level (the level
of force corresponding to the impact
force produced by an approximately
3300 lb. [1500 kg] vehicle colliding with
the vehicle cabin from a direction per-
Page 39 of 440

371-1. For safe use
1
For safety and security
WARNING
●Make sure the “AIR BAG OFF” indica-
tor light is not illuminated when using
the seat belt extender for the front pas-
senger seat. If the “AIR BAG OFF”
indicator light is illuminated, discon-
nect the extender tongue from the seat
belt buckle, and reconnect the seat
belt. Reconnect the se at belt extender
after making sure the “AIR BAG ON”
indicator light is illu minated. If you use
the seat belt extender while the “AIR
BAG OFF” indicator light is illumi-
nated, the SRS airbags for the front
passenger will not activate, which
could cause death or serious injury in
the event of a collision.
●Do not apply a heavy load to the front
passenger seat or equipment (e.g.
seatback pocket).
●Do not put weight on the front passen-
ger seat by putting your hands or feet
on the front passenger seat seatback
from the rear passenger seat.
●Do not let a rear passenger lift the
front passenger seat with their feet or
press on the seatback with their legs.
●Do not put objects under the front pas-
senger seat.
●Do not recline the front passenger
seatback so far that it touches a rear
seat. This may cause the “AIR BAG
OFF” indicator light to be illuminated,
which indicates that the SRS airbags
for the front passenger will not activate
in the event of a seve re accident. If the
seatback touches the rear seat, return
the seatback to a position where it
does not touch the rear seat. Keep the
front passenger seatback as upright as
possible when the vehicle is moving.
Reclining the seatback excessively
may lessen the effectiveness of the
seat belt system.
●If an adult sits in the front passenger
seat, the “AIR BAG ON” indicator light
is illuminated. If the “AIR BAG OFF”
indicator is illuminated, ask the passen-
ger to sit up straig ht, well back in the
seat, feet on the floor, and with the seat
belt worn correctly. If the “AIR BAG
OFF” indicator still remains illumi-
nated, either ask the passenger to
move to the rear seat, or if that is not
possible, move the front passenger
seat fully rearward.
●When it is unavoidable to install a for-
ward-facing child re straint system on
the front passenger seat, install the
child restraint system on the front pas-
senger seat in the proper order.
(
P.42)
●Do not modify or remove the front
seats.
●Do not kick the front passenger seat or
subject it to severe impact. Otherwise,
the SRS warning light may come on to
indicate a malfunction of the front pas-
senger occupant cla ssification system.
In this case, contact your Lexus dealer
immediately.
●Child restraint system s installed on the
rear seat should not contact the front
seatbacks.
●Do not use a seat accessory, such as a
cushion and seat cover, that covers the
seat cushion surface.
●Do not modify or replace the uphol-
stery of the front seat.
●Do not place anything between the
console box and front passenger seat.
Otherwise, the system may not detect
the front passenger properly, leading
to improper operation of the airbags.
●Adjust the front passe nger seat so that
the head restraint does not touch the
ceiling. If the head re straint is left in
contact with the ceiling, the system
may not detect the front passenger
properly, leading to improper opera-
tion of the airbags.
Page 50 of 440

481-2. Child safety
Booster type
High back type
4 Sit the child in the child restraint
system. Fit the seat belt to the child
restraint system according to the
manufacturer’s in structions and
insert the plate into the buckle.
Make sure that the belt is not
twisted.
Check that the shoulder belt is correctly
positioned over the child’s shoulder and
that the lap belt is as low as possible.
( P.24)
■Removing a child restraint system
installed with a seat belt
Press the buckle release button and
fully retract the seat belt.
When releasing the buckle, the child
restraint system may sp ring up due to the
rebound of the seat cushion. Release the
buckle while holding down the child
restraint system.
Since the seat belt auto matically reels itself,
slowly return it to the stowing position.
WARNING
■When installing a child restraint sys-
tem
Observe the following precautions.
Failure to do so may result in death or
serious injury.
●Do not allow children to play with the
seat belt. If the seat belt becomes
twisted around a child’s neck, it may
lead to choking or other serious inju-
ries that could result in death.
If this occurs and the buckle cannot be
unfastened, scissors should be used to
cut the belt.
●Ensure that the belt and plate are
securely locked and the seat belt is not
twisted.
●Shake the child rest raint system left
and right, and forward and backward
to ensure that it has been securely
installed.