run flat LEXUS IS350 2022 Owners Manual
[x] Cancel search | Manufacturer: LEXUS, Model Year: 2022, Model line: IS350, Model: LEXUS IS350 2022Pages: 440, PDF Size: 22.72 MB
Page 14 of 440

12Pictorial index
Precautions for winter season ..................................................................................... P.234
To prevent freezing (windshield wiper de-icer)
*................................................. P.249
Precautions for car wash ............................................................................................... P.272
Fuel filler door .......................................................................................................... P.157
Refueling method ............................................................................................................... P.157
Fuel type/fuel tank capacity ......................................................................................... P.367
Tires.......................................................................................................................... .. P.296
Tire size/inflation pressure ............................ .................................................... P.296, 372
Winter tires/tire chains .................................................................................................. P.234
Checking/rotation/tire pressure warning system.............................................. P.296
Coping with flat tires......................................................................................................... P.341
Hood ......................................................................................................................... P. 285
Opening ........................................................................................................................ .......P.285
Engine oil ..................................................................................................................... ......... P.367
Coping with overheating ............................................................................................... P.357
Warning messages ..........................................................................................................P.338
Headlights ................................................................................................................. P.14 5
Turn signal lights ......................................................................................................P.138
Parking lights/daytime running lights................ ............................................... P.145
Side marker lights ................................................................................................... P.145
Tail lights .................................................................................................................... P.145
Stop lights
Tail lights .................................................................................................................... P.145
Back-up lights
Shifting the shift lever to R .............................................................................................. P.13 5
License plate lights ................................................................................................. P.145
*:If equipped
Light bulbs of the exterior lights for driving
(Replacing method: P. 313, Watts: P.375)
E
F
G
H
I
J
K
L
M
N
O
Page 170 of 440

1684-5. Using the driving support systems
■Enabling/disabling the pre-colli-
sion system
The pre-collision system can be
enabled/disabled on ( P.75) of
the multi-information display.
The system is automa tically enabled each
time the engine switch is turned to IGNI-
TION ON mode.
If the system is disabled, the PCS warn-
ing light will turn on and a message will
be displayed on the multi-information
display.
■Changing the pre-collision warn-
ing timing
The pre-collision warning timing can
be changed on ( P.75) of the
multi-information display.
The warning timing setting is retained
when the engine switch is turned off. How-
ever, if the pre-collision system is disabled
and re-enabled, the operation timing will
return to the default setting (middle).
If the pre-collision warning timing is
changed, emergency steering assist
timing will also be changed accord-
ingly.
If late is selected, emergency steering
assist would not operate in case of an
emergency.
WARNING
●When the vehicle is raised on a lift with
the engine running and the tires are
allowed to rotate freely
●When inspecting the vehicle using a
drum tester such as a chassis dyna-
mometer or speedometer tester, or
when using an on vehicle wheel bal-
ancer
●When a strong impact is applied to the
front bumper or front grille, due to an
accident or other reasons
●If the vehicle cannot be driven in a sta-
ble manner, such as when the vehicle
has been in an accident or is malfunc-
tioning
●When the vehicle is driven in a sporty
manner or off-road
●When the tires are not properly
inflated
●When the tires are very worn
●When tires of a size other than speci-
fied are installed
●When tire chains are installed
●When a compact spare tire or an
emergency tire puncture repair kit is
used
●If equipment (snow plow, etc.) that may
obstruct the radar sensor or front cam-
era is temporarily installed to the vehi-
cle
Changing settings of the pre-col-
lision system
Page 283 of 440

2816-2. Maintenance
6
Maintenance and care
Seats• Do the seat controls operate properly?
Steering wheel
• Does the steering wheel rotate
smoothly?
• Does the steering wheel have the cor-
rect amount of free
play?
•There should not be any strange sounds
coming from the
steering wheel.
Vehicle exterior
ItemsCheck points
Doors/trunk• Do the doors/trunk operate smoothly?
Engine hood
•Does the engine hood lock system
work properly?
Fluid leaks
•There should not be any signs of fluid
leakage after the
vehicle has been
parked.
ItemsCheck points
Tires
• Is the tire inflation pressure correct?
• The tires should not be damaged or
excessively worn.
• Have the tires been rotated according to
the maintenance
schedule?
•The wheel bolts should not be loose.
Windshield wip-
ers
• The wiper blades should not show any
signs of cracking,
splitting, wear, con-
tamination or defor-
mation.
• The wiper blades should clear the
windshield without
streaking or skip-
ping.
ItemsCheck points
Page 286 of 440

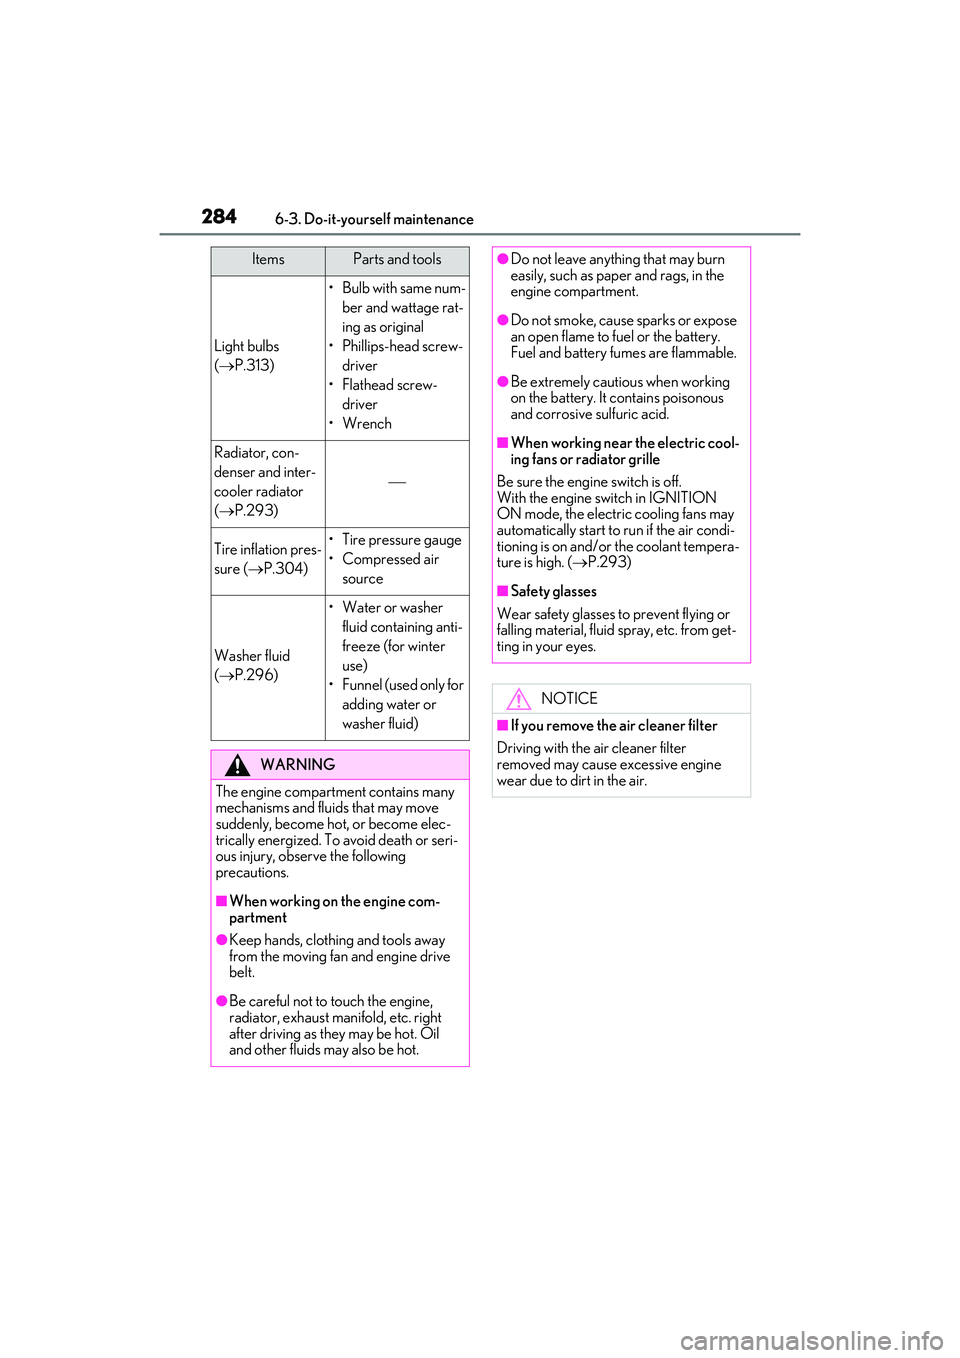
2846-3. Do-it-yourself maintenance
Light bulbs
(P.313)
•Bulb with same num-
ber and wattage rat-
ing as original
• Phillips-head screw- driver
•Flathead screw- driver
•Wrench
Radiator, con-
denser and inter-
cooler radiator
( P.293)
Tire inflation pres-
sure ( P.304)• Tire pressure gauge
•Compressed air
source
Washer fluid
(P.296)
• Water or washer
fluid containing anti-
freeze (for winter
use)
• Funnel (used only for adding water or
washer fluid)
WARNING
The engine compartment contains many
mechanisms and fluids that may move
suddenly, become hot, or become elec-
trically energized. To avoid death or seri-
ous injury, observe the following
precautions.
■When working on the engine com-
partment
●Keep hands, clothi ng and tools away
from the moving fan and engine drive
belt.
●Be careful not to touch the engine,
radiator, exhaust manifold, etc. right
after driving as they may be hot. Oil
and other fluids may also be hot.
ItemsParts and tools●Do not leave anything that may burn
easily, such as paper and rags, in the
engine compartment.
●Do not smoke, cause sparks or expose
an open flame to fuel or the battery.
Fuel and battery fumes are flammable.
●Be extremely cautious when working
on the battery. It contains poisonous
and corrosive sulfuric acid.
■When working near the electric cool-
ing fans or radiator grille
Be sure the engine switch is off.
With the engine switch in IGNITION
ON mode, the electric cooling fans may
automatically start to run if the air condi-
tioning is on and/or the coolant tempera-
ture is high. ( P.293)
■Safety glasses
Wear safety glasses to prevent flying or
falling material, fluid spray, etc. from get-
ting in your eyes.
NOTICE
■If you remove the air cleaner filter
Driving with the air cleaner filter
removed may cause excessive engine
wear due to dirt in the air.
Page 301 of 440

2996-3. Do-it-yourself maintenance
6
Maintenance and care
If this accidentally occurs, either turn the
engine switch to off and then to IGNITION
ON mode, or initialize the system after
checking that the tire pressure is properly
adjusted.
Your vehicle is equipped with a tire
pressure warning system that uses tire
pressure warning valves and transmit-
ters to detect low tire inflation pressure
before serious problems arise.
The tire pressure detected by the
tire pressure warning system can be
displayed on the multi-information
display.
If the tire pressure drops below a
predetermined level, the driver is
warned by a screen display and a
warning light. ( P.333)
■Routine tire inflation pressure checks
The tire pressure warning system does not replace routine tire
inflation pressure
checks. Make sure to check tire inflation
pressure as part of your routine of daily
vehicle checks.
■Tire inflation pressure
●It may take a few minutes to display the
tire inflation pressu re after the engine
switch is turned to IGNITION ON mode.
It may also take a few minutes to display
the tire inflation pressure after inflation
pressure has b een adjusted.
●Tire inflation pressure changes with tem-
perature. The displayed values may also
be different from the values measured
using a tire pressure gauge.
■Situations in which the tire pressure
warning system may not operate prop-
erly
●In the following cases, the tire pressure
warning system may not operate prop-
erly.
• If non-genuine Lexus wheels are used.
• If a tire has been replaced with a tire that is not an OE (Original Equipment) tire.
• If a tire has been replaced with a tire that is not of the specified size.
• If tire chains, etc. are installed.
• An auxiliary-supported run-flat tire is
equipped.
• If a window tint that affects the radio wave signals is installed.
• If there is a lot of snow or ice on the vehi-
cle, particularly around the wheels or
wheel housings.
• If the tire inflation pressure is extremely
higher than the specified level.
• If tires not equipped with tire pressure warning valves and transmitters are used.
• If the ID code on the tire pressure warn- ing valves and transmitters is not regis-
tered in the tire pressure warning
computer.
●Performance may be af fected in the fol-
lowing situations.
• When driving near a TV tower, electric power plant, gas station, radio station,
large display, airport or other facility that
generates strong radi o waves or electri-
cal noise
• When carrying a portable radio, cellular
phone, cordless phone or other wireless
Tire pressure warning system
Page 318 of 440

3166-3. Do-it-yourself maintenance
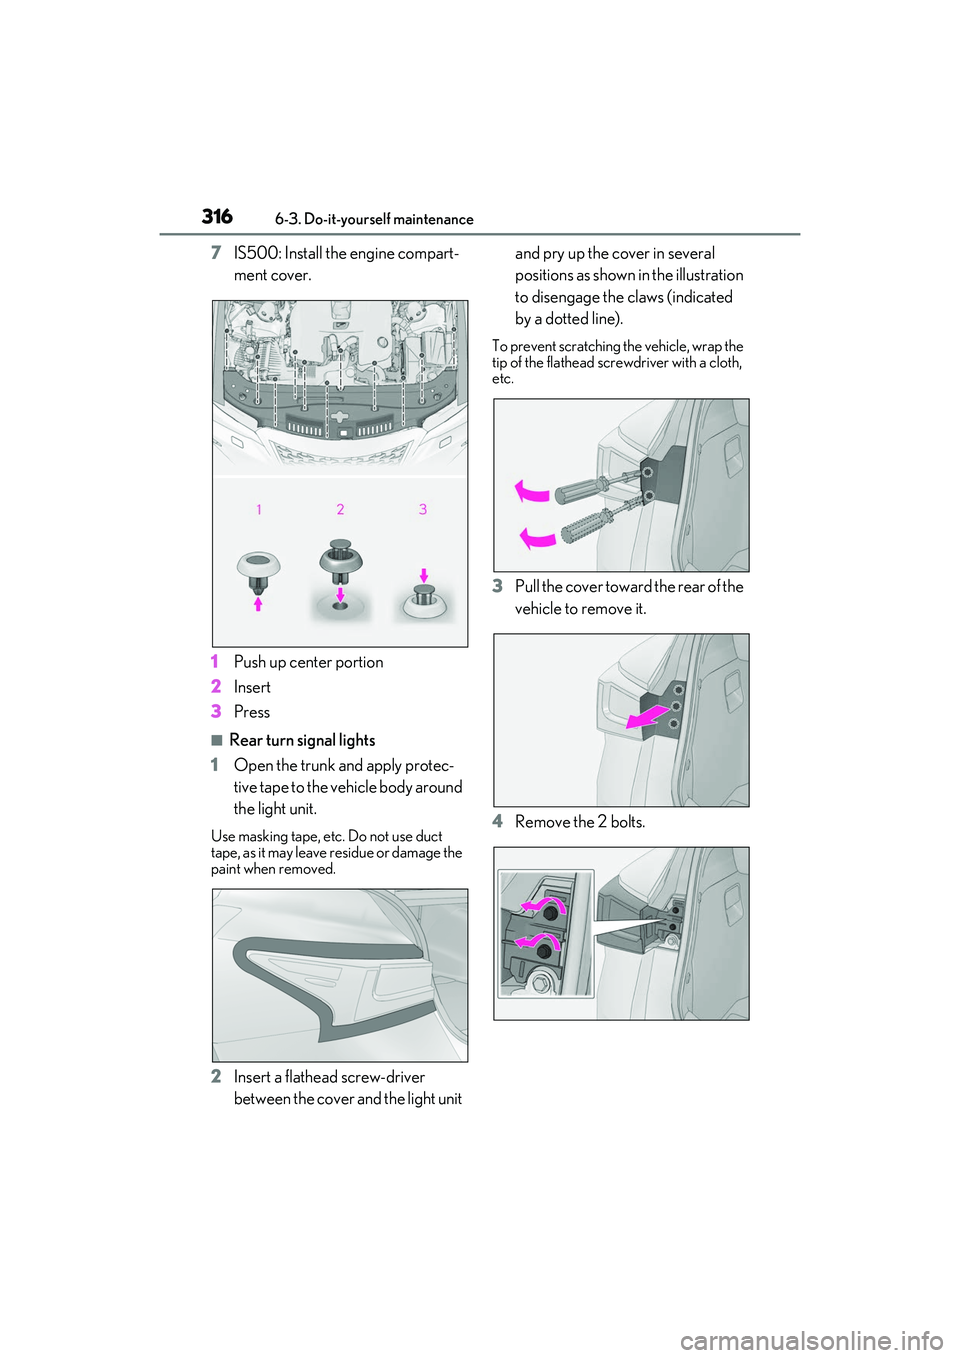
7IS500: Install the engine compart-
ment cover.
1 Push up center portion
2 Insert
3 Press
■Rear turn signal lights
1 Open the trunk and apply protec-
tive tape to the vehicle body around
the light unit.
Use masking tape, etc. Do not use duct
tape, as it may leave residue or damage the
paint when removed.
2Insert a flathead screw-driver
between the cover and the light unit and pry up the cover in several
positions as shown in the illustration
to disengage the claws (indicated
by a dotted line).
To prevent scratching the vehicle, wrap the
tip of the flathead scre
wdriver with a cloth,
etc.
3 Pull the cover toward the rear of the
vehicle to remove it.
4 Remove the 2 bolts.
Page 329 of 440

3277-2. Steps to take in an emergency
7
When trouble arises
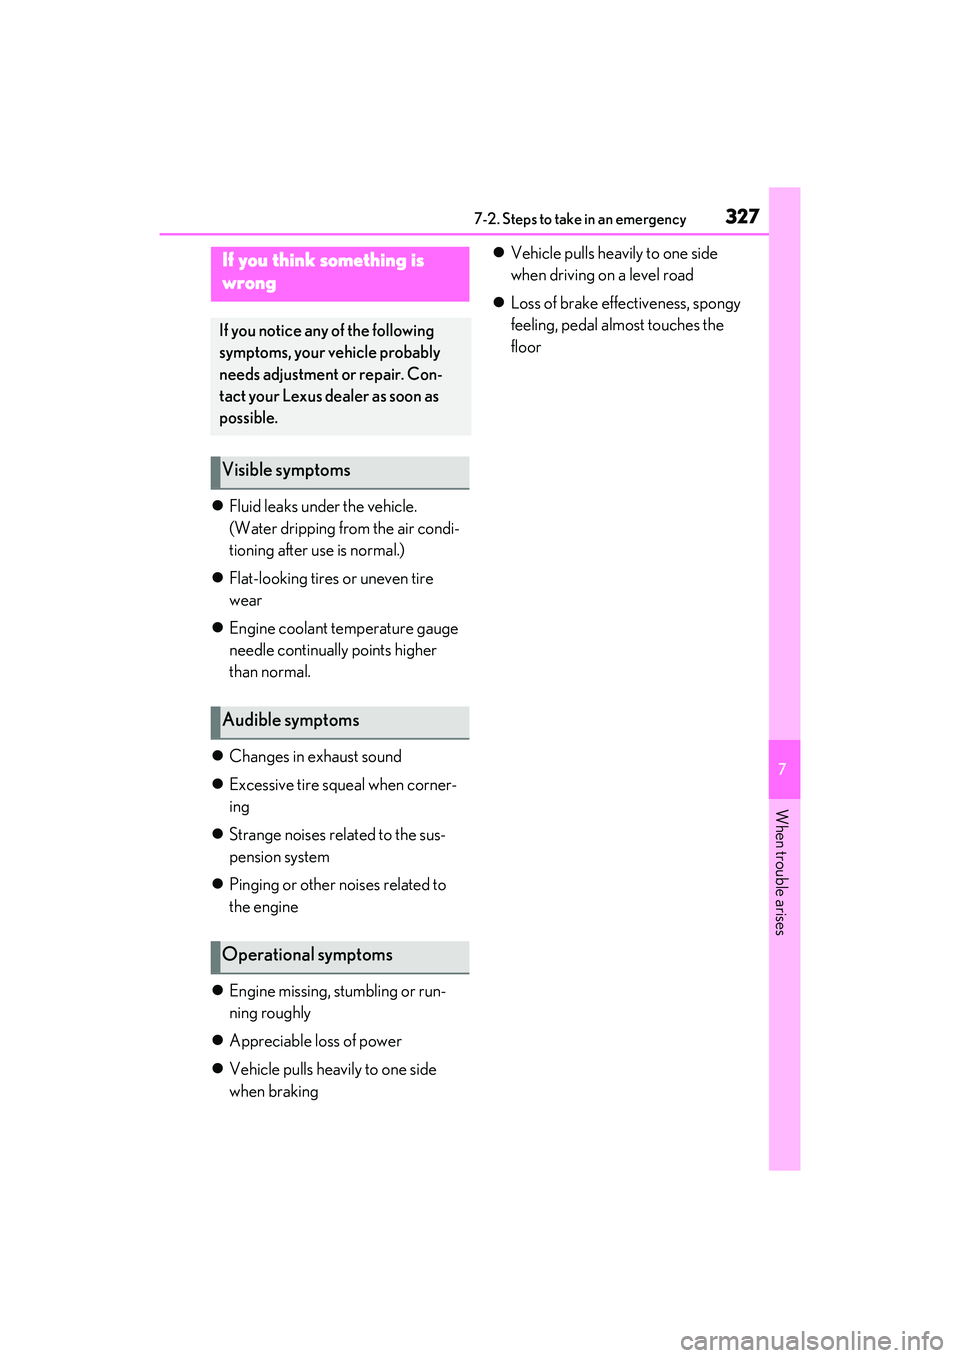
Fluid leaks under the vehicle.
(Water dripping from the air condi-
tioning after use is normal.)
Flat-looking tires or uneven tire
wear
Engine coolant temperature gauge
needle continually points higher
than normal.
Changes in exhaust sound
Excessive tire squeal when corner-
ing
Strange noises related to the sus-
pension system
Pinging or other noises related to
the engine
Engine missing, stumbling or run-
ning roughly
Appreciable loss of power
Vehicle pulls heavily to one side
when braking
Vehicle pulls heavily to one side
when driving on a level road
Loss of brake effectiveness, spongy
feeling, pedal almost touches the
floor
If you think something is
wrong
If you notice any of the following
symptoms, your vehicle probably
needs adjustment or repair. Con-
tact your Lexus dealer as soon as
possible.
Visible symptoms
Audible symptoms
Operational symptoms
Page 374 of 440

3728-1. Specifications
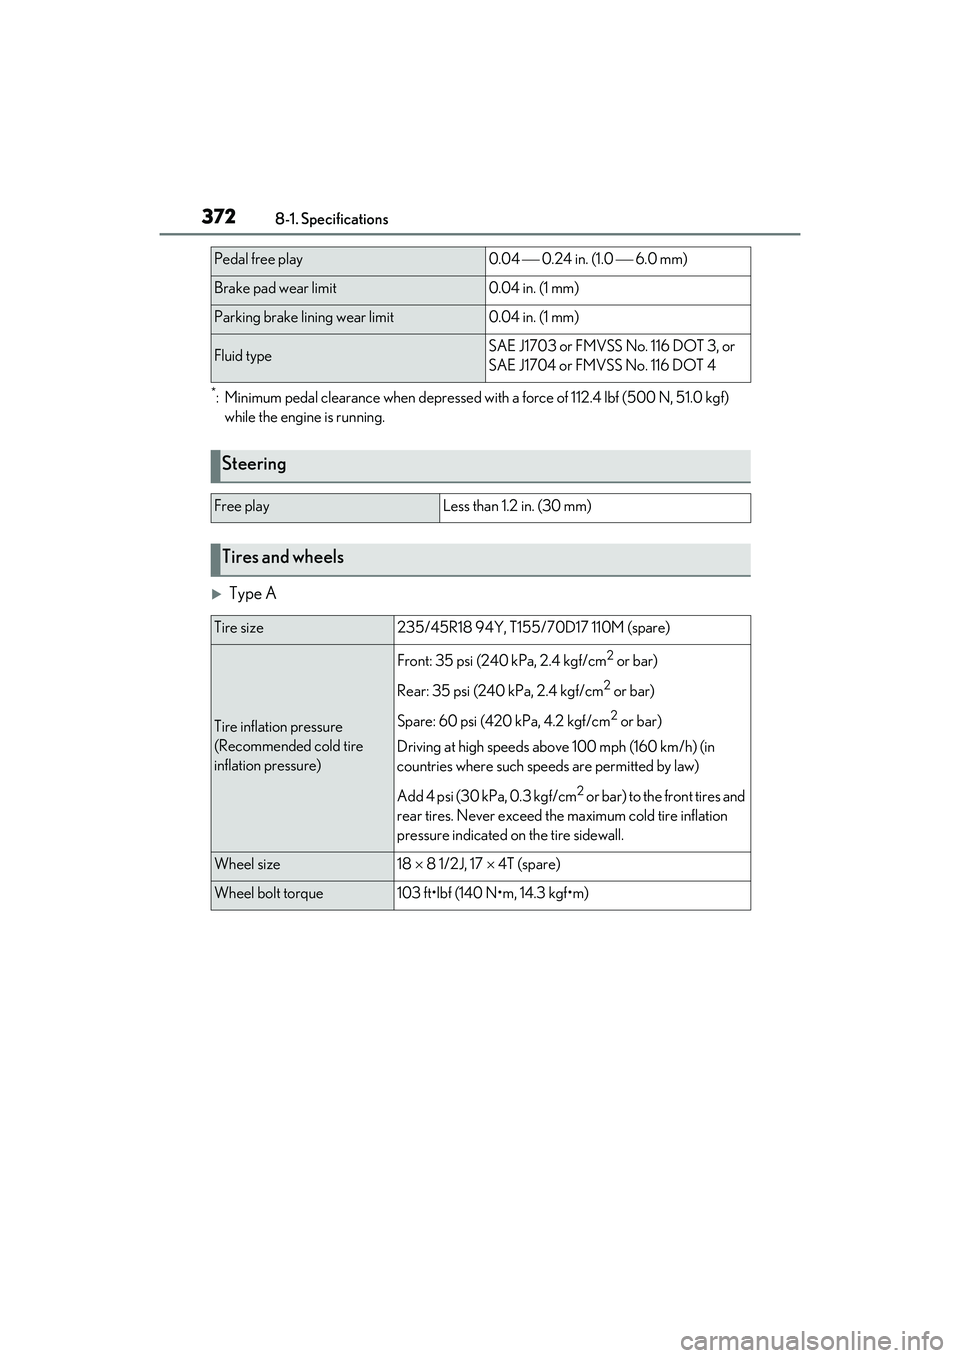
*: Minimum pedal clearance when depressed with a force of 112.4 lbf (500 N, 51.0 kgf)
while the engine is running.
Type A
Pedal free play0.04 0.24 in. (1.0 6.0 mm)
Brake pad wear limit0.04 in. (1 mm)
Parking brake lining wear limit0.04 in. (1 mm)
Fluid typeSAE J1703 or FMVSS No. 116 DOT 3, or
SAE J1704 or FMVSS No. 116 DOT 4
Steering
Free playLess than 1.2 in. (30 mm)
Tires and wheels
Tire size235/45R18 94Y, T155/70D17 110M (spare)
Tire inflation pressure
(Recommended cold tire
inflation pressure)
Front: 35 psi (240 kPa, 2.4 kgf/cm2 or bar)
Rear: 35 psi (240 kPa, 2.4 kgf/cm
2 or bar)
Spare: 60 psi (420 kPa, 4.2 kgf/cm
2 or bar)
Driving at high speeds above 100 mph (160 km/h) (in
countries where such speeds are permitted by law)
Add 4 psi (30 kPa, 0.3 kgf/cm
2 or bar) to the front tires and
rear tires. Never exceed the maximum cold tire inflation
pressure indicated on the tire sidewall.
Wheel size18 8 1/2J, 17 4T (spare)
Wheel bolt torque103 ft•lbf (140 N•m, 14.3 kgf•m)
Page 388 of 440

3868-1. Specifications
*: Table 1 -Occupant loading and distribution for vehicle normal load for various desig-
nated seating capacities
Radial ply tire
A pneumatic tire in which the ply cords that extend
to the beads are laid at su bstantially 90 degrees to
the centerline of the tread
Reinforced tire
A tire designed to operat e at higher loads and at
higher inflation pressures than the corresponding
standard tire
Section width
The linear distance between the exteriors of the
sidewalls of an inflated tire, excluding elevations
due to labeling, decorati on, or protective bands
SidewallThat portion of a tire between the tread and bead
Sidewall separationThe parting of the rubber compound from the cord
material in the sidewall
Snow tire
A tire that attains a traction index equal to or
greater than 110, compared to the ASTM E-1136
Standard Referenc e Test Tire, when using the snow
traction test as described in ASTM F-1805-00,
Standard Test Method fo r Single Wheel Driving
Traction in a Straight Line on Snow-and Ice-Cov-
ered Surfaces, and which is marked with an Alpine
Symbol ( ) on at least one sidewall
Test rimThe rim on which a tire is fitted for testing, and may
be any rim listed as appropriate for use with that tire
TreadThat portion of a tire that comes into contact with
the road
Tread ribA tread section running ci rcumferentially around a
tire
Tread separationPulling away of the tread from the tire carcass
Treadwear indicators (TWI)
The projections within the principal grooves
designed to give a visual indication of the degrees
of wear of the tread
Wheel-holding fixtureThe fixture used to hold the wheel and tire assembly
securely during testing
Tire related termMeaning
Page 426 of 440

424Alphabetical Index
SwitchesActivating the Automatic High Beam147
Automatic High Beam system.............. 147
Brake Hold switch ...................................... 142
Door lock switches ...................................... 92
Driving mode select switch ...................227
Driving position memory switches .... 104
Dynamic radar cruise control with full-speed range switch .........................187
Emergency flashers switch ................... 320
Engine switch................................................ 130
Garage door opener switches .......... 263
Heated steering wheel switch...............251
Ignition switch............................................... 130
Instrument panel light control switches ............................................................................ 75
Intuitive parking assist switch............... 204
Light switches ................................................145
LTA (Lane Tracing Assi st) switch...... 180
Meter control switches .............................. 76
Moon roof switches .................................... 116
“ODO TRIP” switch .....................................74
Outside rear view mi rror switches .......112
Paddle shift switches ....................... 136, 137
Parking brake switch .................................139
PCS OFF switch ......................................... 168
PKSB (Parking Support Brake) switch ........................................................................... 217
Power door lock switch ............................ 92
Power window switches ............................114
RCTA switch....................................................211
Rear sunshades switch ........................... 262
Rear window and outside rear view mir- ror defoggers switch ............................ 243
Seat heater switches ..................................251
Seat ventilator switches ............................251
Snow mode switch .....................................136
“SOS” button .................................................. 54
Tilt and telescopic steering control switch .......................................................................... 109
Tire pressure warning reset switch ... 301
Trunk opener main switch ....................... 96 Trunk opener switch ...................................95
Vehicle-to-vehicle di
stance switch.... 187
VSC OFF switch .......................................230
Window lock switch.................................... 115
Windshield wiper and washer switch150
Windshield wiper de-icer...................... 249
T
Tachometer............................................... 69, 70 Rev indicator ................................................... 72
Rev peak............................................................ 73
Tail lights Light switch .................................................... 145
Replacing light bulbs ..................................314
The Secondary Collision Brake ............ 230
Theft deterrent system Alarm.....................................................................61
Engine immobilizer system......................60
Theft prevention labels ............................... 62
Tire inflation pressure Maintenance data ...................................... 372
Tire inflation pressure display function..........................................................................299
Warning light ...............................................333
Tire information ............................................ 378 Glossary .........................................................382
Size ................................................................... 380
Tire identification number...................... 379
Uniform Tire Quality Grading ............. 381
Tire pressure display .................................. 299
Tire pressure warning system Function ..........................................................299
Initializing....................................................... 300
Installing tire pres sure warning valves
and transmitters...................................... 300
Registering ID codes ...............................302
Warning light ...............................................333
Tires Chains .............................................................235
Checking .......................................................296
If you have a flat tire ....................................341
Inflation pressure ....................................... 304