inflation pressure LEXUS RC300H 2017 Owners Manual
[x] Cancel search | Manufacturer: LEXUS, Model Year: 2017, Model line: RC300H, Model: LEXUS RC300H 2017Pages: 640, PDF Size: 35.53 MB
Page 6 of 640
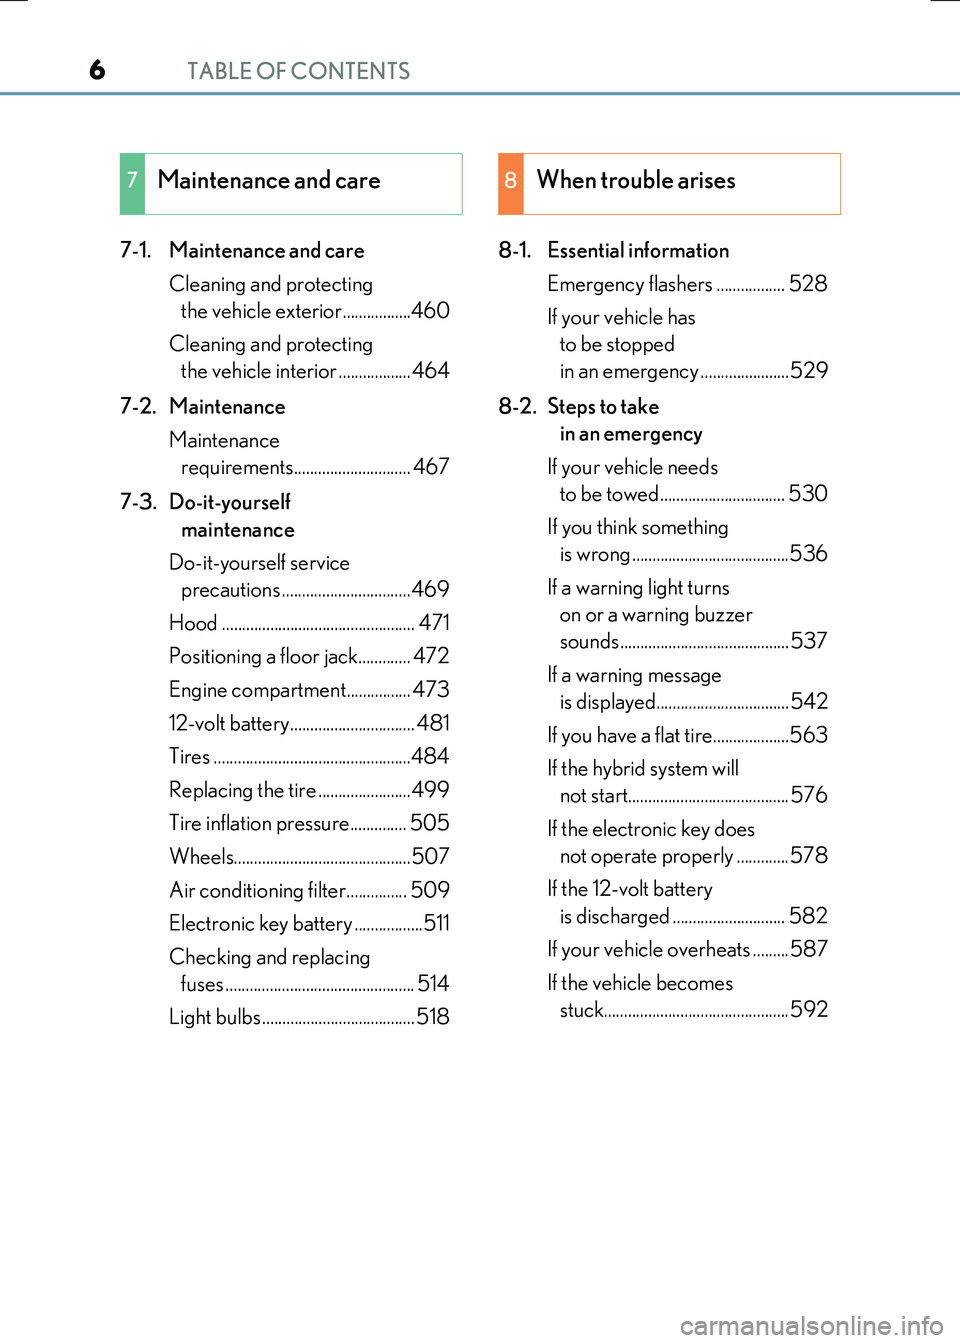
TABLE OF CONTENTS6
RC300h_EE(OM24740E)
7-1. Maintenance and care
Cleaning and protecting
the vehicle exterior.................460
Cleaning and protecting
the vehicle interior ..................464
7-2. Maintenance
Maintenance
requirements............................. 467
7-3. Do-it-yourself
maintenance
Do-it-yourself service
precautions ................................469
Hood ................................................ 471
Positioning a floor jack............. 472
Engine compartment................ 473
12-volt battery............................... 481
Tires .................................................484
Replacing the tire .......................499
Tire inflation pressure.............. 505
Wheels............................................507
Air conditioning filter............... 509
Electronic key battery .................511
Checking and replacing
fuses ............................................... 514
Light bulbs ...................................... 518
8-1. Essential information
Emergency flashers ................. 528
If your vehicle has
to be stopped
in an emergency ......................529
8-2. Steps to take
in an emergency
If your vehicle needs
to be towed............................... 530
If you think something
is wrong .......................................536
If a warning light turns
on or a warning buzzer
sounds.......................................... 537
If a warning message
is displayed.................................542
If you have a flat tire...................563
If the hybrid system will
not start........................................ 576
If the electronic key does
not operate properly .............578
If the 12-volt battery
is discharged ............................ 582
If your vehicle overheats .........587
If the vehicle becomes
stuck..............................................592
7Maintenance and care8When trouble arises
Page 15 of 640
15Pictorial index
RC300h_EE(OM24740E)
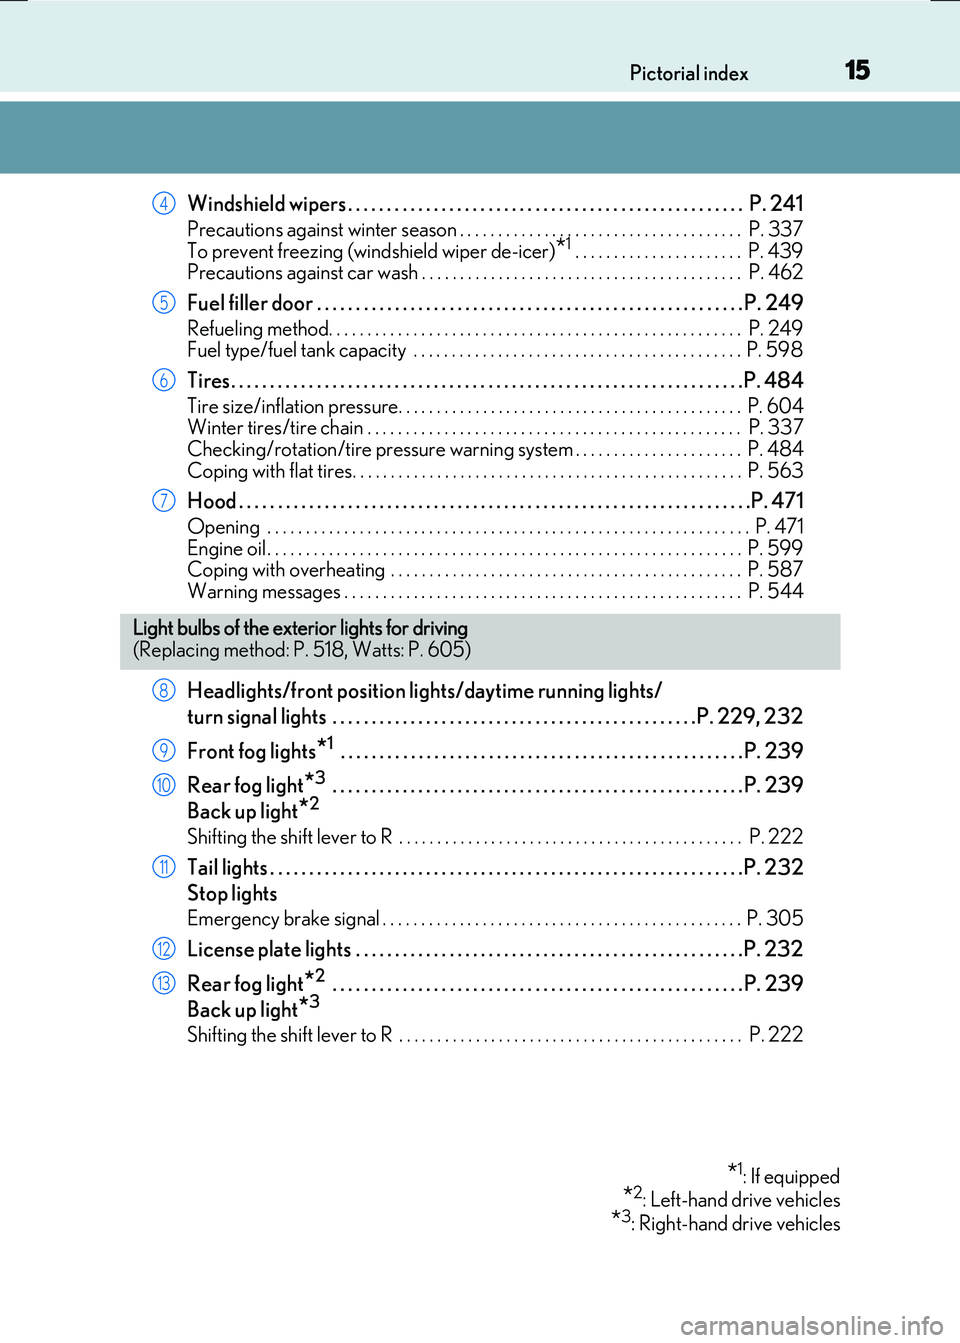
Windshield wipers . . . . . . . . . . . . . . . . . . . . . . . . . . . . . . . . . . . . . . . . . . . . . . . . . . . P. 241
Precautions against winter season . . . . . . . . . . . . . . . . . . . . . . . . . . . . . . . . . . . . . P. 337
To prevent freezing (windshield wiper de-icer)*1 . . . . . . . . . . . . . . . . . . . . . . P. 439 Precautions against car wash . . . . . . . . . . . . . . . . . . . . . . . . . . . . . . . . . . . . . . . . . . P. 462
Fuel filler door . . . . . . . . . . . . . . . . . . . . . . . . . . . . . . . . . . . . . . . . . . . . . . . . . . . . . . . P . 249
Refueling method. . . . . . . . . . . . . . . . . . . . . . . . . . . . . . . . . . . . . . . . . . . . . . . . . . . . . . P. 249 Fuel type/fuel tank capacity . . . . . . . . . . . . . . . . . . . . . . . . . . . . . . . . . . . . . . . . . . . P. 598
Tires. . . . . . . . . . . . . . . . . . . . . . . . . . . . . . . . . . . . . . . . . . . . . . . . . . . . . . . . . . . . . . . . . .P. 484
Tire size/inflation pressure. . . . . . . . . . . . . . . . . . . . . . . . . . . . . . . . . . . . . . . . . . . . . P. 604 Winter tires/tire chain . . . . . . . . . . . . . . . . . . . . . . . . . . . . . . . . . . . . . . . . . . . . . . . . . P. 33 7
Checking/rotation/tire pressure warning system . . . . . . . . . . . . . . . . . . . . . . P. 484 Coping with flat tires. . . . . . . . . . . . . . . . . . . . . . . . . . . . . . . . . . . . . . . . . . . . . . . . . . . P. 563
Hood . . . . . . . . . . . . . . . . . . . . . . . . . . . . . . . . . . . . . . . . . . . . . . . . . . . . . . . . . . . . . . . . . .P. 471
Opening . . . . . . . . . . . . . . . . . . . . . . . . . . . . . . . . . . . . . . . . . . . . . . . . . . . . . . . . . . . . . . . P. 471 Engine oil . . . . . . . . . . . . . . . . . . . . . . . . . . . . . . . . . . . . . . . . . . . . . . . . . . . . . . . . . . . . . . P. 599 Coping with overheating . . . . . . . . . . . . . . . . . . . . . . . . . . . . . . . . . . . . . . . . . . . . . . P. 587
Warning messages . . . . . . . . . . . . . . . . . . . . . . . . . . . . . . . . . . . . . . . . . . . . . . . . . . . . P. 544
Headlights/front position lights/daytime running lights/
turn signal lights . . . . . . . . . . . . . . . . . . . . . . . . . . . . . . . . . . . . . . . . . . . . . . .P. 229, 232
Front fog lights*1 . . . . . . . . . . . . . . . . . . . . . . . . . . . . . . . . . . . . . . . . . . . . . . . . . . . .P. 239
Rear fog light*3 . . . . . . . . . . . . . . . . . . . . . . . . . . . . . . . . . . . . . . . . . . . . . . . . . . . . . P. 239
Back up light*2
Shifting the shift lever to R . . . . . . . . . . . . . . . . . . . . . . . . . . . . . . . . . . . . . . . . . . . . . P. 222
Tail lights . . . . . . . . . . . . . . . . . . . . . . . . . . . . . . . . . . . . . . . . . . . . . . . . . . . . . . . . . . . . .P. 232
Stop lights
Emergency brake signal . . . . . . . . . . . . . . . . . . . . . . . . . . . . . . . . . . . . . . . . . . . . . . . P. 305
License plate lights . . . . . . . . . . . . . . . . . . . . . . . . . . . . . . . . . . . . . . . . . . . . . . . . . .P. 232
Rear fog light*2 . . . . . . . . . . . . . . . . . . . . . . . . . . . . . . . . . . . . . . . . . . . . . . . . . . . . . P. 239
Back up light*3
Shifting the shift lever to R . . . . . . . . . . . . . . . . . . . . . . . . . . . . . . . . . . . . . . . . . . . . . P. 222
4
5
6
7
Light bulbs of the exterior lights for driving
(Replacing method: P. 518, Watts: P. 605)
*1: If equipped
*2: Left-hand drive vehicles
*3: Right-hand drive vehicles
8
9
10
11
12
13
Page 127 of 640
1272. Instrument cluster
2
Instrument cluster
RC300h_EE(OM24740E)
■Needle (F SPORT models)
Select to change the needle color for the tachometer.
■Rev indicator (F SPORT models)
Select to set the rev indicator on/off.
When set to on, proceed to set the engine speed at which the rev indicator will
be displayed.
Selectable engine speed range: 2000 r/min to 6000 r/min
■Rev peak (F SPORT models)
Select to set the rev peak on/off.
■Speed indicator (F SPORT models)
Select to set the speed indicator on/off.
When set to on, proceed to set the vehicle speed at which the speed indicator
will be displayed.
Selectable speed range:
Type A*1: 30 mph to 100 mph (50 km/h to 160 km/h)*3
Type B*2: 50 km/h to 200 km/h (30 mph to 125 mph)*3
*1:For U.K.
*2:Except for U.K.
*3: Always observe the legal speed limit when driving on public roads.
■Initialization
Select to reset the meter display settings. ( P. 608)
■Suspension of the settings display
In the following situations, operation of th e settings display will be temporarily sus- pended.
●When a warning message appears on the multi-information display
●When the vehicle begins to move
■Tire pressure
●It may take a few minutes to display the tire inflation pressure after the engine switch is
turned to IGNITION ON mode. It may also take a few minutes to display the tire infla- tion pressure after inflation pressure has been adjusted.
●“---” may be displayed if the tire position information cannot be determined due to
unfavorable radio wave conditions.
●Tire inflation pressure changes with temperature. The displayed values may also be dif- ferent from the values measured using a tire pressure gauge.
Page 276 of 640
2764-5. Using the driving support systems
RC300h_EE(OM24740E)
■Temporary cancelation of the LDA system functions
If any of the following occurs, the LDA system functions will be temporarily canceled. The functions will resume after the necessary operating conditions have returned.
●The turn signal lever is operated.
●The vehicle speed deviates from the operating range of the LDA system functions.
●When the lane lines cannot be recognized while driving.
●When the lane departure warning sounds.
The lane departure warning function will not operate again for a several seconds after it has been activated, even if the vehicle leaves the lane again.
■The lane departure warning
Depending on the audio system sound level or air conditioning fan noise while the audio system or air conditioning system is in use, it may be difficult to hear the warning sound.
■After the vehicle has been parked in the sun
The LDA system may not be available and a warning message ( P. 548) will be dis- played for a while after driving has started. When the temperature in the cabin decreasesand the temperature around the camera sensor ( P. 273) becomes suitable for its
operation, the functions will begin to operate.
■If there are lane markers on only one side of the vehicle
The lane departure warning will not operate fo r the side on which lane markers could not
be recognized.
■Conditions in which the function may not operate correctly
In the following situations, the camera sensor may be unable to recognize lane markers
causing the lane departure warning function to operate incorrectly. However, this does not indicate a malfunction.
●When driving through an area with no lane markers, such as a tollbooth, a crossing or
before a ticket checkpoint
●When driving on a sharp curve
●When lane markers are extremely narrow or extremely wide
●When the vehicle leans to one side an unusual amount due to a heavy load or improper tire inflation pressure
●When the following distance between your vehicle and the vehicle ahead is extremely
short
●When the lane markers are yellow (These ma y be more difficult for the system to rec- ognize compared to white markers.)
●When the lane markers are broken, Botts’ dots (raised pavement markers) or stones
●When the lane markers are on a curb etc.
●When lane markers are obscured or partially obscured by sand, dirt, etc.
●When there are shadows on the road running parallel with lane markers, or if a shadow covers the lane markers
●When driving on a partic ularly bright road surface, such as concrete
●When driving on a road surface that is bright due to reflected light
●When driving in a location where the light level changes rapidly, such as the entrance to
or exit from a tunnel
Page 335 of 640
3354-6. Driving tips
4
Driving
RC300h_EE(OM24740E)
◆When braking
Make sure to operate the brakes gently and in a timely manner. A greater
amount of electrical energy can be regenerated when slowing down.
◆Delays
Repeated acceleration and deceleration, as well as long waits at traffic lights,
will lead to bad fuel economy. Check traffic reports before leaving and avoid
delays as much as possible. When driving in a traffic jam, gently release the
brake pedal to allow the vehicle to move forward slightly while avoiding over-
use of the accelerator pedal. Doing so can help control excessive gasoline
consumption.
◆Highway driving
Control and maintain the vehicle at a constant speed. Before stopping at a toll
booth or similar, allow plenty of time to release the accelerator and gently
apply the brakes. A greater amount of electrical energy can be regenerated
when slowing down.
◆Air conditioning
Use the air conditioning only when necessary. Doing so can help reduce
excessive gasoline consumption.
In summer: When the ambient temperature is high, use the recirculated air
mode. Doing so will help to reduce the burden on the air conditioning system
and reduce fuel consumption as well.
In winter: Because the gasoline engine will not automatically cut out until it
and the interior of the vehicle are warm, it will consume fuel. Also, fuel con-
sumption can be improved by av oiding overuse of the heater.
◆Checking tire inflation pressure
Make sure to check the tire inflation pressure frequently. Improper tire infla-
tion pressure can cause poor fuel economy.
Also, as snow tires can cause large amounts of friction, their use on dry roads
can lead to poor fuel economy. Use ti res that are appropriate for the season.
Page 459 of 640
459
7Maintenance and care
RC300h_EE(OM24740E)
7-1. Maintenance and care
Cleaning and protecting
the vehicle exterior ................460
Cleaning and protecting
the vehicle interior.................. 464
7-2. Maintenance
Maintenance
requirements ............................ 467
7-3. Do-it-yourself
maintenance
Do-it-yourself service
precautions................................ 469
Hood ................................................. 471
Positioning a floor jack ............ 472
Engine compartment ............... 473
12-volt battery .............................. 481
Tires .................................................484
Replacing the tire....................... 499
Tire inflation pressure ..............505
Wheels ........................................... 507
Air conditioning filter ...............509
Electronic key battery................. 511
Checking and replacing
fuses............................................... 514
Light bulbs...................................... 518
Page 469 of 640
469
7
Maintenance and care
RC300h_EE(OM24740E)
7-3. Do-it-yourself maintenance
Do-it-yourself service precautions
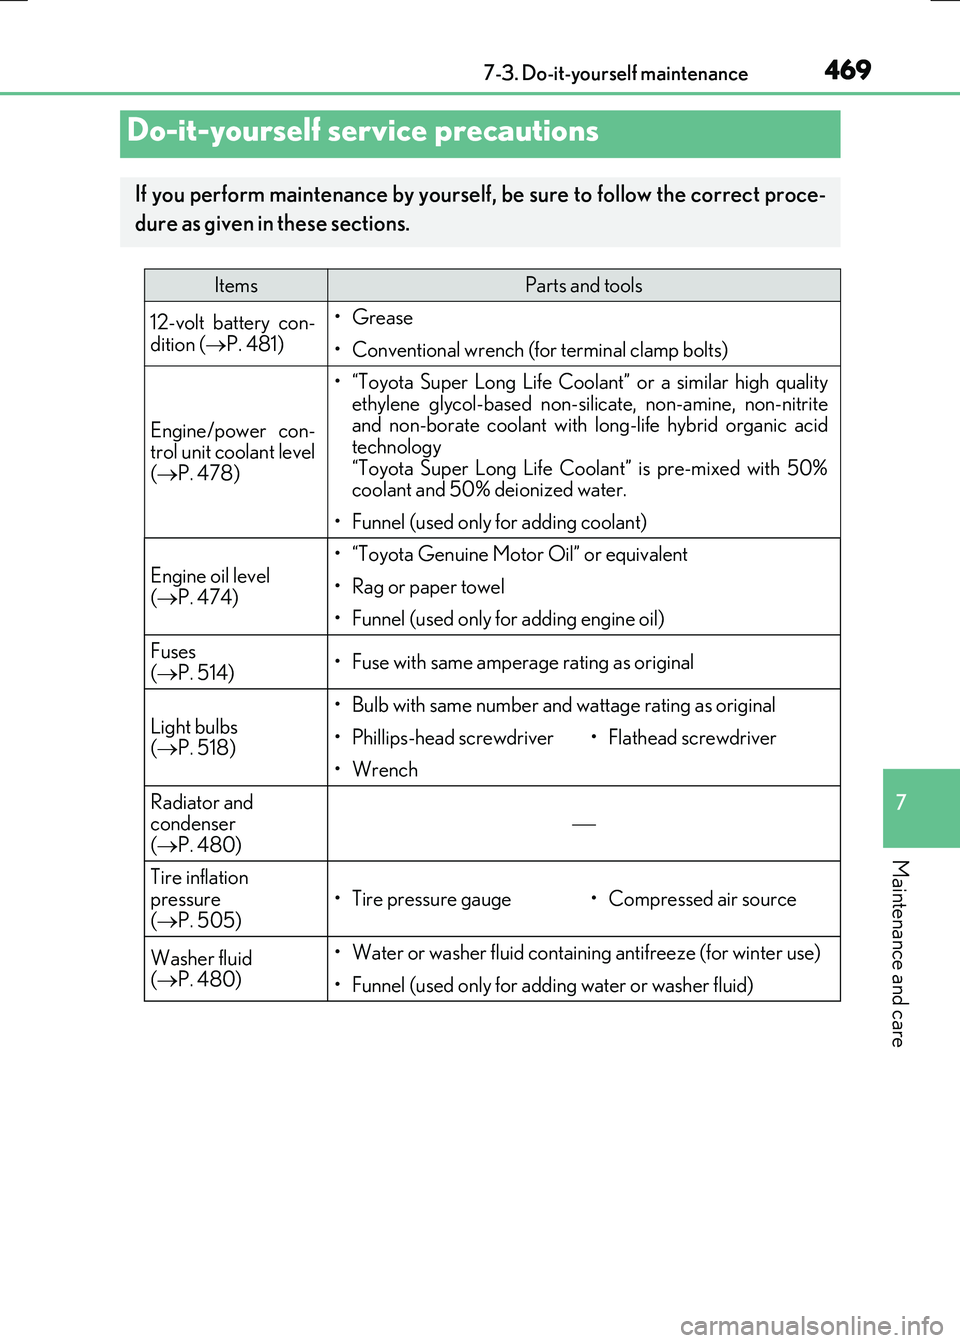
If you perform maintenance by yourself, be sure to follow the correct proce-
dure as given in these sections.
ItemsParts and tools
12-volt battery con-
dition ( P. 481)
•Grease
• Conventional wrench (for terminal clamp bolts)
Engine/power con- trol unit coolant level
( P. 478)
• “Toyota Super Long Life Coolant” or a similar high quality ethylene glycol-based non-silicate, non-amine, non-nitriteand non-borate coolant with long-life hybrid organic acid
technology “Toyota Super Long Life Coolant” is pre-mixed with 50%coolant and 50% deionized water.
• Funnel (used only for adding coolant)
Engine oil level ( P. 474)
• “Toyota Genuine Motor Oil” or equivalent
•Rag or paper towel
• Funnel (used only for adding engine oil)
Fuses
( P. 514)• Fuse with same amperage rating as original
Light bulbs ( P. 518)
• Bulb with same number and wattage rating as original
• Phillips-head screwdriver• Flathead screwdriver
•Wrench
Radiator and condenser ( P. 480)
Tire inflation
pressure ( P. 505)• Tire pressure gauge• Compressed air source
Washer fluid ( P. 480)
• Water or washer fluid containing antifreeze (for winter use)
• Funnel (used only for adding water or washer fluid)
Page 486 of 640
4867-3. Do-it-yourself maintenance
RC300h_EE(OM24740E)
Your vehicle is equipped with a tire pressure warning system that uses tire pres-
sure warning valves and transmitters to detect low tire inflation pressure before
serious problems arise.
●If the tire pressure drops below a predetermined level, the driver is warned by
a screen display and a warning light. ( P. 539, 552)
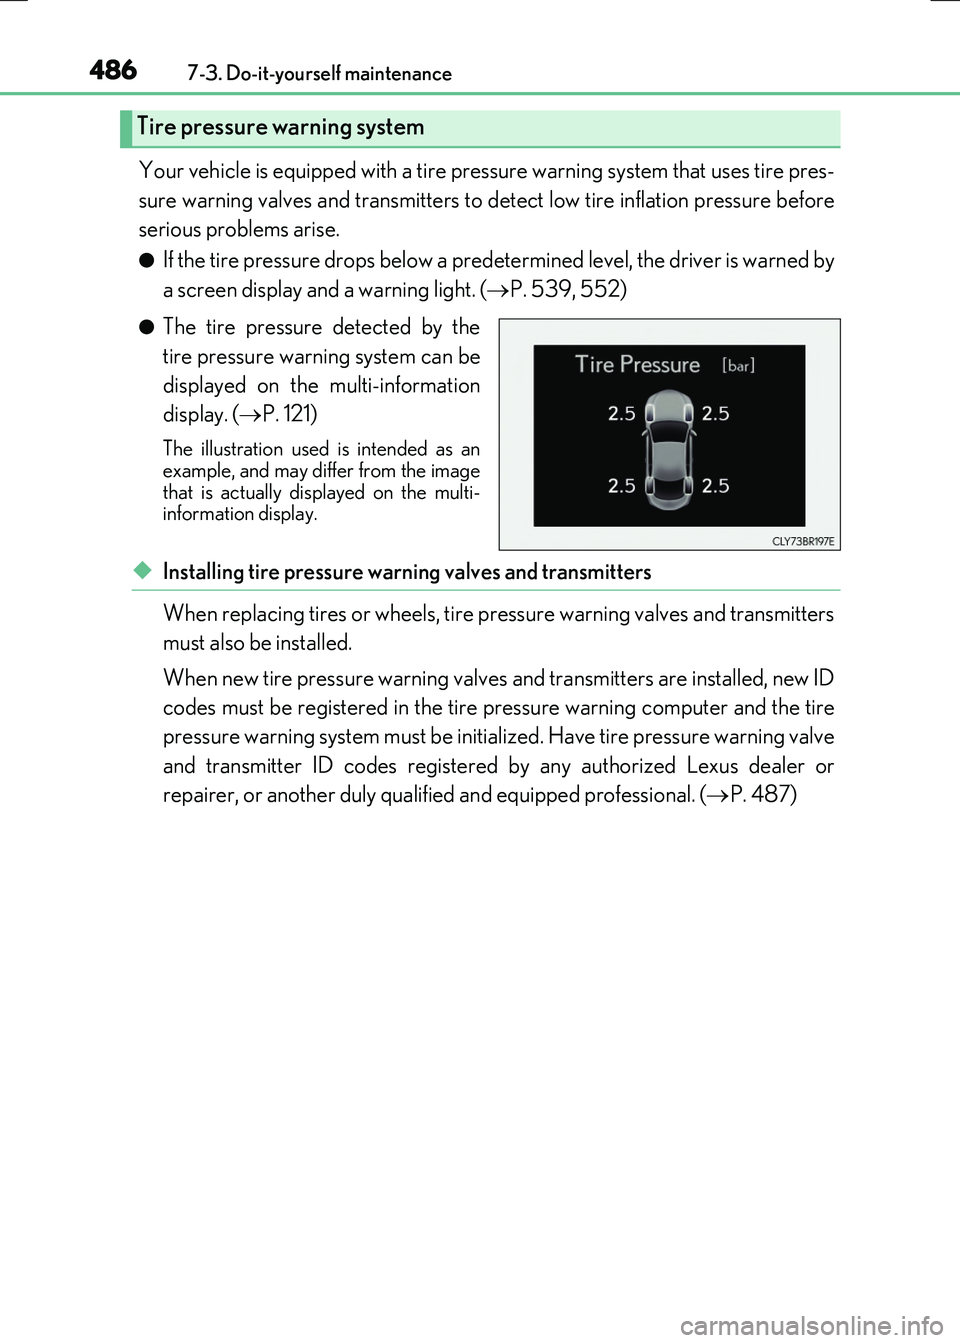
●The tire pressure detected by the
tire pressure warning system can be
displayed on the multi-information
display. ( P. 121)
The illustration used is intended as an example, and may differ from the image
that is actually displayed on the multi- information display.
◆Installing tire pressure warning valves and transmitters
When replacing tires or wheels, tire pressure warning valves and transmitters
must also be installed.
When new tire pressure warning valves and transmitters are installed, new ID
codes must be registered in the tire pressure warning computer and the tire
pressure warning system must be initialized. Have tire pressure warning valve
and transmitter ID codes registered by any authorized Lexus dealer or
repairer, or another duly qualified and equipped professional. ( P. 487)
Tire pressure warning system
Page 487 of 640
4877-3. Do-it-yourself maintenance
7
Maintenance and care
RC300h_EE(OM24740E)
◆Initializing the tire pressure warning system
■The tire pressure warning system must be initialized in the following circum-
stances:
●When rotating the tires.
●When the tire inflation pressure is changed such as when changing
traveling speed.
●When changing the tire size.
When the tire pressure warning system is initialized, the current tire inflation
pressure is set as the benchmark pressure.
■How to initialize the tire pressure warning system
Park the vehicle in a safe place and turn the power switch off.
Initialization cannot be perfor med while the vehicle is moving.
Adjust the tire inflation pressure to the specified cold tire inflation pressure
level. ( P. 604)
Make sure to adjust the tire pressure to the specified cold tire inflation pressure
level. The tire pressure warning system will operate based on this pressure level.
Turn the power switch to ON mode.
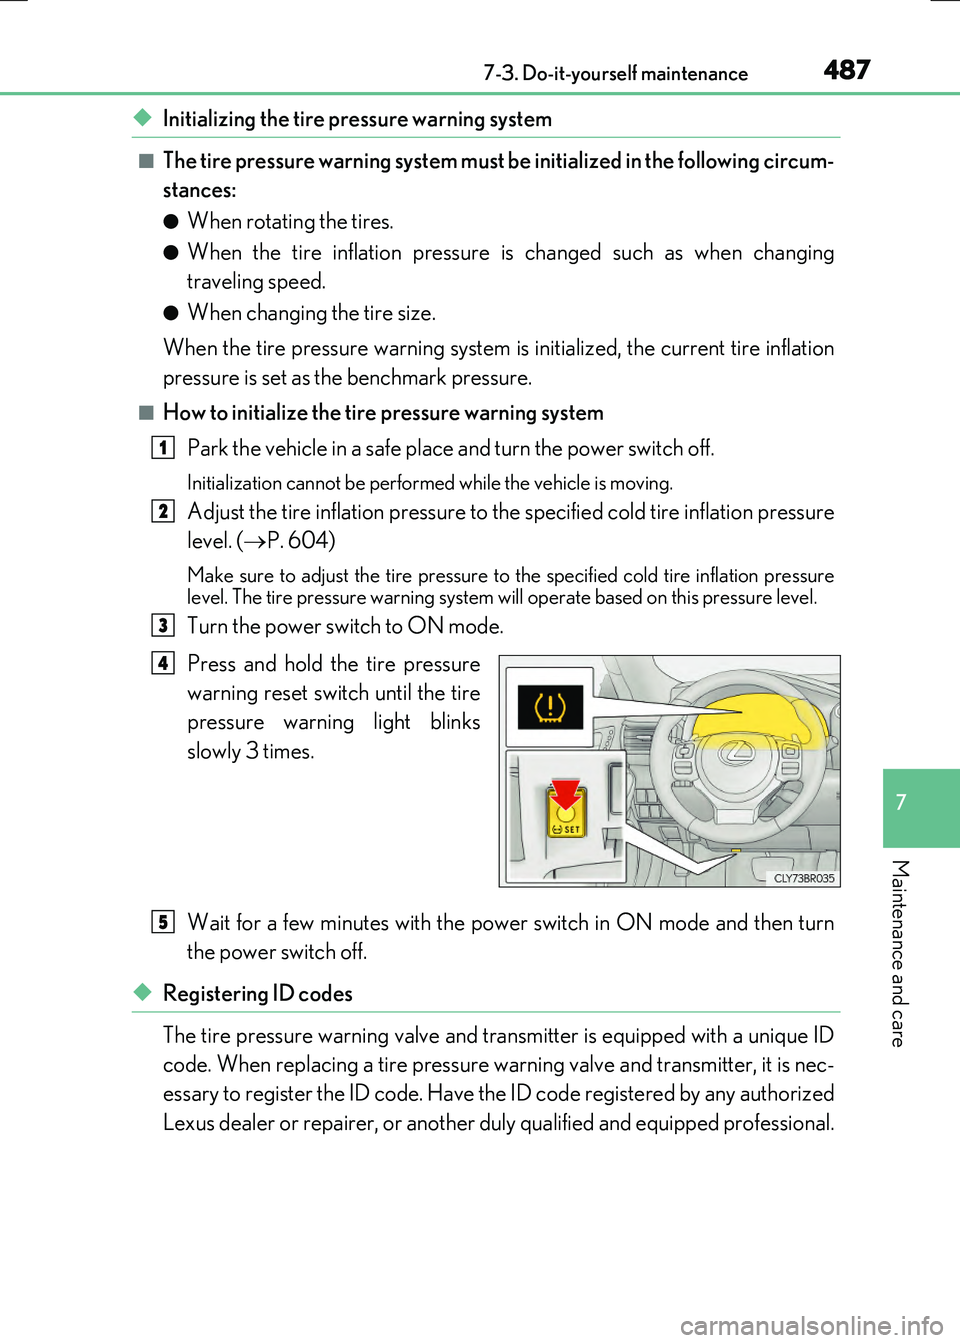
Press and hold the tire pressure
warning reset switch until the tire
pressure warning light blinks
slowly 3 times.
Wait for a few minutes with the power switch in ON mode and then turn
the power switch off.
◆Registering ID codes
The tire pressure warning valve and transmitter is equipped with a unique ID
code. When replacing a tire pressure wa rning valve and transmitter, it is nec-
essary to register the ID code. Have the ID code registered by any authorized
Lexus dealer or repairer, or another duly qualified and equipped professional.
1
2
3
4
5
Page 488 of 640
4887-3. Do-it-yourself maintenance
RC300h_EE(OM24740E)
■When to replace your vehicle’s tires
Tires should be replaced if:
●The treadwear indicators are showing on a tire.
●You have tire damage such as cuts, splits, cracks deep enough to expose the fabric, and
bulges indicating internal damage
●A tire goes flat repeatedly or cannot be prop erly repaired due to the size or location of a cut or other damage
If you are not sure, consult any authorized Lexus dealer or repairer, or another duly qual- ified and equipped professional.
■Replacing tires and wheels
If the ID code of the tire pressure warning valve and transmitter is not registered, the tire pressure warning system will not work proper ly. After driving for about 10 minutes, the tire pressure warning light blinks for 1 minu te and stays on to indicate a system malfunc-
tion.
■Tire life
Any tire over 6 years old must be checked by a qualified technician even if it has seldom
or never been used or damage is not obvious.
■Routine tire inflation pressure checks
The tire pressure warning system does not re place routine tire inflation pressure checks.
Make sure to check tire inflation pressure as part of your routine of daily vehicle checks.
■When rotating the tires
Make sure that the power switch is off. If the tires are rotated while the power switch is in
ON mode, the tire position information will not be updated. If this accidentally occurs, either turn the power switch to off and then to ON mode, orinitialize the system after checking that the tire pressure is properly adjusted.
■Low profile tires
Generally, low profile tires will wear more ra pidly and tire grip performance will be reduced on snowy and/or icy roads when comp ared to standard tires. Be sure to use
snow tires or tire chains on snowy and/or icy roads and drive carefully at a speed appro- priate for road and weather conditions.
■If the tread on snow tires wears down below 4 mm (0.16 in.)
The effectiveness of the tires as snow tires is lost.