check engine LINCOLN CONTINENTAL 1999 Owner's Manual
[x] Cancel search | Manufacturer: LINCOLN, Model Year: 1999, Model line: CONTINENTAL, Model: LINCOLN CONTINENTAL 1999Pages: 208, PDF Size: 1.16 MB
Page 162 of 208
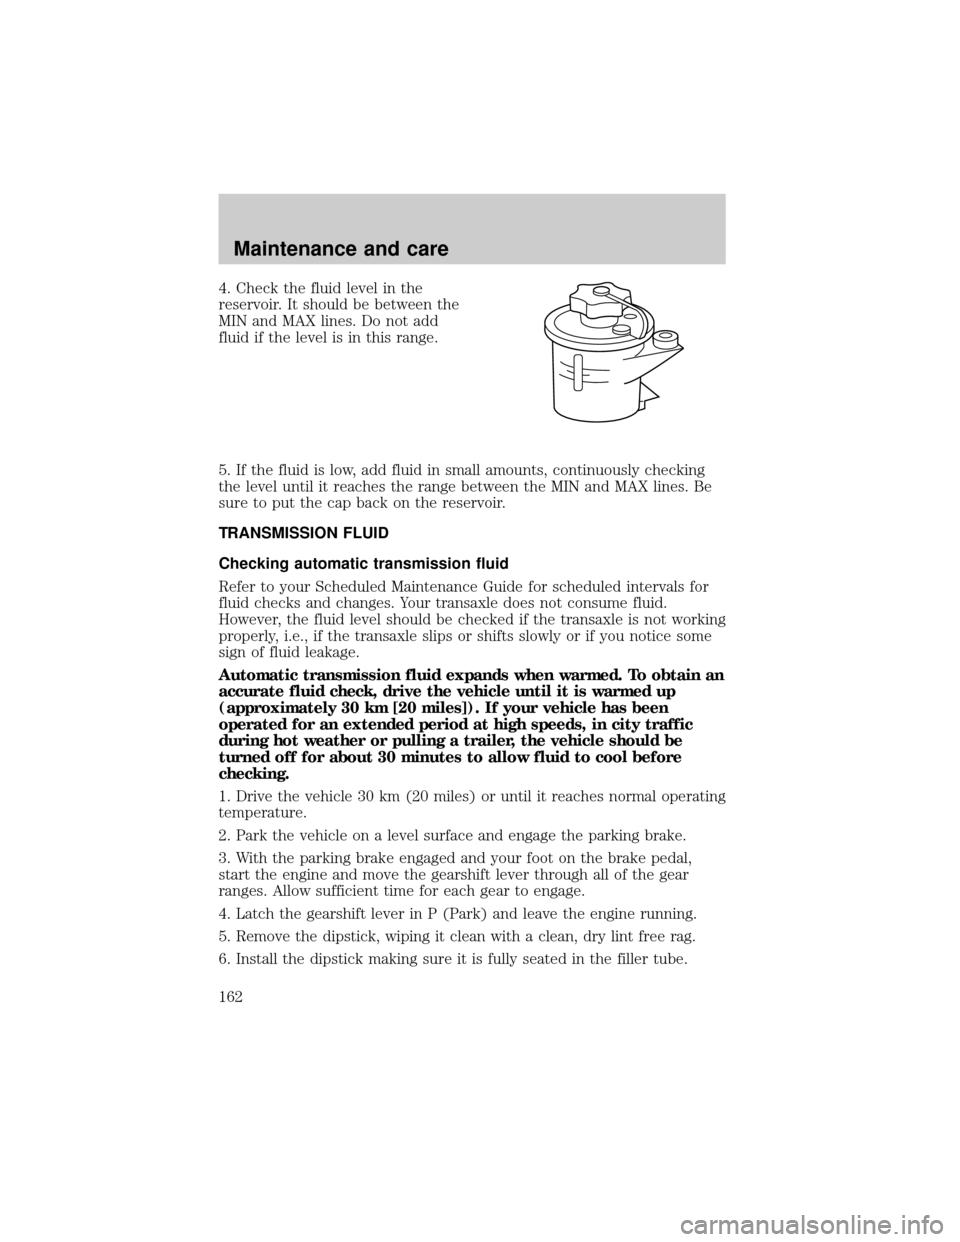
4. Check the fluid level in the
reservoir. It should be between the
MIN and MAX lines. Do not add
fluid if the level is in this range.
5. If the fluid is low, add fluid in small amounts, continuously checking
the level until it reaches the range between the MIN and MAX lines. Be
sure to put the cap back on the reservoir.
TRANSMISSION FLUID
Checking automatic transmission fluid
Refer to your Scheduled Maintenance Guide for scheduled intervals for
fluid checks and changes. Your transaxle does not consume fluid.
However, the fluid level should be checked if the transaxle is not working
properly, i.e., if the transaxle slips or shifts slowly or if you notice some
sign of fluid leakage.
Automatic transmission fluid expands when warmed. To obtain an
accurate fluid check, drive the vehicle until it is warmed up
(approximately 30 km [20 miles]). If your vehicle has been
operated for an extended period at high speeds, in city traffic
during hot weather or pulling a trailer, the vehicle should be
turned off for about 30 minutes to allow fluid to cool before
checking.
1. Drive the vehicle 30 km (20 miles) or until it reaches normal operating
temperature.
2. Park the vehicle on a level surface and engage the parking brake.
3. With the parking brake engaged and your foot on the brake pedal,
start the engine and move the gearshift lever through all of the gear
ranges. Allow sufficient time for each gear to engage.
4. Latch the gearshift lever in P (Park) and leave the engine running.
5. Remove the dipstick, wiping it clean with a clean, dry lint free rag.
6. Install the dipstick making sure it is fully seated in the filler tube.
Maintenance and care
162
Page 176 of 208
Fuel Filler Cap
Your fuel tank filler cap has an indexed design with a one-eighth turn
on/off feature.
When fueling your vehicle:
1. Turn the engine off.
2. Carefully turn the filler cap counterclockwise 1/8 of a turn until it
stops.
3. Pull to remove the cap from the fuel filler pipe.
4. To install the cap, align the tabs on the cap with the notches on the
filler pipe.
5. Turn the filler cap clockwise 1/8 of a turn until it stops.
If the ªService Engine Soon/Check Engine ª indicator comes on and stays
on when you start the engine, the fuel filler cap may not be properly
installed. Turn off the engine, remove the fuel filler cap and reinstall it
being careful to align the cap properly.
If you must replace the fuel filler cap, replace it with a genuine
Ford or Motorcraft part. The customer warranty may be void for
any damage to the fuel tank or fuel system if a genuine Ford or
Motorcraft fuel filler cap is not used.
The fuel system may be under pressure. If the fuel filler cap is
venting vapor or if you hear a hissing sound, wait until it stops
before completely removing the fuel filler cap. Otherwise, fuel may
spray out and injure you or others.
If you do not use the proper fuel filler cap, the pressure in the
fuel tank can damage the fuel system or cause it to work
improperly in a collision.
Choosing the right fuel
Use only UNLEADED FUEL. The use of leaded fuel is prohibited by law
and could damage your vehicle.
Do not use gasolines containing methanol. It can damage critical fuel
systems components.
Maintenance and care
176
Page 181 of 208
²Operating a vehicle with the wheels out of alignment will reduce fuel
economy.
²Use recommended engine oil. Refer toLubricant Specifications.
²Perform all regularly scheduled maintenance items. Follow the
recommended maintenance schedule and owner maintenance checks
found in your vehicle Scheduled Maintenance Guide.
Conditions
²Heavily loading a vehicle or towing a trailer may reduce fuel economy
at any speed.
²Carrying unnecessary weight may reduce fuel economy (approximately
2 km/h [1 mpg] is lost for every 180 kg [400 lb] of weight carried).
²Adding certain accessories to your vehicle (for example bug
deflectors, rollover/light bars, running boards, ski/luggage racks) may
reduce fuel economy.
²Use of fuel blended with alcohol may lower fuel economy.
²Fuel economy may decrease with lower temperatures during the first
12±16 km (8±10 miles) of driving.
²Flat terrain driving improves fuel economy over hilly roads.
²Transmissions give their best fuel economy when operated in the top
cruise gear and with steady pressure on the gas pedal.
²Close windows for high speed driving.
EPA window sticker
Every new vehicle should have the EPA window sticker. Contact your
dealer if the window sticker is not supplied with your vehicle. The EPA
window sticker should be your guide for the fuel economy comparisons
with other vehicles.
It is important to note the box in the lower left corner of the window
sticker. These numbers represent the Range of Km/L (MPG) expected on
the vehicle, depending upon the driver's method of operation and
conditions.
Maintenance and care
181
Page 183 of 208
Do not make any unauthorized changes to your vehicle or engine. By
law, vehicle owners and anyone who manufactures, repairs, items, sells,
leases, trades vehicles, or supervises a fleet of vehicles are not permitted
to intentionally remove an emission control device or prevent it from
working. Information about your vehicle's emission system is on the
Vehicle Emission Control Information Decal located on or near the
engine. This decal identifies engine displacement and gives some tune up
specifications.
Please consult your ªWarranty Guideº for complete emission warranty
information.
Readiness for inspection/maintenance (I/M) testing
In some localities, it may be a legal requirement to pass an I/M test of
the on-board diagnostic (OBD-II) system. If your ªCheck Engine/Service
Engine Soonº light is on, refer to the description in theWarning Lights
and Chimessection of theInstrumentationchapter. Your vehicle may
not pass the I/M test with the ªCheck Engine/Service Engine Soonº light
on.
If the vehicle's powertrain system or its battery has just been serviced,
the OBD-II system is reset to a ªnot ready for I/M testº condition. To
ready the OBD-II system for I/M testing, a minimum of 30 minutes of city
and highway driving is necessary as described below:
²First, at least 10 minutes of driving on an expressway or highway.
²Next, at least 20 minutes driving in stop-and-go, city-type traffic with
at least four idle periods.
Allow the vehicle to sit for at least eight hours without starting the
engine. Then, start the engine and complete the above driving cycle. The
engine must warm up to its normal operating temperature. Once started,
do not turn off the engine until the above driving cycle is complete.
REPLACING EXTERIOR BULBS
Check the operation of the following lamps frequently:
²Headlamps
²Tail lamps
²Brakelamps
²High-mount brakelamp
²Turn signals
Maintenance and care
183
Page 202 of 208

Accessory delay ..........................75
Air bag supplemental restraint
system ........................................101
and child safety seats ............102
description .......................101,105
disposal ....................................107
indicator light ..................105,107
passenger air bag ............103,106
Air conditioning
automatic temperature
control system ...........26,27,28,30
Air filter, cabin ..........................166
Air suspension
warning light ...........................124
Anti-theft system .................79,122
arming the system ....................79
disarming a triggered system ..80
Automatic transaxle .................125
driving with ...............127,128,129
Automatic transmission
fluid, refill capacities ................12
Brakes ........................................120
anti-lock ............................120,121
anti-lock brake system (ABS)
warning light ...........................121
fluid, checking and adding ....157
shift interlock ..........................125
Break-in period .............................3
CD player .....................44,45,46,47
Child safety seats
attaching with tether straps ..114
in rear seat ..............................111
tether anchorage hardware ...114
Cleaning your vehicle ...............190
engine compartment ..............191
exterior .............................191,193
exterior lamps .........................192
plastic parts ............................192
washing ....................................190
waxing .....................................191
wheels ......................................191
windows ..................................194wiper blades ............................192
woodtone trim ........................194
Clock ............................................32
Compass, electronic ....................71
calibration .................................72
set zone adjustment .................71
Console ...................................78,79
overhead ....................................55
Controls
power seat ............................92,94
Coolant ...............................160,161
checking and adding ..............159
refill capacities ........................161
Defrost
rear window ..............................31
Emission control system ..........182
Engine
coolant .....................................158
idle speed control ...................164
service points ..........................153
starting after a collision .........135
Engine block heater .................118
Engine oil
checking and adding ..............155
dipstick ....................................154
specifications ...................154,156
Exhaust fumes ..........................118
Floor mats ...................................79
Fuel
choosing the right fuel ...........176
comparisons with EPA fuel
economy estimates .................181
detergent in fuel .....................178
filling your vehicle
with fuel ...........................174,176
fuel filler door override ............78
fuel filler door release lever ....78
gauge .........................................10
quality ......................................177
running out of fuel .................178
safety information relating to
automotive fuels .....................174
Index
202
Page 203 of 208
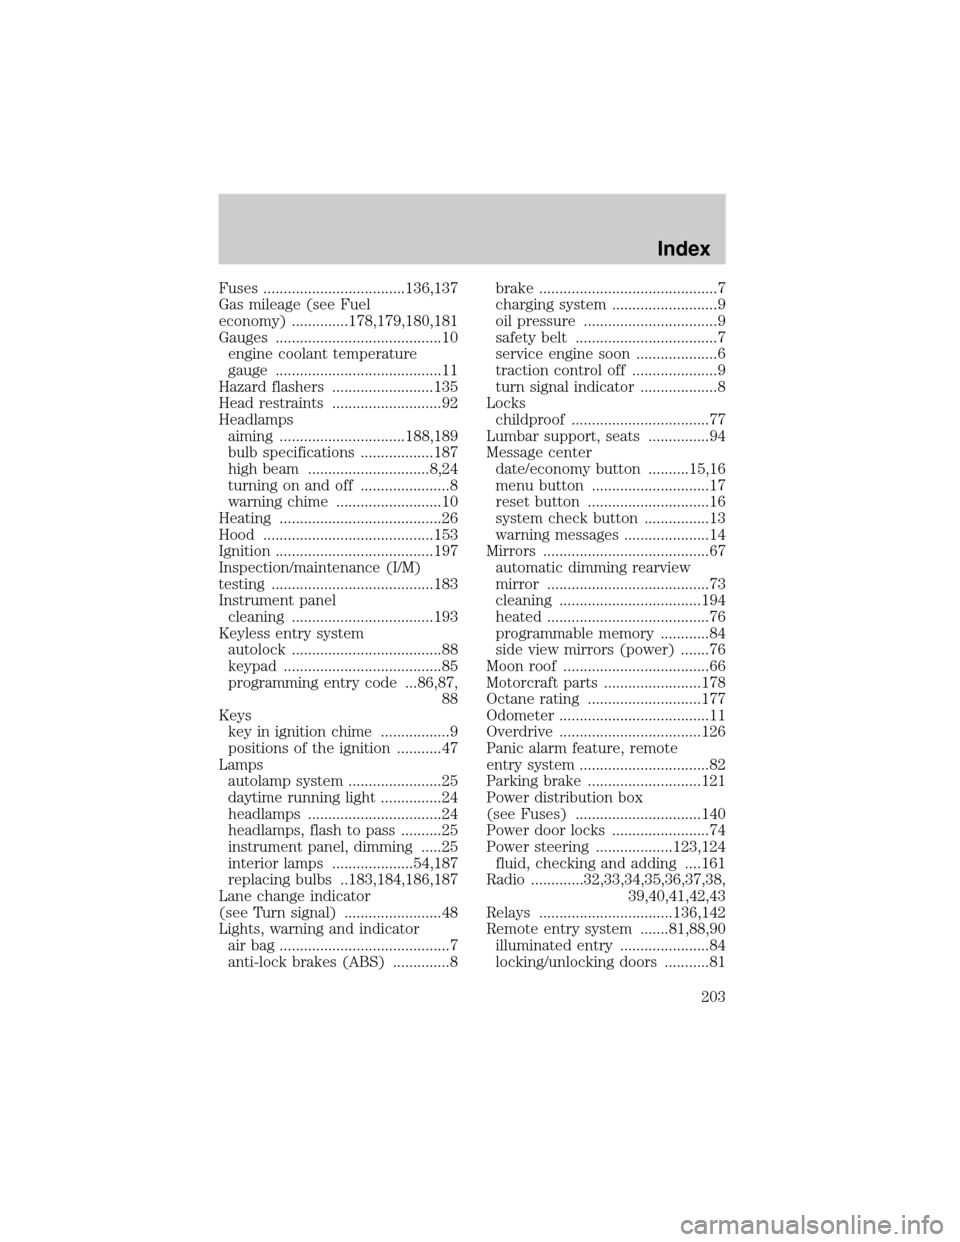
Fuses ...................................136,137
Gas mileage (see Fuel
economy) ..............178,179,180,181
Gauges .........................................10
engine coolant temperature
gauge .........................................11
Hazard flashers .........................135
Head restraints ...........................92
Headlamps
aiming ...............................188,189
bulb specifications ..................187
high beam ..............................8,24
turning on and off ......................8
warning chime ..........................10
Heating ........................................26
Hood ..........................................153
Ignition .......................................197
Inspection/maintenance (I/M)
testing ........................................183
Instrument panel
cleaning ...................................193
Keyless entry system
autolock .....................................88
keypad .......................................85
programming entry code ...86,87,
88
Keys
key in ignition chime .................9
positions of the ignition ...........47
Lamps
autolamp system .......................25
daytime running light ...............24
headlamps .................................24
headlamps, flash to pass ..........25
instrument panel, dimming .....25
interior lamps ....................54,187
replacing bulbs ..183,184,186,187
Lane change indicator
(see Turn signal) ........................48
Lights, warning and indicator
air bag ..........................................7
anti-lock brakes (ABS) ..............8brake ............................................7
charging system ..........................9
oil pressure .................................9
safety belt ...................................7
service engine soon ....................6
traction control off .....................9
turn signal indicator ...................8
Locks
childproof ..................................77
Lumbar support, seats ...............94
Message center
date/economy button ..........15,16
menu button .............................17
reset button ..............................16
system check button ................13
warning messages .....................14
Mirrors .........................................67
automatic dimming rearview
mirror ........................................73
cleaning ...................................194
heated ........................................76
programmable memory ............84
side view mirrors (power) .......76
Moon roof ....................................66
Motorcraft parts ........................178
Octane rating ............................177
Odometer .....................................11
Overdrive ...................................126
Panic alarm feature, remote
entry system ................................82
Parking brake ............................121
Power distribution box
(see Fuses) ...............................140
Power door locks ........................74
Power steering ...................123,124
fluid, checking and adding ....161
Radio .............32,33,34,35,36,37,38,
39,40,41,42,43
Relays .................................136,142
Remote entry system .......81,88,90
illuminated entry ......................84
locking/unlocking doors ...........81
Index
203
Page 208 of 208
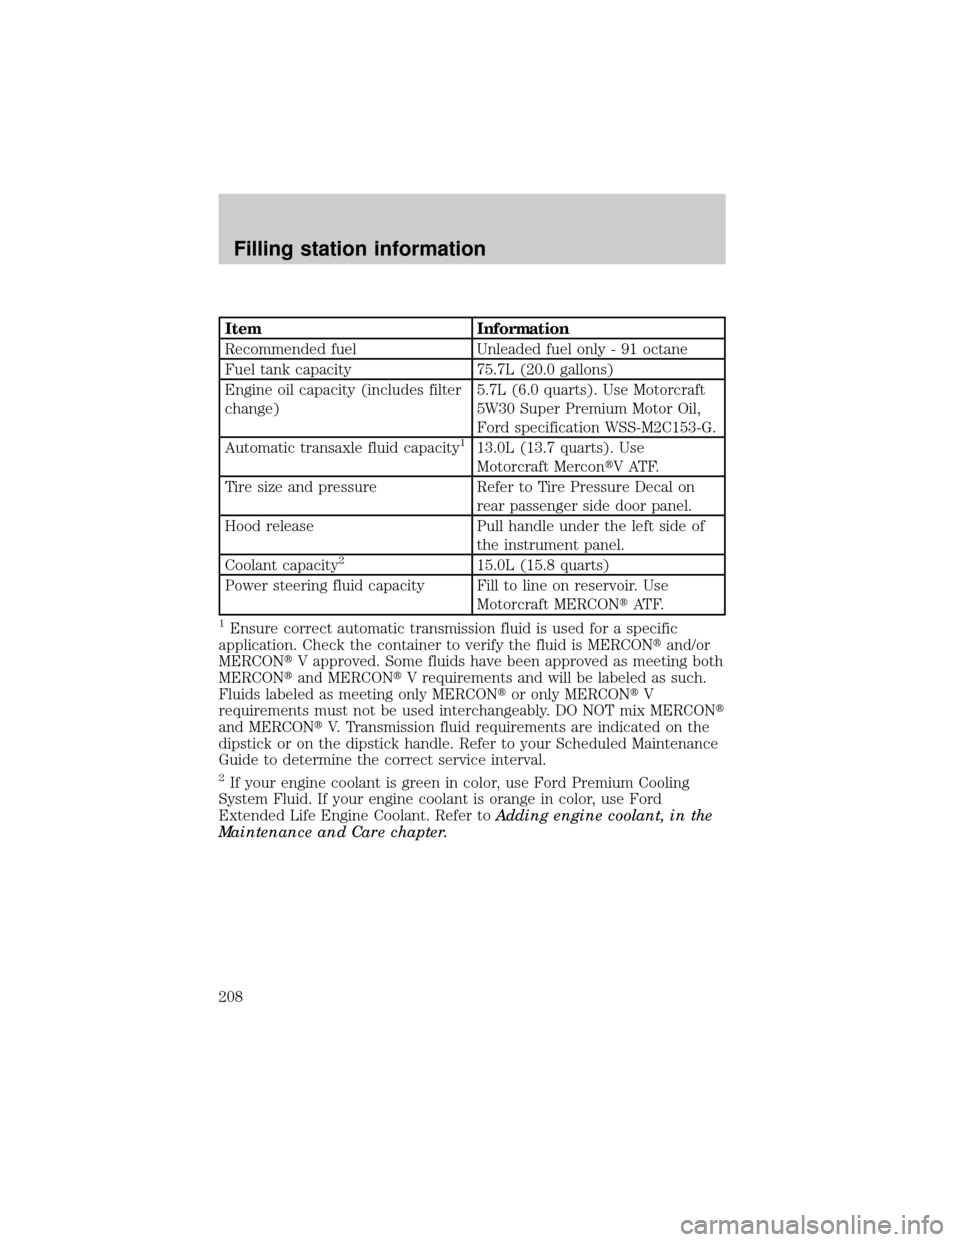
Item Information
Recommended fuel Unleaded fuel only - 91 octane
Fuel tank capacity 75.7L (20.0 gallons)
Engine oil capacity (includes filter
change)5.7L (6.0 quarts). Use Motorcraft
5W30 Super Premium Motor Oil,
Ford specification WSS-M2C153-G.
Automatic transaxle fluid capacity
113.0L (13.7 quarts). Use
Motorcraft MercontV ATF.
Tire size and pressure Refer to Tire Pressure Decal on
rear passenger side door panel.
Hood release Pull handle under the left side of
the instrument panel.
Coolant capacity
215.0L (15.8 quarts)
Power steering fluid capacity Fill to line on reservoir. Use
Motorcraft MERCONtAT F.
1Ensure correct automatic transmission fluid is used for a specific
application. Check the container to verify the fluid is MERCONtand/or
MERCONtV approved. Some fluids have been approved as meeting both
MERCONtand MERCONtV requirements and will be labeled as such.
Fluids labeled as meeting only MERCONtor only MERCONtV
requirements must not be used interchangeably. DO NOT mix MERCONt
and MERCONtV. Transmission fluid requirements are indicated on the
dipstick or on the dipstick handle. Refer to your Scheduled Maintenance
Guide to determine the correct service interval.
2If your engine coolant is green in color, use Ford Premium Cooling
System Fluid. If your engine coolant is orange in color, use Ford
Extended Life Engine Coolant. Refer toAdding engine coolant, in the
Maintenance and Care chapter.
Filling station information
208