ECO mode LINCOLN LS 2002 Owners Manual
[x] Cancel search | Manufacturer: LINCOLN, Model Year: 2002, Model line: LS, Model: LINCOLN LS 2002Pages: 288, PDF Size: 2.44 MB
Page 22 of 288
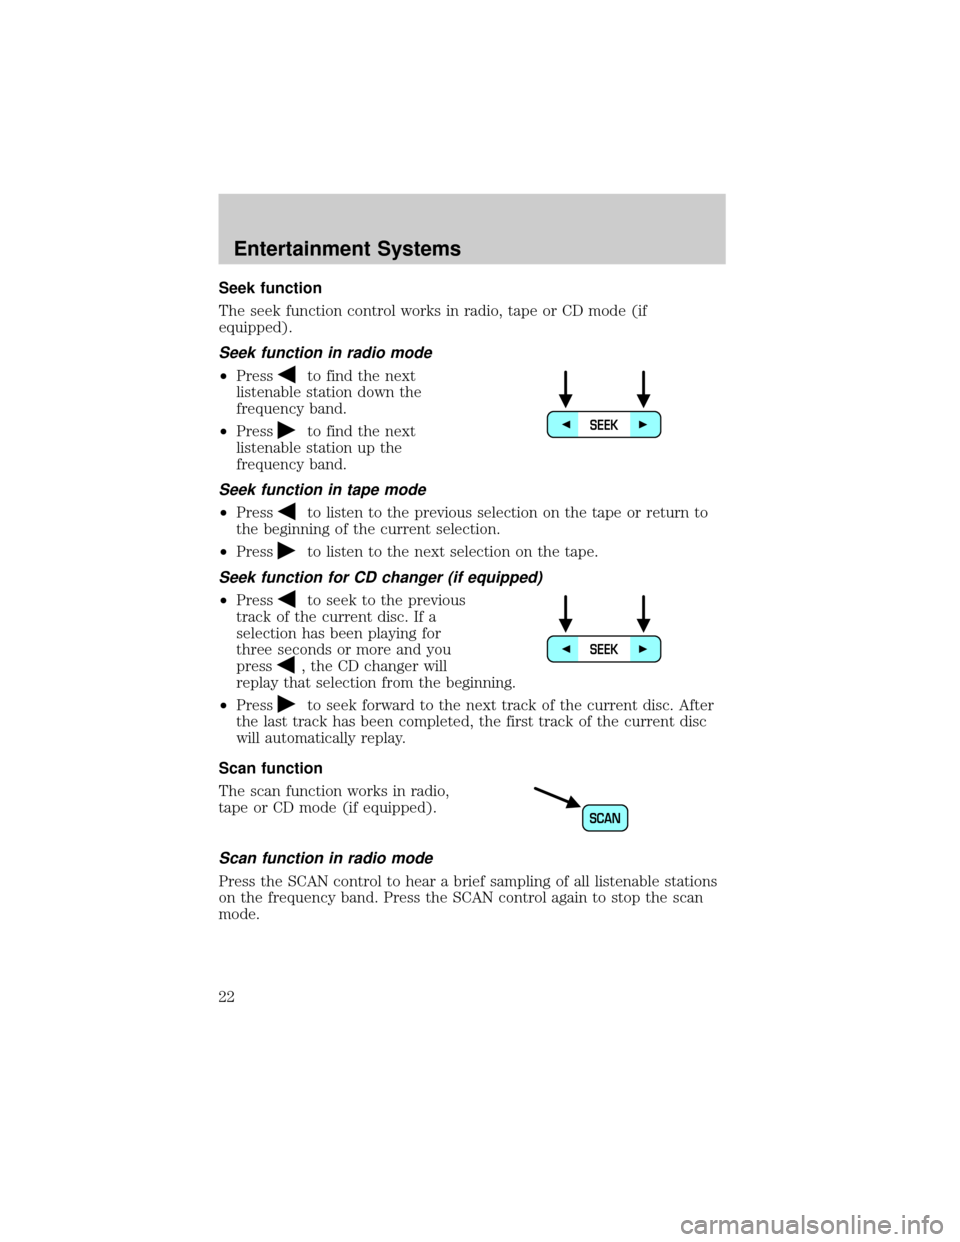
Seek function
The seek function control works in radio, tape or CD mode (if
equipped).
Seek function in radio mode
²Pressto find the next
listenable station down the
frequency band.
²Press
to find the next
listenable station up the
frequency band.
Seek function in tape mode
²Pressto listen to the previous selection on the tape or return to
the beginning of the current selection.
²Press
to listen to the next selection on the tape.
Seek function for CD changer (if equipped)
²Pressto seek to the previous
track of the current disc. If a
selection has been playing for
three seconds or more and you
press
, the CD changer will
replay that selection from the beginning.
²Press
to seek forward to the next track of the current disc. After
the last track has been completed, the first track of the current disc
will automatically replay.
Scan function
The scan function works in radio,
tape or CD mode (if equipped).
Scan function in radio mode
Press the SCAN control to hear a brief sampling of all listenable stations
on the frequency band. Press the SCAN control again to stop the scan
mode.
SEEK
SEEK
SCAN
Entertainment Systems
22
Page 26 of 288
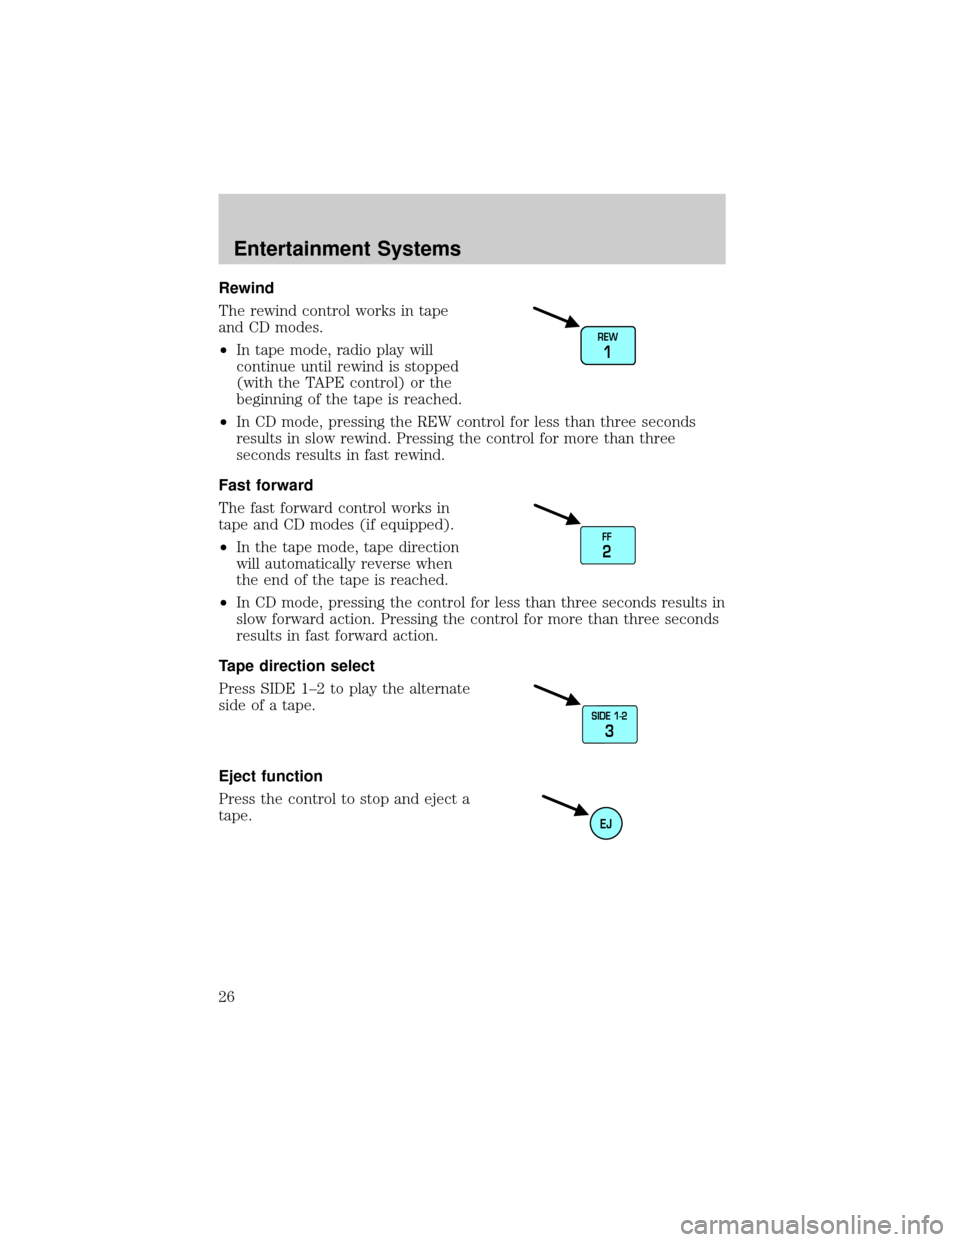
Rewind
The rewind control works in tape
and CD modes.
²In tape mode, radio play will
continue until rewind is stopped
(with the TAPE control) or the
beginning of the tape is reached.
²In CD mode, pressing the REW control for less than three seconds
results in slow rewind. Pressing the control for more than three
seconds results in fast rewind.
Fast forward
The fast forward control works in
tape and CD modes (if equipped).
²In the tape mode, tape direction
will automatically reverse when
the end of the tape is reached.
²In CD mode, pressing the control for less than three seconds results in
slow forward action. Pressing the control for more than three seconds
results in fast forward action.
Tape direction select
Press SIDE 1±2 to play the alternate
side of a tape.
Eject function
Press the control to stop and eject a
tape.
REW
1
FF
2
SIDE 1-2
3
EJ
Entertainment Systems
26
Page 53 of 288
In defrost mode, if the outside temperature is about 2É C (35É F) or
higher, the air conditioner will automatically dehumidify the air to reduce
window fogging. However, the A/C indicator will be off and the A/C
override control cannot be selected.
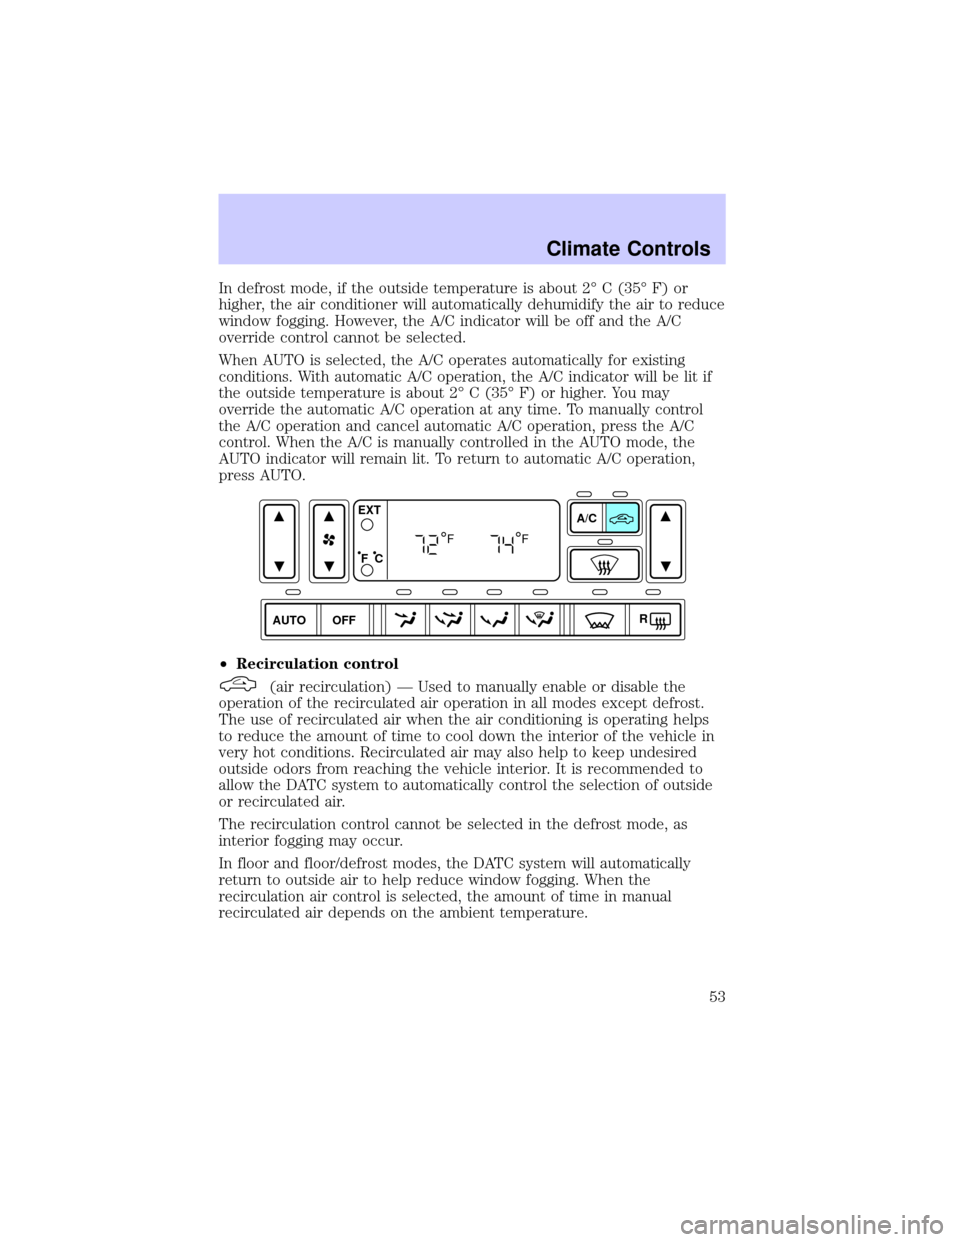
When AUTO is selected, the A/C operates automatically for existing
conditions. With automatic A/C operation, the A/C indicator will be lit if
the outside temperature is about 2É C (35É F) or higher. You may
override the automatic A/C operation at any time. To manually control
the A/C operation and cancel automatic A/C operation, press the A/C
control. When the A/C is manually controlled in the AUTO mode, the
AUTO indicator will remain lit. To return to automatic A/C operation,
press AUTO.
²Recirculation control
(air recirculation) Ð Used to manually enable or disable the
operation of the recirculated air operation in all modes except defrost.
The use of recirculated air when the air conditioning is operating helps
to reduce the amount of time to cool down the interior of the vehicle in
very hot conditions. Recirculated air may also help to keep undesired
outside odors from reaching the vehicle interior. It is recommended to
allow the DATC system to automatically control the selection of outside
or recirculated air.
The recirculation control cannot be selected in the defrost mode, as
interior fogging may occur.
In floor and floor/defrost modes, the DATC system will automatically
return to outside air to help reduce window fogging. When the
recirculation air control is selected, the amount of time in manual
recirculated air depends on the ambient temperature.
AUTO OFFA/C
R EXT
F C
FF
Climate Controls
53
Page 56 of 288
With the ignition in RUN and the engine running, the feature will be
automatically enabled if the temperature is below 5ÉC (40ÉF). The
feature can be manually selected or deselected at any time. However, the
automatic feature will be enabled each time the engine is started.
In cold, dry conditions where wet snow or ice is not present it is
acceptable to manually deselect the operation of this feature.
The feature will run continuously unless a low battery condition is
detected, or unless the feature is manually deselected, and will only
activate when the vehicle engine is running (to prevent excessive drain
of the vehicle battery).
R(rear window defroster) Ð Refer toRear Window Defroster.
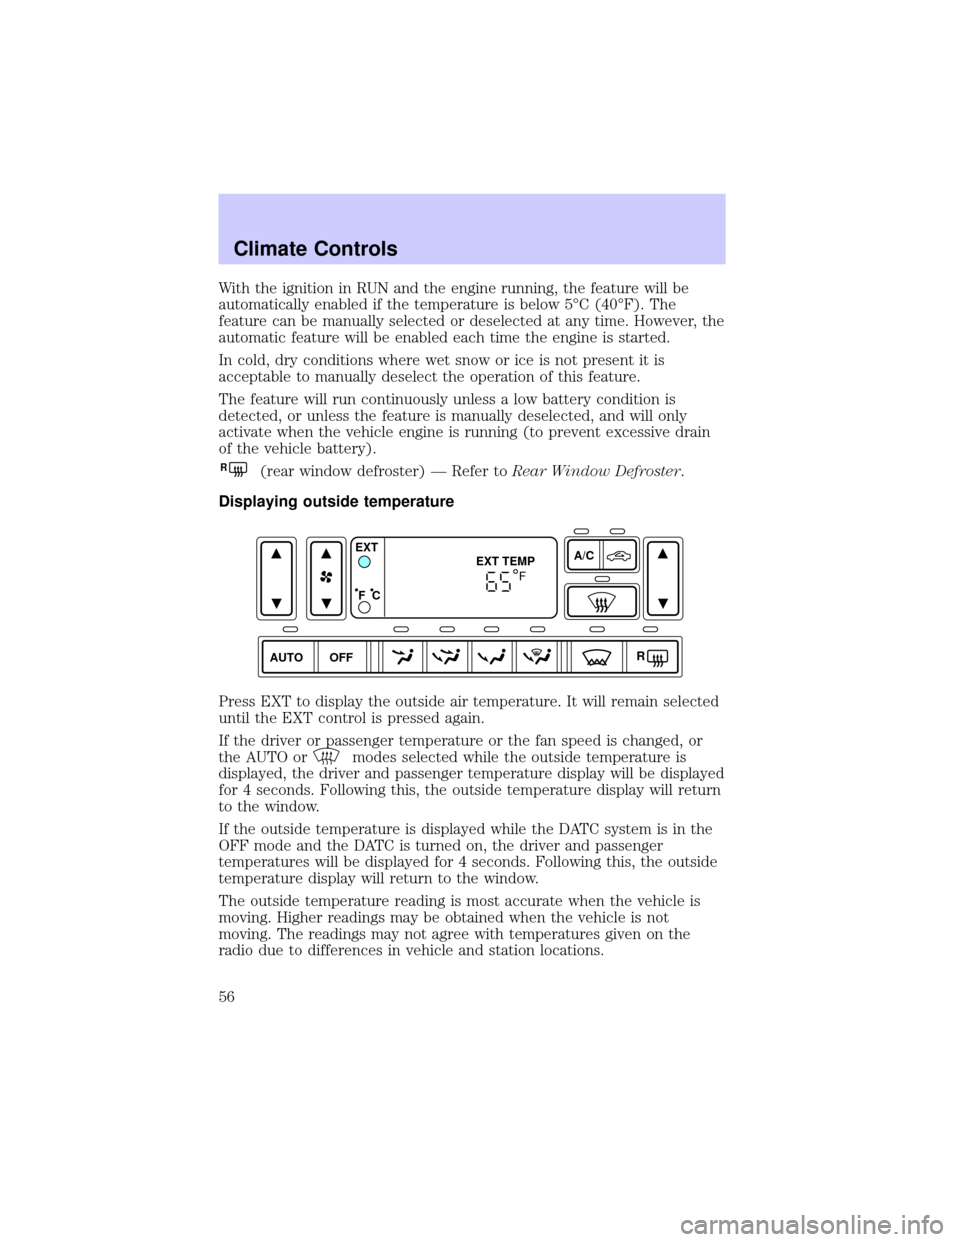
Displaying outside temperature
Press EXT to display the outside air temperature. It will remain selected
until the EXT control is pressed again.
If the driver or passenger temperature or the fan speed is changed, or
the AUTO or
modes selected while the outside temperature is
displayed, the driver and passenger temperature display will be displayed
for 4 seconds. Following this, the outside temperature display will return
to the window.
If the outside temperature is displayed while the DATC system is in the
OFF mode and the DATC is turned on, the driver and passenger
temperatures will be displayed for 4 seconds. Following this, the outside
temperature display will return to the window.
The outside temperature reading is most accurate when the vehicle is
moving. Higher readings may be obtained when the vehicle is not
moving. The readings may not agree with temperatures given on the
radio due to differences in vehicle and station locations.
AUTO OFFA/C
R EXT
EXT TEMP
F C
F
Climate Controls
56
Page 76 of 288
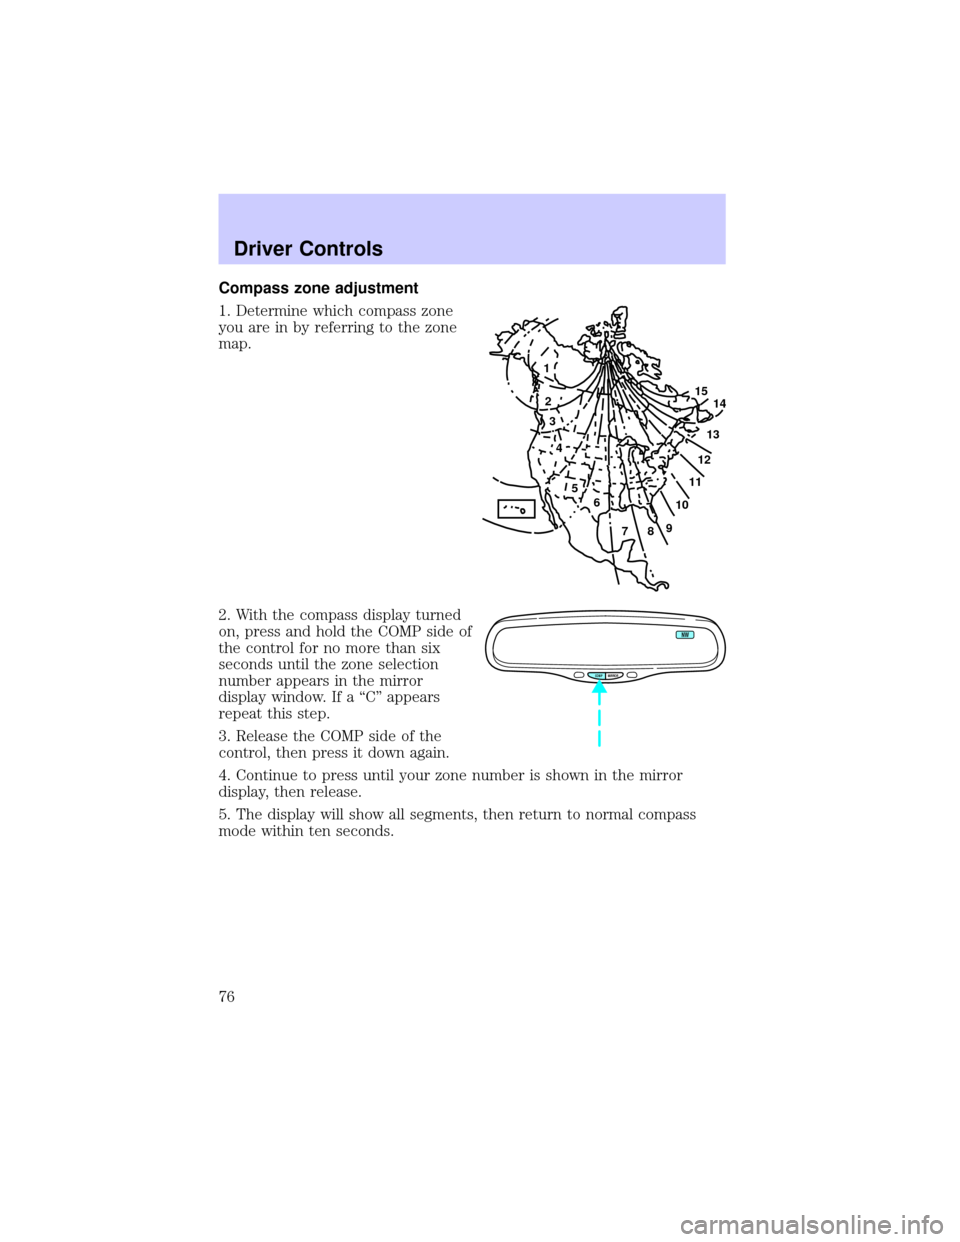
Compass zone adjustment
1. Determine which compass zone
you are in by referring to the zone
map.
2. With the compass display turned
on, press and hold the COMP side of
the control for no more than six
seconds until the zone selection
number appears in the mirror
display window. If a ªCº appears
repeat this step.
3. Release the COMP side of the
control, then press it down again.
4. Continue to press until your zone number is shown in the mirror
display, then release.
5. The display will show all segments, then return to normal compass
mode within ten seconds.
1
2
3
4
5
6
7891011121314 15
COMP MIRROR
NW
Driver Controls
76
Page 97 of 288
5. Record the highway fuel economy for future reference.
It is important to press the RESET control after setting the speed
control to get accurate highway fuel economy readings.
Display On/Off
Select this function from the FUEL control to turn your message center
display OFF or ON.
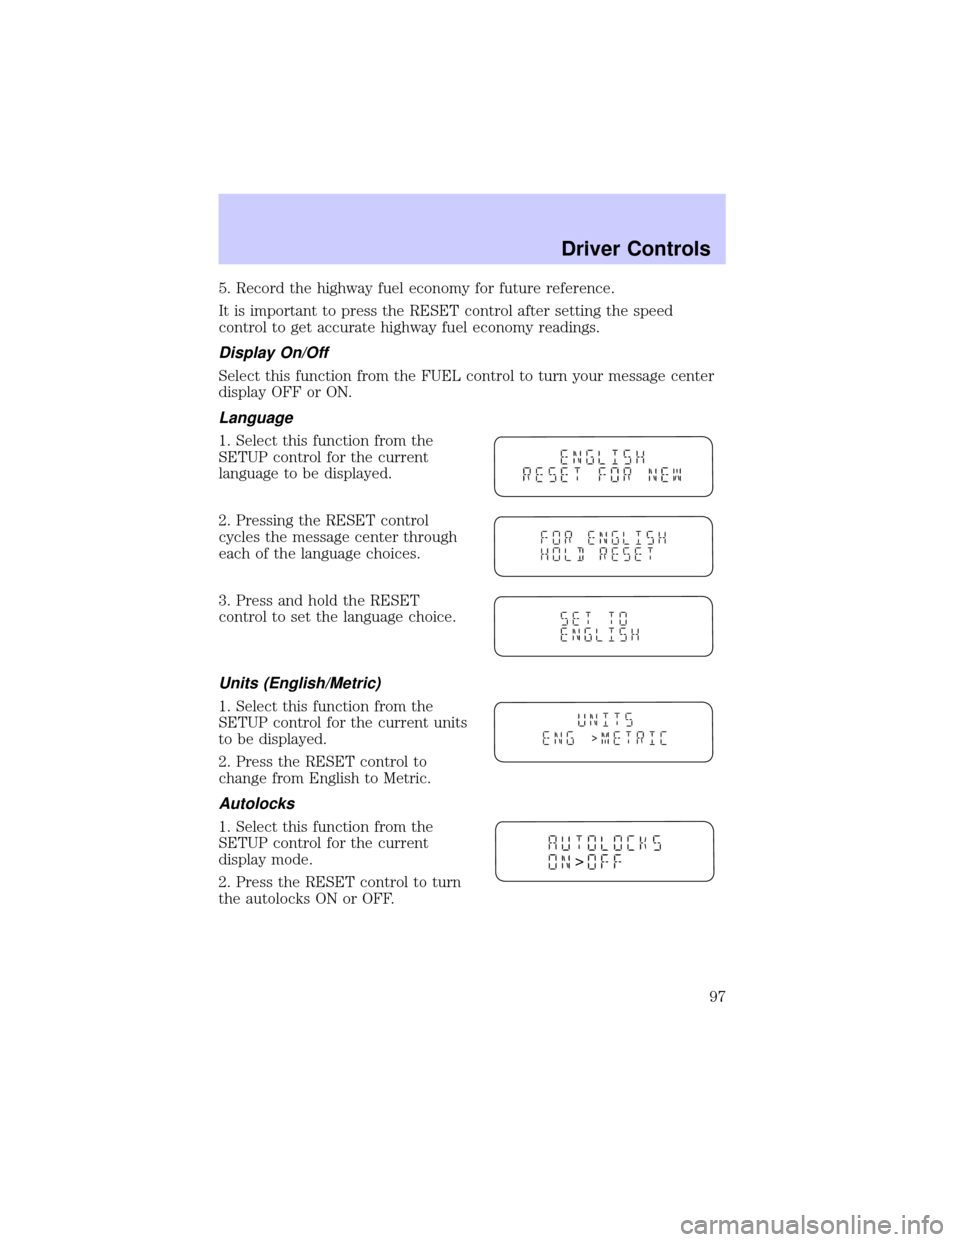
Language
1. Select this function from the
SETUP control for the current
language to be displayed.
2. Pressing the RESET control
cycles the message center through
each of the language choices.
3. Press and hold the RESET
control to set the language choice.
Units (English/Metric)
1. Select this function from the
SETUP control for the current units
to be displayed.
2. Press the RESET control to
change from English to Metric.
Autolocks
1. Select this function from the
SETUP control for the current
display mode.
2. Press the RESET control to turn
the autolocks ON or OFF.
>
>
Driver Controls
97
Page 98 of 288
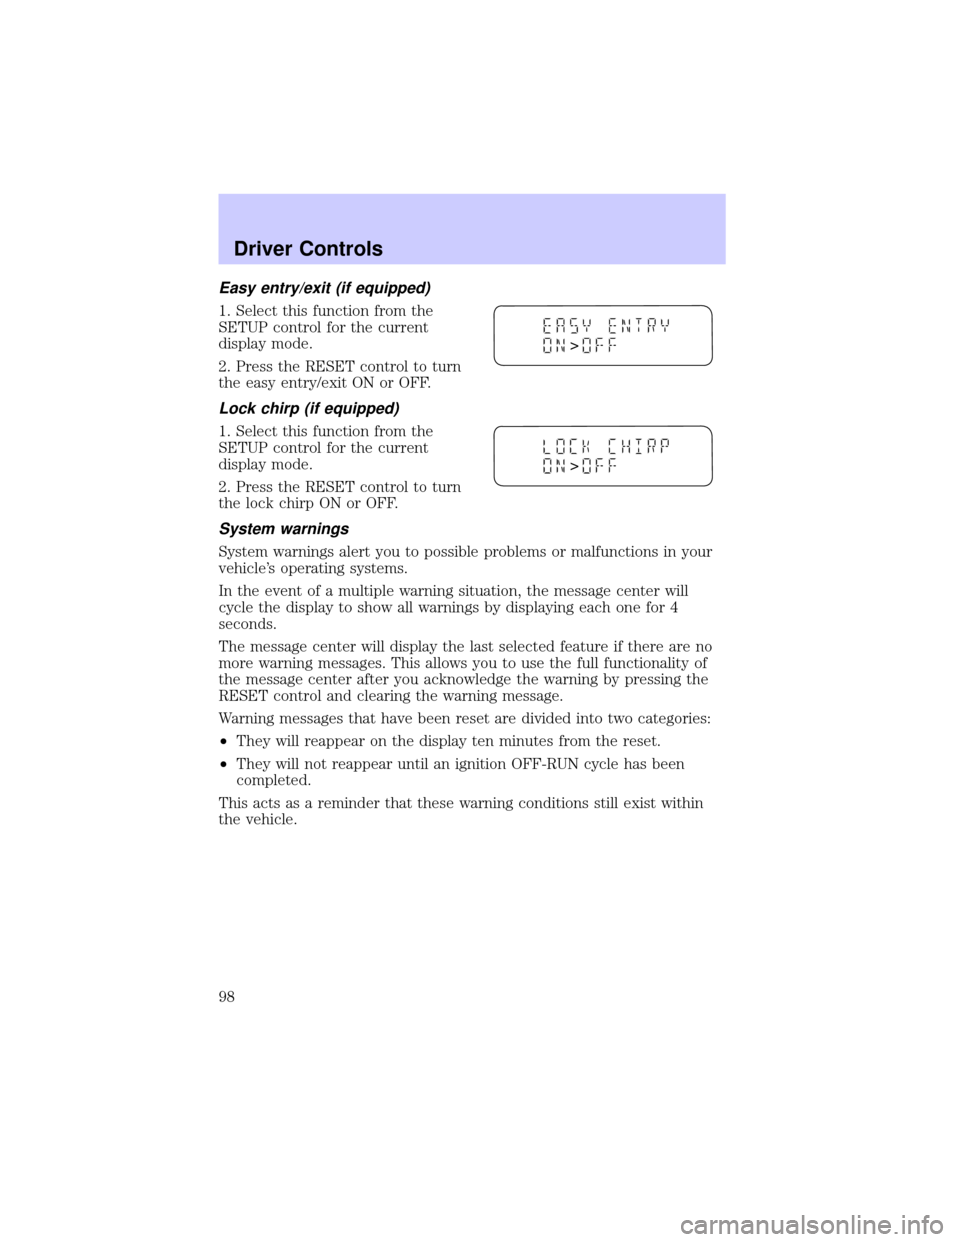
Easy entry/exit (if equipped)
1. Select this function from the
SETUP control for the current
display mode.
2. Press the RESET control to turn
the easy entry/exit ON or OFF.
Lock chirp (if equipped)
1. Select this function from the
SETUP control for the current
display mode.
2. Press the RESET control to turn
the lock chirp ON or OFF.
System warnings
System warnings alert you to possible problems or malfunctions in your
vehicle's operating systems.
In the event of a multiple warning situation, the message center will
cycle the display to show all warnings by displaying each one for 4
seconds.
The message center will display the last selected feature if there are no
more warning messages. This allows you to use the full functionality of
the message center after you acknowledge the warning by pressing the
RESET control and clearing the warning message.
Warning messages that have been reset are divided into two categories:
²They will reappear on the display ten minutes from the reset.
²They will not reappear until an ignition OFF-RUN cycle has been
completed.
This acts as a reminder that these warning conditions still exist within
the vehicle.
>
>
Driver Controls
98
Page 103 of 288
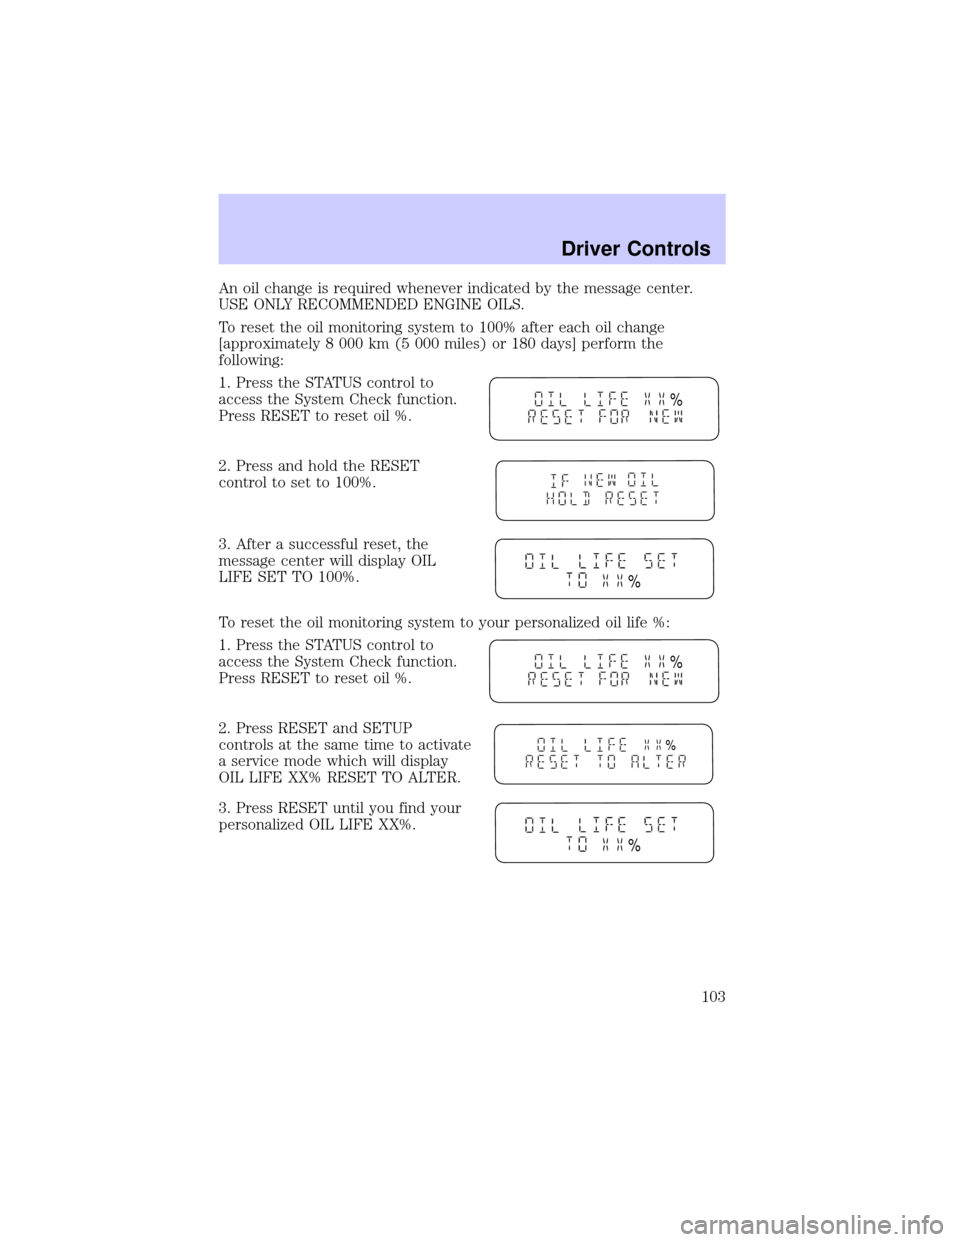
An oil change is required whenever indicated by the message center.
USE ONLY RECOMMENDED ENGINE OILS.
To reset the oil monitoring system to 100% after each oil change
[approximately 8 000 km (5 000 miles) or 180 days] perform the
following:
1. Press the STATUS control to
access the System Check function.
Press RESET to reset oil %.
2. Press and hold the RESET
control to set to 100%.
3. After a successful reset, the
message center will display OIL
LIFE SET TO 100%.
To reset the oil monitoring system to your personalized oil life %:
1. Press the STATUS control to
access the System Check function.
Press RESET to reset oil %.
2. Press RESET and SETUP
controls at the same time to activate
a service mode which will display
OIL LIFE XX% RESET TO ALTER.
3. Press RESET until you find your
personalized OIL LIFE XX%.
%
%
%
%
%
Driver Controls
103
Page 149 of 288
²Put the safety belt in the automatic locking mode. Refer toAutomatic
locking mode.
Ford recommends the use of a child safety seat having a top tether
strap. Install the child safety seat in a seating position which is capable
of providing a tether anchorage. For more information on top tether
straps, refer toAttaching safety seats with tether strapsin this chapter.
Carefully follow all of the manufacturer's instructions included
with the safety seat you put in your vehicle. If you do not install
and use the safety seat properly, the child may be injured in a sudden
stop or collision.
Installing child safety seats in combination lap and shoulder belt
seating positions
Air bags can kill or injure a child in a child seat.NEVERplace a
rear-facing child seat in front of an active air bag. If you must
use a forward-facing child seat in the front seat, move the seat all the
way back.
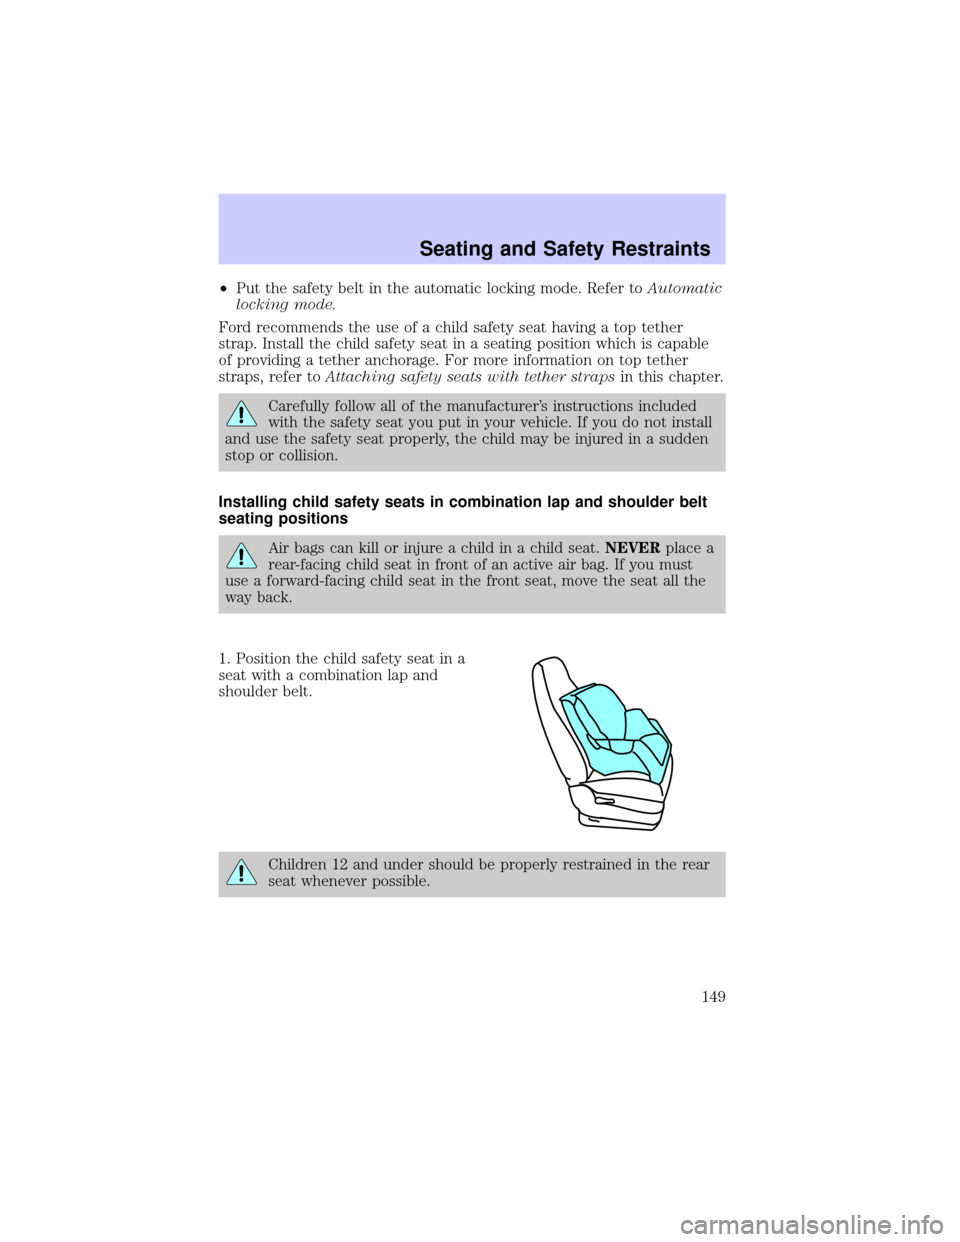
1. Position the child safety seat in a
seat with a combination lap and
shoulder belt.
Children 12 and under should be properly restrained in the rear
seat whenever possible.
Seating and Safety Restraints
149
Page 175 of 288
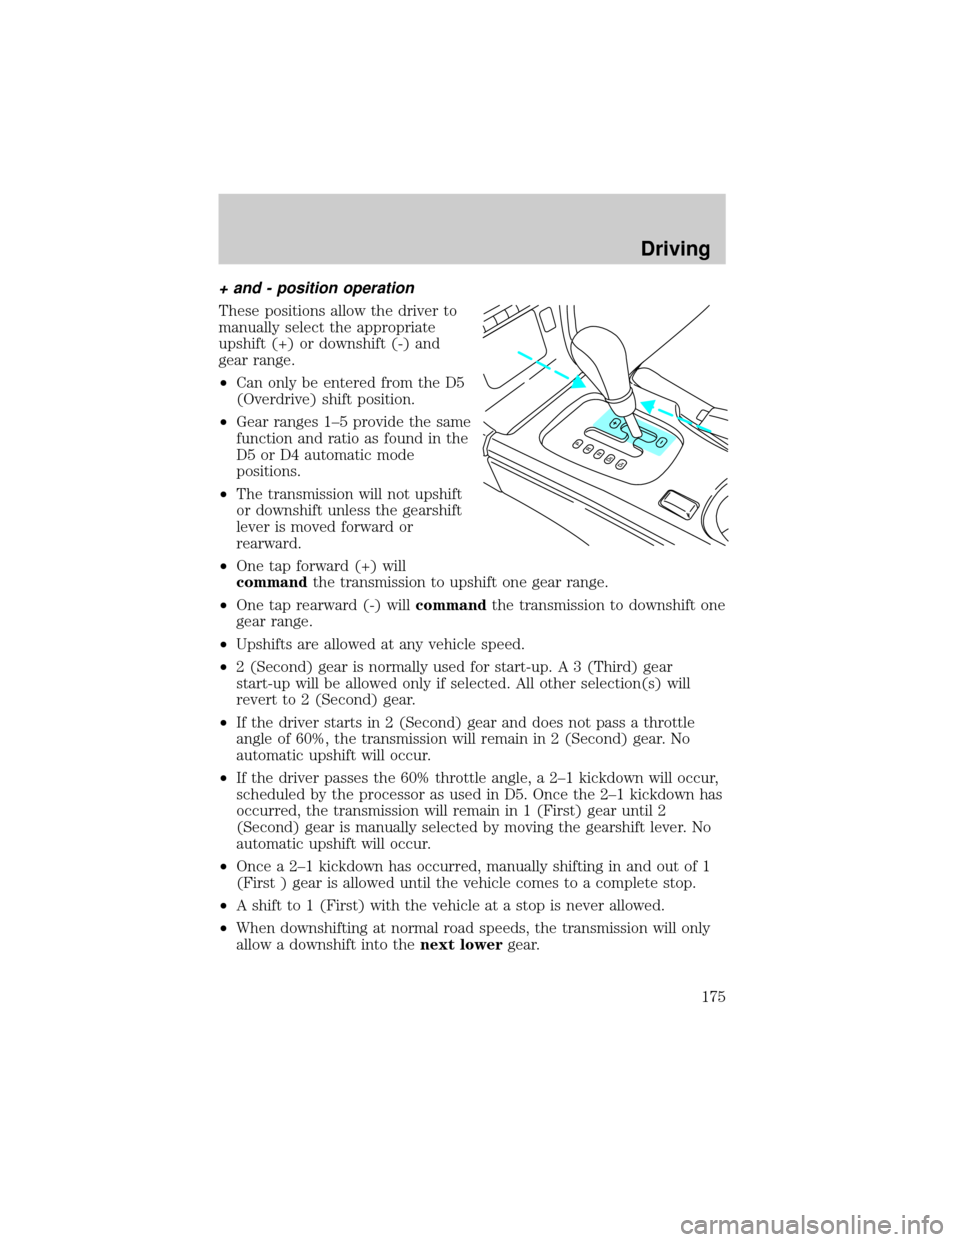
+ and - position operation
These positions allow the driver to
manually select the appropriate
upshift (+) or downshift (-) and
gear range.
²Can only be entered from the D5
(Overdrive) shift position.
²Gear ranges 1±5 provide the same
function and ratio as found in the
D5 or D4 automatic mode
positions.
²The transmission will not upshift
or downshift unless the gearshift
lever is moved forward or
rearward.
²One tap forward (+) will
commandthe transmission to upshift one gear range.
²One tap rearward (-) willcommandthe transmission to downshift one
gear range.
²Upshifts are allowed at any vehicle speed.
²2 (Second) gear is normally used for start-up. A 3 (Third) gear
start-up will be allowed only if selected. All other selection(s) will
revert to 2 (Second) gear.
²If the driver starts in 2 (Second) gear and does not pass a throttle
angle of 60%, the transmission will remain in 2 (Second) gear. No
automatic upshift will occur.
²If the driver passes the 60% throttle angle, a 2±1 kickdown will occur,
scheduled by the processor as used in D5. Once the 2±1 kickdown has
occurred, the transmission will remain in 1 (First) gear until 2
(Second) gear is manually selected by moving the gearshift lever. No
automatic upshift will occur.
²Once a 2±1 kickdown has occurred, manually shifting in and out of 1
(First ) gear is allowed until the vehicle comes to a complete stop.
²A shift to 1 (First) with the vehicle at a stop is never allowed.
²When downshifting at normal road speeds, the transmission will only
allow a downshift into thenext lowergear.
Driving
175