stop start LINCOLN LS 2002 Owners Manual
[x] Cancel search | Manufacturer: LINCOLN, Model Year: 2002, Model line: LS, Model: LINCOLN LS 2002Pages: 288, PDF Size: 2.44 MB
Page 161 of 288
may be worn-out and should be inspected by a qualified service
technician.
Anti-lock brake system (ABS)
On vehicles equipped with an anti-lock braking system (ABS), a noise
from the hydraulic pump motor and pulsation in the pedal may be
observed during ABS braking events. Pedal pulsation coupled with noise
while braking under panic conditions or on loose gravel, bumps, wet or
snowy roads is normal and indicates proper functioning of the vehicle's
anti-lock brake system. The ABS performs a self-check after you start
the engine and begin to drive away. A brief mechanical noise may be
heard during this test. This is normal. If a malfunction is found, the ABS
warning light will come on. If the vehicle has continuous vibration or
shudder in the steering wheel while braking, the vehicle should be
inspected by a qualified service technician.
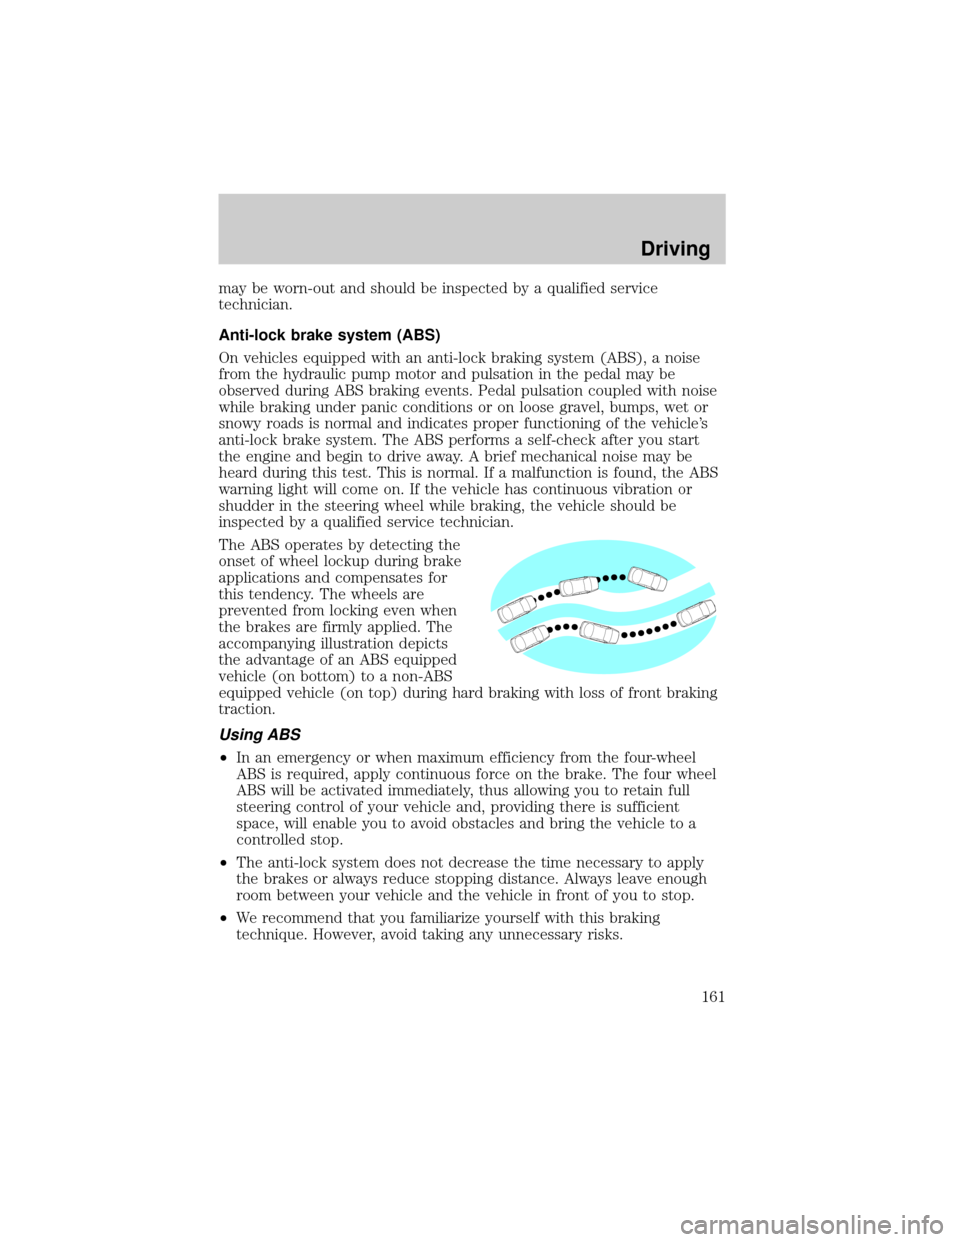
The ABS operates by detecting the
onset of wheel lockup during brake
applications and compensates for
this tendency. The wheels are
prevented from locking even when
the brakes are firmly applied. The
accompanying illustration depicts
the advantage of an ABS equipped
vehicle (on bottom) to a non-ABS
equipped vehicle (on top) during hard braking with loss of front braking
traction.
Using ABS
²In an emergency or when maximum efficiency from the four-wheel
ABS is required, apply continuous force on the brake. The four wheel
ABS will be activated immediately, thus allowing you to retain full
steering control of your vehicle and, providing there is sufficient
space, will enable you to avoid obstacles and bring the vehicle to a
controlled stop.
²The anti-lock system does not decrease the time necessary to apply
the brakes or always reduce stopping distance. Always leave enough
room between your vehicle and the vehicle in front of you to stop.
²We recommend that you familiarize yourself with this braking
technique. However, avoid taking any unnecessary risks.
Driving
161
Page 162 of 288
ABS warning lampABS
TheABSwarning lamp in the instrument cluster momentarily illuminates
when the ignition is turned to the RUN position. If the light does not
illuminate momentarily at start up, remains on or continues to flash, the
ABS needs to be serviced.
With the ABS light on, the anti-lock
brake system is disabled and normal
braking is still effective unless the
brake warning light also remains
illuminated with parking brake
released. (If your brake warning lamp illuminates, have your vehicle
serviced immediately.)
Parking brake
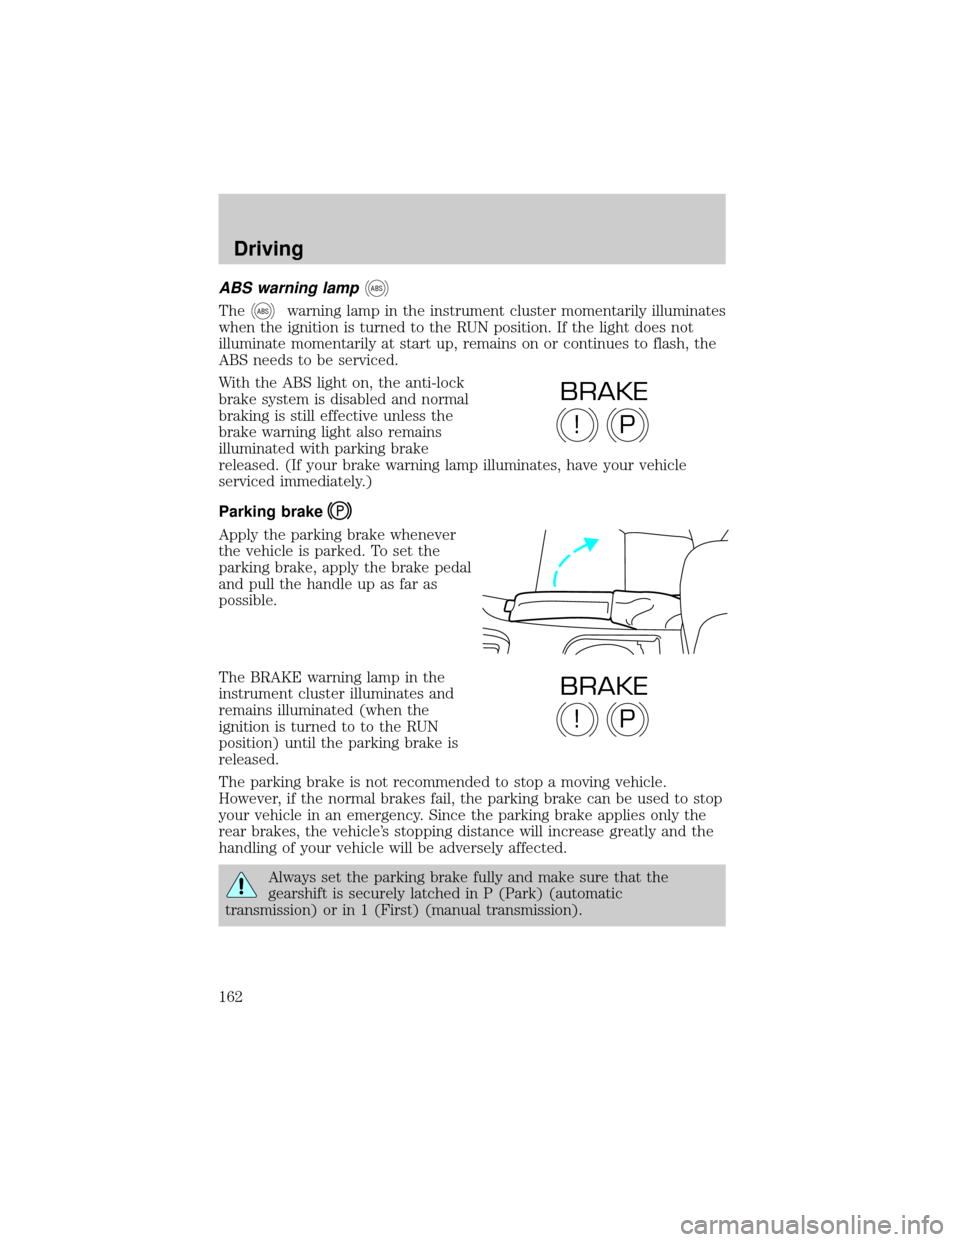
Apply the parking brake whenever
the vehicle is parked. To set the
parking brake, apply the brake pedal
and pull the handle up as far as
possible.
The BRAKE warning lamp in the
instrument cluster illuminates and
remains illuminated (when the
ignition is turned to to the RUN
position) until the parking brake is
released.
The parking brake is not recommended to stop a moving vehicle.
However, if the normal brakes fail, the parking brake can be used to stop
your vehicle in an emergency. Since the parking brake applies only the
rear brakes, the vehicle's stopping distance will increase greatly and the
handling of your vehicle will be adversely affected.
Always set the parking brake fully and make sure that the
gearshift is securely latched in P (Park) (automatic
transmission) or in 1 (First) (manual transmission).
P!
BRAKE
P!
BRAKE
Driving
162
Page 170 of 288
R (Reverse)
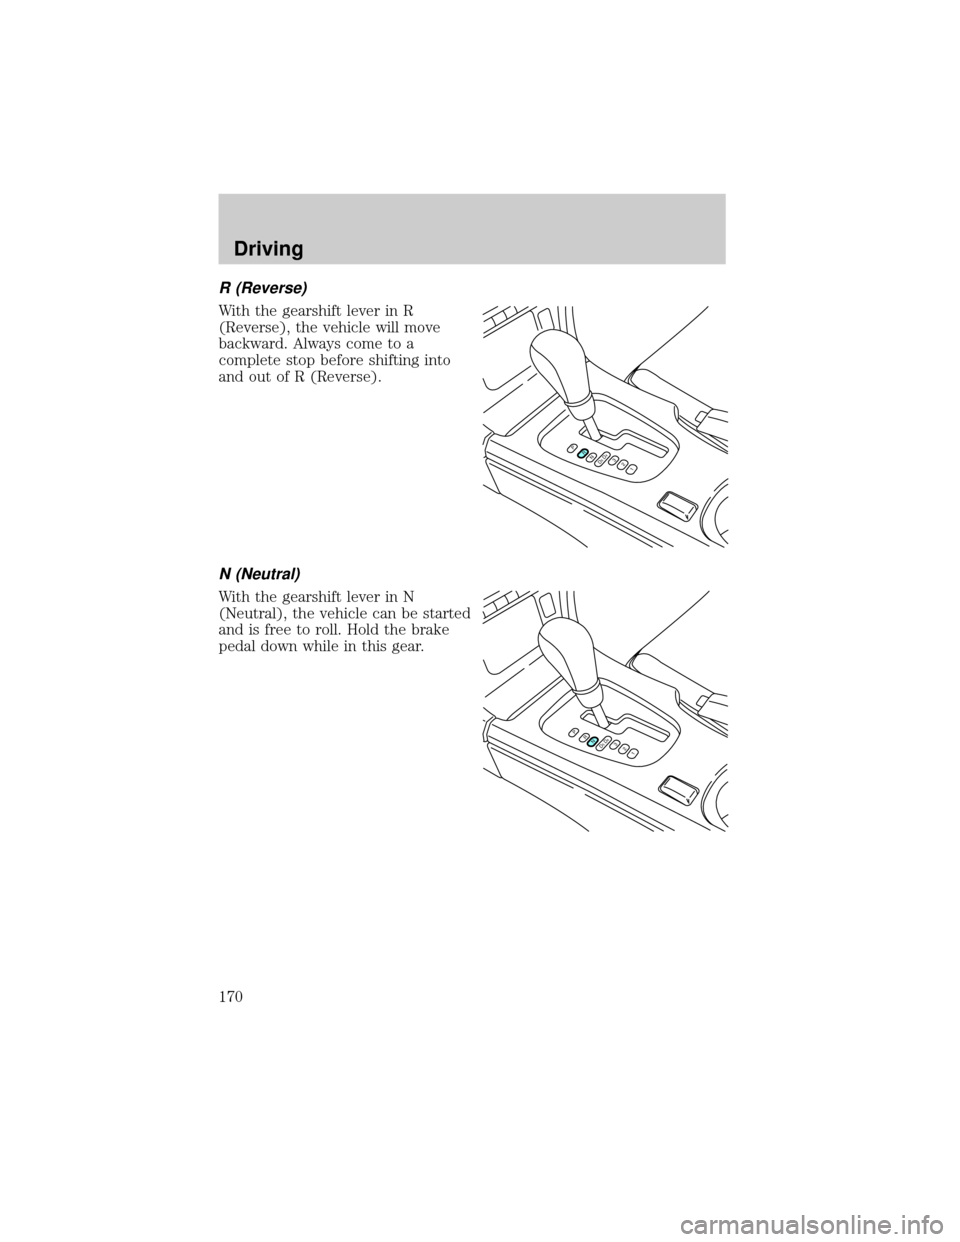
With the gearshift lever in R
(Reverse), the vehicle will move
backward. Always come to a
complete stop before shifting into
and out of R (Reverse).
N (Neutral)
With the gearshift lever in N
(Neutral), the vehicle can be started
and is free to roll. Hold the brake
pedal down while in this gear.
PRND5D4321
PRND5D4321
Driving
170
Page 175 of 288
+ and - position operation
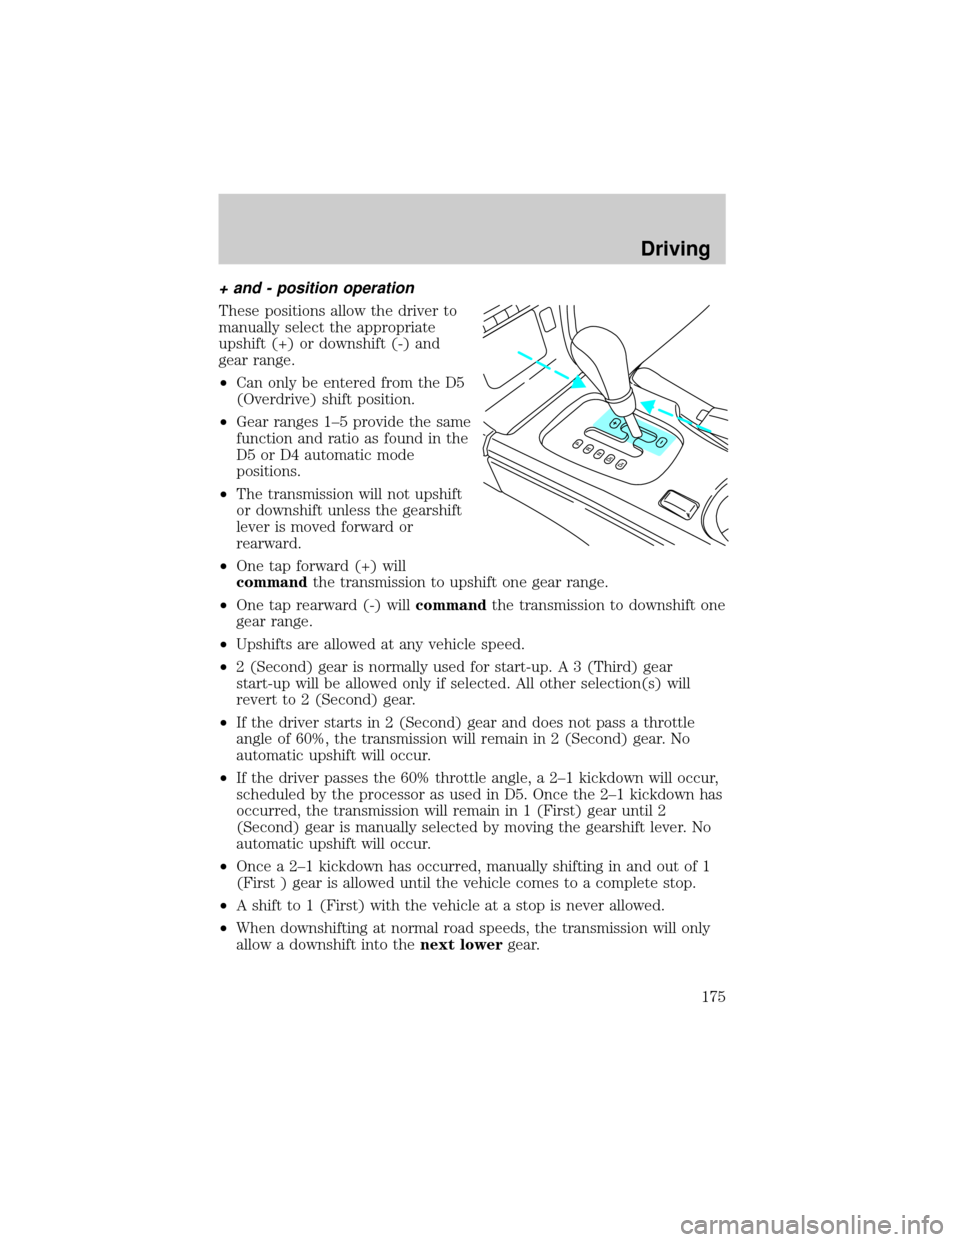
These positions allow the driver to
manually select the appropriate
upshift (+) or downshift (-) and
gear range.
²Can only be entered from the D5
(Overdrive) shift position.
²Gear ranges 1±5 provide the same
function and ratio as found in the
D5 or D4 automatic mode
positions.
²The transmission will not upshift
or downshift unless the gearshift
lever is moved forward or
rearward.
²One tap forward (+) will
commandthe transmission to upshift one gear range.
²One tap rearward (-) willcommandthe transmission to downshift one
gear range.
²Upshifts are allowed at any vehicle speed.
²2 (Second) gear is normally used for start-up. A 3 (Third) gear
start-up will be allowed only if selected. All other selection(s) will
revert to 2 (Second) gear.
²If the driver starts in 2 (Second) gear and does not pass a throttle
angle of 60%, the transmission will remain in 2 (Second) gear. No
automatic upshift will occur.
²If the driver passes the 60% throttle angle, a 2±1 kickdown will occur,
scheduled by the processor as used in D5. Once the 2±1 kickdown has
occurred, the transmission will remain in 1 (First) gear until 2
(Second) gear is manually selected by moving the gearshift lever. No
automatic upshift will occur.
²Once a 2±1 kickdown has occurred, manually shifting in and out of 1
(First ) gear is allowed until the vehicle comes to a complete stop.
²A shift to 1 (First) with the vehicle at a stop is never allowed.
²When downshifting at normal road speeds, the transmission will only
allow a downshift into thenext lowergear.
Driving
175
Page 185 of 288

Trailer lamps
Trailer lamps are required on most towed vehicles. Ensure that your
trailer lamps conform to local and Federal Regulations.
Do not splice or modify the vehicle electrical wiring or lamps for
trailer towing.
Your vehicle uses an advanced electronic module with ground side
switching to control and monitor your vehicle lamps. Splicing into the
wiring or attaching wiring to the vehicle bulbs will DISABLE the rear
vehicle lamps from functioning. Your lamp outage feature will also be
disabled or provide incorrect information.
Your vehicle is ready to install a Trailer Tow module that will provide the
proper communication with the vehicle electrical system so your trailer
lamps will function properly. See your dealer or trailer rental agency for
proper instructions and equipment for hooking up trailer lamps.
Driving while you tow
When towing a trailer:
²Ensure that you turn off your speed control. The speed control may
shut off automatically when you are towing on long, steep grades.
²Consult your local motor vehicle speed regulations for towing a trailer.
²Shift out of D5 (Overdrive) and into D4 (Drive) or a lower gear when
towing up or down steep hills. This will eliminate excessive
downshifting and upshifting for optimum fuel economy and
transmission cooling.
²Anticipate stops and brake gradually.
Servicing after towing
If you tow a trailer for long distances, your vehicle will require more
frequent service intervals. Refer to your scheduled maintenance guide for
more information.
Trailer towing tips
²Practice turning, stopping and backing up before starting on a trip to
get the feel of the vehicle trailer combination. When turning, make
wider turns so the trailer wheels will clear curbs and other obstacles.
²Allow more distance for stopping with a trailer attached.
Driving
185
Page 189 of 288
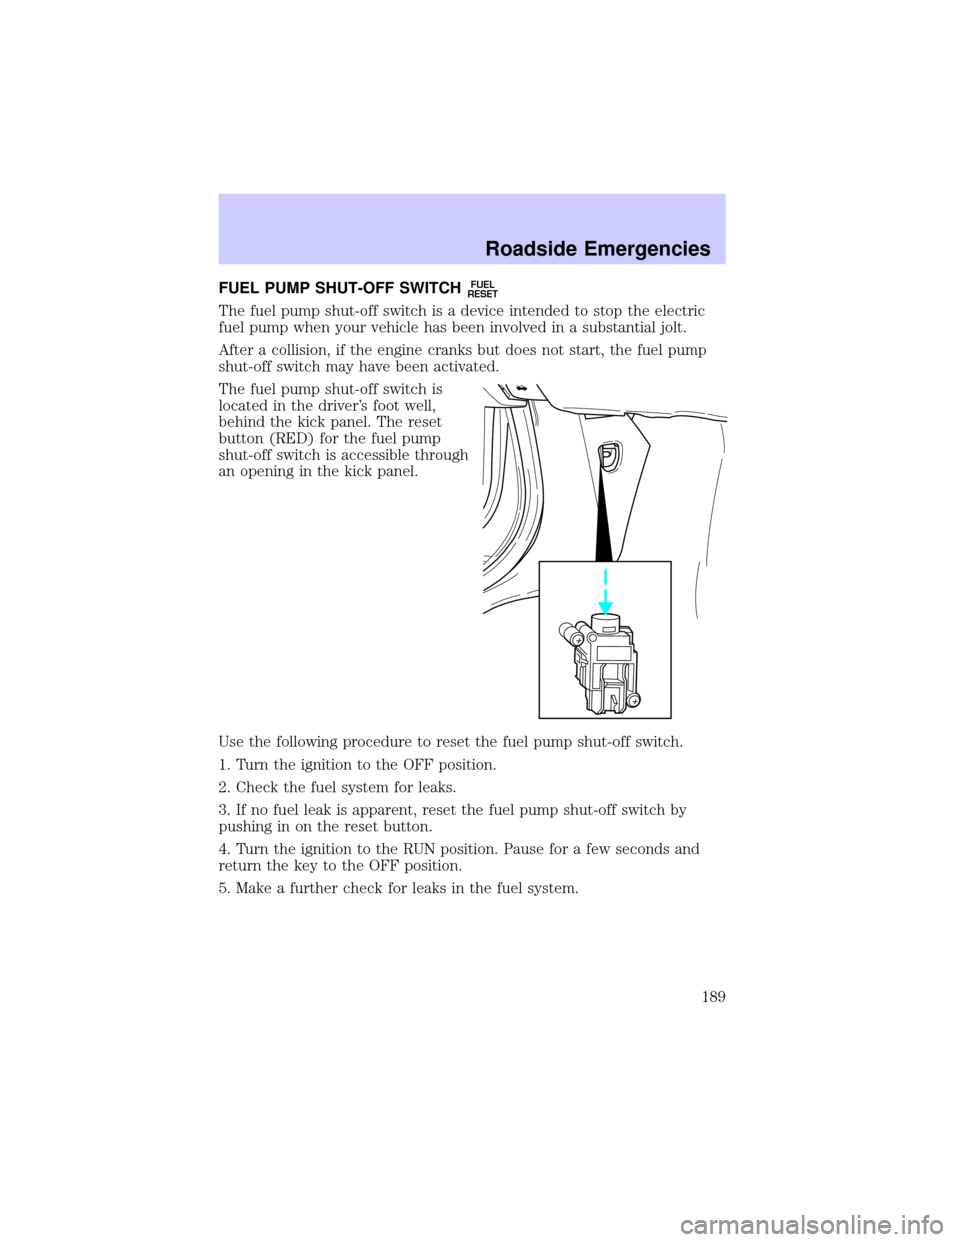
FUEL PUMP SHUT-OFF SWITCHFUEL
RESET
The fuel pump shut-off switch is a device intended to stop the electric
fuel pump when your vehicle has been involved in a substantial jolt.
After a collision, if the engine cranks but does not start, the fuel pump
shut-off switch may have been activated.
The fuel pump shut-off switch is
located in the driver's foot well,
behind the kick panel. The reset
button (RED) for the fuel pump
shut-off switch is accessible through
an opening in the kick panel.
Use the following procedure to reset the fuel pump shut-off switch.
1. Turn the ignition to the OFF position.
2. Check the fuel system for leaks.
3. If no fuel leak is apparent, reset the fuel pump shut-off switch by
pushing in on the reset button.
4. Turn the ignition to the RUN position. Pause for a few seconds and
return the key to the OFF position.
5. Make a further check for leaks in the fuel system.
Roadside Emergencies
189
Page 236 of 288
Batteries normally produce explosive gases which can cause
personal injury. Therefore, do not allow flames, sparks or lighted
substances to come near the battery. When working near the battery,
always shield your face and protect your eyes. Always provide proper
ventilation.
When lifting a plastic-cased battery, excessive pressure on the
end walls could cause acid to flow through the vent caps,
resulting in personal injury and/or damage to the vehicle or battery.
Lift the battery with a battery carrier or with your hands on opposite
corners.
Keep batteries out of reach of children. Batteries contain sulfuric
acid. Avoid contact with skin, eyes or clothing. Shield your eyes
when working near the battery to protect against possible splashing of
acid solution. In case of acid contact with skin or eyes, flush
immediately with water for a minimum of 15 minutes and get prompt
medical attention. If acid is swallowed, call a physician immediately.
Battery posts, terminals and related accessories contain lead and
lead compounds.Wash hands after handling.
Because your vehicle's engine is electronically controlled by a computer,
some control conditions are maintained by power from the battery. When
the battery is disconnected or a new battery is installed, the engine must
relearn its idle and fuel trim strategy for optimum driveability and
performance. To begin this process:
1. With the vehicle at a complete stop, set the parking brake.
2. Put the gearshift in P (Park), turn off all accessories and start the
engine.
3. Run the engine until it reaches normal operating temperature.
4. Allow the engine to idle for at least one minute.
5. Turn the A/C on and allow the engine to idle for at least one minute.
6. Drive the vehicle to complete the relearning process.
²The vehicle may need to be driven to relearn the idle and fuel trim
strategy.
Maintenance and Specifications
236
Page 247 of 288
The flow of fuel through a fuel pump nozzle can produce static
electricity, which can cause a fire if fuel is pumped into an
ungrounded fuel container.
Use the following guidelines to avoid static build-up when filling an
ungrounded fuel container:
²Place approved fuel container on the ground.
²DO NOT fill a fuel container while it is in the vehicle (including the
cargo area).
²Keep the fuel pump nozzle in contact with the fuel container while
filling.
²DO NOT use a device that would hold the fuel pump handle in the fill
position.
Fuel Filler Cap
Your fuel tank filler cap has an indexed design with a 1/8 turn on/off
feature.
When fueling your vehicle:
1. Turn the engine off.
2. Carefully turn the filler cap counterclockwise 1/8 of a turn until it
stops.
3. Pull to remove the cap from the fuel filler pipe.
4. To install the cap, align the tabs on the cap with the notches on the
filler pipe.
5. Turn the filler cap clockwise 1/8 of a turn until it stops.
If the ªCheck Fuel Capº indicator comes on and stays on after you start
the engine, the fuel filler cap may not be properly installed. Turn off the
engine, remove the fuel filler cap, align the cap properly and reinstall it.
If you must replace the fuel filler cap, replace it with a fuel filler
cap that is designed for your vehicle. The customer warranty may
be void for any damage to the fuel tank or fuel system if the
correct genuine Ford or Motorcraft fuel filler cap is not used.
Maintenance and Specifications
247
Page 266 of 288

engine. This decal identifies engine displacement and gives some tune up
specifications.
Please consult yourWarranty Guidefor complete emission warranty
information.
Readiness for Inspection/Maintenance (I/M) testing
In some localities, it may be a legal requirement to pass an I/M test of
the on-board diagnostics system. If your ªCheck Engine/Service Engine
Soonº light is on, refer to the description in theWarning lights and
chimessection of theInstrument Clusterchapter. Your vehicle may not
pass the I/M test with the ªCheck Engine/Service Engine Soonº light on.
If the vehicle's powertrain system or its battery has just been serviced,
the on-board diagnostics system is reset to a ªnot ready for I/M testº
condition. To ready the on-board diagnostics system for I/M testing, a
minimum of 30 minutes of city and highway driving is necessary as
described below:
²First, at least 10 minutes of driving on an expressway or highway.
²Next, at least 20 minutes driving in stop-and-go, city-type traffic with
at least four idle periods.
Allow the vehicle to sit for at least eight hours without starting the
engine. Then, start the engine and complete the above driving cycle. The
engine must warm up to its normal operating temperature. Once started,
do not turn off the engine until the above driving cycle is complete.
ESSENTIALS OF GOOD FUEL ECONOMY
Measuring techniques
Your best source of information about actual fuel economy is you, the
driver. You must gather information as accurately and consistently as
possible. Fuel expense, frequency of fillups or fuel gauge readings are
NOT accurate as a measure of fuel economy. We do not recommend
taking fuel economy measurements during the first 1 600 km (1 000
miles) of driving (engine break-in period). You will get a more accurate
measurement after 3 000 km±5 000 km (2 000 miles-3 000 miles).
Filling the tank
The advertised fuel capacity of the fuel tank on your vehicle is equal to
the rated refill capacity of the fuel tank as listed in theRefill capacities
section of this chapter.
Maintenance and Specifications
266