seat adjustment LINCOLN LS 2003 Owners Manual
[x] Cancel search | Manufacturer: LINCOLN, Model Year: 2003, Model line: LS, Model: LINCOLN LS 2003Pages: 288, PDF Size: 3.19 MB
Page 5 of 288
SAFETY AND ENVIRONMENT PROTECTION
Warning symbols in this guide
How can you reduce the risk of personal injury and prevent possible
damage to others, your vehicle and its equipment? In this guide, answers
to such questions are contained in comments highlighted by the warning
triangle symbol. These comments should be read and observed.
Warning symbols on your vehicle
When you see this symbol, it is
imperative that you consult the
relevant section of this guide before
touching or attempting adjustment
of any kind.
Protecting the environment
We must all play our part in
protecting the environment. Correct
vehicle usage and the authorized
disposal of waste cleaning and
lubrication materials are significant
steps towards this aim. Information in this respect is highlighted in this
guide with the tree symbol.
BREAKING-IN YOUR VEHICLE
Your vehicle does not need an extensive break-in. Try not to drive
continuously at the same speed for the first 1,600 km (1,000 miles) of
new vehicle operation. Vary your speed to allow parts to adjust
themselves to other parts.
Drive your new vehicle at least 800 km (500 miles) before towing a
trailer.
Do not add friction modifier compounds or special break-in oils during
the first few thousand kilometers (miles) of operation, since these
additives may prevent piston ring seating. SeeEngine oilin the
Maintenance and specificationschapter for more information on oil
usage.
Introduction
5
Page 88 of 288
4. Attach the new wiper to the
wiper arm and reposition the clip
until it locks.
Repeat for driver’s side wiper arm.
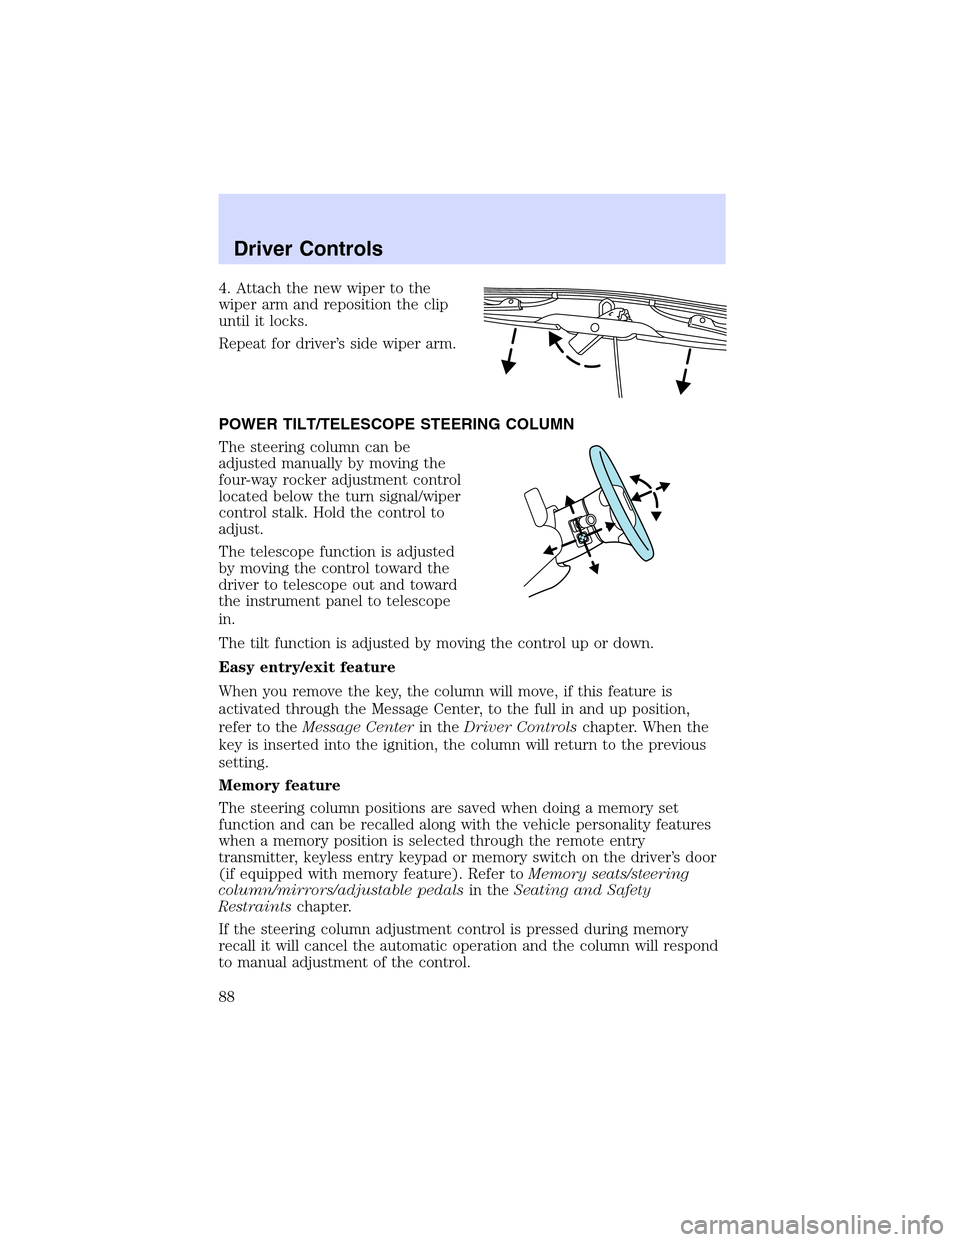
POWER TILT/TELESCOPE STEERING COLUMN
The steering column can be
adjusted manually by moving the
four-way rocker adjustment control
located below the turn signal/wiper
control stalk. Hold the control to
adjust.
The telescope function is adjusted
by moving the control toward the
driver to telescope out and toward
the instrument panel to telescope
in.
The tilt function is adjusted by moving the control up or down.
Easy entry/exit feature
When you remove the key, the column will move, if this feature is
activated through the Message Center, to the full in and up position,
refer to theMessage Centerin theDriver Controlschapter. When the
key is inserted into the ignition, the column will return to the previous
setting.
Memory feature
The steering column positions are saved when doing a memory set
function and can be recalled along with the vehicle personality features
when a memory position is selected through the remote entry
transmitter, keyless entry keypad or memory switch on the driver’s door
(if equipped with memory feature). Refer toMemory seats/steering
column/mirrors/adjustable pedalsin theSeating and Safety
Restraintschapter.
If the steering column adjustment control is pressed during memory
recall it will cancel the automatic operation and the column will respond
to manual adjustment of the control.
Driver Controls
88
Page 149 of 288
Failuretoreplace the belt and retractor assembly could increase
the risk of injury in collisions.
The front outboard and rear safety restraints in the vehicle are
combination lap and shoulder belts. The front passenger and rear seat
safety belts have two types of locking modes.
Vehicle sensitive mode
This is the normal retractor mode, which allows free shoulder belt length
adjustment to your movements and locking in response to vehicle
movement. For example, if the driver brakes suddenly or turns a corner
sharply, or the vehicle receives an impact of approximately 8 km/h (5
mph) or more, the combination safety belts will lock to help reduce
forward movement of the driver and passengers.
Automatic locking mode
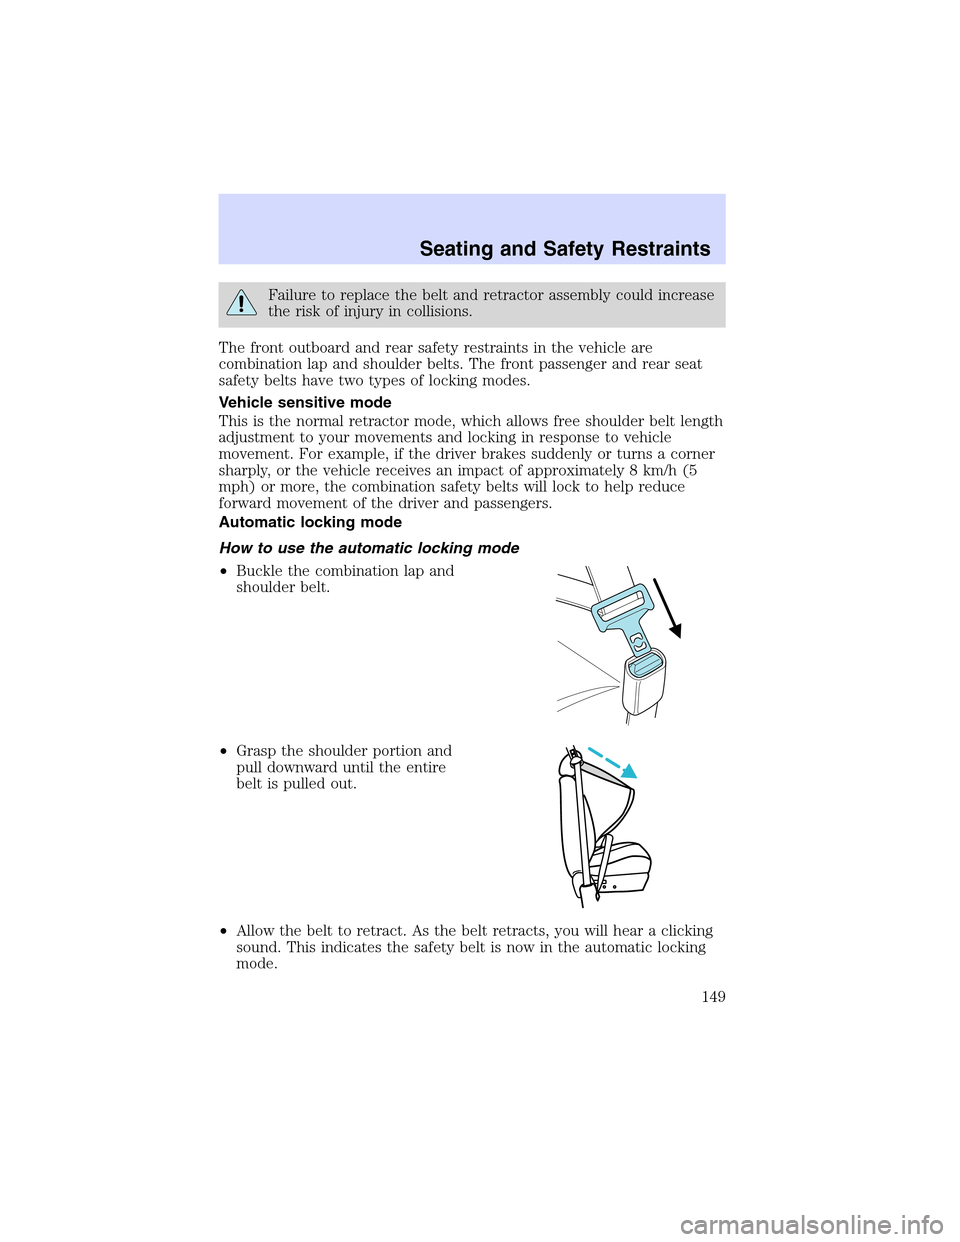
How to use the automatic locking mode
•Buckle the combination lap and
shoulder belt.
•Grasp the shoulder portion and
pull downward until the entire
belt is pulled out.
•Allow the belt to retract. As the belt retracts, you will hear a clicking
sound. This indicates the safety belt is now in the automatic locking
mode.
Seating and Safety Restraints
149
Page 151 of 288
Failure to replace the safety belt assembly under the above
conditions could result in severe personal injuries in the event of
a collision.
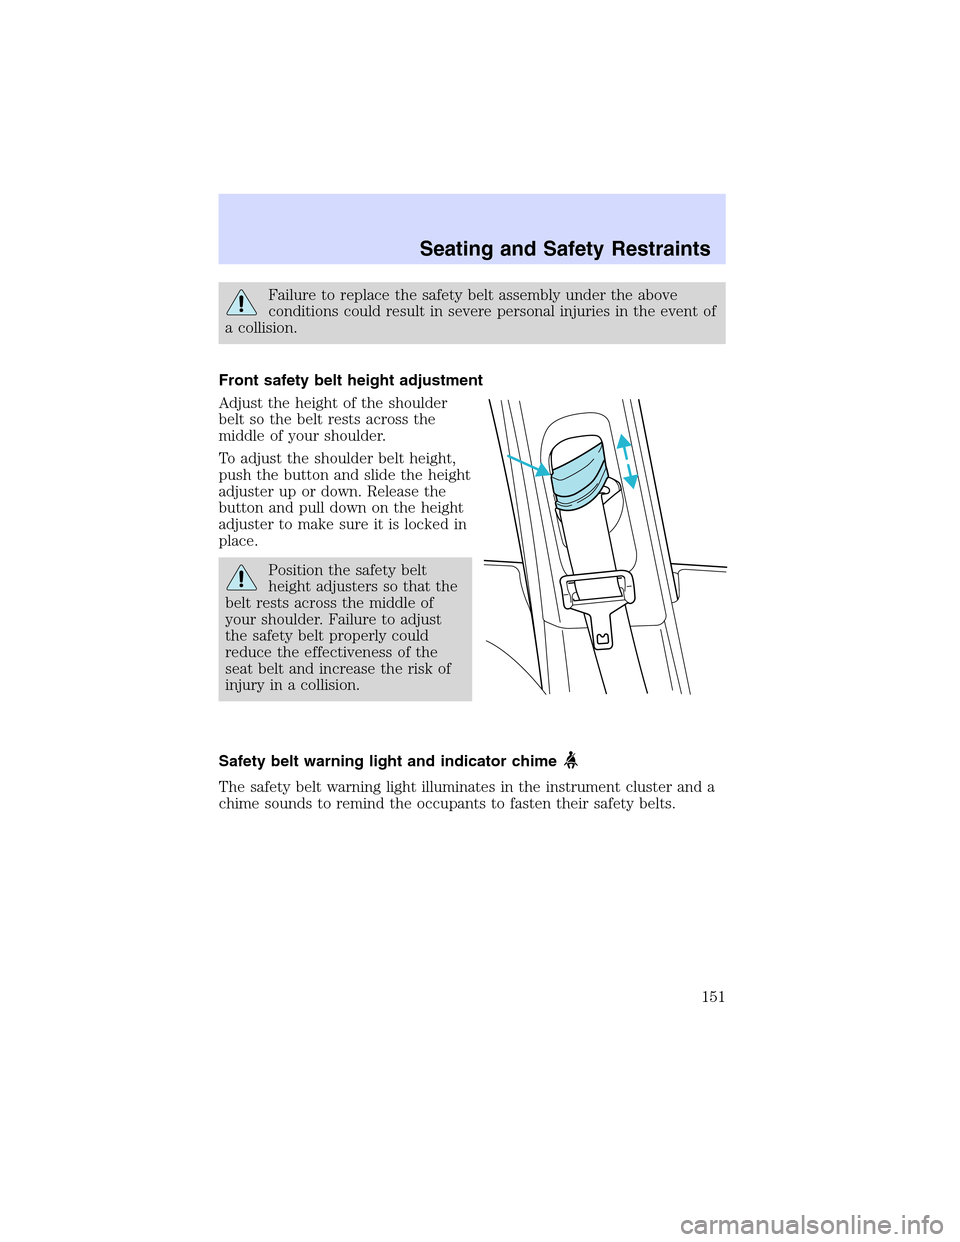
Front safety belt height adjustment
Adjust the height of the shoulder
belt so the belt rests across the
middle of your shoulder.
To adjust the shoulder belt height,
push the button and slide the height
adjuster up or down. Release the
button and pull down on the height
adjuster to make sure it is locked in
place.
Position the safety belt
height adjusters so that the
belt rests across the middle of
your shoulder. Failure to adjust
the safety belt properly could
reduce the effectiveness of the
seat belt and increase the risk of
injury in a collision.
Safety belt warning light and indicator chime
The safety belt warning light illuminates in the instrument cluster and a
chime sounds to remind the occupants to fasten their safety belts.
Seating and Safety Restraints
151
Page 282 of 288
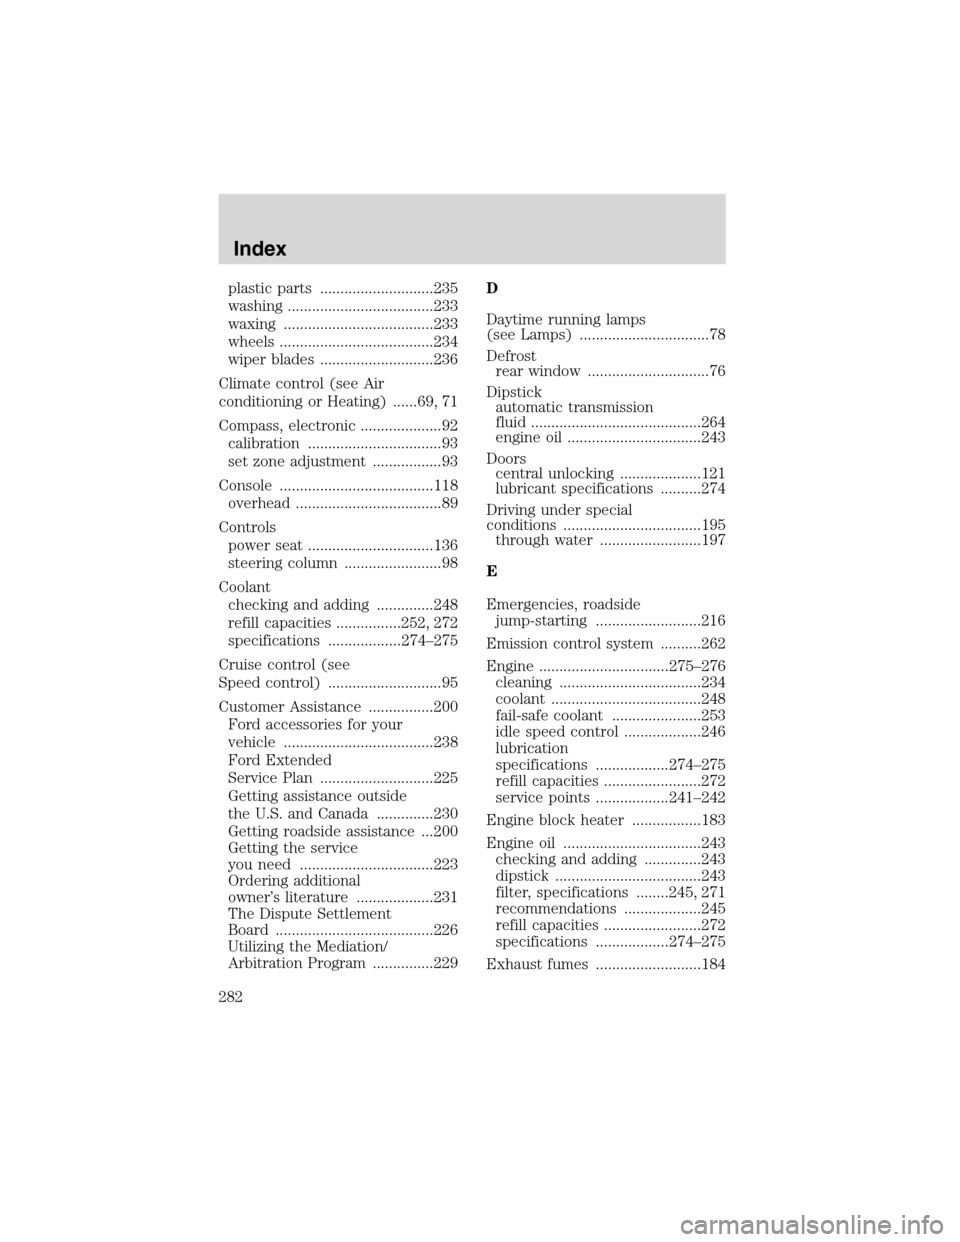
plastic parts ............................235
washing ....................................233
waxing .....................................233
wheels ......................................234
wiper blades ............................236
Climate control (see Air
conditioning or Heating) ......69, 71
Compass, electronic ....................92
calibration .................................93
set zone adjustment .................93
Console ......................................118
overhead ....................................89
Controls
power seat ...............................136
steering column ........................98
Coolant
checking and adding ..............248
refill capacities ................252, 272
specifications ..................274–275
Cruise control (see
Speed control) ............................95
Customer Assistance ................200
Ford accessories for your
vehicle .....................................238
Ford Extended
Service Plan ............................225
Getting assistance outside
the U.S. and Canada ..............230
Getting roadside assistance ...200
Getting the service
you need .................................223
Ordering additional
owner’s literature ...................231
The Dispute Settlement
Board .......................................226
Utilizing the Mediation/
Arbitration Program ...............229D
Daytime running lamps
(see Lamps) ................................78
Defrost
rear window ..............................76
Dipstick
automatic transmission
fluid ..........................................264
engine oil .................................243
Doors
central unlocking ....................121
lubricant specifications ..........274
Driving under special
conditions ..................................195
through water .........................197
E
Emergencies, roadside
jump-starting ..........................216
Emission control system ..........262
Engine ................................275–276
cleaning ...................................234
coolant .....................................248
fail-safe coolant ......................253
idle speed control ...................246
lubrication
specifications ..................274–275
refill capacities ........................272
service points ..................241–242
Engine block heater .................183
Engine oil ..................................243
checking and adding ..............243
dipstick ....................................243
filter, specifications ........245, 271
recommendations ...................245
refill capacities ........................272
specifications ..................274–275
Exhaust fumes ..........................184
Index
282