ESP LINCOLN MARK LT 2008 User Guide
[x] Cancel search | Manufacturer: LINCOLN, Model Year: 2008, Model line: MARK LT, Model: LINCOLN MARK LT 2008Pages: 328, PDF Size: 3.17 MB
Page 96 of 328
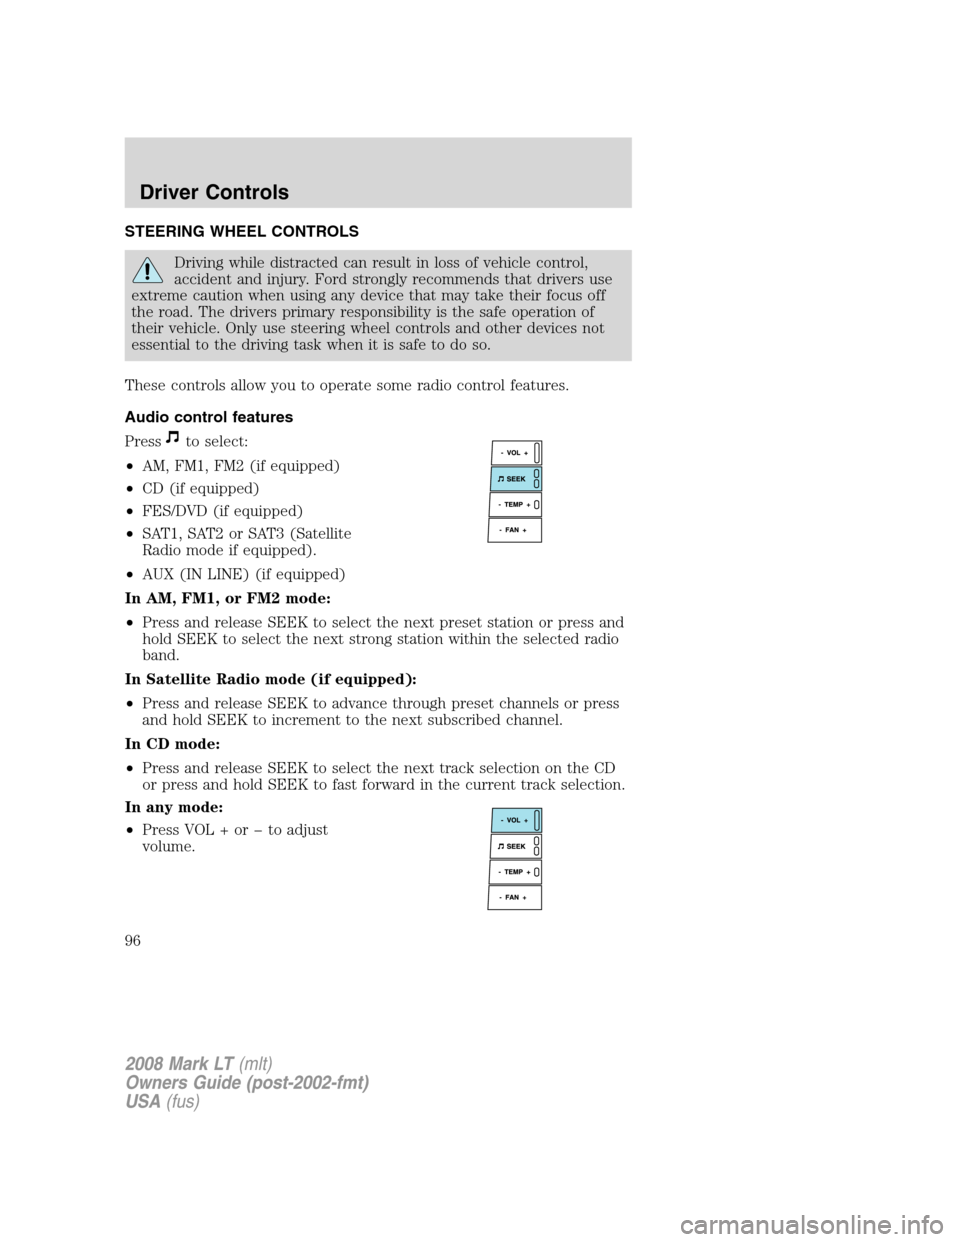
STEERING WHEEL CONTROLS
Driving while distracted can result in loss of vehicle control,
accident and injury. Ford strongly recommends that drivers use
extreme caution when using any device that may take their focus off
the road. The drivers primary responsibility is the safe operation of
their vehicle. Only use steering wheel controls and other devices not
essential to the driving task when it is safe to do so.
These controls allow you to operate some radio control features.
Audio control features
Press
to select:
•AM, FM1, FM2 (if equipped)
•CD (if equipped)
•FES/DVD (if equipped)
•SAT1, SAT2 or SAT3 (Satellite
Radio mode if equipped).
•AUX (IN LINE) (if equipped)
In AM, FM1, or FM2 mode:
•Press and release SEEK to select the next preset station or press and
hold SEEK to select the next strong station within the selected radio
band.
In Satellite Radio mode (if equipped):
•Press and release SEEK to advance through preset channels or press
and hold SEEK to increment to the next subscribed channel.
In CD mode:
•Press and release SEEK to select the next track selection on the CD
or press and hold SEEK to fast forward in the current track selection.
In any mode:
•Press VOL + or � to adjust
volume.
2008 Mark LT(mlt)
Owners Guide (post-2002-fmt)
USA(fus)
Driver Controls
96
Page 123 of 328
REMOTE ENTRY SYSTEM
This device complies with part 15 of the FCC rules and with RS-210 of
Industry Canada. Operation is subject to the following two conditions:
(1) This device may not cause harmful interference, and (2) This device
must accept any interference received, including interference that may
cause undesired operation.
Changes or modifications not expressly approved by the party
responsible for compliance could void the user’s authority to
operate the equipment.
The typical operating range for your remote entry transmitter is
approximately 33 feet (10 meters). A decrease in operating range could
be caused by:
•weather conditions,
•nearby radio towers,
•structures around the vehicle, or
•other vehicles parked next to your vehicle.
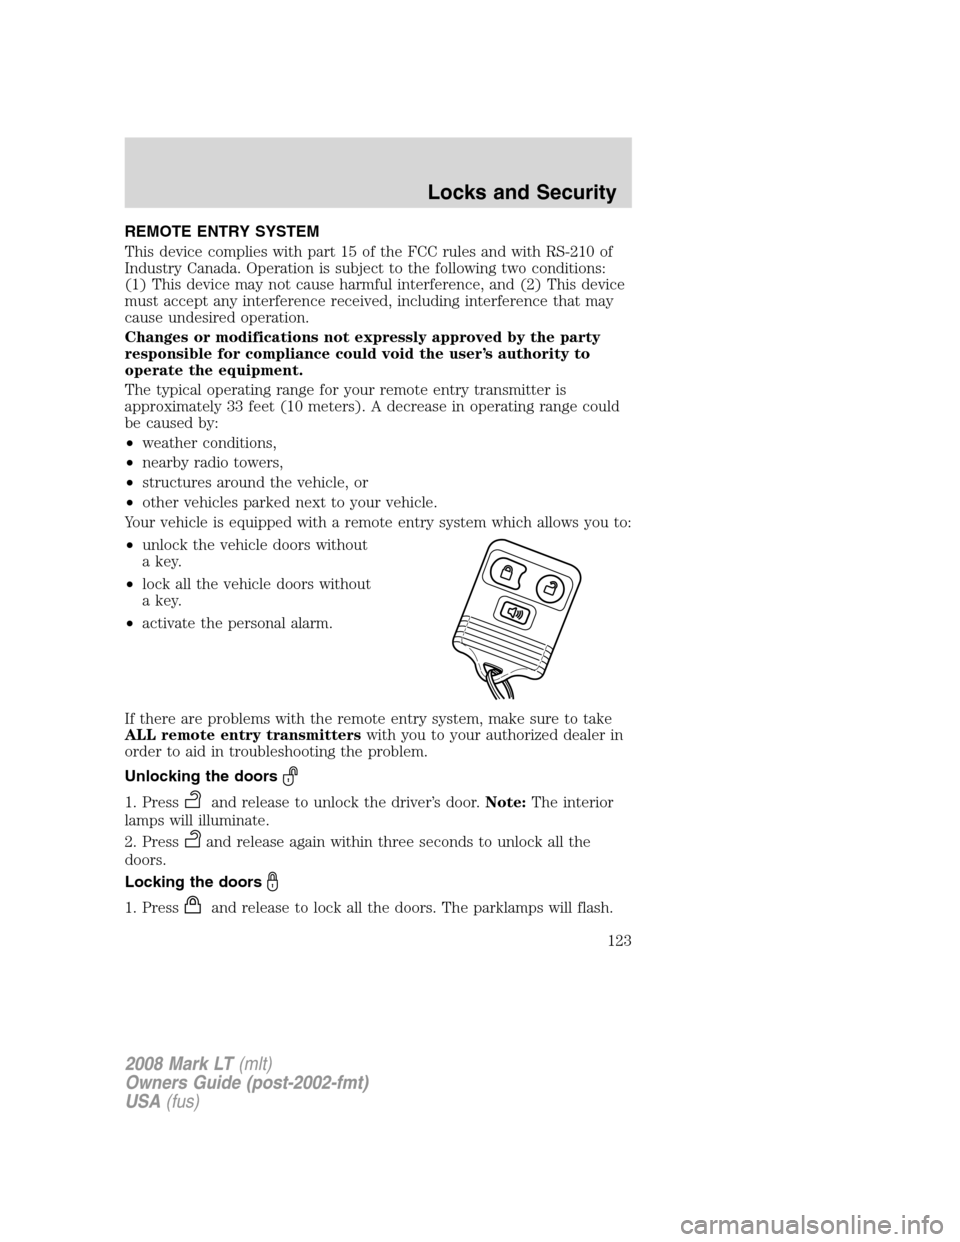
Your vehicle is equipped with a remote entry system which allows you to:
•unlock the vehicle doors without
a key.
•lock all the vehicle doors without
a key.
•activate the personal alarm.
If there are problems with the remote entry system, make sure to take
ALL remote entry transmitterswith you to your authorized dealer in
order to aid in troubleshooting the problem.
Unlocking the doors
1. Pressand release to unlock the driver’s door.Note:The interior
lamps will illuminate.
2. Press
and release again within three seconds to unlock all the
doors.
Locking the doors
1. Pressand release to lock all the doors. The parklamps will flash.
2008 Mark LT(mlt)
Owners Guide (post-2002-fmt)
USA(fus)
Locks and Security
123
Page 125 of 328
5. Turn the ignition to the 1 (OFF/LOCK) position to exit programming.
Note:After exiting the driver configuration mode, the horn will chirp
once to indicate a feature has been activated/deactivated.
Car finder
Press
twice within three seconds. The horn will chirp and the turn
lamps will flash. It is recommended that this method be used to locate
your vehicle, rather than using the panic alarm.
Sounding a panic alarm
Press
to activate the alarm. Press again or turn the ignition to 2
(ACCESSORY) or 3 (ON) to deactivate.
Note:The panic alarm will only operate when the ignition is in the 1
(OFF/LOCK) position.
Memory seat, adjustable pedals, and power mirrors (if equipped)
The remote entry system can also control the memory feature.
Press the
control once to unlock the driver’s door. Pressing the
control will automatically move the seat, adjustable pedals (if equipped)
and power mirrors to the desired memory position (the memory position
corresponds to the transmitter being used).
Activating the memory feature
To activate this feature:
1. Position the seat, adjustable pedals (if equipped), and power mirrors
to the positions you desire.
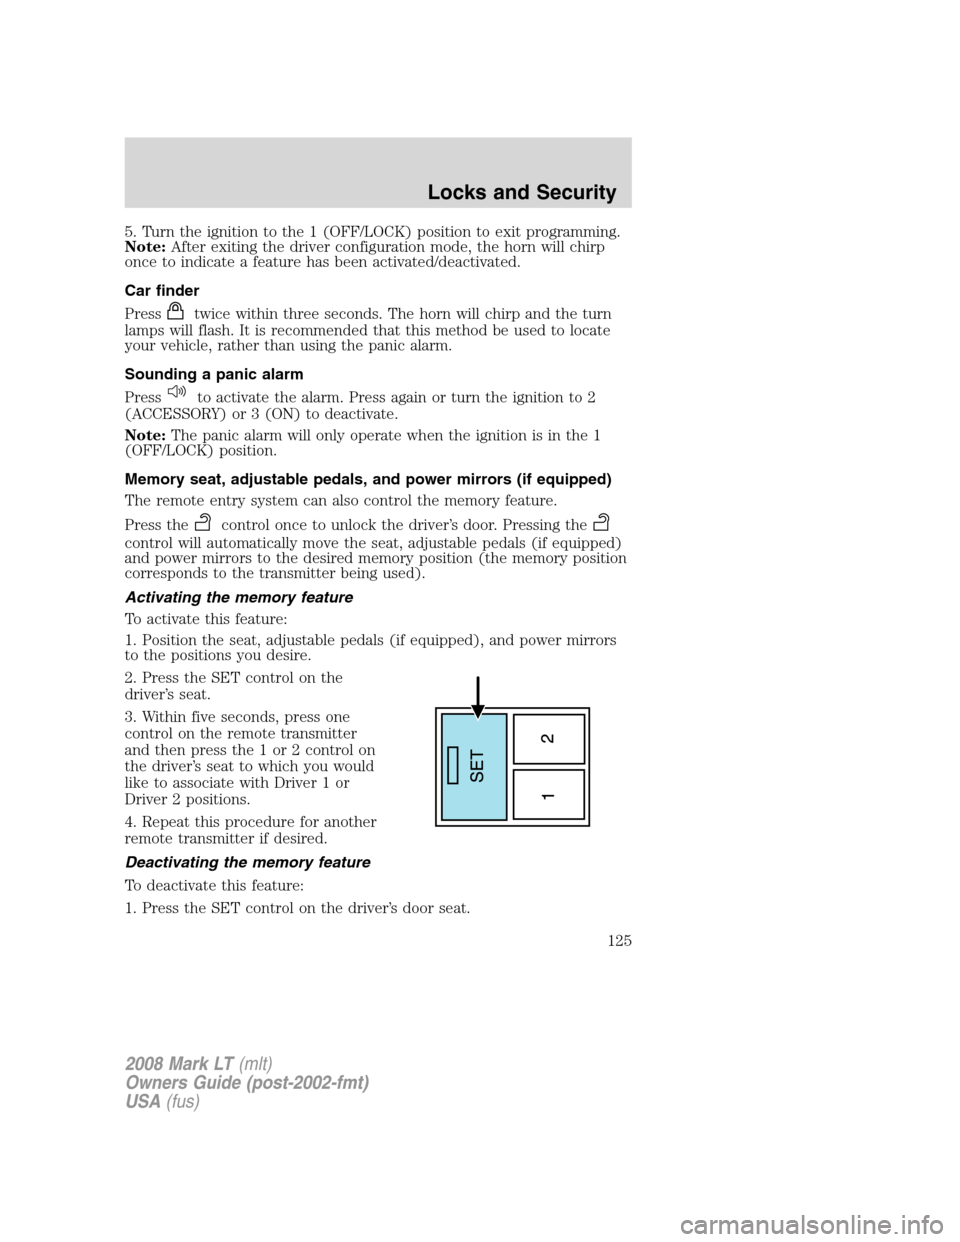
2. Press the SET control on the
driver’s seat.
3. Within five seconds, press one
control on the remote transmitter
and then press the 1 or 2 control on
the driver’s seat to which you would
like to associate with Driver 1 or
Driver 2 positions.
4. Repeat this procedure for another
remote transmitter if desired.
Deactivating the memory feature
To deactivate this feature:
1. Press the SET control on the driver’s door seat.
2008 Mark LT(mlt)
Owners Guide (post-2002-fmt)
USA(fus)
Locks and Security
125
Page 138 of 328
•To program position two, repeat the previous procedure using control
2.
A position can only be recalled when the transmission gearshift is in
Park. A memory position may be programmed at any time.
Heated seats (if equipped)
Persons who are unable to feel pain to the skin because of
advanced age, chronic illness, diabetes, spinal cord injury,
medication, alcohol use, exhaustion, or other physical conditions, must
exercise care when using the seat heater. The seat heater may cause
burns even at low temperatures, especially if used for long periods of
time. Do not place anything on the seat that insulates against heat,
such as a blanket or cushion, because this may cause the seat heater
to overheat. Do not puncture the seat with pins, needles, or other
pointed objects because this may damage the heating element which
may cause the seat heater to overheat. An overheated seat may cause
serious personal injury.
Note:Do not do the following:
•Place heavy objects on the seat
•Operate the seat heater if water or any other liquid is spilled on the
seat. Allow the seat to dry thoroughly.
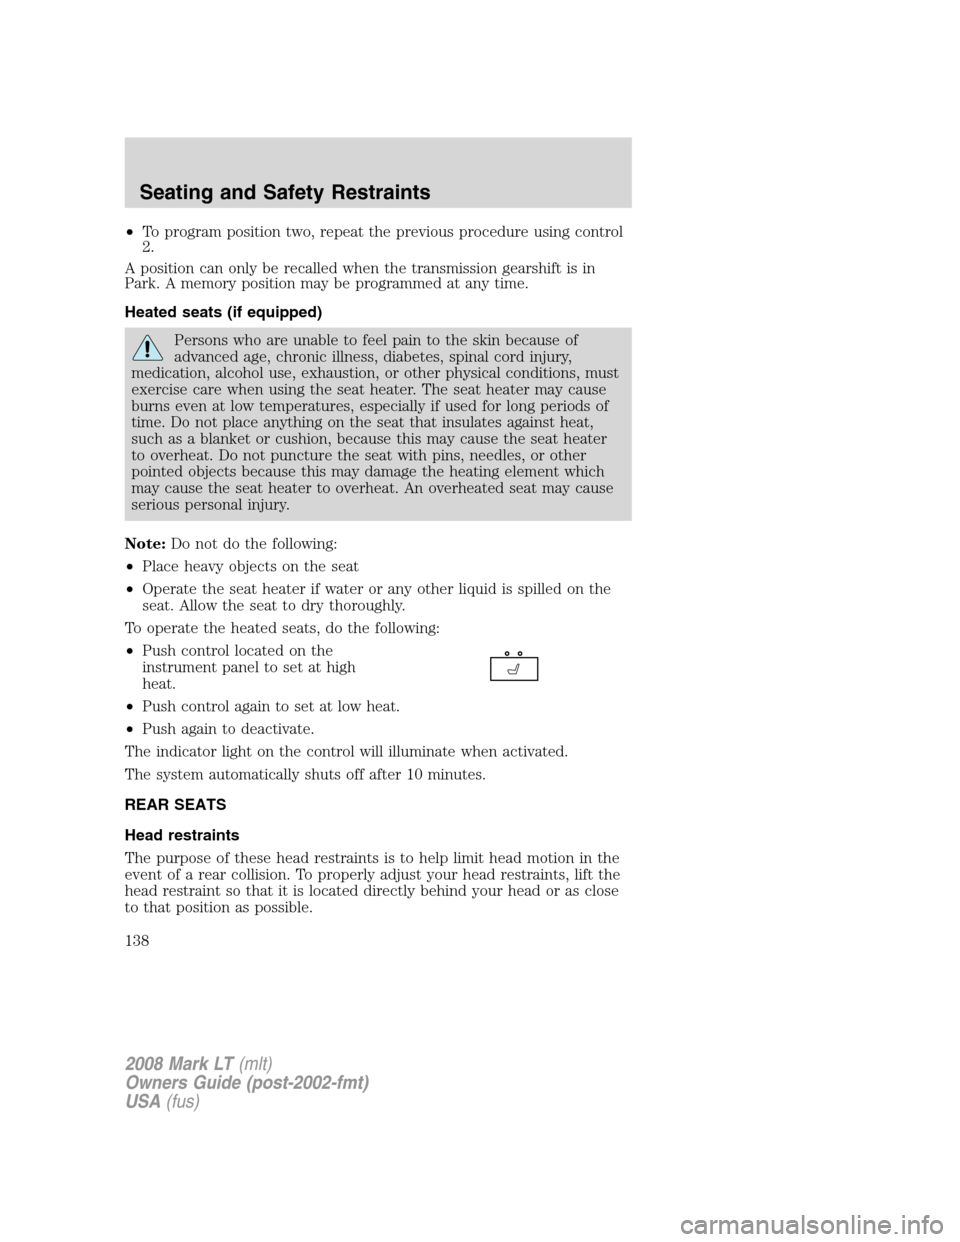
To operate the heated seats, do the following:
•Push control located on the
instrument panel to set at high
heat.
•Push control again to set at low heat.
•Push again to deactivate.
The indicator light on the control will illuminate when activated.
The system automatically shuts off after 10 minutes.
REAR SEATS
Head restraints
The purpose of these head restraints is to help limit head motion in the
event of a rear collision. To properly adjust your head restraints, lift the
head restraint so that it is located directly behind your head or as close
to that position as possible.
2008 Mark LT(mlt)
Owners Guide (post-2002-fmt)
USA(fus)
Seating and Safety Restraints
138
Page 143 of 328
Front outboard safety belt pretensioners
The safety belt pretensioners at the front outboard seating positions are
designed to tighten the safety belts firmly against the occupant’s body
during frontal collisions. This helps increase the effectiveness of the
safety belts. In frontal collisions, the safety belt pretensioners can be
activated alone or, if the collision is of sufficient severity, together with
the front airbags.
Front outboard safety belt energy management retractors
The front outboard safety belt energy management retractors allow
webbing to be pulled out of the retractor in a gradual and controlled
manner in response to the occupant’s forward momentum. This helps
reduce the risk of force-related injuries to the occupant’s chest by
limiting the load on the occupant. Refer toEnergy management
retractorssection in this chapter.
Determining if the Personal Safety System™ is operational
The Personal Safety System™ uses a warning light in the instrument
cluster or a back-up tone to indicate the condition of the system. Refer
to theWarning lights and chimessection in theInstrument Cluster
chapter. Routine maintenance of the Personal Safety System™ is not
required.
The Restraints Control Module (RCM) monitors its own internal circuits
and the circuits for the airbag supplemental restraints, crash sensor(s),
safety belt pretensioners, front safety belt buckle sensors, and the driver
seat position sensor. In addition, the RCM also monitors the restraints
warning light in the instrument cluster. A difficulty with the system is
indicated by one or more of the following.
•The warning light will either flash or stay lit.
•The warning light will not illuminate immediately after ignition is
turned on.
•A series of five beeps will be heard. The tone pattern will repeat
periodically until the problem and warning light are repaired.
If any of these things happen, even intermittently, have the Personal
Safety System™ serviced at an authorized dealer immediately. Unless
serviced, the system may not function properly in the event of a
collision.
2008 Mark LT(mlt)
Owners Guide (post-2002-fmt)
USA(fus)
Seating and Safety Restraints
143
Page 146 of 328
The front and rear safety restraints in the vehicle are combination lap
and shoulder belts. The front passenger outboard and rear outboard seat
safety belts have two types of locking modes described below:
Vehicle sensitive mode
The vehicle sensitive mode is the normal retractor mode, allowing free
shoulder belt length adjustment to your movements and locking in
response to vehicle movement. For example, if the driver brakes
suddenly or turns a corner sharply, or the vehicle receives an impact of
approximately 5 mph (8 km/h) or more, the combination safety belts will
lock to help reduce forward movement of the driver and passengers.
The front outboard safety belts can also be made to lock manually by
quickly pulling on the shoulder belt. Rear safety belts (if equipped) can
also be made to lock up by pulling quickly on the belt.
Automatic locking mode
In this mode, the shoulder belt is automatically pre-locked. The belt will
still retract to remove any slack in the shoulder belt.
The automatic locking mode is not available on the driver safety belt.
When to use the automatic locking mode
•Anytimea child safety seat is installed in a passenger front outboard
and rear seating positions. Children 12 years old and under should be
properly restrained in the rear seat whenever possible. Refer toSafety
Restraints for ChildrenorSafety Seats for Childrenlater in this
chapter.
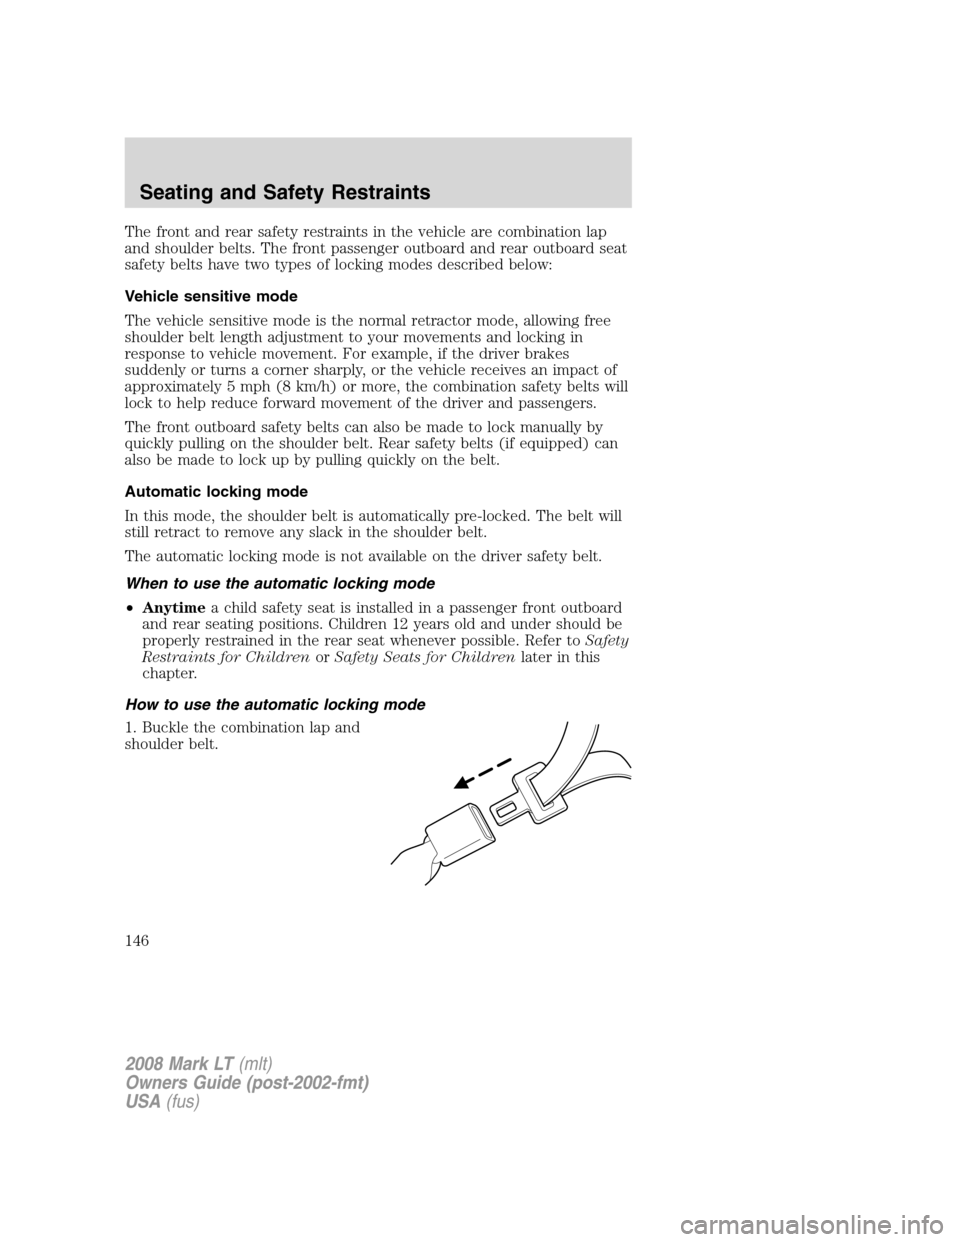
How to use the automatic locking mode
1. Buckle the combination lap and
shoulder belt.
2008 Mark LT(mlt)
Owners Guide (post-2002-fmt)
USA(fus)
Seating and Safety Restraints
146
Page 164 of 328
![LINCOLN MARK LT 2008 User Guide or younger and who weigh 40 lb [18 kg] or less) ride in your vehicle, you
must put them in safety seats made especially for children. Many states
require that children use approved booster seats until LINCOLN MARK LT 2008 User Guide or younger and who weigh 40 lb [18 kg] or less) ride in your vehicle, you
must put them in safety seats made especially for children. Many states
require that children use approved booster seats until](/img/15/6999/w960_6999-163.png)
or younger and who weigh 40 lb [18 kg] or less) ride in your vehicle, you
must put them in safety seats made especially for children. Many states
require that children use approved booster seats until they are eight
years old. Check your local and state or provincial laws for specific
requirements regarding the safety of children in your vehicle. When
possible, always place children under age 12 in the rear seat of your
vehicle. Accident statistics suggest that children are safer when properly
restrained in the rear seating positions than in the front seating position.
Never let a passenger hold a child on his or her lap while the
vehicle is moving. The passenger cannot protect the child from
injury in a collision.
Always follow the instructions and warnings that come with any infant or
child restraint you might use.
Children and safety belts
If the child is the proper size, restrain the child in a safety seat. Children
who are too large for child safety seats (as specified by your child safety
seat manufacturer) should always wear safety belts.
Follow all the important safety restraint and airbag precautions that
apply to adult passengers in your vehicle.
If the shoulder belt portion of a combination lap and shoulder belt can
be positioned so it does not cross or rest in front of the child’s face or
neck, the child should wear the lap and shoulder belt. Moving the child
closer to the center of the vehicle may help provide a good shoulder belt
fit.
Do not leave children, unreliable adults, or pets unattended in
your vehicle.
Child booster seats
Children outgrow a typical convertible or toddler seat when they weigh
40 lb (18 kg) and are around 4 years of age. Although the lap/shoulder
belt will provide some protection, these children are still too small for
lap/shoulder belts to fit properly, which could increase the risk of serious
injury in a crash.
To improve the fit of both the lap and shoulder belt on children who
have outgrown child safety seats, Ford Motor Company recommends use
of a belt-positioning booster.
2008 Mark LT(mlt)
Owners Guide (post-2002-fmt)
USA(fus)
Seating and Safety Restraints
164
Page 177 of 328
Power is supplied to all four wheels through a transfer case or power
transfer unit. 4WD vehicles allow you to select different drive modes as
necessary. Information on transfer case operation and shifting procedures
can be found in theDrivingchapter. Information on transfer case
maintenance can be found in theMaintenance and Specifications
chapter. You should become thoroughly familiar with this information
before you operate your vehicle.
On some 4WD models, the initial shift from two-wheel drive to 4WD
while the vehicle is moving can cause a momentary clunk and ratcheting
sound. These sounds are normal as the front drivetrain comes up to
speed and is not cause for concern.
Do not become overconfident in the ability of 4WD and AWD
vehicles. Although a 4WD or AWD vehicle may accelerate better
than two-wheel drive vehicle in low traction situations, it won’t stop
any faster than two-wheel drive vehicles. Always drive at a safe speed.
How your vehicle differs from other vehicles
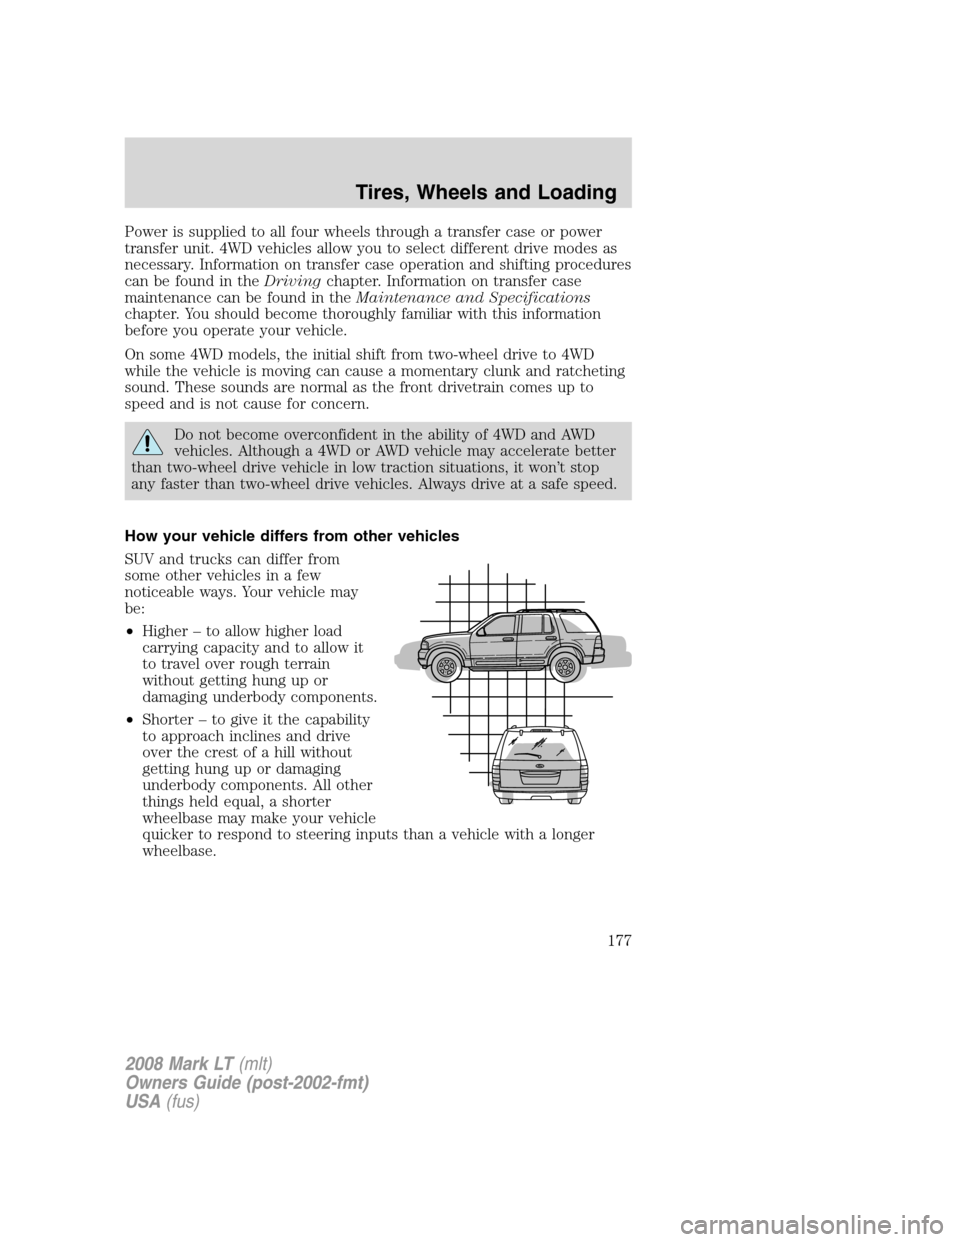
SUV and trucks can differ from
some other vehicles in a few
noticeable ways. Your vehicle may
be:
•Higher – to allow higher load
carrying capacity and to allow it
to travel over rough terrain
without getting hung up or
damaging underbody components.
•Shorter – to give it the capability
to approach inclines and drive
over the crest of a hill without
getting hung up or damaging
underbody components. All other
things held equal, a shorter
wheelbase may make your vehicle
quicker to respond to steering inputs than a vehicle with a longer
wheelbase.
2008 Mark LT(mlt)
Owners Guide (post-2002-fmt)
USA(fus)
Tires, Wheels and Loading
177
Page 179 of 328
Treadwear
The treadwear grade is a comparative rating based on the wear rate of
the tire when tested under controlled conditions on a specified
government test course. For example, a tire graded 150 would wear one
and one-half (1 1/2) times as well on the government course as a tire
graded 100. The relative performance of tires depends upon the actual
conditions of their use, however, and may depart significantly from the
norm due to variations in driving habits, service practices, and
differences in road characteristics and climate.
Traction AA A B C
The traction grades, from highest to lowest are AA, A, B, and C. The
grades represent the tire’s ability to stop on wet pavement as measured
under controlled conditions on specified government test surfaces of
asphalt and concrete. A tire marked C may have poor traction
performance.
The traction grade assigned to this tire is based on
straight-ahead braking traction tests, and does not include
acceleration, cornering, hydroplaning or peak traction characteristics.
Temperature A B C
The temperature grades are A (the highest), B and C, representing the
tire’s resistance to the generation of heat and its ability to dissipate heat
when tested under controlled conditions on a specified indoor laboratory
test wheel. Sustained high temperature can cause the material of the tire
to degenerate and reduce tire life, and excessive temperature can lead to
sudden tire failure. The grade C corresponds to a level of performance
which all passenger car tires must meet under the Federal Motor Vehicle
Safety Standard No. 139. Grades B and A represent higher levels of
performance on the laboratory test wheel than the minimum required by
law.
The temperature grade for this tire is established for a tire that
is properly inflated and not overloaded. Excessive speed,
underinflation, or excessive loading, either separately or in
combination, can cause heat buildup and possible tire failure.
2008 Mark LT(mlt)
Owners Guide (post-2002-fmt)
USA(fus)
Tires, Wheels and Loading
179
Page 182 of 328
The cold inflation pressure should never be set lower than the
recommended pressure on the Safety Compliance Certification Label or
Tire Label.
When weather temperature changes occur, tire inflation pressures also
change. A 10°F (6°C) temperature drop can cause a corresponding drop
of 1 psi (7 kPa) in inflation pressure. Check your tire pressures
frequently and adjust them to the proper pressure which can be found
on the Safety Compliance Certification Label or Tire Label.
To check the pressure in your tire(s):
1. Make sure the tires are cool, meaning they are not hot from driving
even a mile.
If you are checking tire pressure when the tire is hot, (i.e. driven more
than 1 mile [1.6 km]), never “bleed” or reduce air pressure. The tires are
hot from driving and it is normal for pressures to increase above
recommended cold pressures. A hot tire at or below recommended cold
inflation pressure could be significantly under-inflated.
Note:If you have to drive a distance to get air for your tire(s), check
and record the tire pressure first and add the appropriate air pressure
when you get to the pump. It is normal for tires to heat up and the air
pressure inside to go up as you drive.
2. Remove the cap from the valve on one tire, then firmly press the tire
gauge onto the valve and measure the pressure.
3. Add enough air to reach the recommended air pressure.
Note:If you overfill the tire, release air by pushing on the metal stem in
the center of the valve. Then recheck the pressure with your tire gauge.
4. Replace the valve cap.
5. Repeat this procedure for each tire, including the spare.
Note:Some spare tires operate at a higher inflation pressure than the
other tires. For T-type/mini-spare tires (seeDissimilar Spare
Tire/Wheel Informationsection for description): Store and maintain at
60 psi (4.15 bar). For Full Size and Dissimilar spare tires (see
Dissimilar Spare Tire/Wheel Informationsection for description):
Store and maintain at the higher of the front and rear inflation pressure
as shown on the Tire Label.
6. Visually inspect the tires to make sure there are no nails or other
objects embedded that could poke a hole in the tire and cause an air
leak.
7. Check the sidewalls to make sure there are no gouges, cuts or bulges.
2008 Mark LT(mlt)
Owners Guide (post-2002-fmt)
USA(fus)
Tires, Wheels and Loading
182