interior lights LINCOLN MKS 2009 Owners Manual
[x] Cancel search | Manufacturer: LINCOLN, Model Year: 2009, Model line: MKS, Model: LINCOLN MKS 2009Pages: 323, PDF Size: 2.58 MB
Page 46 of 323
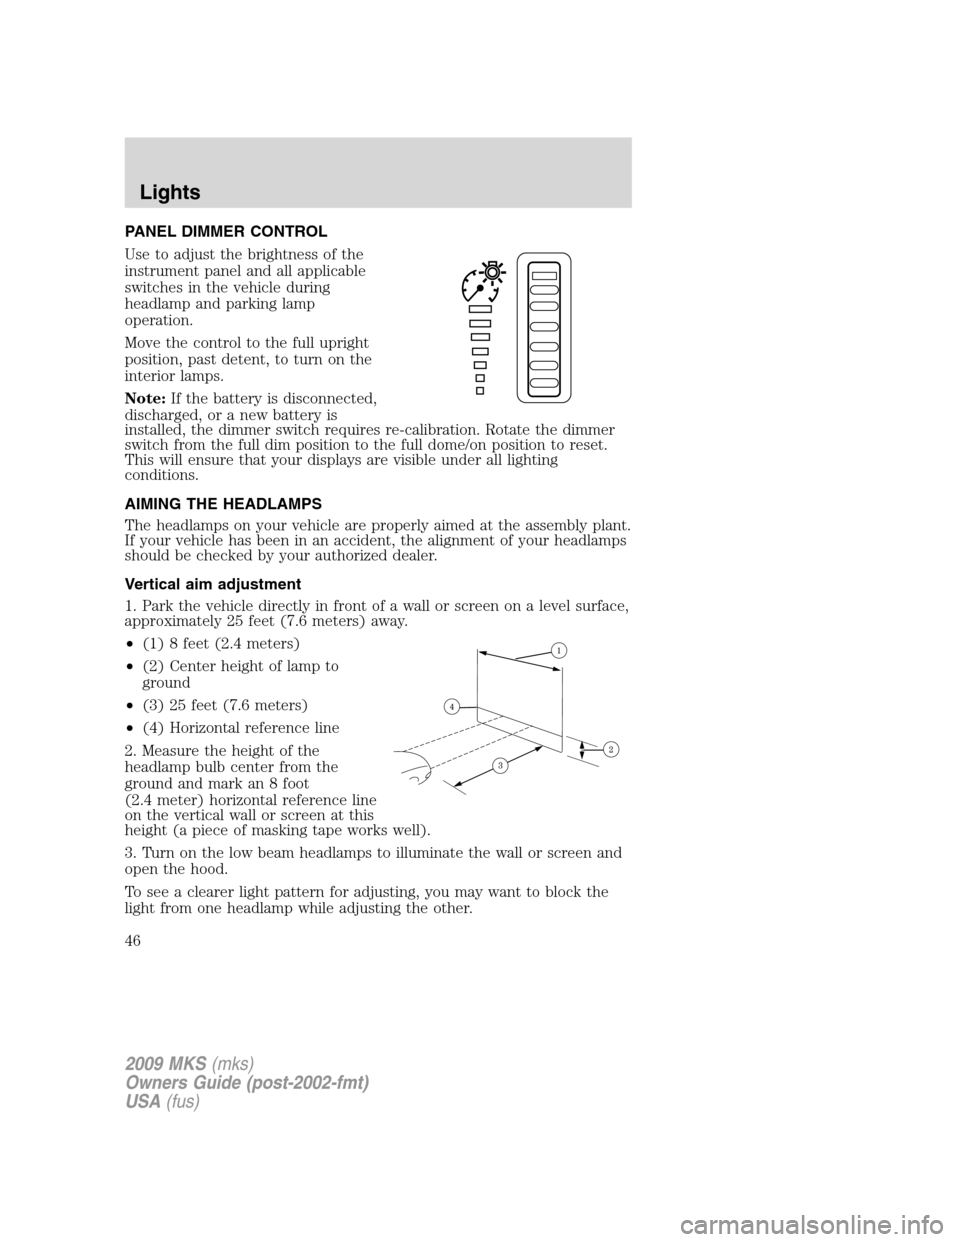
PANEL DIMMER CONTROL
Use to adjust the brightness of the
instrument panel and all applicable
switches in the vehicle during
headlamp and parking lamp
operation.
Move the control to the full upright
position, past detent, to turn on the
interior lamps.
Note:If the battery is disconnected,
discharged, or a new battery is
installed, the dimmer switch requires re-calibration. Rotate the dimmer
switch from the full dim position to the full dome/on position to reset.
This will ensure that your displays are visible under all lighting
conditions.
AIMING THE HEADLAMPS
The headlamps on your vehicle are properly aimed at the assembly plant.
If your vehicle has been in an accident, the alignment of your headlamps
should be checked by your authorized dealer.
Vertical aim adjustment
1. Park the vehicle directly in front of a wall or screen on a level surface,
approximately 25 feet (7.6 meters) away.
•(1) 8 feet (2.4 meters)
•(2) Center height of lamp to
ground
•(3) 25 feet (7.6 meters)
•(4) Horizontal reference line
2. Measure the height of the
headlamp bulb center from the
ground and mark an 8 foot
(2.4 meter) horizontal reference line
on the vertical wall or screen at this
height (a piece of masking tape works well).
3. Turn on the low beam headlamps to illuminate the wall or screen and
open the hood.
To see a clearer light pattern for adjusting, you may want to block the
light from one headlamp while adjusting the other.
2009 MKS(mks)
Owners Guide (post-2002-fmt)
USA(fus)
Lights
46
Page 48 of 323
INTERIOR LAMPS
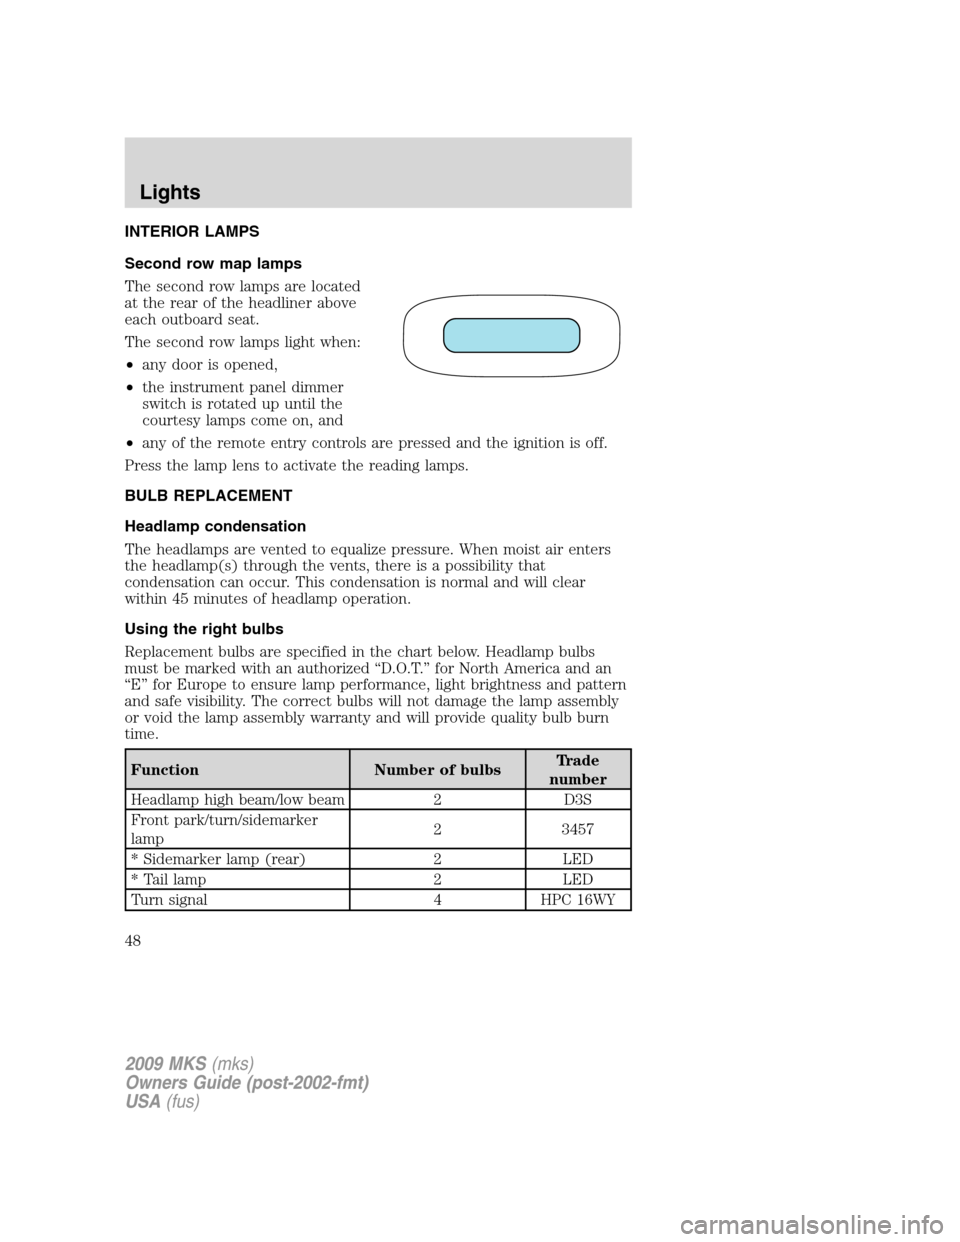
Second row map lamps
The second row lamps are located
at the rear of the headliner above
each outboard seat.
The second row lamps light when:
•any door is opened,
•the instrument panel dimmer
switch is rotated up until the
courtesy lamps come on, and
•any of the remote entry controls are pressed and the ignition is off.
Press the lamp lens to activate the reading lamps.
BULB REPLACEMENT
Headlamp condensation
The headlamps are vented to equalize pressure. When moist air enters
the headlamp(s) through the vents, there is a possibility that
condensation can occur. This condensation is normal and will clear
within 45 minutes of headlamp operation.
Using the right bulbs
Replacement bulbs are specified in the chart below. Headlamp bulbs
must be marked with an authorized “D.O.T.” for North America and an
“E” for Europe to ensure lamp performance, light brightness and pattern
and safe visibility. The correct bulbs will not damage the lamp assembly
or void the lamp assembly warranty and will provide quality bulb burn
time.
Function Number of bulbsTrade
number
Headlamp high beam/low beam 2 D3S
Front park/turn/sidemarker
lamp2 3457
* Sidemarker lamp (rear) 2 LED
* Tail lamp 2 LED
Turn signal 4 HPC 16WY
2009 MKS(mks)
Owners Guide (post-2002-fmt)
USA(fus)
Lights
48
Page 49 of 323
Function Number of bulbsTrade
number
License plate lamp 2 168
* High-mount brake lamp 1 LED
Fog lamp (if equipped) 2 H11
Map lamp 2 12V6W
Dome/reading lamps 3 578
To replace all instrument panel lights, see your authorized dealer.
* To replace these lamps, see your authorized dealer.
Replacing the interior bulbs
Check the operation of all bulbs frequently.
Replacing exterior bulbs
Check the operation of all the bulbs frequently.
Replacing HID headlamp bulbs
The headlamps on your vehicle use a “high intensity discharge” source.
These lamps operate at a high voltage. When the bulb is burned out, the
bulb assembly must be replaced by your authorized dealer.
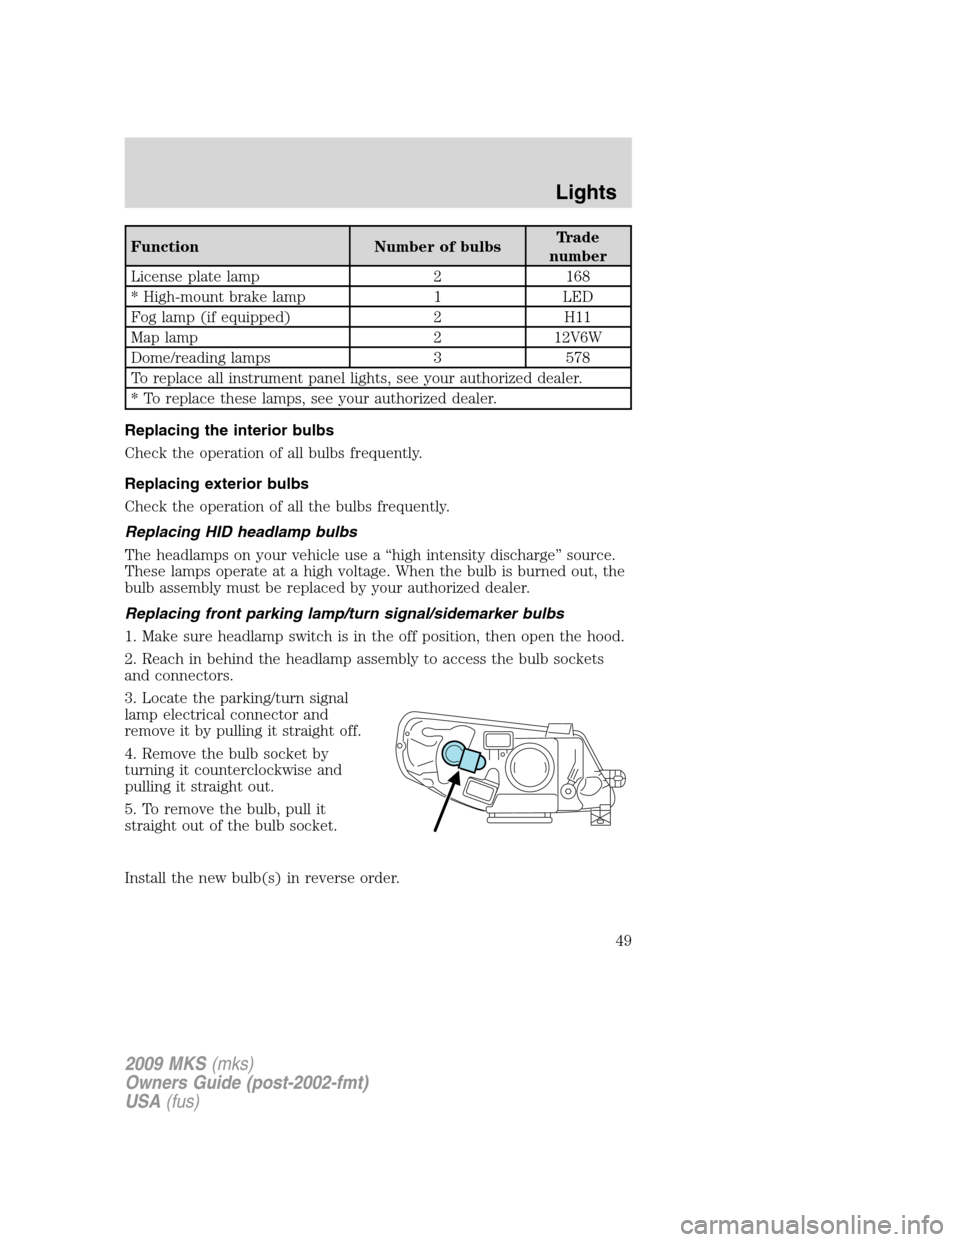
Replacing front parking lamp/turn signal/sidemarker bulbs
1. Make sure headlamp switch is in the off position, then open the hood.
2. Reach in behind the headlamp assembly to access the bulb sockets
and connectors.
3. Locate the parking/turn signal
lamp electrical connector and
remove it by pulling it straight off.
4. Remove the bulb socket by
turning it counterclockwise and
pulling it straight out.
5. To remove the bulb, pull it
straight out of the bulb socket.
Install the new bulb(s) in reverse order.
2009 MKS(mks)
Owners Guide (post-2002-fmt)
USA(fus)
Lights
49
Page 59 of 323
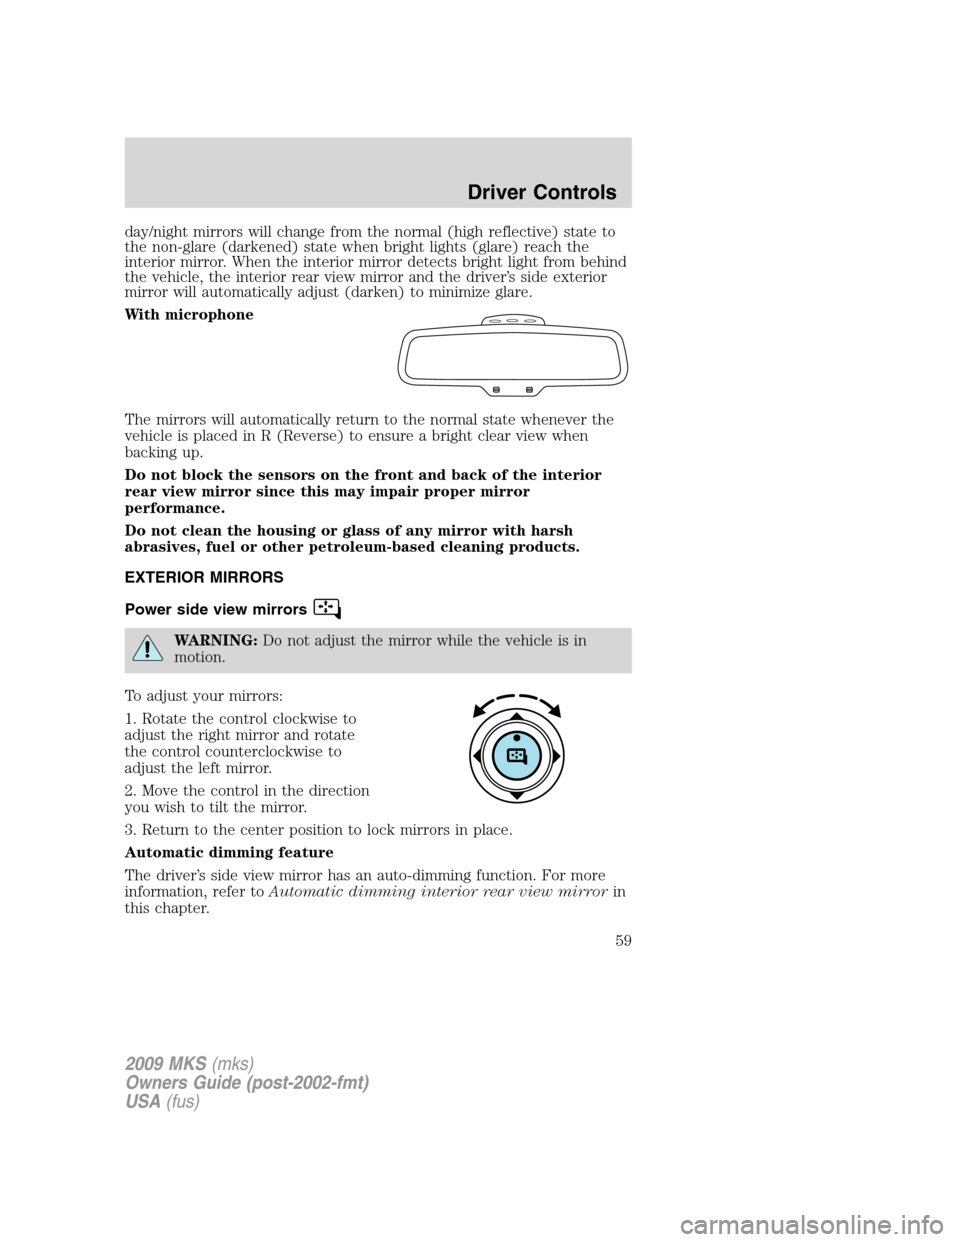
day/night mirrors will change from the normal (high reflective) state to
the non-glare (darkened) state when bright lights (glare) reach the
interior mirror. When the interior mirror detects bright light from behind
the vehicle, the interior rear view mirror and the driver’s side exterior
mirror will automatically adjust (darken) to minimize glare.
With microphone
The mirrors will automatically return to the normal state whenever the
vehicle is placed in R (Reverse) to ensure a bright clear view when
backing up.
Do not block the sensors on the front and back of the interior
rear view mirror since this may impair proper mirror
performance.
Do not clean the housing or glass of any mirror with harsh
abrasives, fuel or other petroleum-based cleaning products.
EXTERIOR MIRRORS
Power side view mirrors
WARNING:Do not adjust the mirror while the vehicle is in
motion.
To adjust your mirrors:
1. Rotate the control clockwise to
adjust the right mirror and rotate
the control counterclockwise to
adjust the left mirror.
2. Move the control in the direction
you wish to tilt the mirror.
3. Return to the center position to lock mirrors in place.
Automatic dimming feature
The driver’s side view mirror has an auto-dimming function. For more
information, refer toAutomatic dimming interior rear view mirrorin
this chapter.
2009 MKS(mks)
Owners Guide (post-2002-fmt)
USA(fus)
Driver Controls
59
Page 104 of 323
(Note:If two stage unlocking is disabled, all doors will unlock when you
press any button on the keyless entry keypad).
Activating Intelligent Access at the Trunk:If your Intelligent Access
Key is within 3 feet (1 meter) of the trunk, you can activate your
Intelligent Access system by pressing the exterior trunk release button,
hidden under the trim above the license plate. The trunk will release and
open.
Refer to theRemote entry systemin this section for more details on
how to use the lock, unlock, panic, or trunk buttons on the transmitter.
Your Intelligent Access system uses a RF signal to communicate with
your vehicle and authorize your vehicle to unlock when commanded
(either by pressing any keyless entry keypad button, the trunk button, or
a button on the transmitter itself). If excessive RF interference is
present in the area, or if your vehicle battery is low, it may be necessary
to mechanically unlock your door. The mechanical key blade in your
Intelligent Access Key can be used to open the driver’s door in this
situation (refer toIntelligent access keyin this chapter for more
information on the location and use of the mechanical key blade).
A mechanical key is needed for access if the Intelligent Access Key
battery or vehicle battery is low.
Push button startYour vehicle is equipped with a push button start
system, which allows you to start your vehicle without using a key. To
operate the push button start system and start your vehicle, your
Intelligent Access Key must be present inside the vehicle, either in the
passenger compartment or in the trunk. Refer toPush button startin
theDrivingchapter.
Unlocking the doors/two stage unlock
1. Pressand release to unlock the driver’s door.Note:The interior
lamps will illuminate.
2. Press
and release again within three seconds to unlock all the
doors.
The remote entry system activates the illuminated entry feature; this
feature turns on the lamps for 25 seconds or until the ignition is turned
on.
The inside lights will not turn off if:
•they have been turned on using the dimmer control or
•any door is open.
2009 MKS(mks)
Owners Guide (post-2002-fmt)
USA(fus)
Locks and Security
104
Page 108 of 323
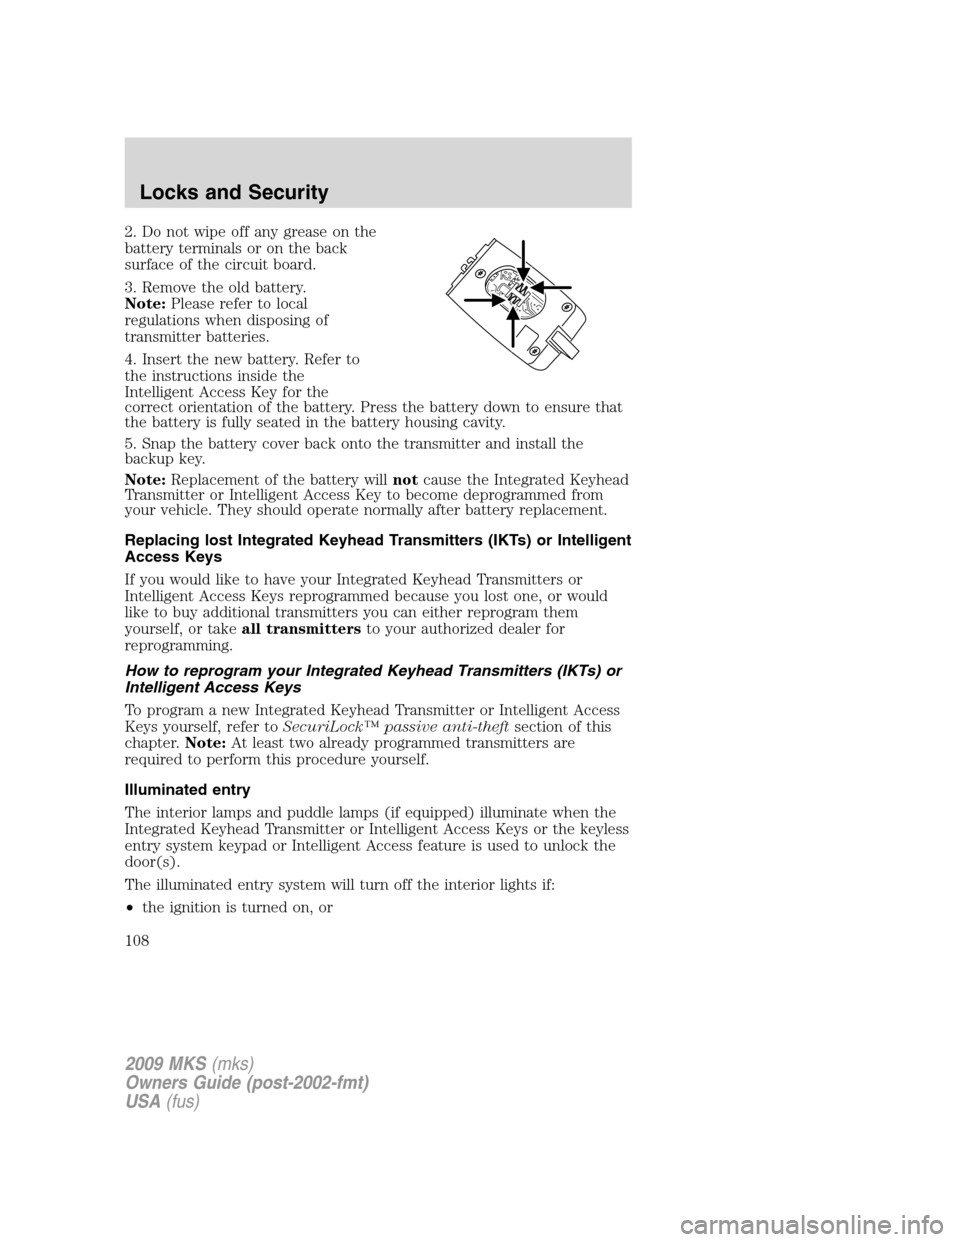
2. Do not wipe off any grease on the
battery terminals or on the back
surface of the circuit board.
3. Remove the old battery.
Note:Please refer to local
regulations when disposing of
transmitter batteries.
4. Insert the new battery. Refer to
the instructions inside the
Intelligent Access Key for the
correct orientation of the battery. Press the battery down to ensure that
the battery is fully seated in the battery housing cavity.
5. Snap the battery cover back onto the transmitter and install the
backup key.
Note:Replacement of the battery willnotcause the Integrated Keyhead
Transmitter or Intelligent Access Key to become deprogrammed from
your vehicle. They should operate normally after battery replacement.
Replacing lost Integrated Keyhead Transmitters (IKTs) or Intelligent
Access Keys
If you would like to have your Integrated Keyhead Transmitters or
Intelligent Access Keys reprogrammed because you lost one, or would
like to buy additional transmitters you can either reprogram them
yourself, or takeall transmittersto your authorized dealer for
reprogramming.
How to reprogram your Integrated Keyhead Transmitters (IKTs) or
Intelligent Access Keys
To program a new Integrated Keyhead Transmitter or Intelligent Access
Keys yourself, refer toSecuriLock™ passive anti-theftsection of this
chapter.Note:At least two already programmed transmitters are
required to perform this procedure yourself.
Illuminated entry
The interior lamps and puddle lamps (if equipped) illuminate when the
Integrated Keyhead Transmitter or Intelligent Access Keys or the keyless
entry system keypad or Intelligent Access feature is used to unlock the
door(s).
The illuminated entry system will turn off the interior lights if:
•the ignition is turned on, or
2009 MKS(mks)
Owners Guide (post-2002-fmt)
USA(fus)
Locks and Security
108
Page 110 of 323
1. Turn the ignition on.
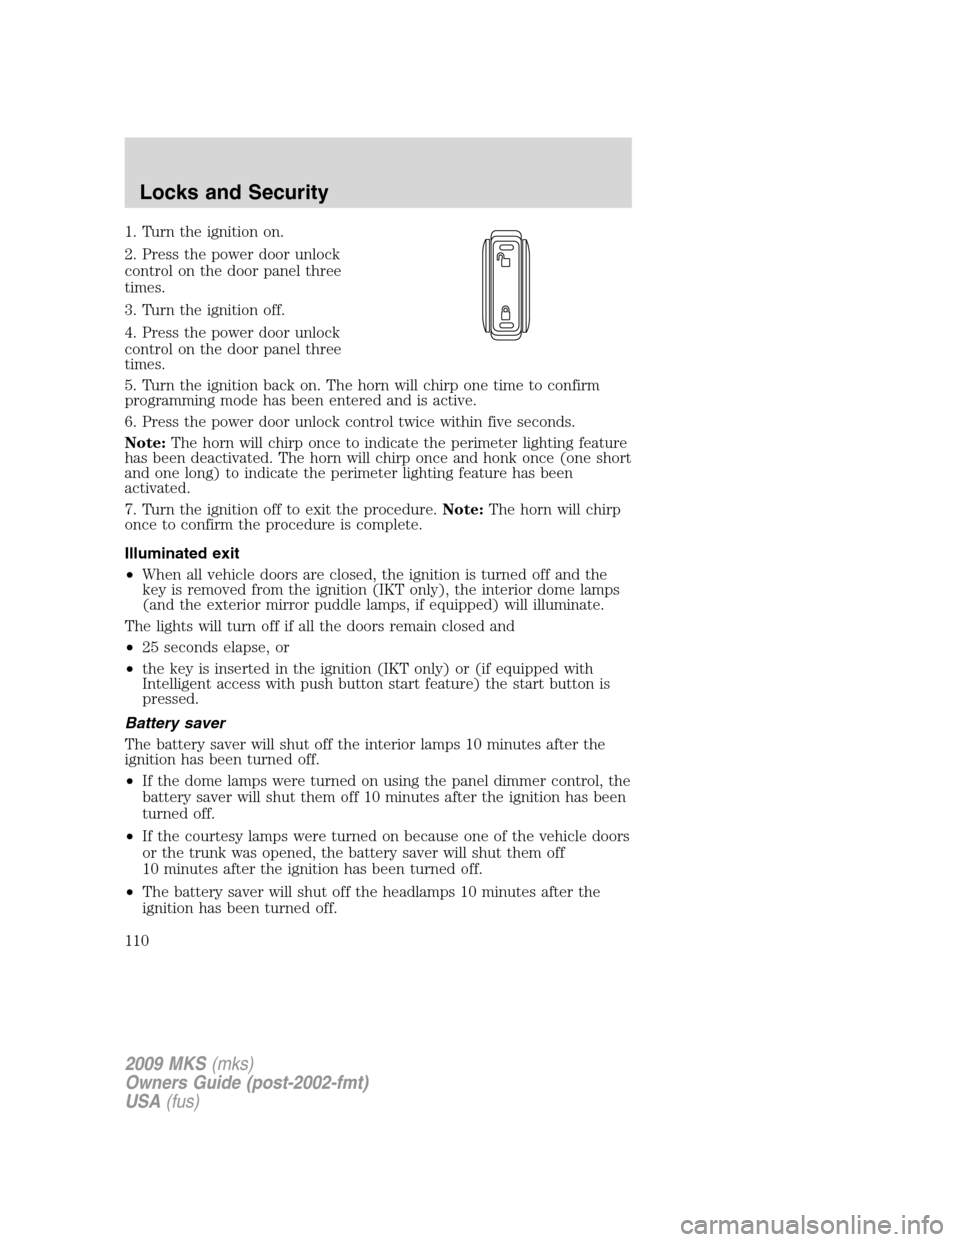
2. Press the power door unlock
control on the door panel three
times.
3. Turn the ignition off.
4. Press the power door unlock
control on the door panel three
times.
5. Turn the ignition back on. The horn will chirp one time to confirm
programming mode has been entered and is active.
6. Press the power door unlock control twice within five seconds.
Note:The horn will chirp once to indicate the perimeter lighting feature
has been deactivated. The horn will chirp once and honk once (one short
and one long) to indicate the perimeter lighting feature has been
activated.
7. Turn the ignition off to exit the procedure.Note:The horn will chirp
once to confirm the procedure is complete.
Illuminated exit
•When all vehicle doors are closed, the ignition is turned off and the
key is removed from the ignition (IKT only), the interior dome lamps
(and the exterior mirror puddle lamps, if equipped) will illuminate.
The lights will turn off if all the doors remain closed and
•25 seconds elapse, or
•the key is inserted in the ignition (IKT only) or (if equipped with
Intelligent access with push button start feature) the start button is
pressed.
Battery saver
The battery saver will shut off the interior lamps 10 minutes after the
ignition has been turned off.
•If the dome lamps were turned on using the panel dimmer control, the
battery saver will shut them off 10 minutes after the ignition has been
turned off.
•If the courtesy lamps were turned on because one of the vehicle doors
or the trunk was opened, the battery saver will shut them off
10 minutes after the ignition has been turned off.
•The battery saver will shut off the headlamps 10 minutes after the
ignition has been turned off.
2009 MKS(mks)
Owners Guide (post-2002-fmt)
USA(fus)
Locks and Security
110
Page 321 of 323
Instrument panel
cleaning ...................................275
cluster ........................................10
lighting up panel and
interior .......................................46
Intelligent Access Key ................93
Intelligent Access with push
button start ...............................103
J
Jack ............................................248
positioning ...............................248
storage .....................................248
Jump-starting your vehicle ......256
K
Keyless entry system ...............111
autolock .....................................96
keypad .....................................111
locking and unlocking doors ..112
programming entry code .......111
Keys .....................................91, 114
positions of the ignition .........208
L
Lamps
autolamp system .......................40
bulb replacement
specifications chart ..................48
daytime running light ...............45
fog lamps ...................................41
headlamps .................................40
headlamps, flash to pass ..........45
instrument panel, dimming .....46
interior lamps .....................48–49
LATCH anchors .........................168
Lights, warning and indicator ....10anti-lock brakes (ABS) ..........216
Load limits .................................198
Locks
autolock .....................................96
childproof ................................100
doors ..........................................94
Lubricant specifications ...........311
Lug nuts ....................................255
Lumbar support, seats .............125
M
Message center .....................78–79
english/metric button ...............82
system check button ................81
warning messages .....................84
Mirrors ...................................58–59
automatic dimming rearview
mirror ........................................58
heated ............................32, 35, 60
programmable memory ..........106
side view mirrors (power) .......59
Moon roof ....................................73
Motorcraft parts ........278, 294, 310
N
Navigation system .......................31
O
Octane rating ............................298
Oil (see Engine oil) ..................283
P
Park Assist ................................227
Parking brake ............................217
Parts (see Motorcraft parts) ....310
2009 MKS(mks)
Owners Guide (post-2002-fmt)
USA(fus)
Index
321