center console LINCOLN MKS 2015 Owners Manual
[x] Cancel search | Manufacturer: LINCOLN, Model Year: 2015, Model line: MKS, Model: LINCOLN MKS 2015Pages: 424, PDF Size: 3.96 MB
Page 5 of 424
Wipers and Washers
Windshield Wipers.............................................69
Autowipers............................................................69
Windshield Washers
..........................................70
Lighting
Lighting Control
....................................................71
Autolamps..............................................................71
Instrument Lighting Dimmer...........................72
Headlamp Exit Delay.........................................73
Daytime Running Lamps..................................73
Automatic High Beam Control
.......................74
Front Fog Lamps.................................................75
Adaptive Headlamps.........................................75
Direction Indicators
............................................76
Interior Lamps
......................................................76
Ambient Lighting
.................................................77
Windows and Mirrors
Power Windows
...................................................78
Exterior Mirrors.....................................................79
Interior Mirror
.......................................................80
Sun Visors
...............................................................81
Sun Shades
............................................................81
Moonroof................................................................81 Instrument Cluster
Gauges....................................................................83
Warning Lamps and Indicators.....................84
Audible Warnings and Indicators.................86
Information Displays
General Information..........................................88
Information Messages
......................................94
Climate Control
Automatic Climate Control
...........................105
Hints on Controlling the Interior Climate.............................................................106
Heated Windows and Mirrors
.......................107
Cabin Air Filter....................................................108
Remote Start......................................................108
Seats
Sitting in the Correct Position......................109
Head Restraints
.................................................109
Power Seats..........................................................111
Memory Function
...............................................114
Climate Controlled Seats
................................115
Rear Seat Armrest..............................................117 Universal Garage Door Opener
Universal Garage Door Opener.....................119
Auxiliary Power Points
Auxiliary Power Points
.....................................123
Storage Compartments
Center Console
...................................................125
Overhead Console.............................................125
Starting and Stopping the Engine
General Information
.........................................126
Keyless Starting
.................................................126
Starting a Gasoline Engine.............................127
Engine Block Heater
.........................................129
Fuel and Refueling
Safety Precautions.............................................131
Fuel Quality
..........................................................132
Running Out of Fuel..........................................132
Refueling...............................................................134
Fuel Consumption
............................................135
Emission Control System...............................136
2
MKS (), enUSA Table of Contents
Page 84 of 424
Auto-Dimming Mirror
Note:
Do not block the sensors on the front
and back of the mirror. Mirror performance
may be affected. A rear center passenger or
raised rear center head restraint may also
block light from reaching the sensor.
The mirror will dim automatically to reduce
glare when bright lights are detected from
behind your vehicle. It will automatically
return to normal reflection when you select
reverse gear to make sure you have a clear
view when backing up.
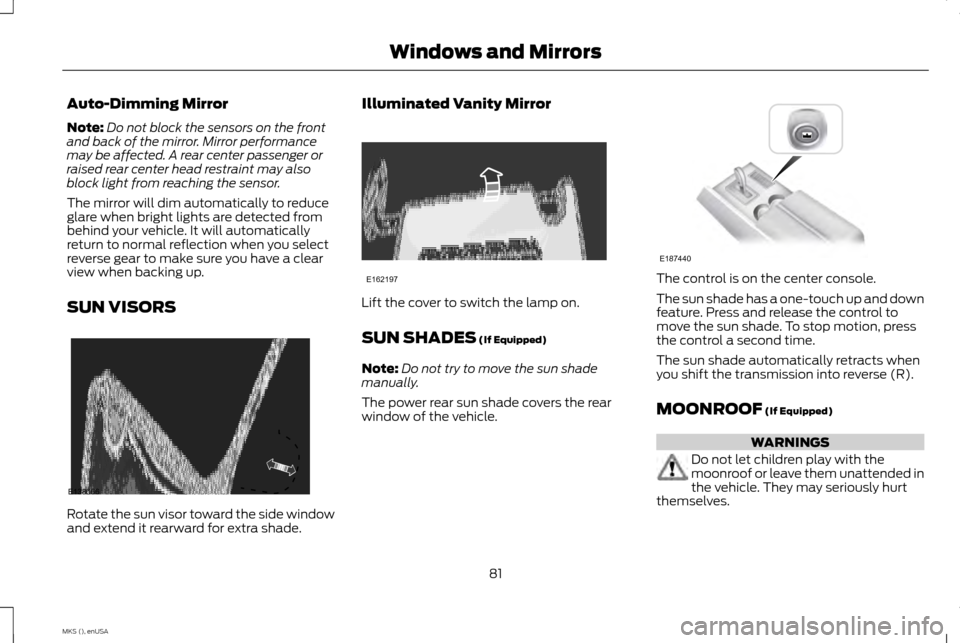
SUN VISORS Rotate the sun visor toward the side window
and extend it rearward for extra shade. Illuminated Vanity Mirror
Lift the cover to switch the lamp on.
SUN SHADES (If Equipped)
Note: Do not try to move the sun shade
manually.
The power rear sun shade covers the rear
window of the vehicle. The control is on the center console.
The sun shade has a one-touch up and down
feature. Press and release the control to
move the sun shade. To stop motion, press
the control a second time.
The sun shade automatically retracts when
you shift the transmission into reverse (R).
MOONROOF
(If Equipped)
WARNINGS
Do not let children play with the
moonroof or leave them unattended in
the vehicle. They may seriously hurt
themselves.
81
MKS (), enUSA Windows and MirrorsE138666 E162197 E187440
Page 120 of 424
•
Place heavy objects on the seat.
• Operate the seat heater if water or any
other liquid is spilled on the seat. Allow
the seat to dry thoroughly.
The rear seat heat controls are located on
the rear of the center console.
The heated seats only operate when the
ignition is on.
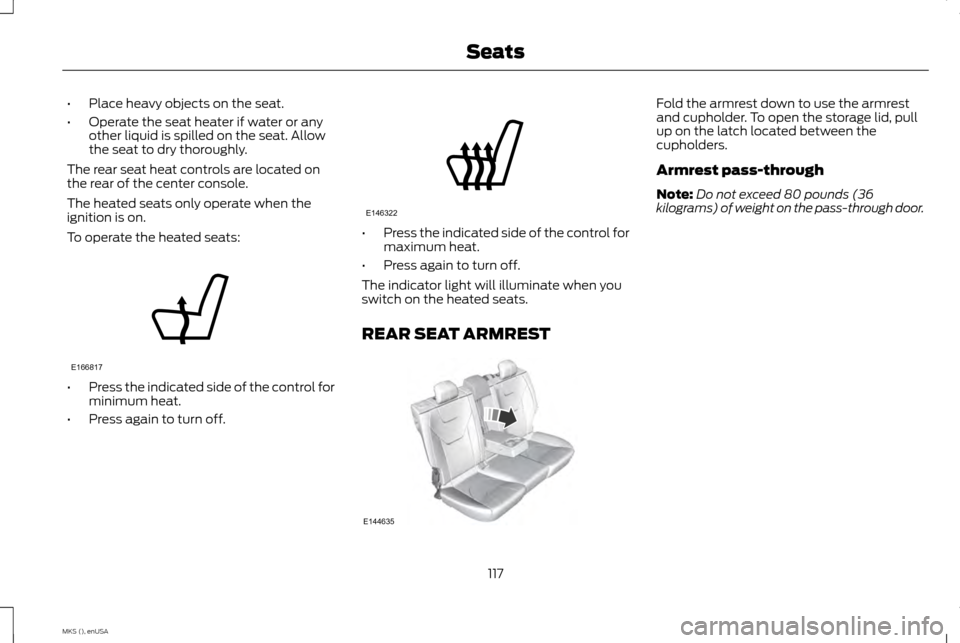
To operate the heated seats: •
Press the indicated side of the control for
minimum heat.
• Press again to turn off. •
Press the indicated side of the control for
maximum heat.
• Press again to turn off.
The indicator light will illuminate when you
switch on the heated seats.
REAR SEAT ARMREST Fold the armrest down to use the armrest
and cupholder. To open the storage lid, pull
up on the latch located between the
cupholders.
Armrest pass-through
Note:
Do not exceed 80 pounds (36
kilograms) of weight on the pass-through door.
117
MKS (), enUSA SeatsE166817 E146322 E144635
Page 126 of 424
12 Volt DC Power Point
WARNING
Do not plug optional electrical
accessories into the cigar lighter socket
(if equipped). Improper use of the
lighter can cause damage not covered by
your warranty, and can result in fire or serious
injury. Note:
If used when the vehicle is not running,
the battery will discharge. There may be
insufficient power to restart your vehicle.
Note: Do not insert objects other than an
accessory plug into the power point. This will
damage the outlet and blow the fuse.
Note: Do not hang any type of accessory or
accessory bracket from the plug.
Note: Do not use the power point over the
vehicle capacity of 12 volt DC 180 watts or a
fuse may blow.
Note: Do not use the power point for
operating a cigar lighter element.
Note: Improper use of the power point can
cause damage not covered by your warranty.
Note: Always keep the power point caps
closed when not in use. Run the vehicle for full capacity use of the
power point. To prevent the battery from
discharging accidentally:
•
Do not use the power point longer than
necessary when the vehicle is not running.
• Do not leave devices plugged in overnight
or when you park your vehicle for
extended periods.
Locations
Power points may be in the following
locations:
• in the front of the center console
• inside the center console storage bin
• on the rear of the center console.
110 Volt AC Power Point (If Equipped) WARNING
Do not keep electrical devices plugged
in the power point whenever the device
is not in use. Do not use any extension
cord with the 110 volt AC power point, since
it will defeat the safety protection design.
Doing so my cause the power point to
overload due to powering multiple devices
that can reach beyond the 150 watt load limit
and could result in fire or serious injury. Note:
Keep the vehicle running to use the
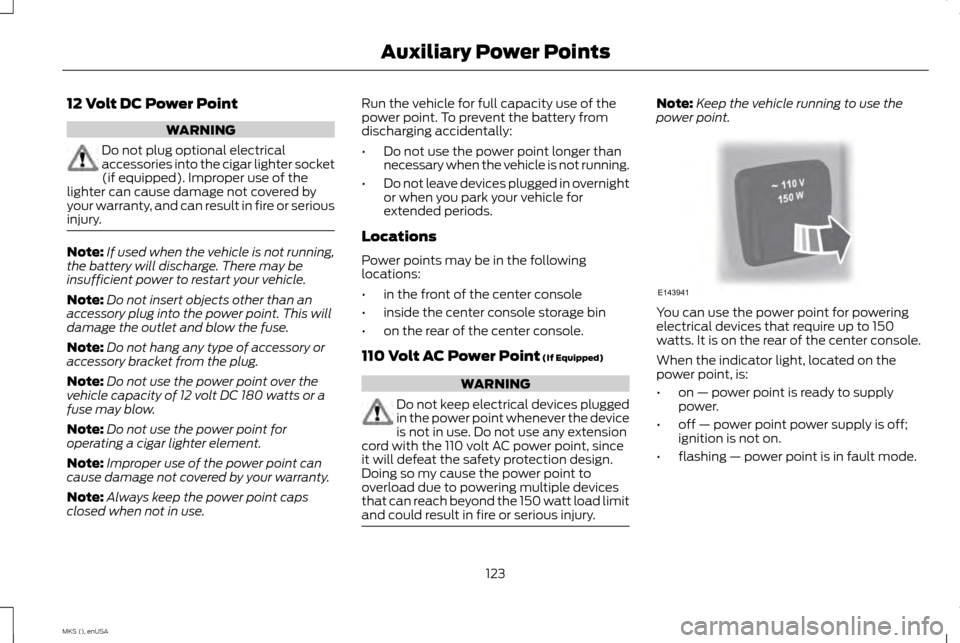
power point. You can use the power point for powering
electrical devices that require up to 150
watts. It is on the rear of the center console.
When the indicator light, located on the
power point, is:
•
on — power point is ready to supply
power.
• off — power point power supply is off;
ignition is not on.
• flashing — power point is in fault mode.
123
MKS (), enUSA Auxiliary Power PointsE143941
Page 128 of 424
CENTER CONSOLE
Stow items in the cupholder carefully as
items may become loose during hard braking,
acceleration or collisions, including hot drinks
which may spill.
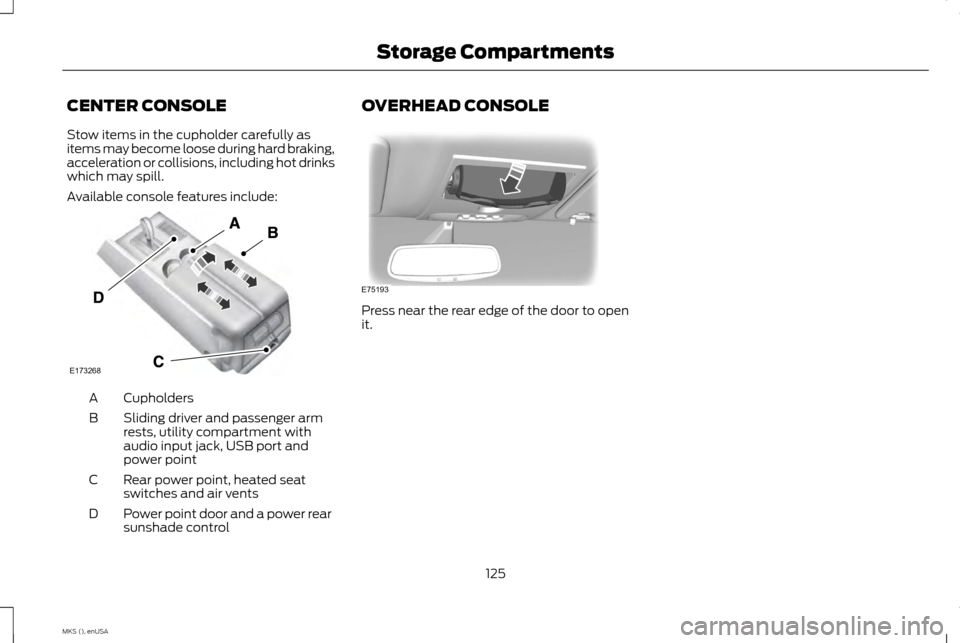
Available console features include:
Cupholders
A
Sliding driver and passenger arm
rests, utility compartment with
audio input jack, USB port and
power point
B
Rear power point, heated seat
switches and air vents
C
Power point door and a power rear
sunshade control
D OVERHEAD CONSOLE
Press near the rear edge of the door to open
it.
125
MKS (), enUSA Storage CompartmentsE173268 E75193
Page 154 of 424
PRINCIPLE OF OPERATION
WARNINGS
Vehicle modifications involving braking
system, aftermarket roof racks,
suspension, steering system, tire
construction and wheel and tire size may
change the handling characteristics of the
vehicle and may adversely affect the
performance of the AdvanceTrac system. In
addition, installing any stereo loudspeakers
may interfere with and adversely affect the
AdvanceTrac system. Install any aftermarket
stereo loudspeaker as far as possible from
the front center console, the tunnel, and the
front seats in order to minimize the risk of
interfering with the AdvanceTrac sensors.
Reducing the effectiveness of the
AdvanceTrac system could lead to an
increased risk of loss of vehicle control,
vehicle rollover, personal injury and death. Remember that even advanced
technology cannot defy the laws of
physics. It’
s always possible to lose
control of a vehicle due to inappropriate
driver input for the conditions. Aggressive
driving on any road condition can cause you
to lose control of your vehicle increasing the
risk of personal injury or property damage.
Activation of the AdvanceTrac system is an WARNINGS
indication that at least some of the tires have
exceeded their ability to grip the road; this
could reduce the operator ’s ability to control
the vehicle potentially resulting in a loss of
vehicle control, vehicle rollover, personal
injury and death. If your AdvanceTrac system
activates, SLOW DOWN. The AdvanceTrac Control system helps you
keep control of your vehicle when on a
slippery surface. The electronic stability
control portion of the system helps avoid
skids and lateral slides. The traction control
system helps avoid drive wheel spin and loss
of traction. See Using Traction Control
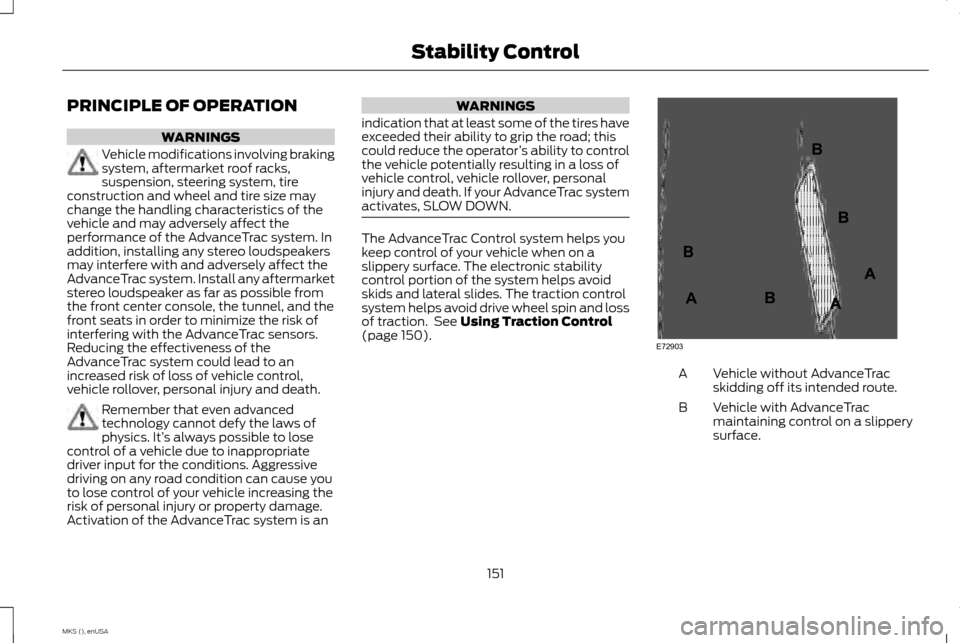
(page 150). Vehicle without AdvanceTrac
skidding off its intended route.
A
Vehicle with AdvanceTrac
maintaining control on a slippery
surface.
B
151
MKS (), enUSA Stability ControlE72903A
AA
B
BB
B
Page 175 of 424
The current assessment of your alertness
indicates that you should rest as soon as
safely possible.
The status bar will travel from left to right as
the calculated alertness level decreases. As
the rest icon is approached the color turns
from green to yellow to red. The yellow
position indicates the first warning is active
and the red position indicates the second
warning is active.
Note:
If you have recently received a warning;
you should consider resting, even if the current
assessment is with the typical range.
Note: If the camera sensor cannot track the
road lane markings or if your vehicle speed
drops below approximately 40 mph (64
km/h), the alertness level will change to grey
for a short time and the information display
will inform you that the system is unavailable.
Resetting the System
You can reset the system by either:
• Switching the ignition off and on.
• Stopping the vehicle and then opening
and closing the driver ’s door. LANE KEEPING SYSTEM (If Equipped) WARNING
The system is designed to aid the driver.
It is not intended to replace your
attention and judgment. You are still
responsible to drive with due care and
attention. Note:
The system works above 40 mph
(64 km/h).
Note: The system works as long as the
camera can detect one lane marking.
Note: The system may not function if the
camera is blocked or there is damage to the
windshield.
Note: When Aid mode is on and the system
detects no steering activity for a short period,
the system will alert you to put your hands on
the steering wheel. The system may detect a
light grip or touch on the steering wheel as
hands off driving. The system notifies you to stay in your lane
through the steering system and the
instrument cluster display when the front
camera detects an unintentional drift out of
your lane is likely to occur. The system
automatically detects and tracks the road
lane markings using a camera mounted
behind the interior rear view mirror.
Switching the System On and Off
Note:
The system on or off setting is stored
until it is manually changed, unless a MyKey®
is detected. If the system detects a MyKey®,
it defaults to on and the mode is set to alert.
Note: If a MyKey® is detected, pressing the
button will not affect the on or off status of
the system. You can only change the mode
and intensity settings. Press the button located on the
center console to switch the
system on or off.
172
MKS (), enUSA Driving AidsE173233
Page 305 of 424
Power: Switch the audio system on and off by pressing the button.
E
Seek/Fast Forward/Reverse:
Press to go to the previous or next track or available radio station. Press and hold to either reverse
or fast forward through the current track or to quickly reverse or advance through the radio band in individual increments.
F
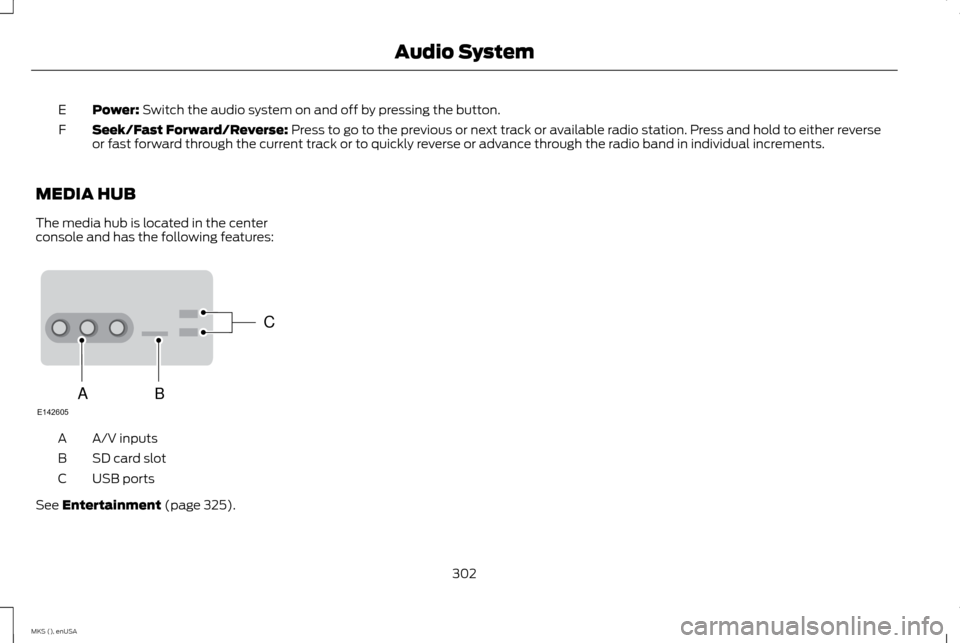
MEDIA HUB
The media hub is located in the center
console and has the following features: A/V inputs
A
SD card slot
B
USB ports
C
See
Entertainment (page 325).
302
MKS (), enUSA Audio SystemC
BA
E142605
Page 342 of 424
Note:
The navigation system also uses this
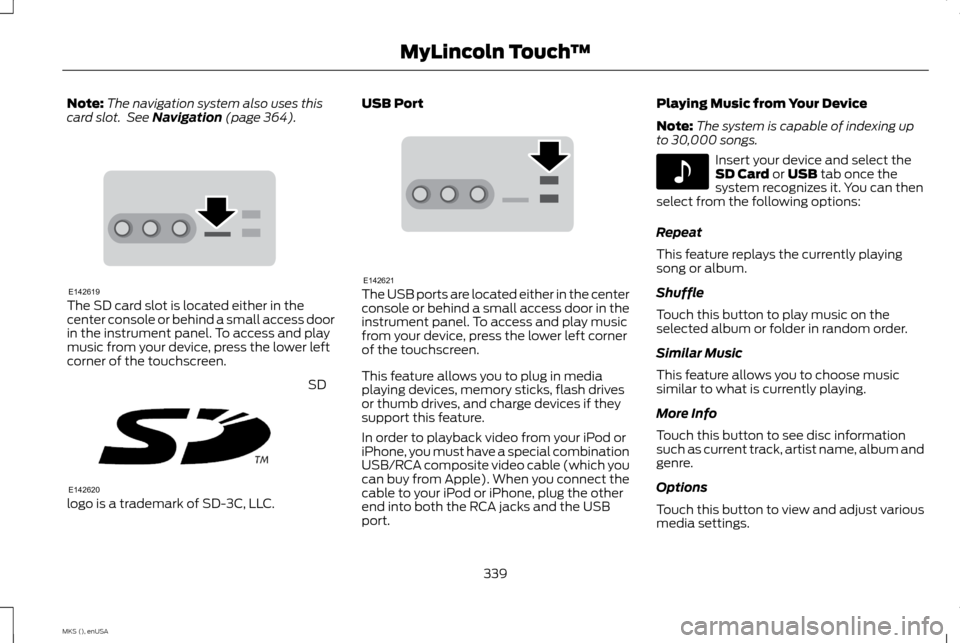
card slot. See Navigation (page 364). The SD card slot is located either in the
center console or behind a small access door
in the instrument panel. To access and play
music from your device, press the lower left
corner of the touchscreen.
SD
logo is a trademark of SD-3C, LLC. USB Port
The USB ports are located either in the center
console or behind a small access door in the
instrument panel. To access and play music
from your device, press the lower left corner
of the touchscreen.
This feature allows you to plug in media
playing devices, memory sticks, flash drives
or thumb drives, and charge devices if they
support this feature.
In order to playback video from your iPod or
iPhone, you must have a special combination
USB/RCA composite video cable (which you
can buy from Apple). When you connect the
cable to your iPod or iPhone, plug the other
end into both the RCA jacks and the USB
port.Playing Music from Your Device
Note:
The system is capable of indexing up
to 30,000 songs. Insert your device and select the
SD Card
or USB tab once the
system recognizes it. You can then
select from the following options:
Repeat
This feature replays the currently playing
song or album.
Shuffle
Touch this button to play music on the
selected album or folder in random order.
Similar Music
This feature allows you to choose music
similar to what is currently playing.
More Info
Touch this button to see disc information
such as current track, artist name, album and
genre.
Options
Touch this button to view and adjust various
media settings.
339
MKS (), enUSA MyLincoln Touch
™E142619 E142620 E142621 E142611
Page 346 of 424
WARNINGS
Store the portable music player in a
secure location, such as the center
console or the glove box, when your
vehicle is moving. Hard objects may become
projectiles in a crash or sudden stop, which
may increase the risk of serious injury. The
audio extension cable must be long enough
to allow the portable music player to be
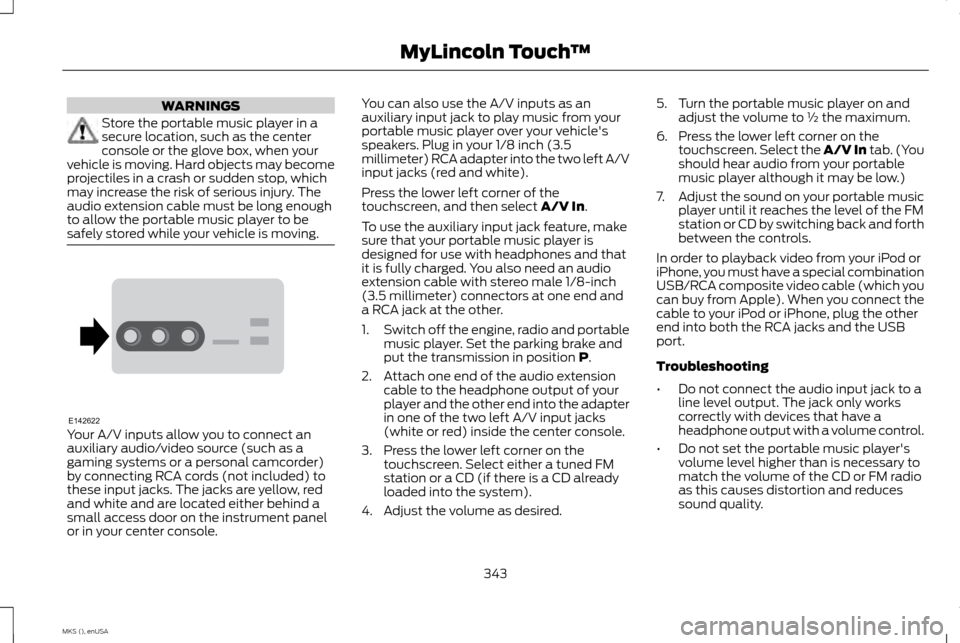
safely stored while your vehicle is moving. Your A/V inputs allow you to connect an
auxiliary audio/video source (such as a
gaming systems or a personal camcorder)
by connecting RCA cords (not included) to
these input jacks. The jacks are yellow, red
and white and are located either behind a
small access door on the instrument panel
or in your center console. You can also use the A/V inputs as an
auxiliary input jack to play music from your
portable music player over your vehicle's
speakers. Plug in your 1/8 inch (3.5
millimeter) RCA adapter into the two left A/V
input jacks (red and white).
Press the lower left corner of the
touchscreen, and then select A/V In.
To use the auxiliary input jack feature, make
sure that your portable music player is
designed for use with headphones and that
it is fully charged. You also need an audio
extension cable with stereo male 1/8-inch
(3.5 millimeter) connectors at one end and
a RCA jack at the other.
1. Switch off the engine, radio and portable
music player. Set the parking brake and
put the transmission in position
P.
2. Attach one end of the audio extension cable to the headphone output of your
player and the other end into the adapter
in one of the two left A/V input jacks
(white or red) inside the center console.
3. Press the lower left corner on the touchscreen. Select either a tuned FM
station or a CD (if there is a CD already
loaded into the system).
4. Adjust the volume as desired. 5. Turn the portable music player on and
adjust the volume to ½ the maximum.
6. Press the lower left corner on the touchscreen. Select the A/V In tab. (You
should hear audio from your portable
music player although it may be low.)
7. Adjust the sound on your portable music
player until it reaches the level of the FM
station or CD by switching back and forth
between the controls.
In order to playback video from your iPod or
iPhone, you must have a special combination
USB/RCA composite video cable (which you
can buy from Apple). When you connect the
cable to your iPod or iPhone, plug the other
end into both the RCA jacks and the USB
port.
Troubleshooting
• Do not connect the audio input jack to a
line level output. The jack only works
correctly with devices that have a
headphone output with a volume control.
• Do not set the portable music player's
volume level higher than is necessary to
match the volume of the CD or FM radio
as this causes distortion and reduces
sound quality.
343
MKS (), enUSA MyLincoln Touch
™E142622