tire LINCOLN MKZ 2017 Owners Manual
[x] Cancel search | Manufacturer: LINCOLN, Model Year: 2017, Model line: MKZ, Model: LINCOLN MKZ 2017Pages: 564, PDF Size: 5.54 MB
Page 8 of 564
Cleaning the Interior....................................323
Cleaning the Instrument Panel and Instrument Cluster Lens.........................325
Cleaning Leather Seats..............................326
Repairing Minor Paint Damage.................326
Cleaning the Alloy Wheels.........................327
Vehicle Storage
.............................................327
Wheels and Tires
Tire Sealant and Inflator Kit.......................330
Tire Care
.........................................................337
Using Summer Tires
....................................352
Using Snow Chains......................................352
Tire Pressure Monitoring System
.............353
Changing a Road Wheel.............................357
Technical Specifications
.............................365
Capacities and Specifications
Engine Specifications - 2.0L......................367
Engine Specifications - 3.0L......................368
Motorcraft Parts - 2.0L................................369
Motorcraft Parts - 3.0L
..................................371
Vehicle Identification Number...................372 Vehicle Certification Label.........................372
Transmission Code Designation...............373
Capacities and Specifications - 2.0L.......374
Capacities and Specifications - 3.0L.......379
Audio System
General Information.....................................386
Audio Unit - Vehicles With: Premium AM/
FM/CD
.........................................................387
Media Hub......................................................389
SYNC™ 3
General Information
.....................................390
Home Screen
................................................407
Using Voice Recognition............................408
Entertainment.................................................419
Climate............................................................432
Phone..............................................................436
Navigation......................................................444
Apps
.................................................................454
Settings...........................................................457
SYNC™ 3 Troubleshooting..........................474 Accessories
Accessories....................................................491
Lincoln Protect
Lincoln Protect
..............................................493
Scheduled Maintenance
General Maintenance Information...........495
Normal Scheduled Maintenance
.............499
Special Operating Conditions Scheduled Maintenance.............................................503
Scheduled Maintenance Record..............507
Appendices
End User License Agreement...................527
Type Approvals.............................................546
5
MKZ (CC9) Canada/United States of America, enUSA, First Printing Table of Contents
Page 12 of 564
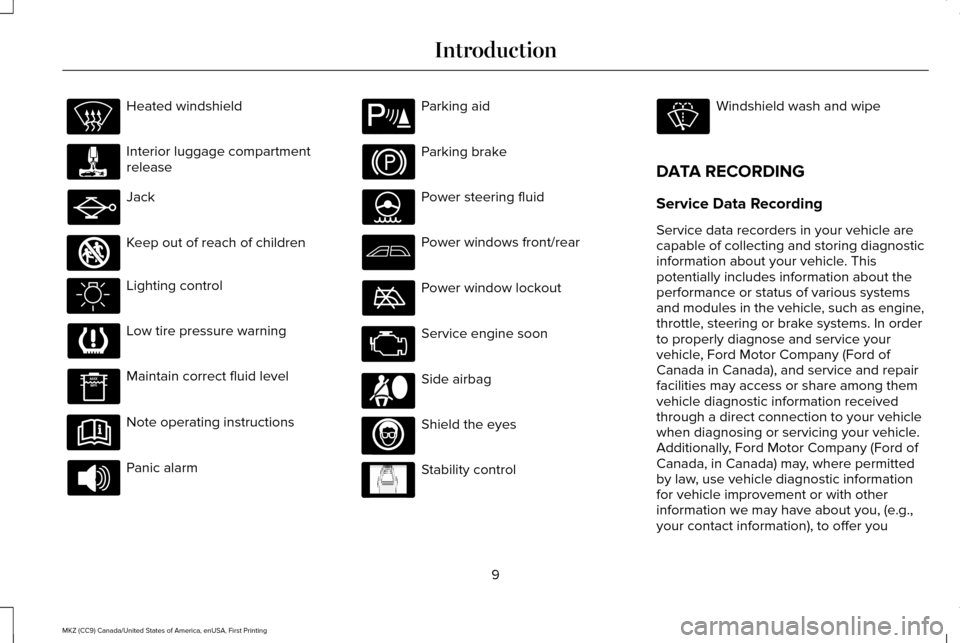
Heated windshield
Interior luggage compartment
release
Jack
Keep out of reach of children
Lighting control
Low tire pressure warning
Maintain correct fluid level
Note operating instructions
Panic alarm Parking aid
Parking brake
Power steering fluid
Power windows front/rear
Power window lockout
Service engine soon
Side airbag
Shield the eyes
Stability control Windshield wash and wipe
DATA RECORDING
Service Data Recording
Service data recorders in your vehicle are
capable of collecting and storing diagnostic
information about your vehicle. This
potentially includes information about the
performance or status of various systems
and modules in the vehicle, such as engine,
throttle, steering or brake systems. In order
to properly diagnose and service your
vehicle, Ford Motor Company (Ford of
Canada in Canada), and service and repair
facilities may access or share among them
vehicle diagnostic information received
through a direct connection to your vehicle
when diagnosing or servicing your vehicle.
Additionally, Ford Motor Company (Ford of
Canada, in Canada) may, where permitted
by law, use vehicle diagnostic information
for vehicle improvement or with other
information we may have about you, (e.g.,
your contact information), to offer you
9
MKZ (CC9) Canada/United States of America, enUSA, First Printing Introduction E161353 E139213 E167012 E138639
Page 40 of 564
When to Use the Automatic Locking Mode
This mode should be used any time a child
safety seat, except a booster, is installed in
passenger front or rear seating positions.
Children 12 years old and under should be
properly restrained in a rear seating position
whenever possible. See Child Safety (page
17).
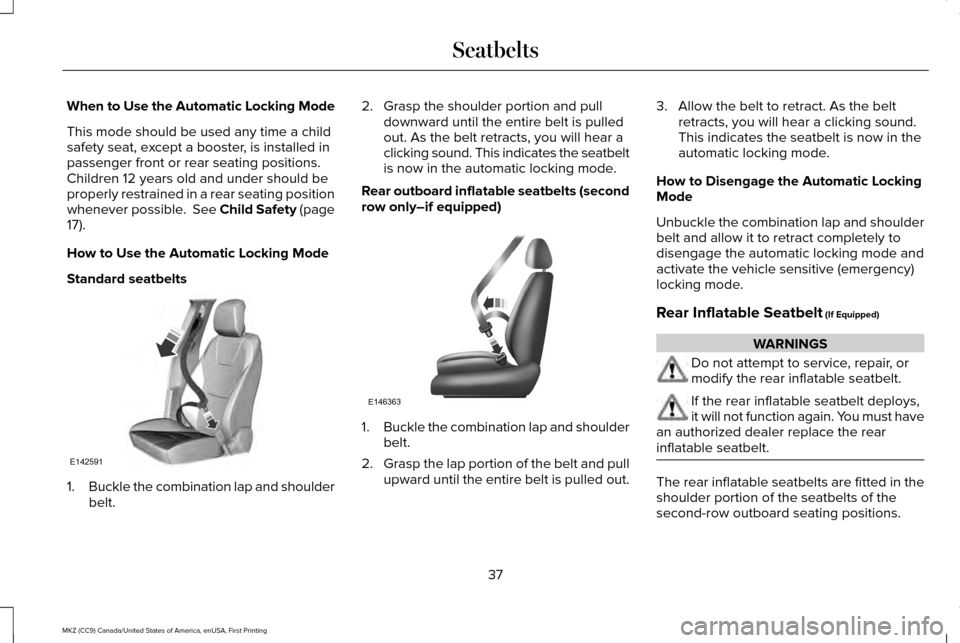
How to Use the Automatic Locking Mode
Standard seatbelts 1.
Buckle the combination lap and shoulder
belt. 2. Grasp the shoulder portion and pull
downward until the entire belt is pulled
out. As the belt retracts, you will hear a
clicking sound. This indicates the seatbelt
is now in the automatic locking mode.
Rear outboard inflatable seatbelts (second
row only–if equipped) 1.
Buckle the combination lap and shoulder
belt.
2. Grasp the lap portion of the belt and pull
upward until the entire belt is pulled out. 3. Allow the belt to retract. As the belt
retracts, you will hear a clicking sound.
This indicates the seatbelt is now in the
automatic locking mode.
How to Disengage the Automatic Locking
Mode
Unbuckle the combination lap and shoulder
belt and allow it to retract completely to
disengage the automatic locking mode and
activate the vehicle sensitive (emergency)
locking mode.
Rear Inflatable Seatbelt
(If Equipped) WARNINGS
Do not attempt to service, repair, or
modify the rear inflatable seatbelt.
If the rear inflatable seatbelt deploys,
it will not function again. You must have
an authorized dealer replace the rear
inflatable seatbelt. The rear inflatable seatbelts are fitted in the
shoulder portion of the seatbelts of the
second-row outboard seating positions.
37
MKZ (CC9) Canada/United States of America, enUSA, First Printing SeatbeltsE142591 E146363
Page 79 of 564
You must have two previously programmed
intelligent access keys inside your vehicle
and the new unprogrammed intelligent
access keys readily accessible. See an
authorized dealer to have the spare key
programmed if two previously programmed
keys are not available.
Make sure that your vehicle is off before
beginning this procedure. Make sure that
you close all the doors before beginning and
that they remain closed throughout the
procedure. Perform all steps within 30
seconds of starting the sequence. Stop and
wait for at least one minute before starting
again if you perform any steps out of
sequence.
Read and understand the entire procedure
before you begin.
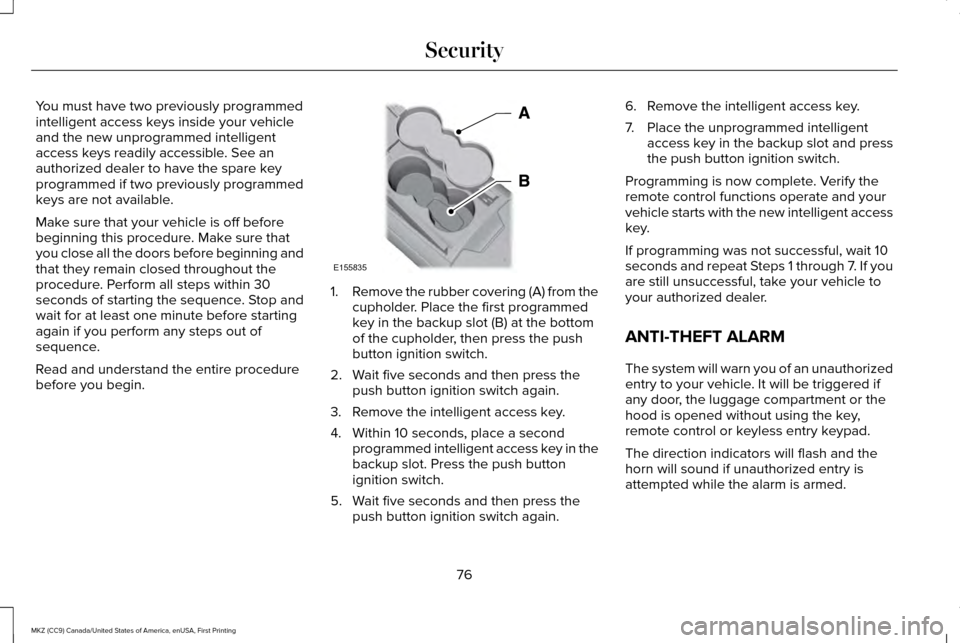
1.
Remove the rubber covering (A) from the
cupholder. Place the first programmed
key in the backup slot (B) at the bottom
of the cupholder, then press the push
button ignition switch.
2. Wait five seconds and then press the push button ignition switch again.
3. Remove the intelligent access key.
4. Within 10 seconds, place a second programmed intelligent access key in the
backup slot. Press the push button
ignition switch.
5. Wait five seconds and then press the push button ignition switch again. 6. Remove the intelligent access key.
7. Place the unprogrammed intelligent
access key in the backup slot and press
the push button ignition switch.
Programming is now complete. Verify the
remote control functions operate and your
vehicle starts with the new intelligent access
key.
If programming was not successful, wait 10
seconds and repeat Steps 1 through 7. If you
are still unsuccessful, take your vehicle to
your authorized dealer.
ANTI-THEFT ALARM
The system will warn you of an unauthorized
entry to your vehicle. It will be triggered if
any door, the luggage compartment or the
hood is opened without using the key,
remote control or keyless entry keypad.
The direction indicators will flash and the
horn will sound if unauthorized entry is
attempted while the alarm is armed.
76
MKZ (CC9) Canada/United States of America, enUSA, First Printing SecurityE155835
Page 91 of 564
3. The transmission is not in park (P) for
vehicles with automatic transmissions or
the parking brake is released for vehicles
with manual transmissions.
4. The lighting control is in the autolamps position.
5. The headlamps are off.
The other lighting control switch positions
do not activate the daytime running lamps,
and you can use them to temporarily override
autolamp control.
When switched off in the information display,
the daytime running lamps are off in all
lighting control switch positions. AUTOMATIC HIGH BEAM
CONTROL (If Equipped)
The system will automatically turn on your
high beams if it is dark enough and no other
traffic is present. When it detects the
headlights of an approaching vehicle, the tail
lamps of the preceding vehicle or street
lighting, the system will turn off the high
beams before they distract other drivers. The
low beams remain on.
Note: If it appears that automatic control of
the high beams is not functioning properly,
check the windshield in front of the camera
for a blockage. A clear view of the road is
required for proper system operation. Have
any windshield damage in the area of the
camera ’s field-of-view repaired.
Note: If the system detects a blockage, for
example bird droppings, bug splatter, snow
or ice, the system will go into low beam
mode until you clear the blockage. A
message may also appear in the instrument
cluster display noting the front camera is
blocked. Note:
Typical road dust, dirt and water spots
will not affect the performance of the
automatic high beam system. However, in
cold or inclement weather conditions, you
will notice a decrease in the availability of
the high beam system, especially at start up.
If you want to change the beam state
independently of the system, you may switch
the high beams on or off using the
multifunction switch. Automatic control will
resume when conditions are correct.
Note: Modification of the vehicle ride height
such as using much larger tires, may
degrade feature performance.
A camera sensor, centrally mounted behind
the windshield of your vehicle, continuously
monitors conditions to decide when to switch
the high beams off and on.
Once the system is active, the high beams
will switch on if:
• the ambient light level is low enough
• there is no traffic in front of the vehicle
• the vehicle speed is greater than
approximately
32 mph (52 km/h).
88
MKZ (CC9) Canada/United States of America, enUSA, First Printing Lighting
Page 108 of 564
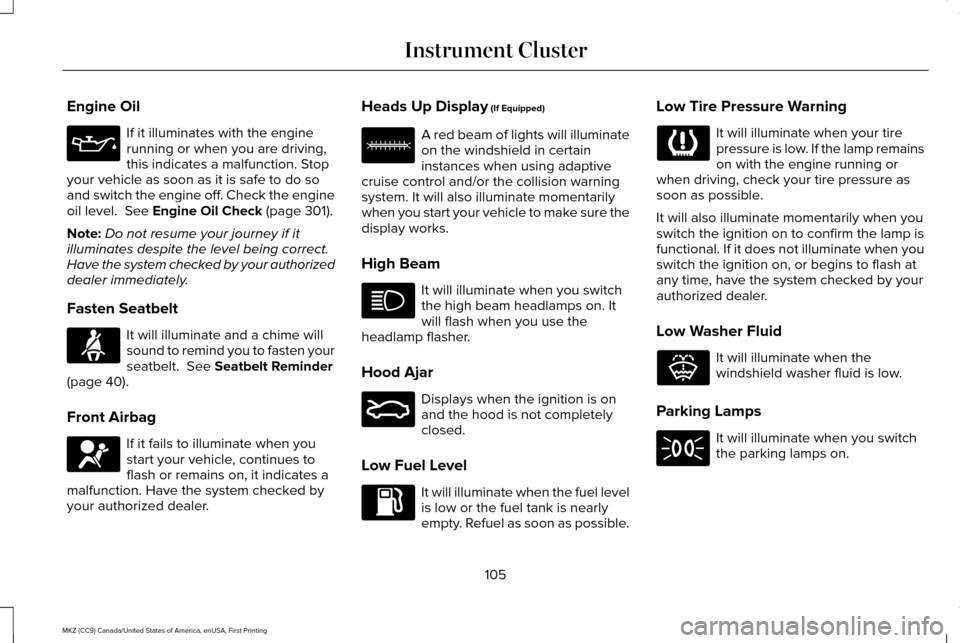
Engine Oil
If it illuminates with the engine
running or when you are driving,
this indicates a malfunction. Stop
your vehicle as soon as it is safe to do so
and switch the engine off. Check the engine
oil level. See Engine Oil Check (page 301).
Note: Do not resume your journey if it
illuminates despite the level being correct.
Have the system checked by your authorized
dealer immediately.
Fasten Seatbelt It will illuminate and a chime will
sound to remind you to fasten your
seatbelt.
See Seatbelt Reminder
(page 40).
Front Airbag If it fails to illuminate when you
start your vehicle, continues to
flash or remains on, it indicates a
malfunction. Have the system checked by
your authorized dealer. Heads Up Display
(If Equipped) A red beam of lights will illuminate
on the windshield in certain
instances when using adaptive
cruise control and/or the collision warning
system. It will also illuminate momentarily
when you start your vehicle to make sure the
display works.
High Beam It will illuminate when you switch
the high beam headlamps on. It
will flash when you use the
headlamp flasher.
Hood Ajar Displays when the ignition is on
and the hood is not completely
closed.
Low Fuel Level It will illuminate when the fuel level
is low or the fuel tank is nearly
empty. Refuel as soon as possible.Low Tire Pressure Warning It will illuminate when your tire
pressure is low. If the lamp remains
on with the engine running or
when driving, check your tire pressure as
soon as possible.
It will also illuminate momentarily when you
switch the ignition on to confirm the lamp is
functional. If it does not illuminate when you
switch the ignition on, or begins to flash at
any time, have the system checked by your
authorized dealer.
Low Washer Fluid It will illuminate when the
windshield washer fluid is low.
Parking Lamps It will illuminate when you switch
the parking lamps on.
105
MKZ (CC9) Canada/United States of America, enUSA, First Printing Instrument Cluster E156133 E159324 E132353
Page 114 of 564
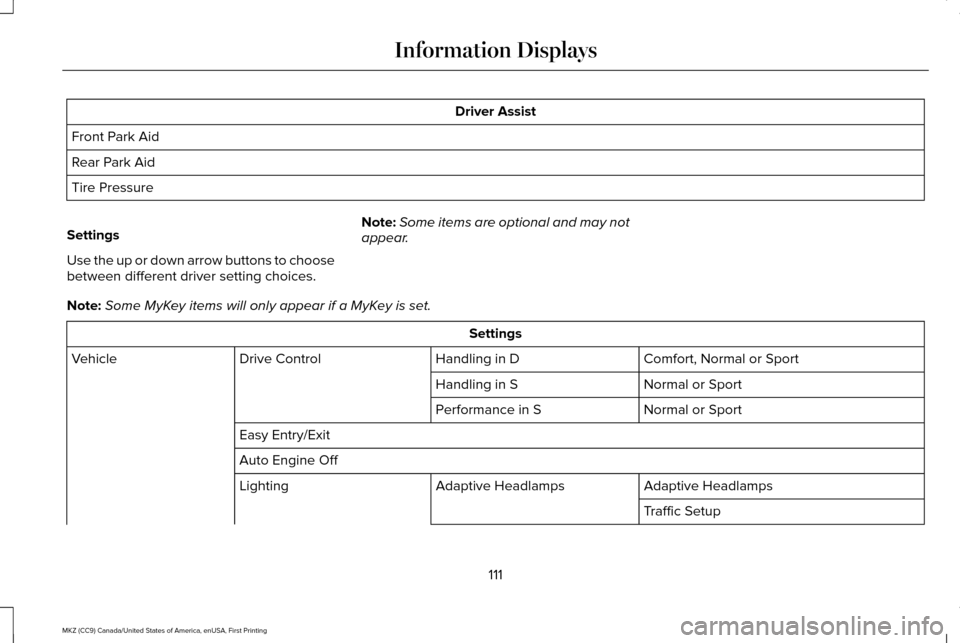
Driver Assist
Front Park Aid
Rear Park Aid
Tire Pressure
Settings
Use the up or down arrow buttons to choose
between different driver setting choices. Note:
Some items are optional and may not
appear.
Note: Some MyKey items will only appear if a MyKey is set. Settings
Comfort, Normal or Sport
Handling in D
Drive Control
Vehicle
Normal or Sport
Handling in S
Normal or Sport
Performance in S
Easy Entry/Exit
Auto Engine Off Adaptive Headlamps
Adaptive Headlamps
Lighting
Traffic Setup
111
MKZ (CC9) Canada/United States of America, enUSA, First Printing Information Displays
Page 117 of 564
Settings
psi, kPa or BAR
Tire Pressure
Choose your applicable setting - Hold OK to Set
Language
Speedo in km/h
INFORMATION MESSAGES
Note: Depending on the vehicle options
equipped with your vehicle, not all of the
messages will display or be available.
Certain messages may be abbreviated or
shortened depending upon which cluster
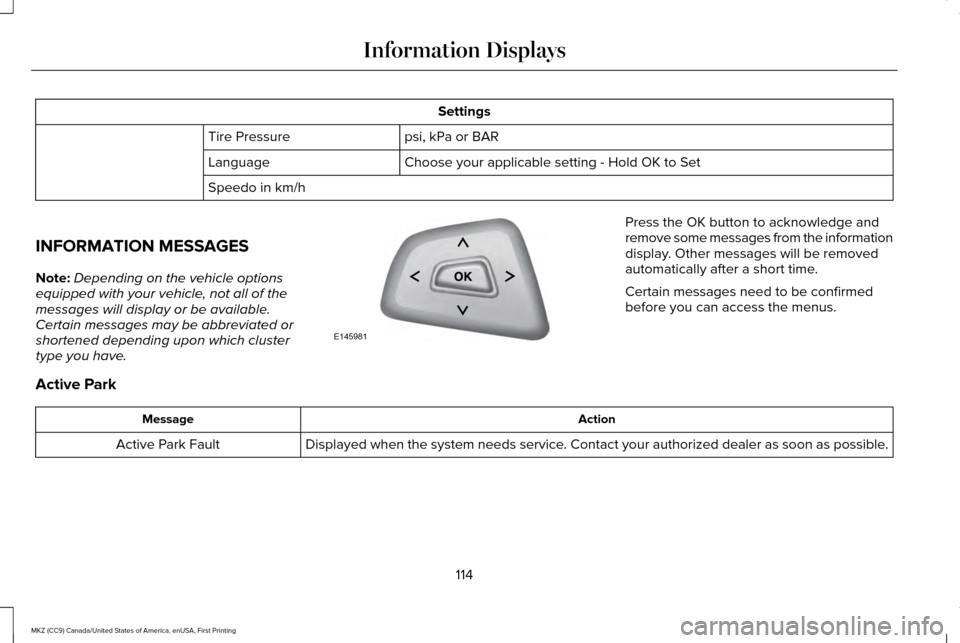
type you have. Press the OK button to acknowledge and
remove some messages from the information
display. Other messages will be removed
automatically after a short time.
Certain messages need to be confirmed
before you can access the menus.
Active Park Action
Message
Displayed when the system needs service. Contact your authorized dealer as soon as possible.
Active Park Fault
114
MKZ (CC9) Canada/United States of America, enUSA, First Printing Information DisplaysE145981
Page 121 of 564

AWD
Action
Message
Displayed when the AWD system has been temporarily disabled to protect i\
tself from overheating.
AWD Temporarily Disabled
Displayed when the AWD system has been automatically disabled to protect\
itself. This is causedby operating the vehicle with the compact spare tire installed or if the\
system is overheating.
AWD OFF
The AWD system will resume normal function and clear this message after \
driving a short distancewith the road tire re-installed or after the system is allowed to cool.
AWD Restored
Displayed in conjunction with the Throttle Control/Transmission/AWD light when the AWD system
is not operating properly. If the warning stays on or continues to come on, contact your authoriz\
ed dealer as soon as possible.
AWD Malfunction Service Required
118
MKZ (CC9) Canada/United States of America, enUSA, First Printing Information Displays
Page 133 of 564
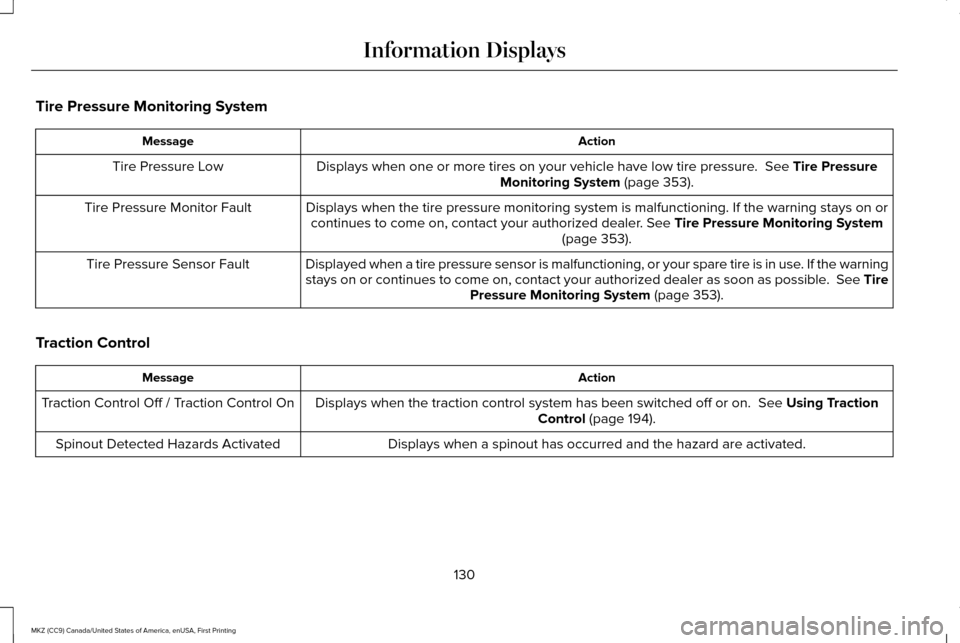
Tire Pressure Monitoring System
Action
Message
Displays when one or more tires on your vehicle have low tire pressure. See Tire Pressure
Monitoring System (page 353).
Tire Pressure Low
Displays when the tire pressure monitoring system is malfunctioning. If \
the warning stays on orcontinues to come on, contact your authorized dealer.
See Tire Pressure Monitoring System
(page 353).
Tire Pressure Monitor Fault
Displayed when a tire pressure sensor is malfunctioning, or your spare t\
ire is in use. If the warning
stays on or continues to come on, contact your authorized dealer as soon\
as possible. See TirePressure Monitoring System
(page 353).
Tire Pressure Sensor Fault
Traction Control Action
Message
Displays when the traction control system has been switched off or on.
See Using Traction
Control (page 194).
Traction Control Off / Traction Control On
Displays when a spinout has occurred and the hazard are activated.
Spinout Detected Hazards Activated
130
MKZ (CC9) Canada/United States of America, enUSA, First Printing Information Displays