washer fluid LINCOLN MKZ 2017 Owners Manual
[x] Cancel search | Manufacturer: LINCOLN, Model Year: 2017, Model line: MKZ, Model: LINCOLN MKZ 2017Pages: 564, PDF Size: 5.54 MB
Page 7 of 564
Towing
Towing a Trailer.............................................249
Recommended Towing Weights..............250
Essential Towing Checks...........................252
Towing the Vehicle on Four Wheels
.......254
Driving Hints
Breaking-In....................................................256
Economical Driving
......................................256
Driving Through Water
...............................256
Floor Mats
.......................................................257
Roadside Emergencies
Roadside Assistance
...................................259
Hazard Warning Flashers...........................260
Fuel Shutoff...................................................260
Jump Starting the Vehicle...........................261
Post-Crash Alert System.............................264
Transporting the Vehicle............................264
Towing Points
................................................265
Customer Assistance
Getting the Services You Need
................267 In California (U.S. Only)...............................268
The Better Business Bureau (BBB) Auto
Line Program (U.S. Only)........................269
Utilizing the Mediation/Arbitration Program (Canada Only)...........................................270
Getting Assistance Outside the U.S. and Canada.........................................................271
Ordering Additional Owner's Literature....................................................272
Reporting Safety Defects (U.S. Only).......273
Reporting Safety Defects (Canada Only)............................................................273
Fuses
Fuse Specification Chart
............................275
Changing a Fuse..........................................292
Maintenance
General Information
....................................295
Opening and Closing the Hood...............295
Under Hood Overview - 2.0L
....................297
Under Hood Overview - 3.0L....................299
Engine Oil Dipstick - 2.0L............................301
Engine Oil Dipstick - 3.0L............................301 Engine Oil Check..........................................301
Oil Change Indicator Reset.......................302
Engine Coolant Check................................303
Automatic Transmission Fluid Check......307
Brake Fluid Check..........................................311
Washer Fluid Check......................................312
Fuel Filter
.........................................................312
Changing the 12V Battery...........................312
Checking the Wiper Blades........................314
Changing the Wiper Blades........................314
Adjusting the Headlamps............................315
Changing a Bulb
............................................316
Bulb Specification Chart..............................316
Changing the Engine Air Filter..................319
Vehicle Care
General Information.....................................320
Cleaning Products
.......................................320
Cleaning the Exterior
....................................321
Waxing............................................................322
Cleaning the Engine....................................322
Cleaning the Windows and Wiper Blades.........................................................323
4
MKZ (CC9) Canada/United States of America, enUSA, First Printing Table of Contents
Page 89 of 564
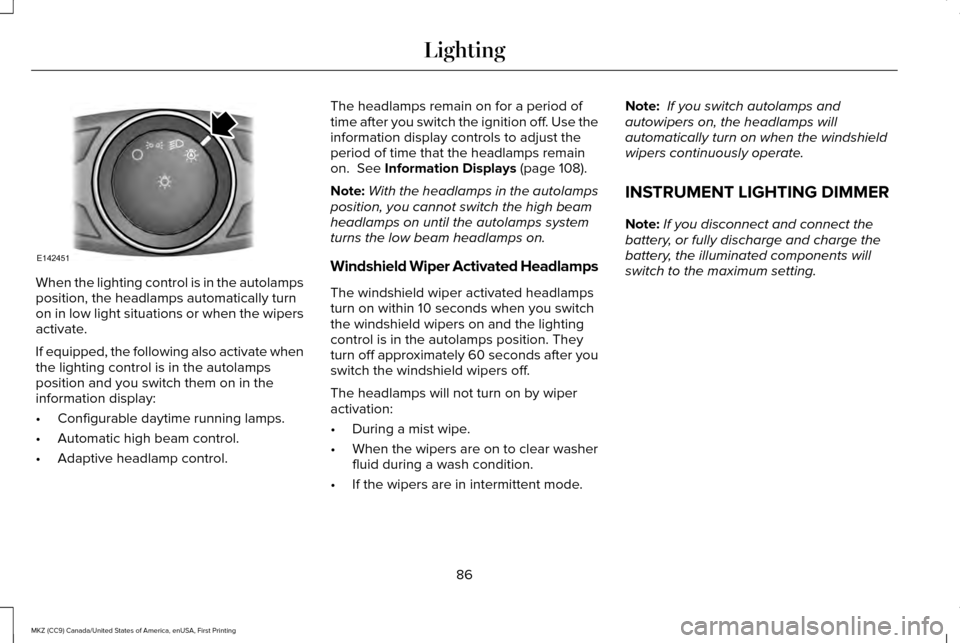
When the lighting control is in the autolamps
position, the headlamps automatically turn
on in low light situations or when the wipers
activate.
If equipped, the following also activate when
the lighting control is in the autolamps
position and you switch them on in the
information display:
•
Configurable daytime running lamps.
• Automatic high beam control.
• Adaptive headlamp control. The headlamps remain on for a period of
time after you switch the ignition off. Use the
information display controls to adjust the
period of time that the headlamps remain
on. See Information Displays (page 108).
Note: With the headlamps in the autolamps
position, you cannot switch the high beam
headlamps on until the autolamps system
turns the low beam headlamps on.
Windshield Wiper Activated Headlamps
The windshield wiper activated headlamps
turn on within 10 seconds when you switch
the windshield wipers on and the lighting
control is in the autolamps position. They
turn off approximately 60 seconds after you
switch the windshield wipers off.
The headlamps will not turn on by wiper
activation:
• During a mist wipe.
• When the wipers are on to clear washer
fluid during a wash condition.
• If the wipers are in intermittent mode. Note:
If you switch autolamps and
autowipers on, the headlamps will
automatically turn on when the windshield
wipers continuously operate.
INSTRUMENT LIGHTING DIMMER
Note: If you disconnect and connect the
battery, or fully discharge and charge the
battery, the illuminated components will
switch to the maximum setting.
86
MKZ (CC9) Canada/United States of America, enUSA, First Printing LightingE142451
Page 108 of 564
Engine Oil
If it illuminates with the engine
running or when you are driving,
this indicates a malfunction. Stop
your vehicle as soon as it is safe to do so
and switch the engine off. Check the engine
oil level. See Engine Oil Check (page 301).
Note: Do not resume your journey if it
illuminates despite the level being correct.
Have the system checked by your authorized
dealer immediately.
Fasten Seatbelt It will illuminate and a chime will
sound to remind you to fasten your
seatbelt.
See Seatbelt Reminder
(page 40).
Front Airbag If it fails to illuminate when you
start your vehicle, continues to
flash or remains on, it indicates a
malfunction. Have the system checked by
your authorized dealer. Heads Up Display
(If Equipped) A red beam of lights will illuminate
on the windshield in certain
instances when using adaptive
cruise control and/or the collision warning
system. It will also illuminate momentarily
when you start your vehicle to make sure the
display works.
High Beam It will illuminate when you switch
the high beam headlamps on. It
will flash when you use the
headlamp flasher.
Hood Ajar Displays when the ignition is on
and the hood is not completely
closed.
Low Fuel Level It will illuminate when the fuel level
is low or the fuel tank is nearly
empty. Refuel as soon as possible.Low Tire Pressure Warning It will illuminate when your tire
pressure is low. If the lamp remains
on with the engine running or
when driving, check your tire pressure as
soon as possible.
It will also illuminate momentarily when you
switch the ignition on to confirm the lamp is
functional. If it does not illuminate when you
switch the ignition on, or begins to flash at
any time, have the system checked by your
authorized dealer.
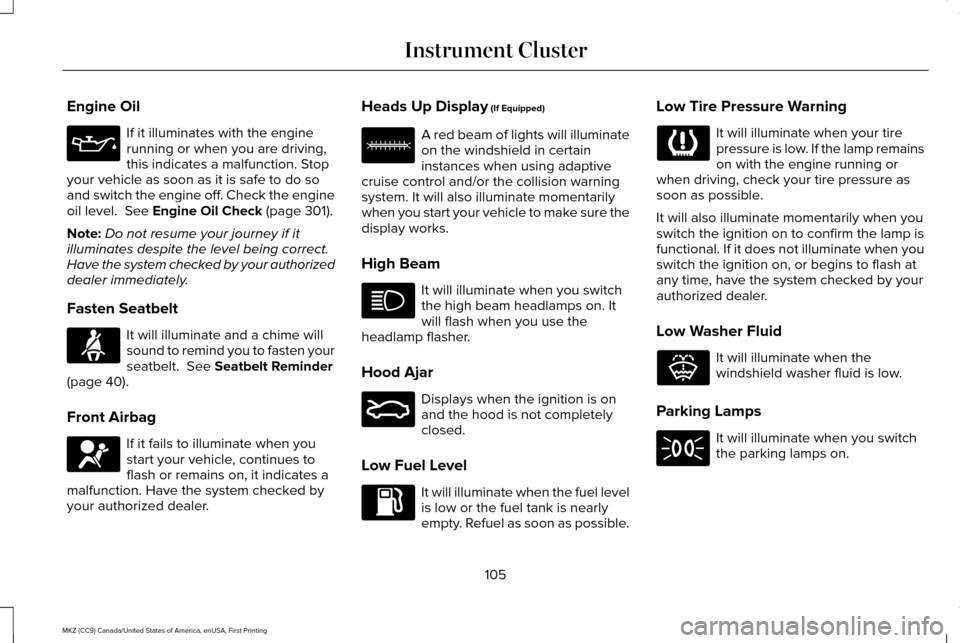
Low Washer Fluid It will illuminate when the
windshield washer fluid is low.
Parking Lamps It will illuminate when you switch
the parking lamps on.
105
MKZ (CC9) Canada/United States of America, enUSA, First Printing Instrument Cluster E156133 E159324 E132353
Page 127 of 564
Maintenance
Action
Message
Stop the vehicle as soon as safely possible, turn off the engine. Check the oil level. If the warningstays on or continues to come on with your engine running, contact your \
authorized dealer as soon as possible.
Low Engine Oil Pressure
Displayed when the engine oil life remaining is 10% or less. See Engine Oil Check (page 301).
Change Engine Oil Soon
Displayed when the oil life left reaches 0%.
See Engine Oil Check (page 301).
Oil Change Required
Indicates the brake fluid level is low and the brake system should be inspected immediately.See
Brake Fluid Check (page 311).
Brake Fluid Level Low
Displays when the brake system needs servicing. Stop the vehicle in a safe place. Contact your authorized dealer.
Check Brake System
Displays when the engine coolant temperature is excessively high.
Engine Coolant Over Temperature
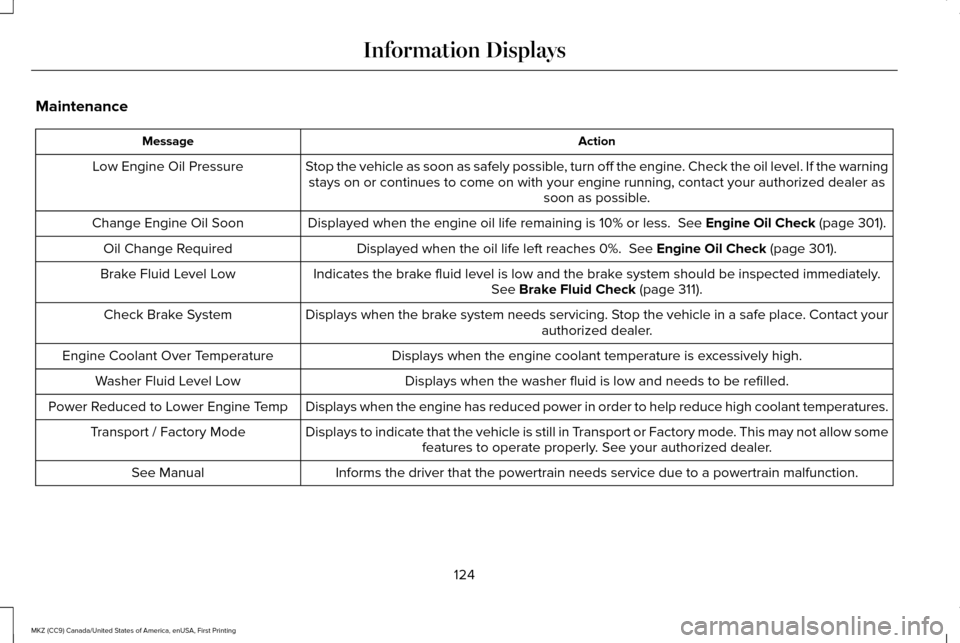
Displays when the washer fluid is low and needs to be refilled.
Washer Fluid Level Low
Displays when the engine has reduced power in order to help reduce high \
coolant temperatures.
Power Reduced to Lower Engine Temp
Displays to indicate that the vehicle is still in Transport or Factory mode. This may not allow somefeatures to operate properly. See your authorized dealer.
Transport / Factory Mode
Informs the driver that the powertrain needs service due to a powertrain\
malfunction.
See Manual
124
MKZ (CC9) Canada/United States of America, enUSA, First Printing Information Displays
Page 301 of 564
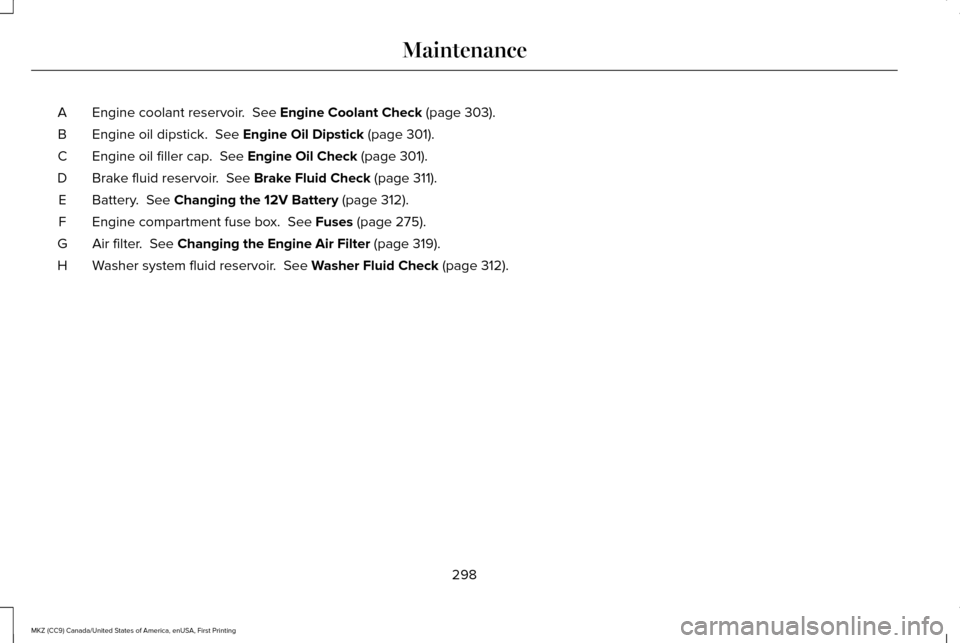
Engine coolant reservoir. See Engine Coolant Check (page 303).
A
Engine oil dipstick.
See Engine Oil Dipstick (page 301).
B
Engine oil filler cap.
See Engine Oil Check (page 301).
C
Brake fluid reservoir.
See Brake Fluid Check (page 311).
D
Battery.
See Changing the 12V Battery (page 312).
E
Engine compartment fuse box.
See Fuses (page 275).
F
Air filter.
See Changing the Engine Air Filter (page 319).
G
Washer system fluid reservoir.
See Washer Fluid Check (page 312).
H
298
MKZ (CC9) Canada/United States of America, enUSA, First Printing Maintenance
Page 303 of 564
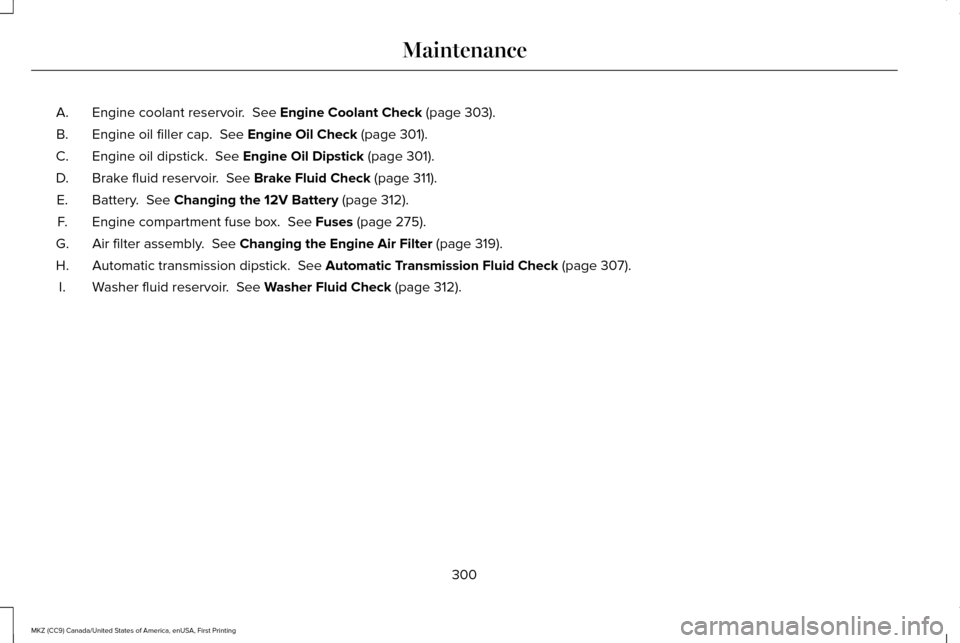
Engine coolant reservoir. See Engine Coolant Check (page 303).
A.
Engine oil filler cap.
See Engine Oil Check (page 301).
B.
Engine oil dipstick.
See Engine Oil Dipstick (page 301).
C.
Brake fluid reservoir.
See Brake Fluid Check (page 311).
D.
Battery.
See Changing the 12V Battery (page 312).
E.
Engine compartment fuse box.
See Fuses (page 275).
F.
Air filter assembly.
See Changing the Engine Air Filter (page 319).
G.
Automatic transmission dipstick.
See Automatic Transmission Fluid Check (page 307).
H.
Washer fluid reservoir.
See Washer Fluid Check (page 312).
I.
300
MKZ (CC9) Canada/United States of America, enUSA, First Printing Maintenance
Page 306 of 564
From the main menu scroll to:
Action and description
Message
Press the right arrow button,
then from this menu scroll to
the following message.
Settings
Press the right arrow button,
then from this menu scroll to
the following message.
Vehicle
Press the right arrow button,
then from this menu scroll to
the following message.
Oil Life
Press and hold the OK button
until the instrument cluster
displays the following
message.
Hold OK to
Reset
Reset Successful
When the oil change indicator
resets the instrument cluster
displays 100%.
Remaining Life
{00}% Action and description
Message
If the instrument cluster
displays one of the following
messages, repeat the
process.
Not Reset
Reset Cancelled
ENGINE COOLANT CHECK WARNINGS
Do not add engine coolant when the
engine is hot. Steam and scalding
liquids released from a hot cooling system
can burn you badly. Also, spilling coolant on
hot engine parts can burn you. Do not put engine coolant in the
windshield washer fluid container. If
sprayed on the windshield, engine coolant
could make it difficult to see through the
windshield. WARNINGS
To reduce the risk of personal injury,
make sure the engine is cool before
unscrewing the coolant pressure relief cap.
The cooling system is under pressure. Steam
and hot liquid can come out forcefully when
you loosen the cap slightly. Do not add coolant further than the
MAX mark.
When the engine is cold, check the
concentration and level of the coolant at the
intervals listed in the scheduled maintenance
information.
See Scheduled Maintenance
(page 495).
Note: Make sure that the coolant level is
between the
MIN and MAX marks on the
coolant reservoir.
Note: Coolant expands when it is hot. The
level may extend beyond the
MAX mark.
303
MKZ (CC9) Canada/United States of America, enUSA, First Printing Maintenance
Page 307 of 564
Maintain coolant concentration within 48%
to 50%, which equates to a freeze point
between -30°F (-34°C) and -34°F (-37°C).
Coolant concentration should be checked
using a refractometer. We recommend,
Robinair® Coolant and Battery Refractometer
75240 (Rotunda tool part number:
ROB75240). We do not recommend the use
of hydrometers or coolant test strips for
measuring coolant concentration.
Note:
Automotive fluids are not
interchangeable. Do not use coolant or
windshield washer fluid outside of its
specified function and vehicle location.
Note: Do not use stop leak pellets, cooling
system sealants, or non-specified additives
as they can cause damage to the engine
cooling or heating systems. Resulting
component damage may not be covered by
the vehicle Warranty.
Adding Coolant WARNING
Never remove the coolant reservoir
cap while the engine is running or hot. It is very important to use prediluted coolant
meeting the correct specification in order to
avoid plugging the small passageways in the
engine cooling system. See Capacities and
Specifications (page 374). Incorrect
prediluted coolant use can cause damage
not covered by the vehicle Warranty.
If the coolant level is at or below the
minimum mark, add prediluted coolant
immediately.
To top up the coolant level do the following:
1. Unscrew the cap slowly. Any pressure escapes as you unscrew the cap.
2. Add prediluted coolant meeting the correct specification. See Capacities and
Specifications
(page 367).
3. Add enough prediluted coolant to reach
the correct level.
4. Replace the coolant reservoir cap, turn it clockwise until you feel a strong
resistance.
5. Check the coolant level in the coolant reservoir the next few times you drive
your vehicle. Note:
During normal vehicle operation, the
coolant may change color from orange to
pink or light red. As long as the coolant is
clear and uncontaminated, this color change
does not indicate the coolant has degraded
nor does it require the coolant to be drained,
the system to be flushed, or the coolant to
be replaced.
Do not mix different colors or types of
prediluted coolant in your vehicle. Mixing of
prediluted coolant or using an incorrect
prediluted coolant may harm the engine or
cooling system components and may not be
covered by the vehicle Warranty.
In case of emergency, you can add a large
amount of water without prediluted coolant
in order to reach a vehicle service location.
On arrival do the following:
1. Drain the cooling system.
2. Chemically clean the cooling system. We
recommend Motorcraft Premium Cooling
System Flush.
3. Refill with prediluted coolant as soon as possible.
304
MKZ (CC9) Canada/United States of America, enUSA, First Printing Maintenance
Page 315 of 564
WARNINGS
A fluid level between the MAX and
MIN lines is within the normal
operating range and there is no need to add
fluid. A fluid level not in the normal operating
range could compromise the performance
of the system. Have your vehicle checked
immediately. To avoid fluid contamination, the reservoir
cap must remain in place and fully tight,
unless you are adding fluid.
Only use fluid that meets Ford specifications.
See
Capacities and Specifications (page
367).
WASHER FLUID CHECK WARNING
If you operate your vehicle in
temperatures below 40°F (5°C), use
washer fluid with antifreeze protection.
Failure to use washer fluid with antifreeze
protection in cold weather could result in
impaired windshield vision and increase the
risk of injury or accident. Note:
The front and rear washer systems
are supplied from the same reservoir.
Add fluid to fill the reservoir if the level is low.
Only use a washer fluid that meets Ford
specifications.
See Capacities and
Specifications (page 367).
State or local regulations on volatile organic
compounds may restrict the use of methanol,
a common windshield washer antifreeze
additive. Washer fluids containing
non-methanol antifreeze agents should be
used only if they provide cold weather
protection without damaging the vehicle ’s
paint finish, wiper blades or washer system.
FUEL FILTER
Your vehicle is equipped with a lifetime fuel
filter that is integrated with the fuel tank.
Regular maintenance or replacement is not
needed. CHANGING THE 12V BATTERY WARNINGS
Batteries normally produce explosive
gases which can cause personal injury.
Therefore, do not allow flames, sparks or
lighted substances to come near the battery.
When working near the battery, always shield
your face and protect your eyes. Always
provide correct ventilation. When lifting a plastic-cased battery,
excessive pressure on the end walls
could cause acid to flow through the vent
caps, resulting in personal injury and damage
to the vehicle or battery. Lift the battery with
a battery carrier or with your hands on
opposite corners.
312
MKZ (CC9) Canada/United States of America, enUSA, First Printing Maintenance
Page 317 of 564
6. Allow the engine to idle for at least one
minute.
7. Drive the vehicle at least 10 mi (16 km) to
completely relearn the idle trim and fuel
trim strategy.
Note: If you do not allow the engine to
relearn the idle and fuel trim strategy, the
idle quality of your vehicle may be adversely
affected until the engine computer
eventually relearns the idle trim and fuel trim
strategy.
Note: Certain features may not operate if
the battery monitor system is not reset with
a scan tool following a jump start or battery
replacement. Normal electrical accessory
operation should resume after your vehicle
is left undisturbed for 8 hours.
Make sure that you dispose of old batteries
in an environmentally friendly way. Seek
advice from your local authority about
recycling old batteries.
If storing your vehicle for more than 30 days
without recharging the battery, we
recommend that you disconnect the battery
cables to maintain battery charge for quick
starting. CHECKING THE WIPER BLADES
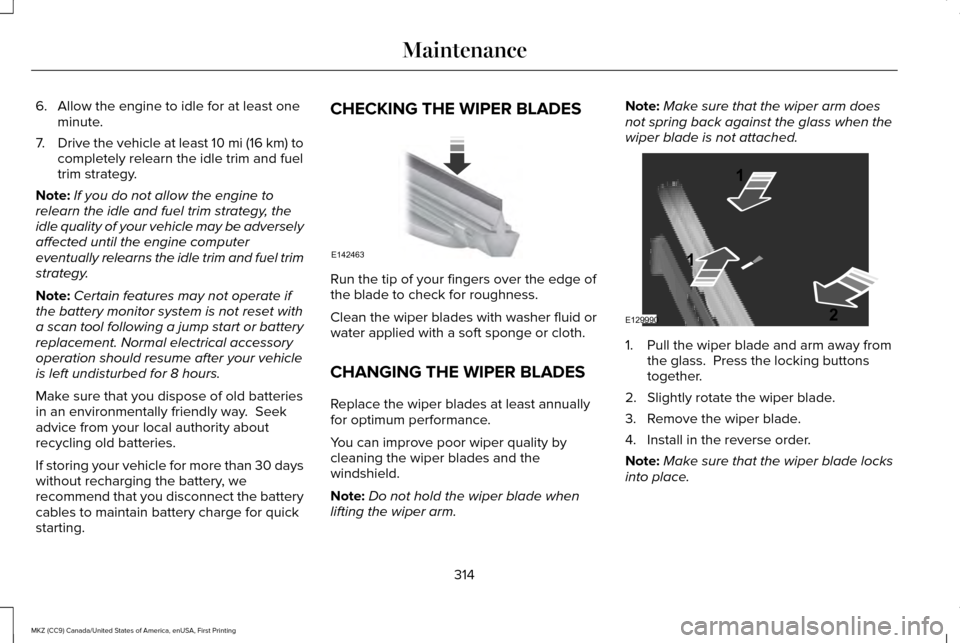
Run the tip of your fingers over the edge of
the blade to check for roughness.
Clean the wiper blades with washer fluid or
water applied with a soft sponge or cloth.
CHANGING THE WIPER BLADES
Replace the wiper blades at least annually
for optimum performance.
You can improve poor wiper quality by
cleaning the wiper blades and the
windshield.
Note:
Do not hold the wiper blade when
lifting the wiper arm. Note:
Make sure that the wiper arm does
not spring back against the glass when the
wiper blade is not attached. 1. Pull the wiper blade and arm away from
the glass. Press the locking buttons
together.
2. Slightly rotate the wiper blade.
3. Remove the wiper blade.
4. Install in the reverse order.
Note: Make sure that the wiper blade locks
into place.
314
MKZ (CC9) Canada/United States of America, enUSA, First Printing MaintenanceE142463 E129990
1
1 2