maintenance reset LINCOLN MKZ HYBRID 2013 Owners Manual
[x] Cancel search | Manufacturer: LINCOLN, Model Year: 2013, Model line: MKZ HYBRID, Model: LINCOLN MKZ HYBRID 2013Pages: 475, PDF Size: 3.89 MB
Page 6 of 475
Collision Warning System...............230
Steering..................................................233
Drive Control........................................234
Load Carrying
Load Limit.............................................236
Towing
Towing a Trailer...................................244
Transporting the Vehicle.................244
Towing the Vehicle on Four Wheels...............................................245
Driving Hints
Breaking-In............................................247
Economical Driving............................247
Driving Through Water
......................247
Floor Mats
.............................................248
Roadside Emergencies
Roadside Assistance........................250
Hazard Warning Flashers
.................251
Jump-Starting the Vehicle...............251
Collision, Damage or Fire Event.....255
Post-Crash Alert System.................257
Customer Assistance
Getting the Services You Need
......258
In California (U.S. Only)...................259
The Better Business Bureau (BBB) Auto Line Program (U.S.
Only)...................................................260
Utilizing the Mediation/Arbitration Program (Canada Only)...............261
Getting Assistance Outside the U.S. and Canada
......................................262 Ordering Additional Owner's
Literature...........................................263
Reporting Safety Defects (U.S. Only)...................................................264
Reporting Safety Defects (Canada Only)...................................................264
Fuses
Changing a Fuse.................................265
Fuse Specification Chart.................266
Maintenance
General Information...........................277
Opening and Closing the Hood......278
Under Hood Overview - 2.0L Hybrid.................................................278
Engine Oil Dipstick............................280
Engine Oil Check................................280
Oil Change Indicator Reset............280
Engine Coolant Check
.......................281
Automatic Transmission Fluid Check.................................................286
Brake Fluid Check
..............................286
Power Steering Fluid Check...........286
Fuel Filter
...............................................287
Washer Fluid Check...........................287
Changing the 12V Battery................287
Checking the Wiper Blades............289
Changing the Wiper Blades...........289
Changing the Engine Air Filter.......290
Adjusting the Headlamps................291
Changing a Bulb.................................292
Bulb Specification Chart.................293
Vehicle Care
General Information
..........................294
4
MKZ Hybrid (CC9) Table of Contents
Page 282 of 475
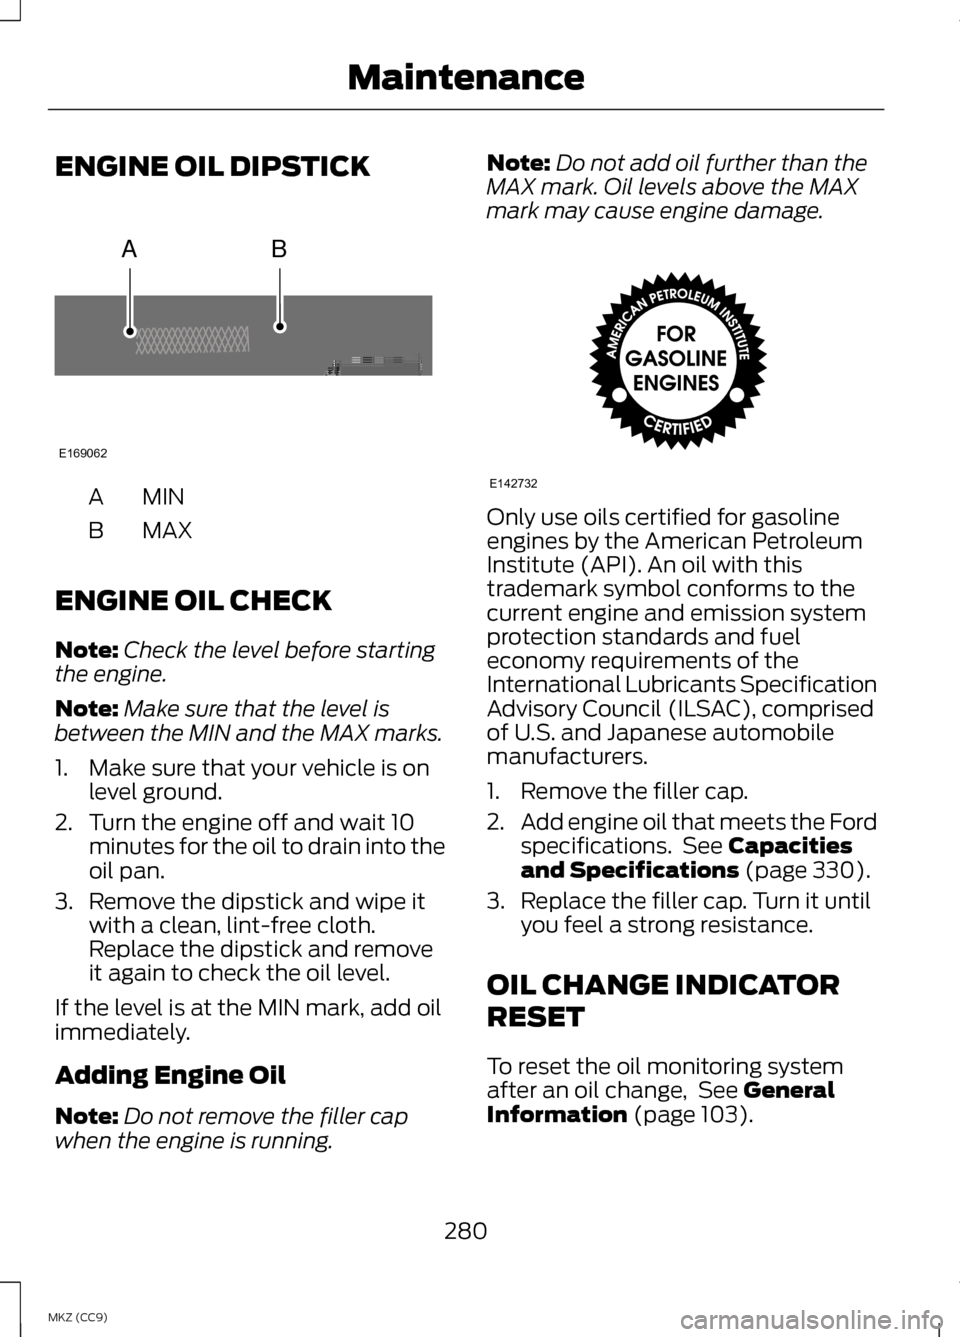
ENGINE OIL DIPSTICK
MINA
MAXB
ENGINE OIL CHECK
Note: Check the level before starting
the engine.
Note: Make sure that the level is
between the MIN and the MAX marks.
1. Make sure that your vehicle is on level ground.
2. Turn the engine off and wait 10 minutes for the oil to drain into the
oil pan.
3. Remove the dipstick and wipe it with a clean, lint-free cloth.
Replace the dipstick and remove
it again to check the oil level.
If the level is at the MIN mark, add oil
immediately.
Adding Engine Oil
Note: Do not remove the filler cap
when the engine is running. Note:
Do not add oil further than the
MAX mark. Oil levels above the MAX
mark may cause engine damage. Only use oils certified for gasoline
engines by the American Petroleum
Institute (API). An oil with this
trademark symbol conforms to the
current engine and emission system
protection standards and fuel
economy requirements of the
International Lubricants Specification
Advisory Council (ILSAC), comprised
of U.S. and Japanese automobile
manufacturers.
1. Remove the filler cap.
2.
Add engine oil that meets the Ford
specifications. See Capacities
and Specifications (page 330).
3. Replace the filler cap. Turn it until you feel a strong resistance.
OIL CHANGE INDICATOR
RESET
To reset the oil monitoring system
after an oil change, See
General
Information (page 103).
280
MKZ (CC9) MaintenanceAB
E169062 E142732
Page 287 of 475
What You Should Know About
Fail-Safe Cooling
If the engine coolant supply is
depleted, this feature allows the
vehicle to be driven temporarily before
incremental component damage is
incurred. The
“fail-safe” distance
depends on ambient temperatures,
vehicle load and terrain.
How Fail-Safe Cooling Works
If the engine begins to overheat, the
engine coolant temperature gauge
will move to the red (hot) area and: The coolant temperature
warning light will illuminate.
The service engine soon
indicator will illuminate.
If the engine reaches a preset
over-temperature condition, the
engine will automatically switch to
alternating cylinder operation. Each
disabled cylinder acts as an air pump
and cools the engine.
When this occurs the vehicle will still
operate. However:
• The engine power will be limited.
• The air conditioning system will be
disabled.
Continued operation will increase the
engine temperature and the engine
will completely shut down, causing
steering and braking effort to increase. Once the engine temperature cools,
the engine can be re-started. Take
your vehicle to an authorized dealer
as soon as possible to minimize
engine damage.
When Fail-Safe Mode Is Activated WARNINGS
Fail-safe mode is for use during
emergencies only. Operate the
vehicle in fail-safe mode only as long
as necessary to bring the vehicle to
rest in a safe location and seek
immediate repairs. When in fail-safe
mode, the vehicle will have limited
power, will not be able to maintain
high-speed operation, and may
completely shut down without
warning, potentially losing engine
power, power steering assist, and
power brake assist, which may
increase the possibility of a crash
resulting in serious injury. Never remove the coolant
reservoir cap while the engine is
running or hot. Note:
Driving the vehicle without
repairing the engine problem increases
the chance of engine damage. Take
your vehicle to an authorized dealer as
soon as possible.
285
MKZ (CC9) Maintenance
Page 290 of 475
Note:
If your battery has a
cover/shield, make sure it is reinstalled
after the battery has been cleaned or
replaced.
Note: See an authorized dealer for low
voltage battery access, testing, or
replacement.
When a low voltage battery
replacement is necessary, see an
authorized dealer to replace the low
voltage battery with a Ford
recommended replacement low
voltage battery that matches the
electrical requirements of the vehicle
To ensure proper operation of the
battery management system (BMS),
do not allow a technician to connect
any electrical device ground
connection directly to the low voltage
battery negative post. A connection
at the low voltage battery negative
post can cause inaccurate
measurements of the battery
condition and potential incorrect
system operation.
Note: If a person adds electrical or
electronic accessories or components
to the vehicle, the accessories or
components may adversely affect the
low voltage battery performance and
durability and may also affect the
performance of other electrical
systems in the vehicle.
For longer, trouble-free operation,
keep the top of the battery clean and
dry. Also, make certain the battery
cables are always tightly fastened to
the battery terminals. If you see any corrosion on the battery
or terminals, remove the cables from
the terminals and clean with a wire
brush. You can neutralize the acid with
a solution of baking soda and water.
When a battery replacement is
required, the battery should only be
replaced with a Ford recommended
replacement battery that matches
the electrical requirements of the
vehicle.
Because your vehicle
’s engine is
electronically-controlled by a
computer, some engine control
settings are maintained by power
from the low voltage battery. Some
engine computer settings, like the idle
trim and fuel trim strategy, optimize
the driveability and performance of
the engine. Some other computer
settings, like the clock and radio
station presets, are also maintained
in memory by power from the low
voltage battery. When a technician
disconnects and connects the low
voltage battery, these settings are
erased. Complete the following
procedure in order to restore the
settings:
1. With the vehicle at a complete stop, set the parking brake.
2. Shift the transmission into P.
3. Turn off all accessories.
4. Step on the brake pedal and start the vehicle.
288
MKZ (CC9) Maintenance
Page 291 of 475
5. Run the engine until it reaches
normal operating temperature.
While the engine is warming up,
complete the following: Reset the
clock. See Audio System (page
134). Reset the power windows
bounce-back feature. See
Windows and Mirrors (page 88).
Reset the radio station presets.
See
Audio System (page 134).
6. Allow the engine to idle for at least
one minute. If the engine turns off,
step on the accelerator to start the
engine.
7. While the engine is running, step on the brake pedal and shift the
transmission to N.
8. Allow the engine to run for at least
one minute by pressing on the
accelerator pedal.
9. Drive the vehicle at least 10 miles (16 kilometers) to completely
relearn the idle and fuel trim
strategy.
Note: If you do not allow the engine to
relearn the idle and fuel trim strategy,
the idle quality of your vehicle may be
adversely affected until the engine
computer eventually relearns the idle
trim and fuel trim strategy.
Note: Always dispose of automotive
batteries in a responsible manner.
Follow your local authorized standards
for disposal. Call your local authorized
recycling center to find out more about
recycling automotive batteries. Note:
It is recommended that the
negative battery cable terminal be
disconnected from the battery if you
plan to store your vehicle for an
extended period of time.
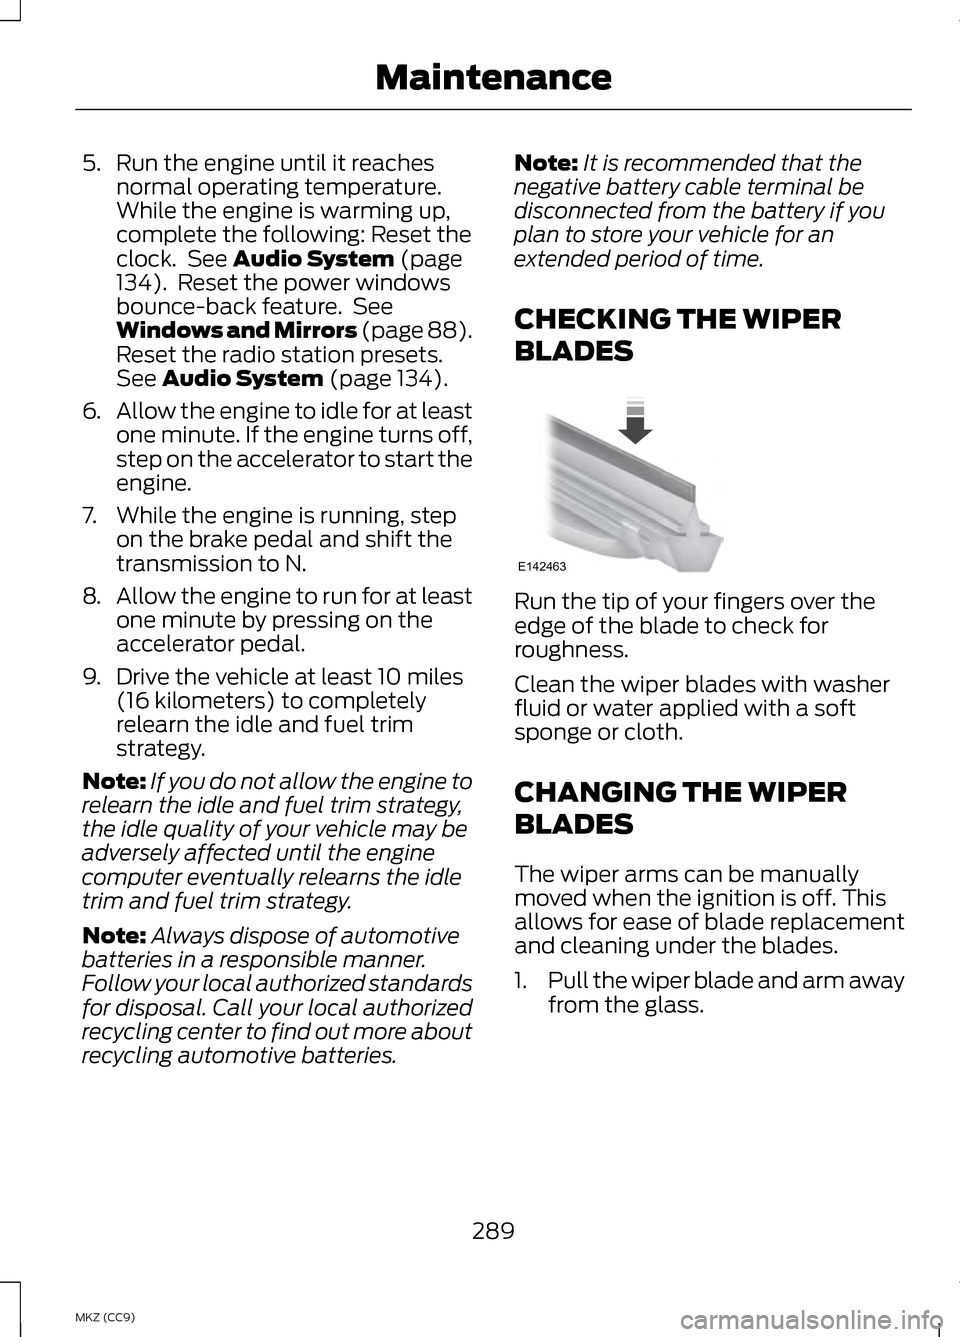
CHECKING THE WIPER
BLADES Run the tip of your fingers over the
edge of the blade to check for
roughness.
Clean the wiper blades with washer
fluid or water applied with a soft
sponge or cloth.
CHANGING THE WIPER
BLADES
The wiper arms can be manually
moved when the ignition is off. This
allows for ease of blade replacement
and cleaning under the blades.
1.
Pull the wiper blade and arm away
from the glass.
289
MKZ (CC9) MaintenanceE142463
Page 447 of 475
Protecting Your Investment
Maintenance is an investment that
pays dividends in the form of
improved reliability, durability and
resale value. To maintain the proper
performance of your vehicle and its
emission control systems, make sure
you have scheduled maintenance
performed at the designated intervals.
Your vehicle is equipped with an
information display, which indicates
the proper oil change interval. This
interval may be up to one year or
10000 miles (16000 kilometers).
When ENGINE OIL CHANGE DUE or
OIL CHANGE REQUIRED appears in
the information display, it is time for
an oil change. Make sure you perform
the oil change within two weeks or
500 miles (800 kilometers) of the
ENGINE OIL CHANGE DUE
or OIL
CHANGE REQUIRED message
appearing. Make sure you reset the oil
monitoring system after each oil
change. See Engine Oil Check (page
280
).
If your information display resets
prematurely, becomes inoperative or
the vehicle battery becomes
discharged or disconnected, the oil
monitoring system resets to 100% oil
life. You should change your engine
oil one year or 10000 miles (16000
kilometers) from the previous oil
change. Never exceed one year or
10000 miles (16000 kilometers)
between oil change intervals. Your vehicle is very sophisticated and
built with multiple, complex,
performance systems. Every
manufacturer develops these systems
using different specifications and
performance features. That is why it
is important to rely upon your
dealership to properly diagnose and
repair your vehicle.
Ford Motor Company has
recommended maintenance intervals
for various parts and component
systems based upon engineering
testing. Ford Motor Company relies
upon this testing to determine the
most appropriate mileage for
replacement of oils and fluids to
protect your vehicle at the lowest
overall cost to you and recommends
against maintenance schedules that
deviate from the scheduled
maintenance information.
We strongly recommend the use of
only genuine Ford, Motorcraft or
Ford-authorized re-manufactured
replacement parts engineered for your
vehicle.
Additives and Chemicals
This owner's manual and the Ford
Workshop Manual list the
recommended additives and
chemicals for your vehicle. We do not
recommend using chemicals or
additives not approved by us as part
of your vehicle
’s normal maintenance.
Please consult your warranty
information.
445
MKZ (CC9) Scheduled Maintenance
Page 450 of 475
Be sure to ask your dealership service
advisor or technician about the
multi-point vehicle inspection. It is a
comprehensive way to perform a
thorough inspection of your vehicle.
Your checklist gives you immediate
feedback on the overall condition of
your vehicle.
Normal Scheduled Maintenance Normal scheduled maintenance
1, 2
Change engine oil and filter. 3
Every 12 months or
10000 miles (16000
km). The oil monitoring
system displays a
message in the informa-
tion display. Rotate tires, inspect tire wear and measure tread
depth.
Inspect automatic transmission fluid level. Consult
dealer for requirements.
Inspect brake pads, shoes, rotors, drums, brake
linings, hoses and parking brake.
Inspect engine cooling system and motor/elec-
tronics cooling system strength and hoses.
Inspect exhaust system and heat shields.
Inspect half-shaft boots.
Inspect steering linkage, ball joints, suspension and
tie-rod ends.
Inspect wheels and related components for
abnormal noise, wear, looseness or drag.
1 Do not exceed one year or 10000 miles (16000 kilometers) between service
intervals.
2 Perform multi-point inspection (recommended).
3 Reset the oil monitoring system after engine oil and filter changes. See Engine
Oil Check (page 280).
448
MKZ (CC9) Scheduled Maintenance