remote control LINCOLN MKZ HYBRID 2014 Owner's Manual
[x] Cancel search | Manufacturer: LINCOLN, Model Year: 2014, Model line: MKZ HYBRID, Model: LINCOLN MKZ HYBRID 2014Pages: 445, PDF Size: 3.8 MB
Page 110 of 445
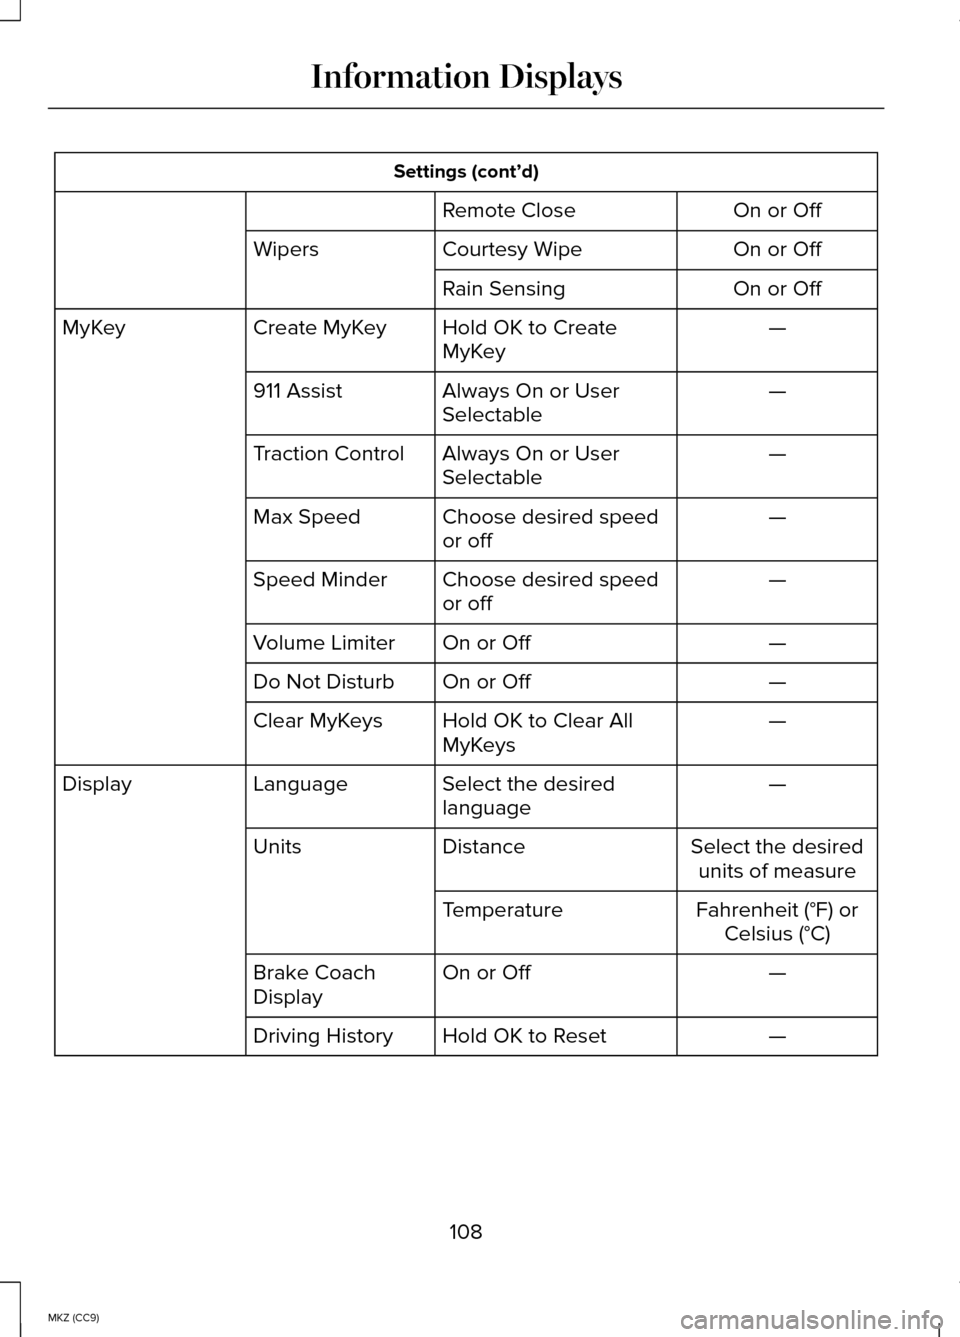
Settings (cont’d)
On or Off
Remote Close
On or Off
Courtesy Wipe
Wipers
On or Off
Rain Sensing
—
Hold OK to Create
MyKey
Create MyKey
MyKey
—
Always On or User
Selectable
911 Assist
—
Always On or User
Selectable
Traction Control
—
Choose desired speed
or off
Max Speed
—
Choose desired speed
or off
Speed Minder
—
On or Off
Volume Limiter
—
On or Off
Do Not Disturb
—
Hold OK to Clear All
MyKeys
Clear MyKeys
—
Select the desired
language
Language
Display
Select the desiredunits of measure
Distance
Units
Fahrenheit (°F) orCelsius (°C)
Temperature
—
On or Off
Brake Coach
Display
—
Hold OK to Reset
Driving History
108
MKZ (CC9) Information Displays
Page 129 of 445
The particulate filtration system reduces
the concentration of airborne particles
such as dust, spores and pollen in the air
supplied to the interior of your vehicle.
Note:
To prevent foreign objects from
entering the system, make sure the cabin
air is in place at all times. Running the
system without a filter in place could result
in degradation or damage to the system.
The particulate filtration system gives you
and your passengers the following
benefits:
• It improves your driving comfort by
reducing particle concentration.
• It improves the interior compartment
cleanliness.
• It protects the climate control
components from particle deposits.
Replace the filter at regular intervals. See
Scheduled Maintenance (page 412).
For additional cabin air filter information,
or to replace the filter, see an authorized
dealer.
REMOTE START
The climate control system adjusts the
cabin temperature during remote start.
You cannot adjust the system during
remote start operation. Turn the ignition
on to return the system to its previous
settings. You can now make adjustments.
You need to turn certain
vehicle-dependent features back on, such
as:
• heated seats
• cooled seats
• heated steering wheel •
heated mirrors
• heated rear window.
You can adjust the settings using the
information display controls.
See
Information Displays (page 97).
Automatic Settings
You can set the climate control to operate
in AUTO mode through the information
display setting: Remote Start > Climate
Control > Heater-A/C > Auto. The climate
control system automatically sets the
interior temperature to 72°F (22°C).
In hot weather, the system is set to 72°F
(22°C). Cooled seats are set to high (if
available, and selected to AUTO in the
information display).
In moderate weather, the system either
heats or cools (based on previous
settings). The rear defroster, heated
mirrors and heated/cooled seats do not
automatically turn on.
In cold weather, the system is set to 72°F
(22°C). The heated seats and heated
steering wheel are set to high (if available,
and selected to AUTO in the information
display). The rear defroster and heated
mirrors automatically turn on.
Last Settings
You can set the climate control to operate
using the last climate control settings
through the information display setting:
Remote Start > Climate Control >
Heater–A/C > Last Settings. The climate
control system automatically uses the
settings last selected before turning off
the vehicle.
127
MKZ (CC9) Climate Control
Page 130 of 445
Heated and Cooled Devices
The climate control system controls other
heated and cooled devices inside the
vehicle. These devices (if available and
selected to AUTO in the information
displays) may switch on during remote
start. Heated devices typically switch on
during cold weather, and cooled devices
during hot weather.
128
MKZ (CC9) Climate Control
Page 136 of 445
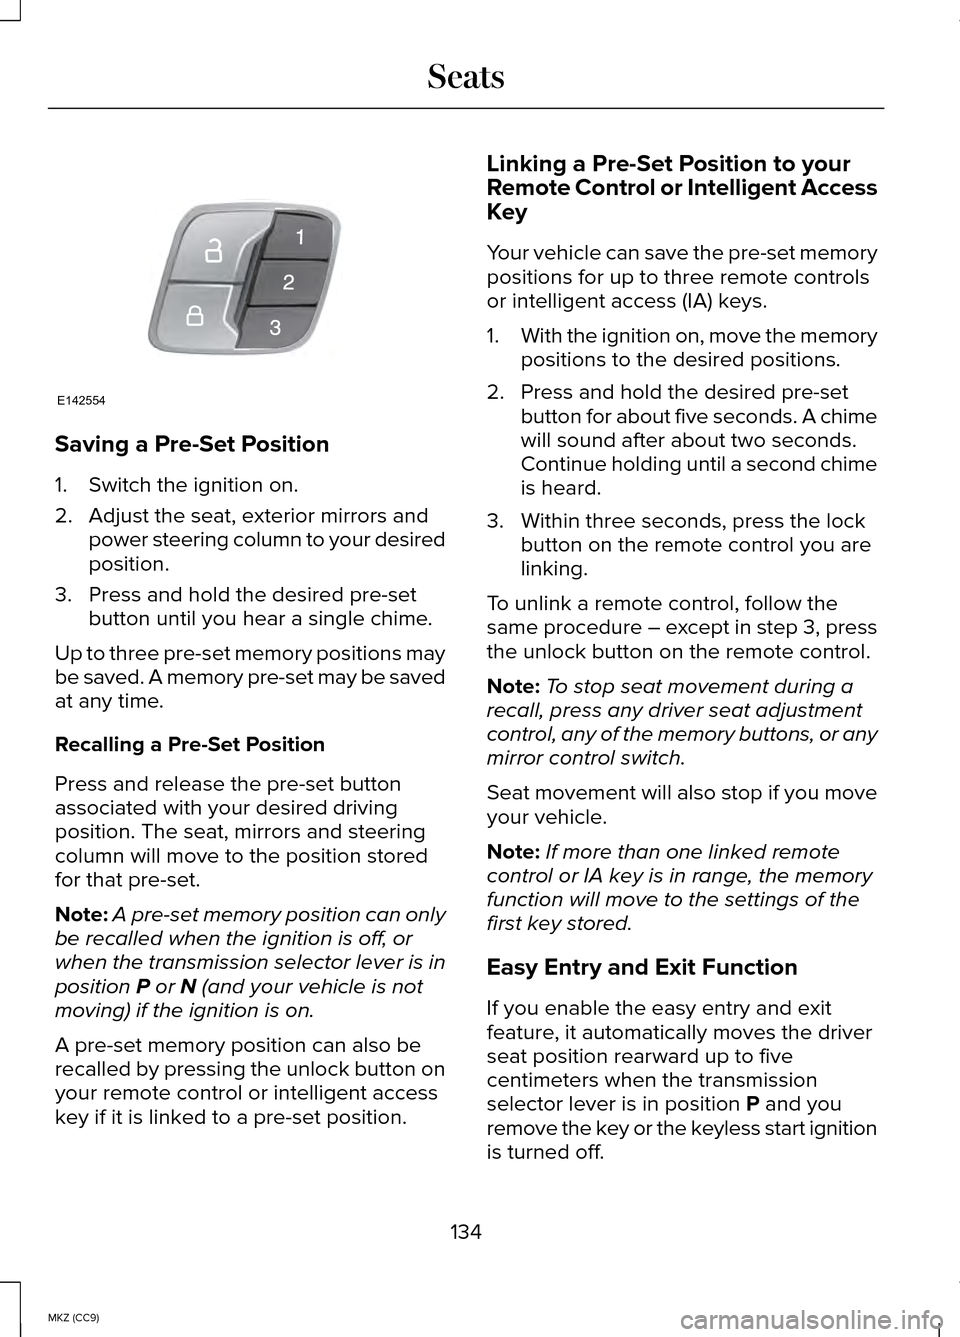
Saving a Pre-Set Position
1. Switch the ignition on.
2. Adjust the seat, exterior mirrors and
power steering column to your desired
position.
3. Press and hold the desired pre-set button until you hear a single chime.
Up to three pre-set memory positions may
be saved. A memory pre-set may be saved
at any time.
Recalling a Pre-Set Position
Press and release the pre-set button
associated with your desired driving
position. The seat, mirrors and steering
column will move to the position stored
for that pre-set.
Note: A pre-set memory position can only
be recalled when the ignition is off, or
when the transmission selector lever is in
position P or N (and your vehicle is not
moving) if the ignition is on.
A pre-set memory position can also be
recalled by pressing the unlock button on
your remote control or intelligent access
key if it is linked to a pre-set position. Linking a Pre-Set Position to your
Remote Control or Intelligent Access
Key
Your vehicle can save the pre-set memory
positions for up to three remote controls
or intelligent access (IA) keys.
1.
With the ignition on, move the memory
positions to the desired positions.
2. Press and hold the desired pre-set button for about five seconds. A chime
will sound after about two seconds.
Continue holding until a second chime
is heard.
3. Within three seconds, press the lock button on the remote control you are
linking.
To unlink a remote control, follow the
same procedure – except in step 3, press
the unlock button on the remote control.
Note: To stop seat movement during a
recall, press any driver seat adjustment
control, any of the memory buttons, or any
mirror control switch.
Seat movement will also stop if you move
your vehicle.
Note: If more than one linked remote
control or IA key is in range, the memory
function will move to the settings of the
first key stored.
Easy Entry and Exit Function
If you enable the easy entry and exit
feature, it automatically moves the driver
seat position rearward up to five
centimeters when the transmission
selector lever is in position
P and you
remove the key or the keyless start ignition
is turned off.
134
MKZ (CC9) SeatsE142554
Page 141 of 445
HomeLink Wireless Control System
(If Equipped)
WARNING
Do not use the system with any
garage door opener that does not
have the safety stop and reverse feature
as required by U.S. Federal Safety
Standards (this includes any garage door
opener manufactured before April 1, 1982).
A garage door opener which cannot detect
an object, signaling the door to stop and
reverse, does not meet current federal
safety standards. Using a garage door
opener without these features increases
the risk of serious injury or death. Note:
Make sure that the garage door and
security device are free from obstruction
when you are programming. Do not
program the system with the vehicle in the
garage.
Note: Make sure you keep the original
remote control transmitter for use in other
vehicles as well as for future system
programming.
Note: We recommend that upon the sale
or lease termination of your vehicle, you
erase the programmed function buttons
for security reasons. See Erasing the
function button codes later in this section.
Note: You can program a maximum of
three devices. To change or replace any
of the three devices after it has been
initially programmed, you must first erase
the current settings. See Erasing the
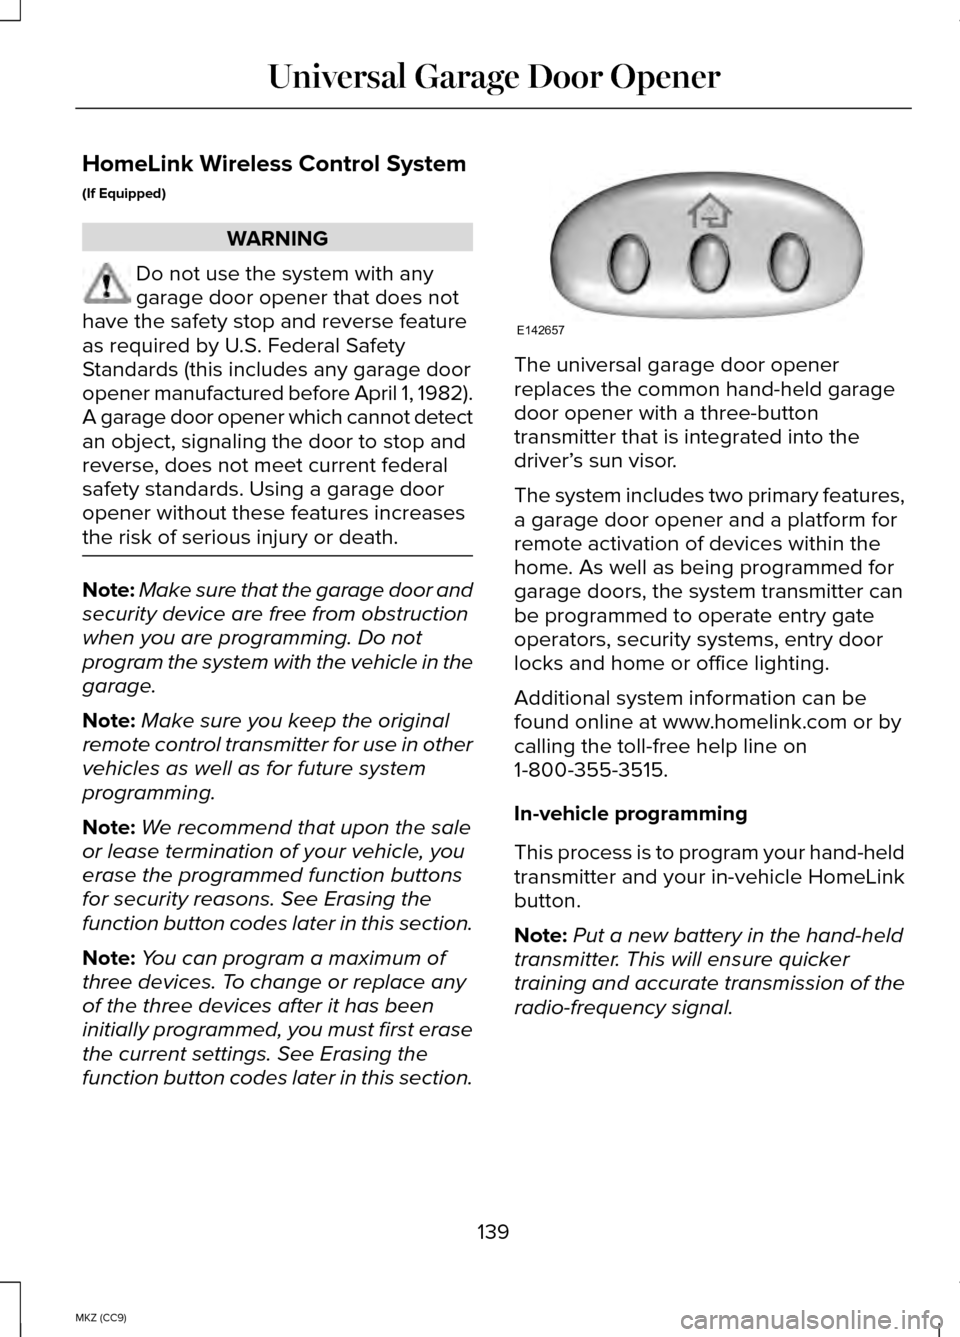
function button codes later in this section. The universal garage door opener
replaces the common hand-held garage
door opener with a three-button
transmitter that is integrated into the
driver’
s sun visor.
The system includes two primary features,
a garage door opener and a platform for
remote activation of devices within the
home. As well as being programmed for
garage doors, the system transmitter can
be programmed to operate entry gate
operators, security systems, entry door
locks and home or office lighting.
Additional system information can be
found online at www.homelink.com or by
calling the toll-free help line on
1-800-355-3515.
In-vehicle programming
This process is to program your hand-held
transmitter and your in-vehicle HomeLink
button.
Note: Put a new battery in the hand-held
transmitter. This will ensure quicker
training and accurate transmission of the
radio-frequency signal.
139
MKZ (CC9) Universal Garage Door OpenerE142657
Page 200 of 445
Action
Cause
Clean the grille surface in front of the radar
or remove the object causing the obstruc-tion.
The surface of the radar in the grille is dirty
or obstructed in some way.
Wait a short time. It may take several
minutes for the radar to detect that it is free from obstruction.
The surface of the radar in the grille is
clean but the message remains in the display.
Do not use the system in these conditionsbecause it may not detect any vehicles ahead.
Heavy rain or snow is interfering with the
radar signals.
Do not use the system in these conditionsbecause it may not detect any vehicles ahead.
Swirling water, or snow or ice on the
surface of the road may interfere with the radar signals.
Wait a short time or switch to normal cruisecontrol.
You are in a desert or remote area with no
other vehicles and no roadside objects.
Due to the nature of radar technology, it
is possible to get a blockage warning and
not be blocked. This can happen, for
example, when driving in sparse rural or
desert environments. A false blocked
condition will either self clear or clear after
a key cycle.
Switching to Normal Cruise Control WARNING
Normal cruise control will not brake
due to slower vehicles. Always be
aware of which mode you have selected
and apply the brakes when necessary. You can manually change from adaptive
cruise control to normal cruise control
through the information display. The cruise control indicator light
replaces the adaptive cruise
control indicator light if you
select normal cruise control. The gap
setting will not display, the system will not
automatically respond to lead vehicles and
automatic braking will not activate. The
system defaults to adaptive cruise control
when you start the vehicle.
ECO Cruise Control
This feature saves vehicle energy by
relaxing acceleration compared to
standard cruise control. For example, your
vehicle may temporarily lose speed when
going uphill. ECO will appear in the
information display when you activate ECO
cruise control. It can be switched on or off
in the information display.
See General
Information (page 97).
198
MKZ (CC9) Cruise ControlE71340
Page 233 of 445
Post-Incident
•
Do not store a severely damaged
vehicle with a lithium-ion battery inside
a structure or within 50 feet (15 meters)
of any structure or vehicle.
• Make sure that passenger and cargo
compartments remain ventilated (i.e.,
open window, door, or trunk).
• For vehicles in the United States, notify
Ford Motor Company 1-800-392-3673
(then follow the prompts on the voice
response menu), an authorized Ford
dealer or service center as soon as
possible as there may be other steps
to secure and discharge the
high-voltage battery.
• For vehicles in Canada, notify Ford
Motor Company 1-800-565-3673 (then
follow the prompts on the voice
response menu), an authorized Ford
dealer or service center as soon as
possible as there may be other steps
to secure and discharge the
high-voltage battery.
• Call 911 if you observe leaking fluids,
sparks, smoke or flames, or hear
gurgling or bubbling from the
high-voltage battery.
POST-CRASH ALERT SYSTEM
The system flashes the turn signal lamps
and sounds the horn (intermittently) in the
event of a serious impact that deploys an
airbag (front, side, side curtain or Safety
Canopy) or the safety belt pretensioners. The horn and lamps will turn off when:
•
The hazard control button is pressed
• The panic button (if equipped) is
pressed on the remote entry
transmitter
• Your vehicle runs out of power
Spinout Detection
If a spinout is detected, the vehicle comes
to a stop and the hazard warning flashers
come on. The message Spinout Detected
Hazards Activated will also appear on the
instrument cluster. The message may not
appear if your vehicle runs out of power.
Once the hazard warning flashers have
been activated, you can turn them off by:
• Pressing the hazard warning flasher
button
• Pressing the remote control unlock
button
• Pressing the remote control panic
button
• Cycling the ignition on and off twice
231
MKZ (CC9) Roadside Emergencies
Page 295 of 445
WARNINGS
Only use replacement tires and
wheels that are the same size,
load index, speed rating and type
(such as P-metric versus LT-metric or
all-season versus all-terrain) as those
originally provided by Ford. The
recommended tire and wheel size may
be found on either the Safety
Compliance Certification Label (affixed
to either the door hinge pillar,
door-latch post, or the door edge that
meets the door-latch post, next to the
driver's seating position), or the Tire
Label which is located on the B-Pillar
or edge of the driver’ s door. If this
information is not found on these
labels then you should contact your
authorized dealer as soon as possible.
Use of any tire or wheel not
recommended by Ford can affect the
safety and performance of your
vehicle, which could result in an
increased risk of loss of vehicle
control, vehicle rollover, personal
injury and death. Additionally the use
of non-recommended tires and wheels
could cause steering, suspension,
axle, transfer case or power transfer
unit failure. If you have questions
regarding tire replacement, contact
your authorized dealer as soon as
possible. WARNINGS
To reduce the risk of injury, when
mounting replacement tires and
wheels, you should not exceed the
maximum pressure indicated on the
sidewall of the tire to set the beads
without additional precautions listed
below. If the beads do not seat at the
maximum pressure indicated,
re-lubricate and try again
When inflating the tire for mounting
pressures up to 20 psi (1.38 bar)
greater than the maximum pressure
on the tire sidewall, the following
precautions must be taken to protect
the person mounting the tire:
1. Make sure that you have the correct
tire and wheel size.
2. Lubricate the tire bead and wheel
bead seat area again.
3. Stand at a minimum of 12 feet (3.66
meters) away from the wheel and tire
assembly.
4. Use both eye and ear protection.
For a mounting pressure more than
20 psi (1.38 bar) greater than the
maximum pressure, a Ford dealer or
other tire service professional should
do the mounting.
Always inflate steel carcass tires with
a remote air fill with the person
inflating standing at a minimum of 12
feet (3.66 meters) away from the
wheel and tire assembly 293
MKZ (CC9) Wheels and Tires
Page 437 of 445
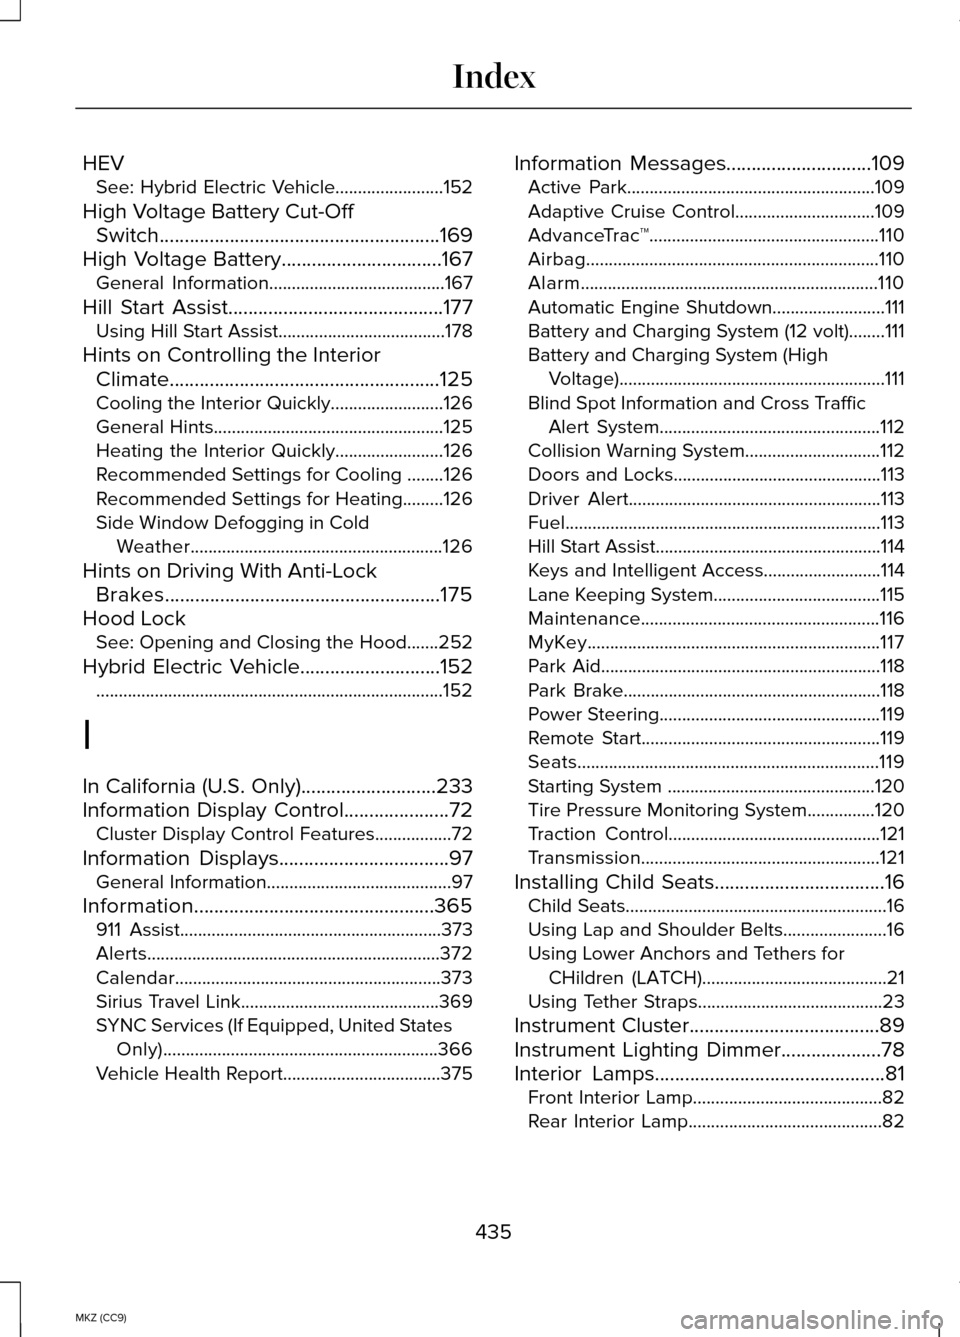
HEV
See: Hybrid Electric Vehicle........................152
High Voltage Battery Cut-Off Switch........................................................169
High Voltage Battery................................167
General Information.......................................167
Hill Start Assist...........................................177 Using Hill Start Assist.....................................178
Hints on Controlling the Interior Climate......................................................125
Cooling the Interior Quickly.........................126
General Hints...................................................125
Heating the Interior Quickly........................126
Recommended Settings for Cooling ........126
Recommended Settings for Heating.........126
Side Window Defogging in Cold Weather........................................................126
Hints on Driving With Anti-Lock Brakes.......................................................175
Hood Lock See: Opening and Closing the Hood.......252
Hybrid Electric Vehicle............................152 ........................................................................\
.....152
I
In California (U.S. Only)
...........................233
Information Display Control.....................72 Cluster Display Control Features.................72
Information Displays..................................97 General Information.........................................97
Information................................................365 911 Assist..........................................................373
Alerts.................................................................372
Calendar...........................................................373
Sirius Travel Link............................................369
SYNC Services (If Equipped, United States
Only).............................................................366
Vehicle Health Report...................................375 Information Messages
.............................109
Active Park.......................................................109
Adaptive Cruise Control...............................
109
AdvanceTrac ™...................................................110
Airbag.................................................................110
Alarm..................................................................110
Automatic Engine Shutdown.........................
111
Battery and Charging System (12 volt)........111
Battery and Charging System (High Voltage)...........................................................111
Blind Spot Information and Cross Traffic Alert System.................................................112
Collision Warning System..............................112
Doors and Locks..............................................113
Driver Alert........................................................113
Fuel......................................................................113
Hill Start Assist..................................................114
Keys and Intelligent Access..........................114
Lane Keeping System.....................................115
Maintenance.....................................................116
MyKey.................................................................117
Park Aid..............................................................118
Park Brake.........................................................118
Power Steering.................................................119
Remote Start.....................................................119
Seats...................................................................119
Starting System ..............................................120
Tire Pressure Monitoring System
...............120
Traction Control...............................................121
Transmission.....................................................121
Installing Child Seats
..................................16
Child Seats..........................................................16
Using Lap and Shoulder Belts.......................16
Using Lower Anchors and Tethers for
CHildren (LATCH).........................................21
Using Tether Straps.........................................23
Instrument Cluster......................................89
Instrument Lighting Dimmer....................78
Interior Lamps
..............................................81
Front Interior Lamp..........................................82
Rear Interior Lamp...........................................82
435
MKZ (CC9) Index
Page 438 of 445
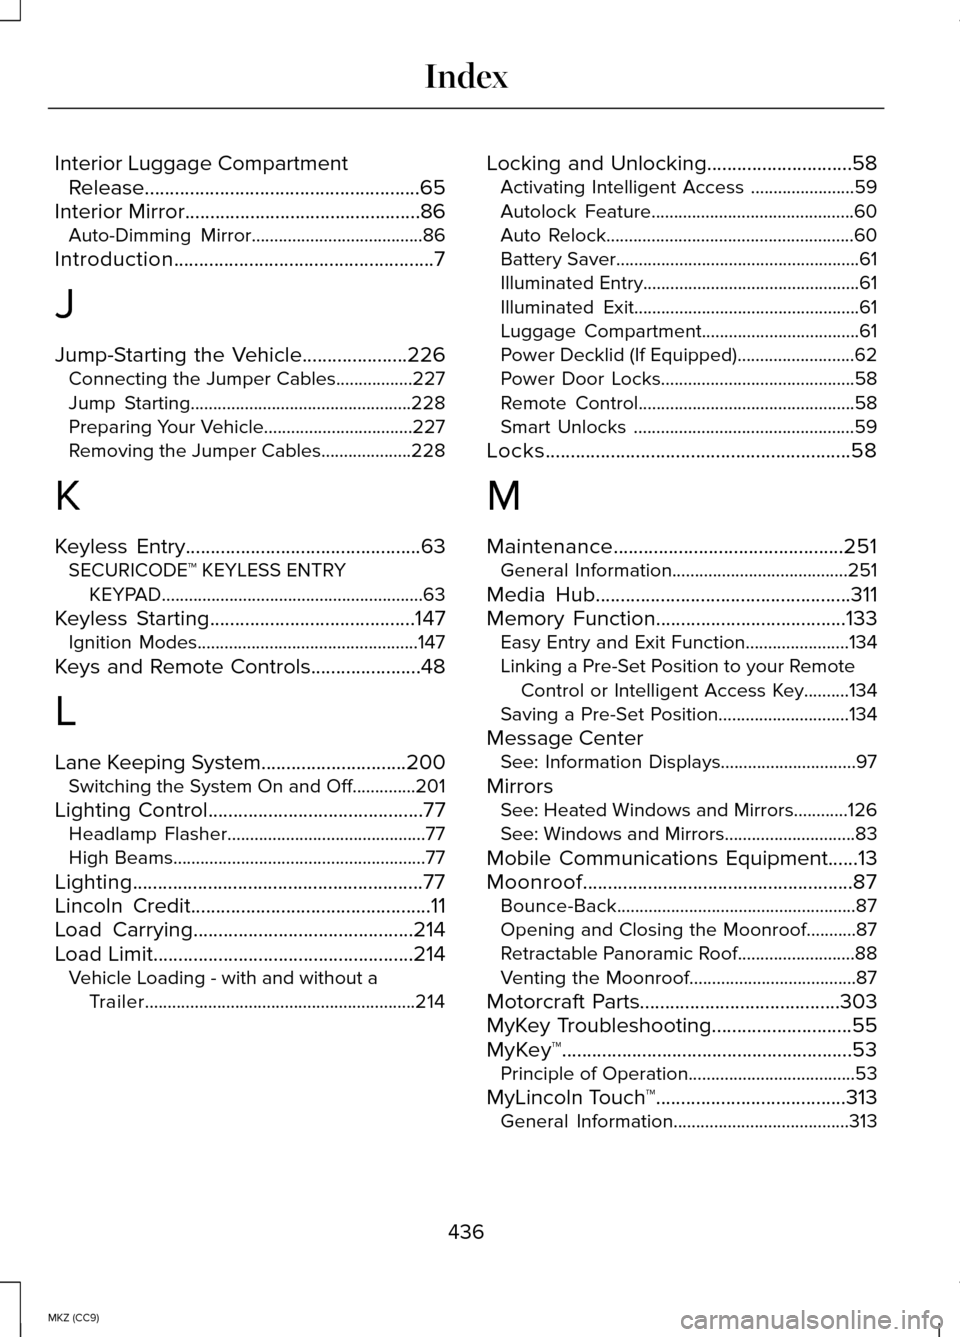
Interior Luggage Compartment
Release.......................................................65
Interior Mirror...............................................86
Auto-Dimming Mirror......................................86
Introduction....................................................7
J
Jump-Starting the Vehicle.....................226 Connecting the Jumper Cables.................227
Jump Starting.................................................228
Preparing Your Vehicle.................................227
Removing the Jumper Cables....................228
K
Keyless Entry...............................................63 SECURICODE™ KEYLESS ENTRY
KEYPAD..........................................................63
Keyless Starting
.........................................147
Ignition Modes.................................................147
Keys and Remote Controls......................48
L
Lane Keeping System.............................200 Switching the System On and Off..............201
Lighting Control...........................................77 Headlamp Flasher............................................77
High Beams........................................................77
Lighting
..........................................................77
Lincoln Credit................................................11
Load Carrying............................................214
Load Limit....................................................214
Vehicle Loading - with and without a
Trailer............................................................214 Locking and Unlocking.............................58
Activating Intelligent Access .......................59
Autolock Feature.............................................60
Auto Relock.......................................................60
Battery Saver......................................................61
Illuminated Entry................................................61
Illuminated Exit..................................................61
Luggage Compartment...................................61
Power Decklid (If Equipped)..........................
62
Power Door Locks...........................................58
Remote Control................................................58
Smart Unlocks .................................................59
Locks
.............................................................58
M
Maintenance..............................................251 General Information.......................................251
Media Hub...................................................311
Memory Function......................................133 Easy Entry and Exit Function.......................134
Linking a Pre-Set Position to your Remote
Control or Intelligent Access Key..........134
Saving a Pre-Set Position.............................134
Message Center See: Information Displays..............................97
Mirrors See: Heated Windows and Mirrors............
126
See: Windows and Mirrors.............................83
Mobile Communications Equipment
......13
Moonroof......................................................87 Bounce-Back.....................................................87
Opening and Closing the Moonroof...........87
Retractable Panoramic Roof..........................88
Venting the Moonroof.....................................87
Motorcraft Parts
........................................303
MyKey Troubleshooting............................55
MyKey™..........................................................53 Principle of Operation.....................................53
MyLincoln Touch ™
......................................313
General Information.......................................313
436
MKZ (CC9) Index