fold seats LINCOLN NAVIGATOR 2004 Owners Manual
[x] Cancel search | Manufacturer: LINCOLN, Model Year: 2004, Model line: NAVIGATOR, Model: LINCOLN NAVIGATOR 2004Pages: 368, PDF Size: 8.21 MB
Page 174 of 368

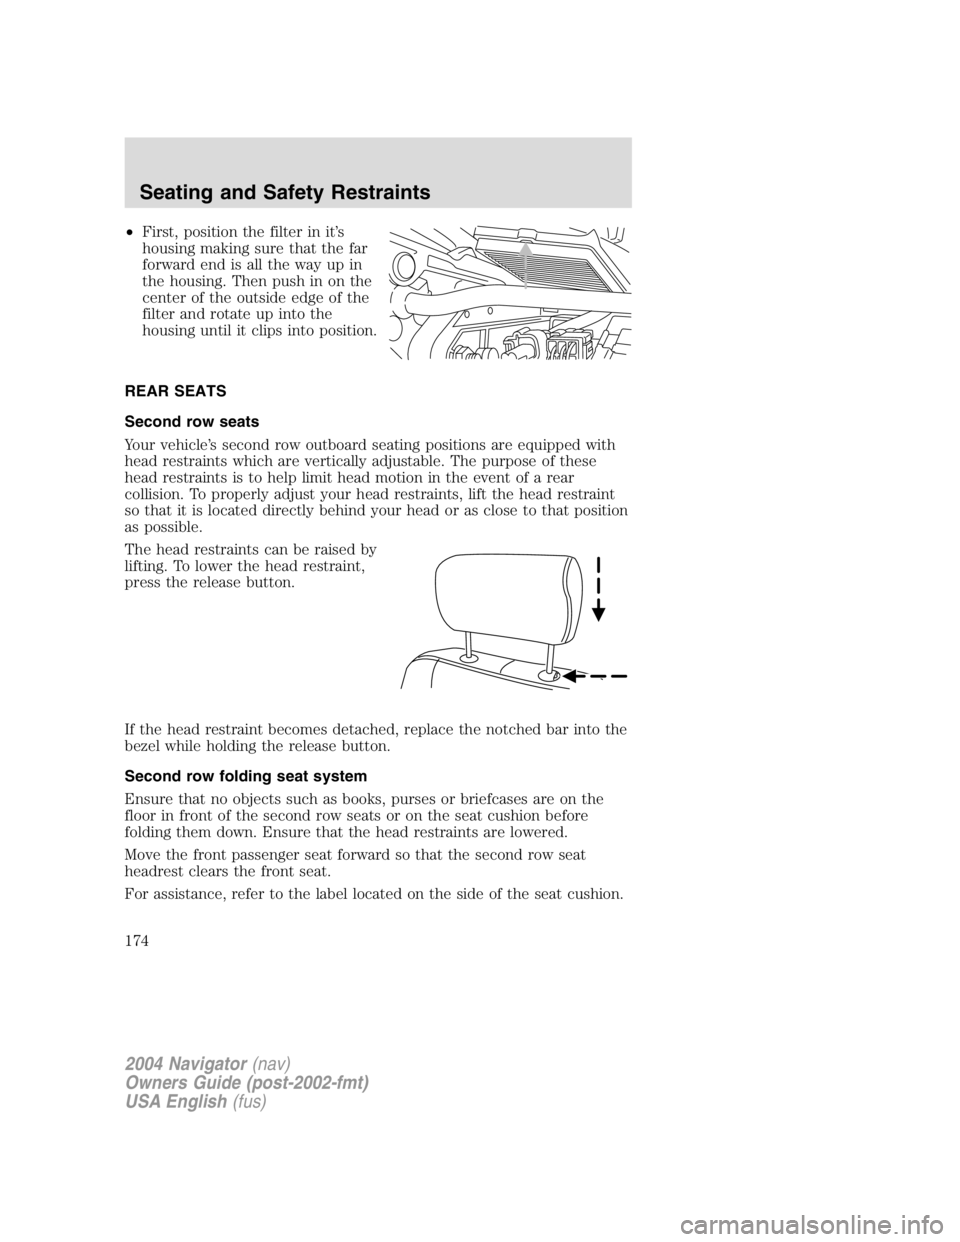
• First, position the filter in it ’ s
housing making sure that the far
forward end is all the way up in
the housing. Then push in on the
center of the outside edge of the
filter and rotate up into the
housing until it clips into position.
REAR SEATS
Second row seats
Your vehicle ’ s second row outboard seating positions are equipped with
head restraints which are vertically adjustable. The purpose of these
head restraints is to help limit head motion in the event of a rear
collision. To properly adjust your head restraints, lift the head restraint
so that it is located directly behind your head or as close to that position
as possible.
The head restraints can be raised by
lifting. To lower the head restraint,
press the release button.
If the head restraint becomes detached, replace the notched bar into the
bezel while holding the release button.
Second row folding seat system
Ensure that no objects such as books, purses or briefcases are on the
floor in front of the second row seats or on the seat cushion before
folding them down. Ensure that the head restraints are lowered.
Move the front passenger seat forward so that the second row seat
headrest clears the front seat.
For assistance, refer to the label located on the side of the seat cushion.
2004 Navigator (nav)
Owners Guide (post-2002-fmt)
USA English (fus)Seating and Safety Restraints
174
Page 183 of 368

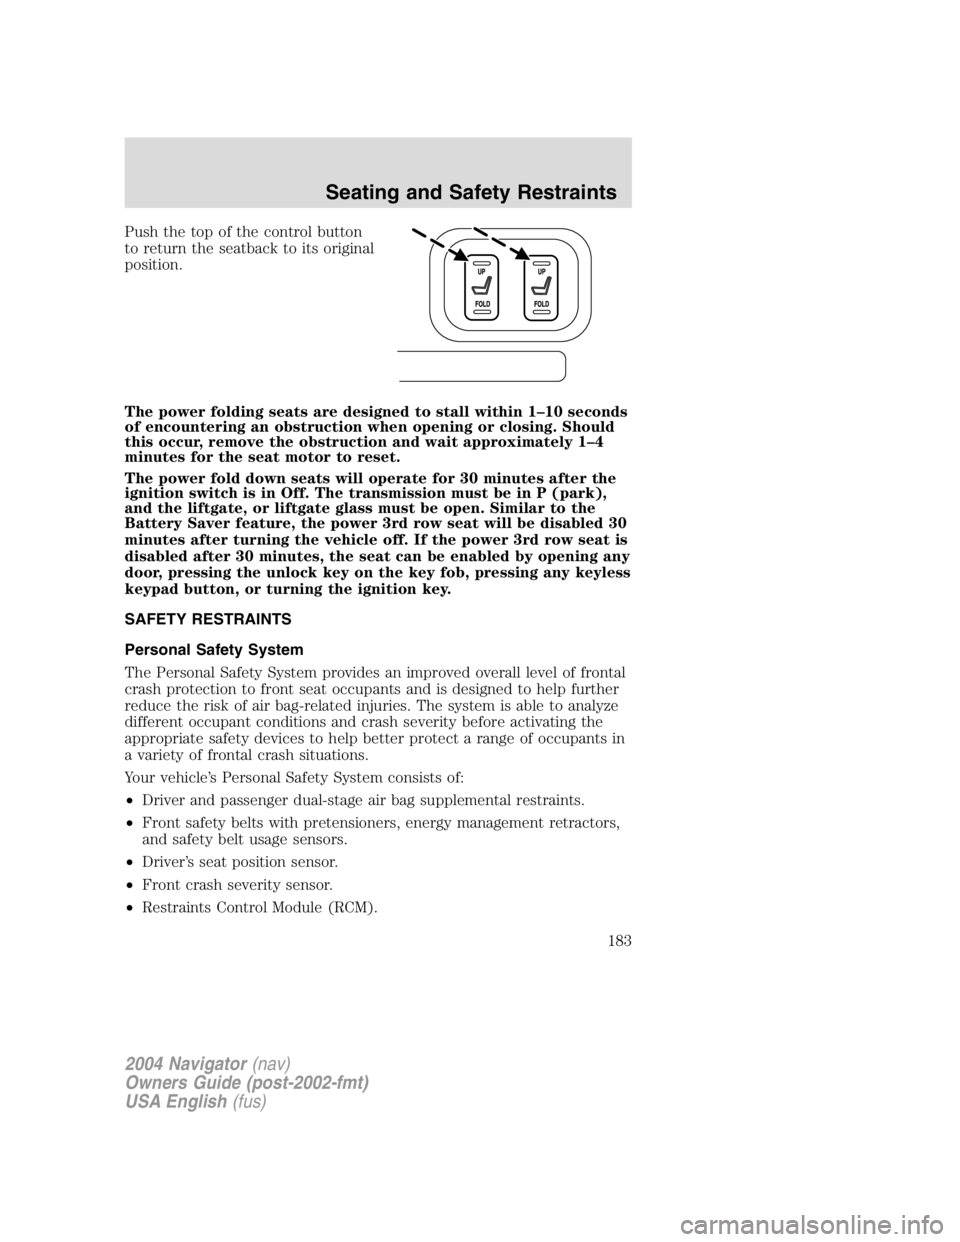
Push the top of the control button
to return the seatback to its original
position.
The power folding seats are designed to stall within 1 – 10 seconds
of encountering an obstruction when opening or closing. Should
this occur, remove the obstruction and wait approximately 1 – 4
minutes for the seat motor to reset.
The power fold down seats will operate for 30 minutes after the
ignition switch is in Off. The transmission must be in P (park),
and the liftgate, or liftgate glass must be open. Similar to the
Battery Saver feature, the power 3rd row seat will be disabled 30
minutes after turning the vehicle off. If the power 3rd row seat is
disabled after 30 minutes, the seat can be enabled by opening any
door, pressing the unlock key on the key fob, pressing any keyless
keypad button, or turning the ignition key.
SAFETY RESTRAINTS
Personal Safety System
The Personal Safety System provides an improved overall level of frontal
crash protection to front seat occupants and is designed to help further
reduce the risk of air bag-related injuries. The system is able to analyze
different occupant conditions and crash severity before activating the
appropriate safety devices to help better protect a range of occupants in
a variety of frontal crash situations.
Your vehicle ’ s Personal Safety System consists of:
• Driver and passenger dual-stage air bag supplemental restraints.
• Front safety belts with pretensioners, energy management retractors,
and safety belt usage sensors.
• Driver ’ s seat position sensor.
• Front crash severity sensor.
• Restraints Control Module (RCM).
2004 Navigator (nav)
Owners Guide (post-2002-fmt)
USA English (fus) Seating and Safety Restraints
183
Page 276 of 368

Removing the jack and tools
1. Open the liftgate, then locate the access panel on the floor behind the
3rd row seat. Unlatch and remove the panel.
2. Remove the jack and tools assembly tray from the compartment by
turning the wing-nut counterclockwise to relieve tension against the jack
assembly tray.
3. Unsnap the wheel lug nut wrench, jack extension and handle from the
plastic tray. Remove the jack and instruction sheet from the tray
assembly.
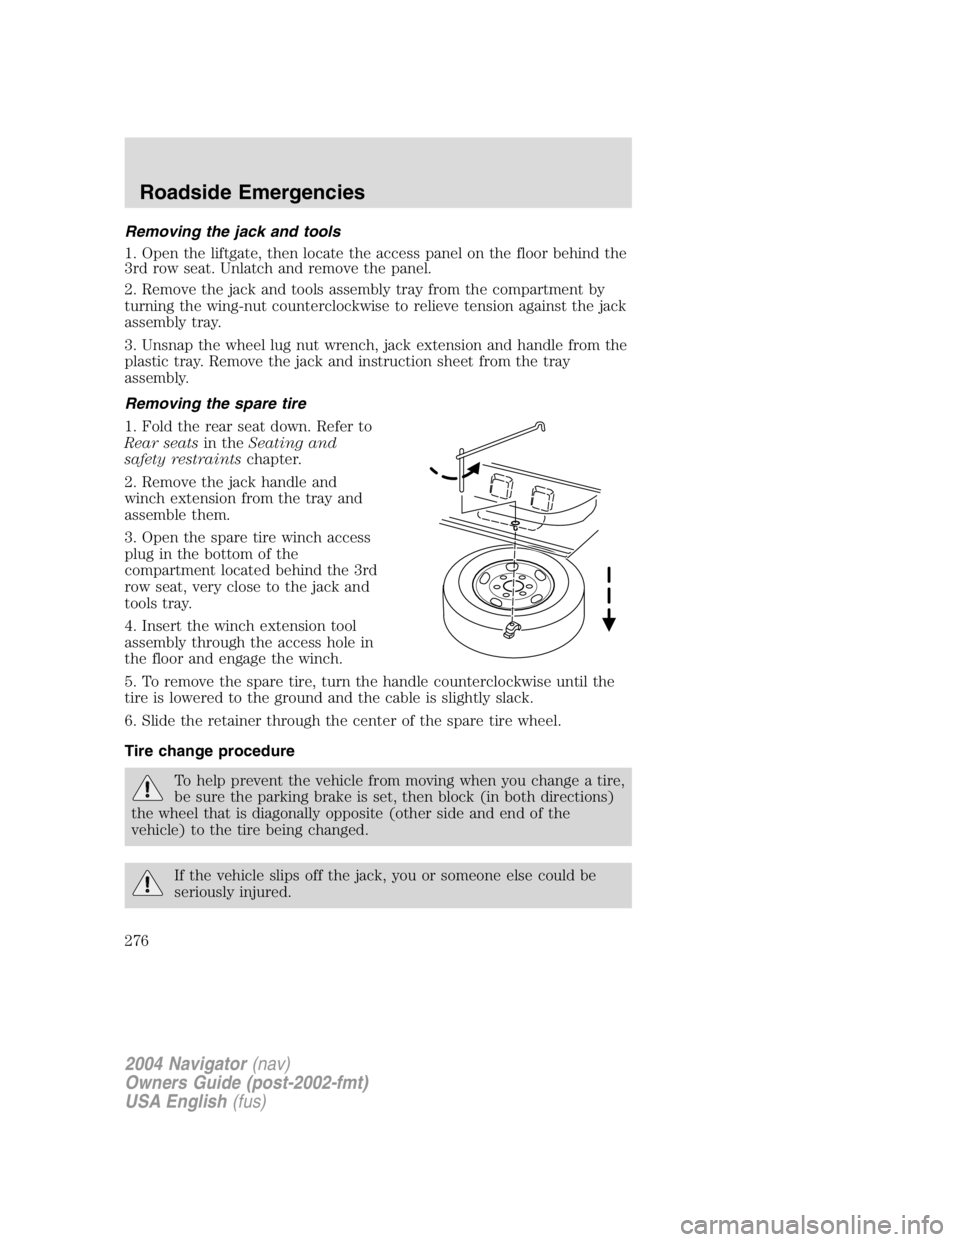
Removing the spare tire
1. Fold the rear seat down. Refer to
Rear seats in the Seating and
safety restraints chapter.
2. Remove the jack handle and
winch extension from the tray and
assemble them.
3. Open the spare tire winch access
plug in the bottom of the
compartment located behind the 3rd
row seat, very close to the jack and
tools tray.
4. Insert the winch extension tool
assembly through the access hole in
the floor and engage the winch.
5. To remove the spare tire, turn the handle counterclockwise until the
tire is lowered to the ground and the cable is slightly slack.
6. Slide the retainer through the center of the spare tire wheel.
Tire change procedure
To help prevent the vehicle from moving when you change a tire,
be sure the parking brake is set, then block (in both directions)
the wheel that is diagonally opposite (other side and end of the
vehicle) to the tire being changed.
If the vehicle slips off the jack, you or someone else could be
seriously injured.
2004 Navigator (nav)
Owners Guide (post-2002-fmt)
USA English (fus)Roadside Emergencies
276