AUX LINCOLN NAVIGATOR 2009 Owners Manual
[x] Cancel search | Manufacturer: LINCOLN, Model Year: 2009, Model line: NAVIGATOR, Model: LINCOLN NAVIGATOR 2009Pages: 375, PDF Size: 3.09 MB
Page 1 of 375
Introduction 4
Instrument Cluster 12
Warning lights and chimes 12
Gauges 17
Entertainment Systems 20
AM/FM stereo with CDX6/MP3 20
Auxiliary input jack (Line in) 26
USB port 28
Rear seat controls 29
Satellite radio information 34
Family entertainment system 37
Navigation system 68
SYNC 68
Climate Controls 69
Dual automatic temperature control 69
Rear window defroster 75
Lights 76
Headlamps 76
Turn signal control 80
Bulb replacement 82
Driver Controls 87
Windshield wiper/washer control 87
Steering wheel adjustment 88
Power windows 94
Mirrors 96
Speed control 101
Moon roof 105
Message center 110
Table of Contents
1
2009 Navigator(nav)
Owners Guide, 1st Printing
USA(fus)
Page 26 of 375
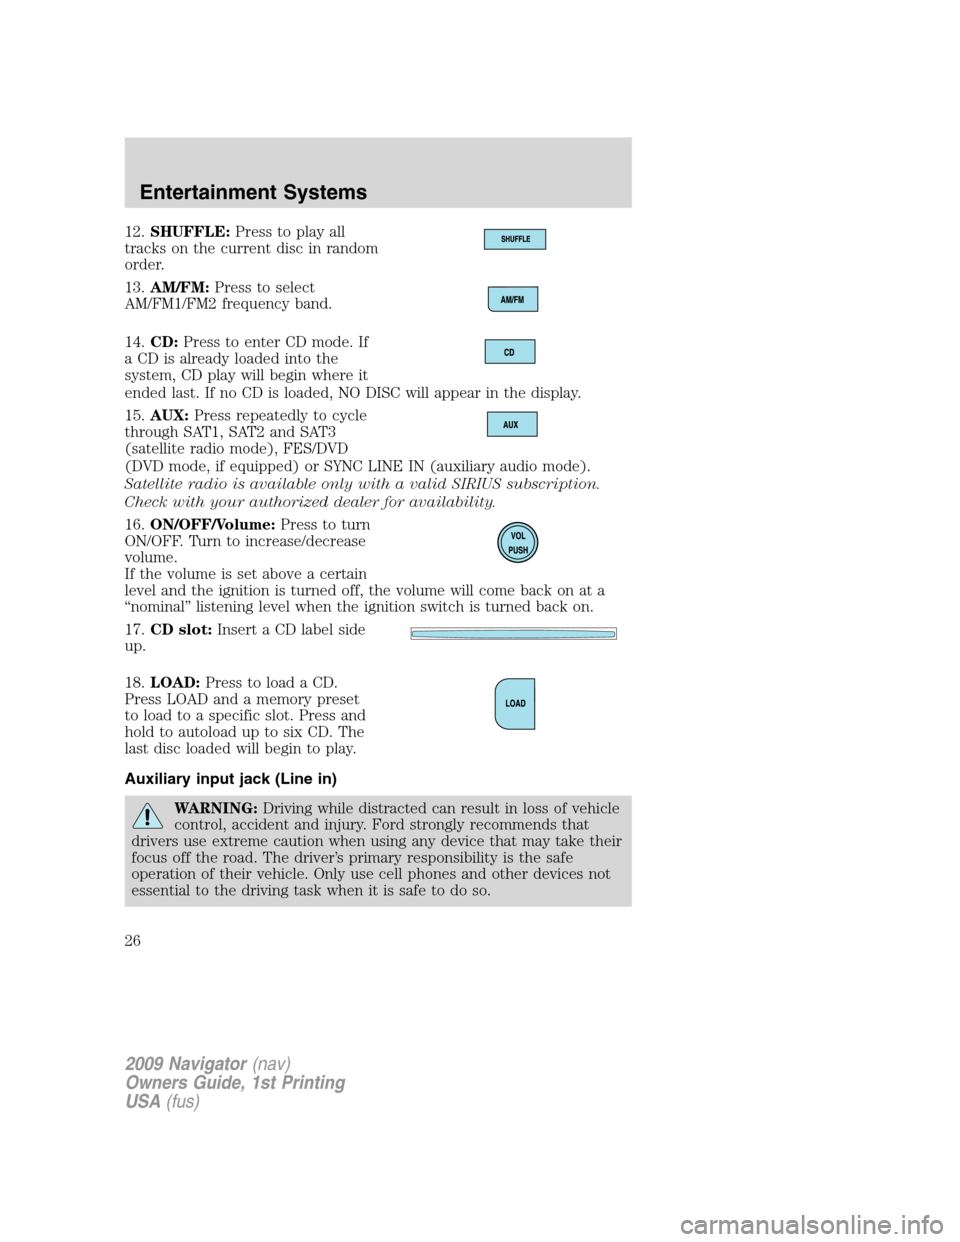
12.SHUFFLE:Press to play all
tracks on the current disc in random
order.
13.AM/FM:Press to select
AM/FM1/FM2 frequency band.
14.CD:Press to enter CD mode. If
a CD is already loaded into the
system, CD play will begin where it
ended last. If no CD is loaded, NO DISC will appear in the display.
15.AUX:Press repeatedly to cycle
through SAT1, SAT2 and SAT3
(satellite radio mode), FES/DVD
(DVD mode, if equipped) or SYNC LINE IN (auxiliary audio mode).
Satellite radio is available only with a valid SIRIUS subscription.
Check with your authorized dealer for availability.
16.ON/OFF/Volume:Press to turn
ON/OFF. Turn to increase/decrease
volume.
If the volume is set above a certain
level and the ignition is turned off, the volume will come back on at a
“nominal” listening level when the ignition switch is turned back on.
17.CD slot:Insert a CD label side
up.
18.LOAD:Press to load a CD.
Press LOAD and a memory preset
to load to a specific slot. Press and
hold to autoload up to six CD. The
last disc loaded will begin to play.
Auxiliary input jack (Line in)
WARNING:Driving while distracted can result in loss of vehicle
control, accident and injury. Ford strongly recommends that
drivers use extreme caution when using any device that may take their
focus off the road. The driver’s primary responsibility is the safe
operation of their vehicle. Only use cell phones and other devices not
essential to the driving task when it is safe to do so.
2009 Navigator(nav)
Owners Guide, 1st Printing
USA(fus)
Entertainment Systems
26
Page 27 of 375
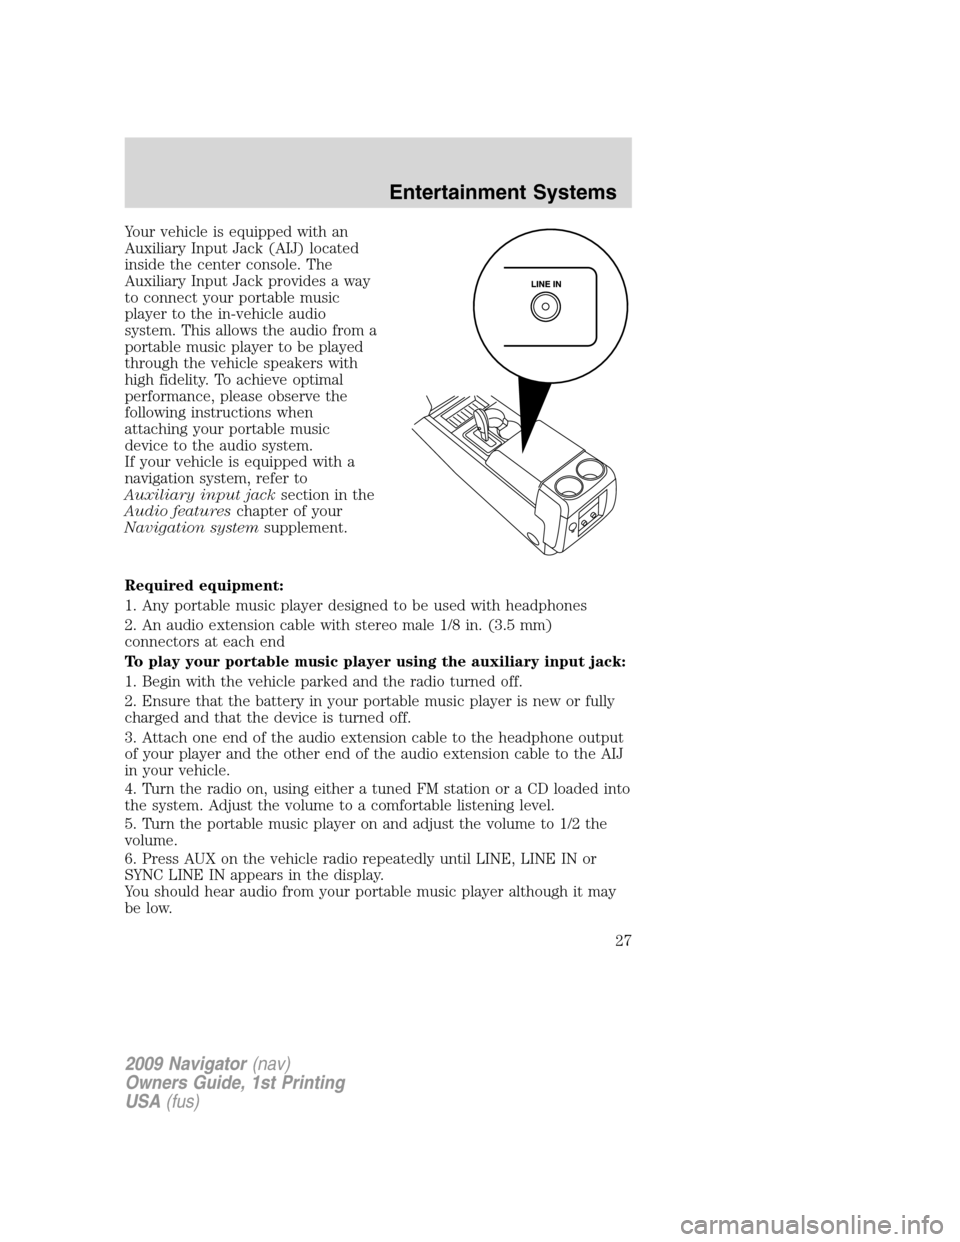
Your vehicle is equipped with an
Auxiliary Input Jack (AIJ) located
inside the center console. The
Auxiliary Input Jack provides a way
to connect your portable music
player to the in-vehicle audio
system. This allows the audio from a
portable music player to be played
through the vehicle speakers with
high fidelity. To achieve optimal
performance, please observe the
following instructions when
attaching your portable music
device to the audio system.
If your vehicle is equipped with a
navigation system, refer to
Auxiliary input jacksection in the
Audio featureschapter of your
Navigation systemsupplement.
Required equipment:
1. Any portable music player designed to be used with headphones
2. An audio extension cable with stereo male 1/8 in. (3.5 mm)
connectors at each end
To play your portable music player using the auxiliary input jack:
1. Begin with the vehicle parked and the radio turned off.
2. Ensure that the battery in your portable music player is new or fully
charged and that the device is turned off.
3. Attach one end of the audio extension cable to the headphone output
of your player and the other end of the audio extension cable to the AIJ
in your vehicle.
4. Turn the radio on, using either a tuned FM station or a CD loaded into
the system. Adjust the volume to a comfortable listening level.
5. Turn the portable music player on and adjust the volume to 1/2 the
volume.
6. Press AUX on the vehicle radio repeatedly until LINE, LINE IN or
SYNC LINE IN appears in the display.
You should hear audio from your portable music player although it may
be low.
2009 Navigator(nav)
Owners Guide, 1st Printing
USA(fus)
Entertainment Systems
27
Page 28 of 375
7. Adjust the sound on your portable music player until it reaches the
level of the FM station or CD by switching back and forth between the
AUX and FM or CD controls.
Troubleshooting:
1. Do not connect the audio input jack to a line level output. Line level
outputs are intended for connection to a home stereo and are not
compatible with the AIJ. The AIJ will only work correctly with devices
that have a headphone output with a volume control.
2. Do not set the portable music player’s volume level higher than is
necessary to match the volume of the CD or FM radio in your audio
system as this will cause distortion and will reduce sound quality. Many
portable music players have different output levels, so not all players
should be set at the same levels. Some players will sound best at full
volume and others will need to be set at a lower volume.
3. If the music sounds distorted at lower listening levels, turn the
portable music player volume down. If the problems persists, replace or
recharge the batteries in the portable music player.
4. The portable music player must be controlled in the same manner
when it is used with headphones as the AIJ does not provide control
(play, pause, etc.) over the attached portable music player.
5. For safety reasons, connecting or adjusting the settings on your
portable music player should not be attempted while the vehicle is
moving. Also, the portable music player should be stored in a secure
location, such as the center console or the glove box, when the vehicle is
in motion. The audio extension cable must be long enough to allow the
portable music player to be safely stored while the vehicle is in motion.
USB port
WARNING:Driving while distracted can result in loss of vehicle
control, accident and injury. Ford strongly recommends that
drivers use extreme caution when using any device that may take their
focus off the road. The driver’s primary responsibility is the safe
operation of their vehicle. Only use cell phones and other devices not
essential to the driving task when it is safe to do so.
2009 Navigator(nav)
Owners Guide, 1st Printing
USA(fus)
Entertainment Systems
28
Page 30 of 375
*Note: After pressing the media button to select SYNC mode, press +
or – to scroll through the different SYNC options: (SYNC USB, SYNC
BTST and SYNC LINE). For more information on SYNC operation, see
yourSYNCsupplement.
2.VOLUME:Press
to increase orto decrease the volume level
in the headphones.
From the rear seat controls, volume control can be set no higher than
the current radio setting unless the speakers are turned off.
3.
: In radio mode, press and release to scroll through memory
presets. Press and hold to seek to the next station.
In CD mode, press and release to advance to the next track. Press and
hold to fast forward within that track.
In SYNC modes, press and release to advance to the next track. Press
and hold to fast forward within that track.
4.Wired headphone jacks
5.
: In radio mode, press and release to scroll through memory
presets. Press and hold to seek to the next station.
In CD mode, press and release to advance to the next track. Press and
hold for a fast reverse within that track.
In SYNC modes, press and release to advance to the next track. Press
and hold for a fast reverse within that track.
6.Auxiliary audio input jack:Use to plug in and play auxiliary audio
sources.
7.-: In CD mode, press to access the previous CD.
8.+: In CD mode, press to access the next CD.
9.
/: Press to turn the rear speakers on (Single Play mode) or off
(Dual Play mode).
Parental control
Press the memory preset controls 3
and 5 simultaneously on the front
audio controls to disable the rear
seat controls. They will remain disabled until the front seat passengers
“enable” them again by simultaneously pressing the 3 and 5 preset
controls. The settings of the front seat controls will always override
those of the rear seat controls.
2009 Navigator(nav)
Owners Guide, 1st Printing
USA(fus)
Entertainment Systems
30
Page 31 of 375
When the rear seat controls are activated, rear seat passengers can use
the controls to change the playing media for all passengers (Single Play
mode) or just for themselves (dual play mode). In single play mode, all
speakers are active. In dual play mode, front speakers are active, rear
speakers are muted and headphones jacks are turned on for
private-listening by the rear passengers.
To activate the rear seat radio controls:
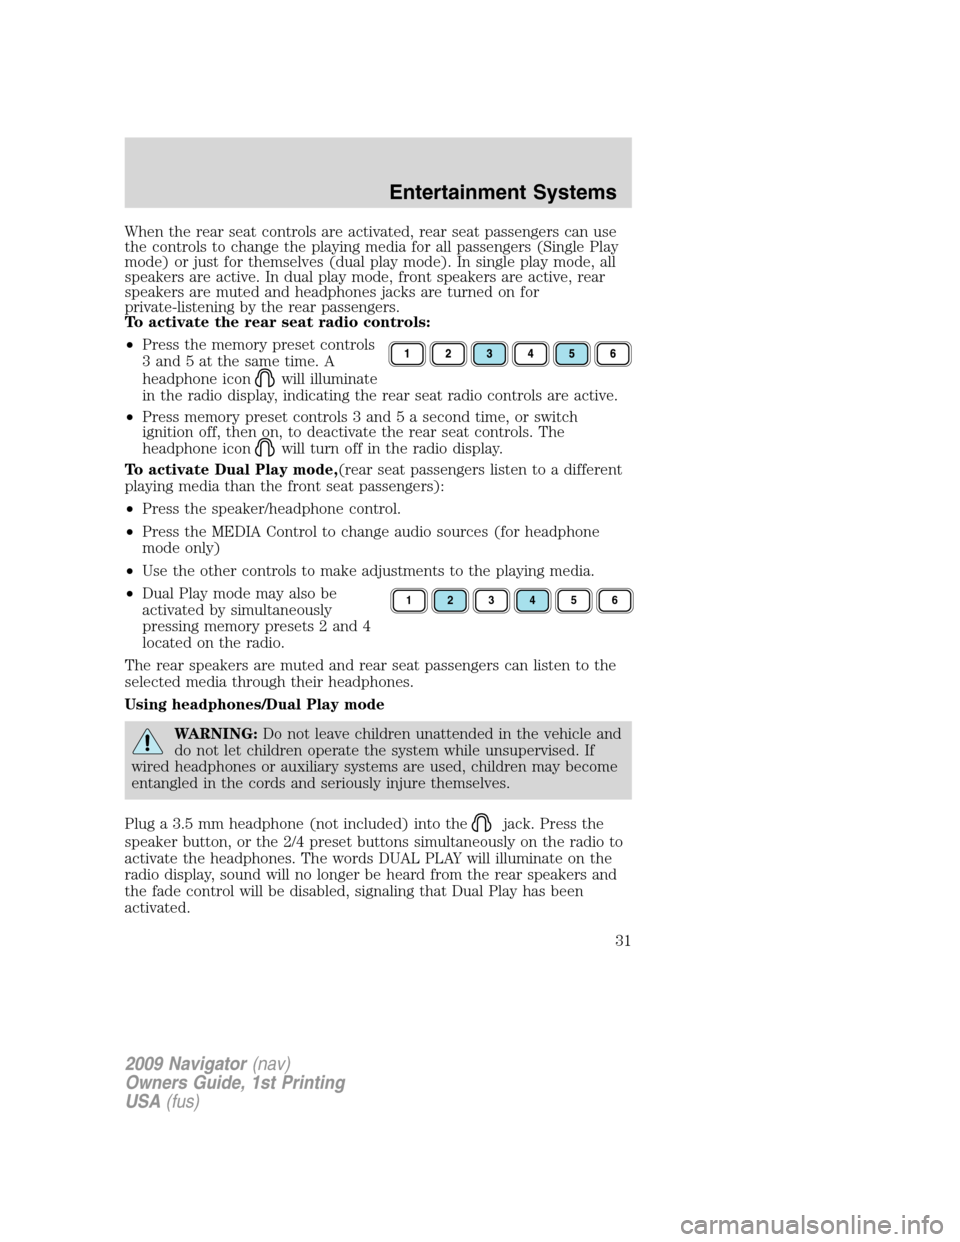
•Press the memory preset controls
3 and 5 at the same time. A
headphone icon
will illuminate
in the radio display, indicating the rear seat radio controls are active.
•Press memory preset controls 3 and 5 a second time, or switch
ignition off, then on, to deactivate the rear seat controls. The
headphone icon
will turn off in the radio display.
To activate Dual Play mode,(rear seat passengers listen to a different
playing media than the front seat passengers):
•Press the speaker/headphone control.
•Press the MEDIA Control to change audio sources (for headphone
mode only)
•Use the other controls to make adjustments to the playing media.
•Dual Play mode may also be
activated by simultaneously
pressing memory presets 2 and 4
located on the radio.
The rear speakers are muted and rear seat passengers can listen to the
selected media through their headphones.
Using headphones/Dual Play mode
WARNING:Do not leave children unattended in the vehicle and
do not let children operate the system while unsupervised. If
wired headphones or auxiliary systems are used, children may become
entangled in the cords and seriously injure themselves.
Plug a 3.5 mm headphone (not included) into the
jack. Press the
speaker button, or the 2/4 preset buttons simultaneously on the radio to
activate the headphones. The words DUAL PLAY will illuminate on the
radio display, sound will no longer be heard from the rear speakers and
the fade control will be disabled, signaling that Dual Play has been
activated.
123456
2009 Navigator(nav)
Owners Guide, 1st Printing
USA(fus)
Entertainment Systems
31
Page 35 of 375
Note:SIRIUS reserves the unrestricted right to change, rearrange, add
or delete programming including canceling, moving or adding particular
channels, and its prices, at any time, with or without notice to you. Ford
Motor Company shall not be responsible for any such programming
changes.
Satellite Radio Electronic Serial Number (ESN):This 12–digit
Satellite Serial Number is needed to activate, modify or track your
satellite radio account. You will need this number when communicating
with SIRIUS. While in Satellite Radio mode, you can view this number on
the radio display by pressing AUX and Preset 1 control simultaneously.
Radio Display Condition Action Required
ACQUIRING Radio requires more
than two seconds to
produce audio for the
selected channel.No action required.
This message should
disappear shortly.
SAT FAULT Internal module or
system failure
present.If this message does
not clear within a short
period of time, or with
an ignition key cycle,
your receiver may have
a fault. See your
authorized dealer for
service.
INVALID CHNL Channel no longer
available.This previously
available channel is no
longer available. Tune
to another channel. If
the channel was one of
your presets, you may
choose another channel
for that preset button.
UNSUBSCRIBED Subscription not
available for this
channel.Contact SIRIUS at
1–888–539–7474 to
subscribe to the
channel or tune to
another channel.
2009 Navigator(nav)
Owners Guide, 1st Printing
USA(fus)
Entertainment Systems
35
Page 37 of 375
FAMILY ENTERTAINMENT DVD SYSTEM (IF EQUIPPED)
WARNING:Driving while distracted can result in loss of vehicle
control, accident and injury. Ford strongly recommends that
drivers use extreme caution when using any device that may take their
focus off the road. The driver’s primary responsibility is the safe
operation of their vehicle. Only use cell phones and other devices not
essential to the driving task when it is safe to do so.
Your vehicle may be equipped with a Family Entertainment System
(FES) which allows you to listen to audio CDs, MP3 discs, watch DVDs
and to plug in and play a variety of standard video game systems. The
DVD player is capable of playing standard DVDs, CDs, MP3s and is
compatible with CD-R/W, CD-R and certain CD-ROM media.
Please review this material to become familiar with the FES features and
controls as well as the very important safety information.
Quick start
Your Family Entertainment System includes a DVD system, two sets of
wireless infrared (IR) headphones and a wireless infrared (IR) remote
control.
To play a DVD in the DVD system:
The DVD system can play DVD-Video, DVD-R, DVD-R/W discs as well as
audio CDs and video CDs. To ensure proper disc operation, check the
disc for finger prints, scratches and cleanliness. Clean with a soft cloth,
wiping from center to edge.
1. Ensure that the vehicle is on or the ignition is in accessory mode.
2. Insert a DVD into the system, label-side up to turn on the system. It
will load automatically.
3. Press the power button on the
DVD player, then press Play
to
begin to play the disc.
If a DVD is already loaded into the
system, press PLAY on the DVD
player.
Note:If sound can be heard, but no video is present, press VIDEO to
select the video source (DVD or aux-inputs).
2009 Navigator(nav)
Owners Guide, 1st Printing
USA(fus)
Entertainment Systems
37
Page 38 of 375
Note (navigation-based radio
systems only):Whenadiscis
inserted, the FES switches to
dual-play mode–rear speakers turn off, and headphones turn on. To
switch back to all four speakers on, press the headphone button.
Press VIDEO to change the source
displayed on the screen. Press
repeatedly to cycle through:
DVD-DISC, DVD-AUX, NON-DVD,
OFF.
Press the power button to turn the
system off. The indicator light will
turn off indicating the system is off.
Note:The audio from the DVD system will play over all vehicle speakers
and can be adjusted by the radio volume control.
To play a CD in the DVD system:
The DVD system can play audio CDs, CD-R and CD-R/W, CD-ROM and
video CDs. To ensure proper disc operation, check the disc for finger
prints and scratches. Clean the disc with a soft cloth, wiping from the
center to the edge.
1. Ensure that the vehicle is on or the ignition is in accessory mode.
2. Insert a CD into the system,
label-sideuptoturnontheDVD
system. It will load and
automatically begin to play. If there
is already a CD in the system, press
PLAY on the DVD player.
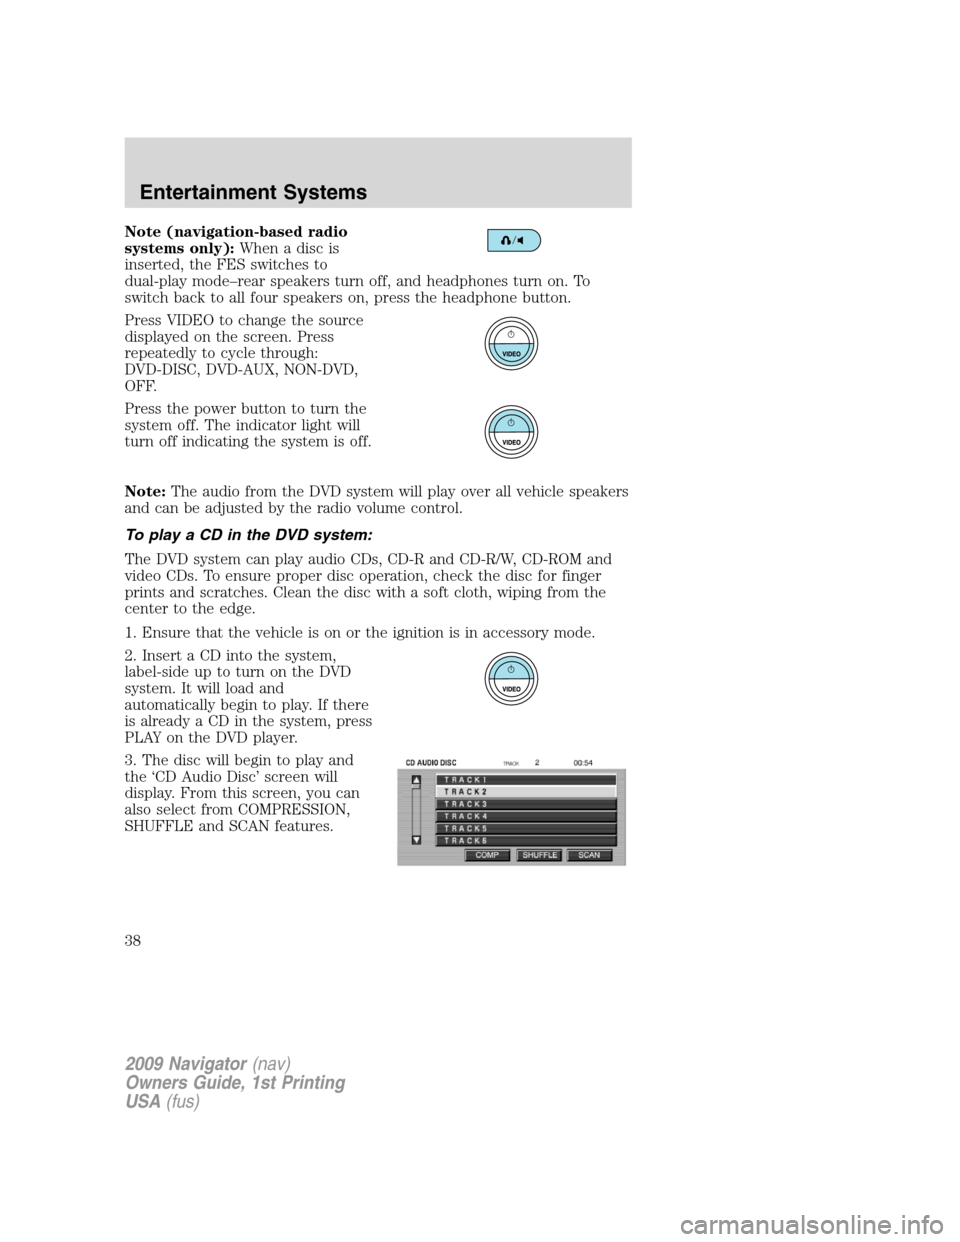
3. The disc will begin to play and
the ‘CD Audio Disc’ screen will
display. From this screen, you can
also select from COMPRESSION,
SHUFFLE and SCAN features.
2009 Navigator(nav)
Owners Guide, 1st Printing
USA(fus)
Entertainment Systems
38
Page 39 of 375
Note (navigation-based radio
systems only):Whenadiscis
inserted, the FES switches to
dual-play mode–rear speakers turn off, and headphones turn on. To
switch back to all four speakers on, press the headphone button.
To play an MP3 disc in the DVD system:
1. Ensure that the vehicle is on or the ignition is in accessory mode.
2. Insert an MP3 disc into the
system, label-side up to turn on the
DVD system. It will load and
automatically begin to play. If there
is already a disc in the system, press
PLAY on the DVD player.
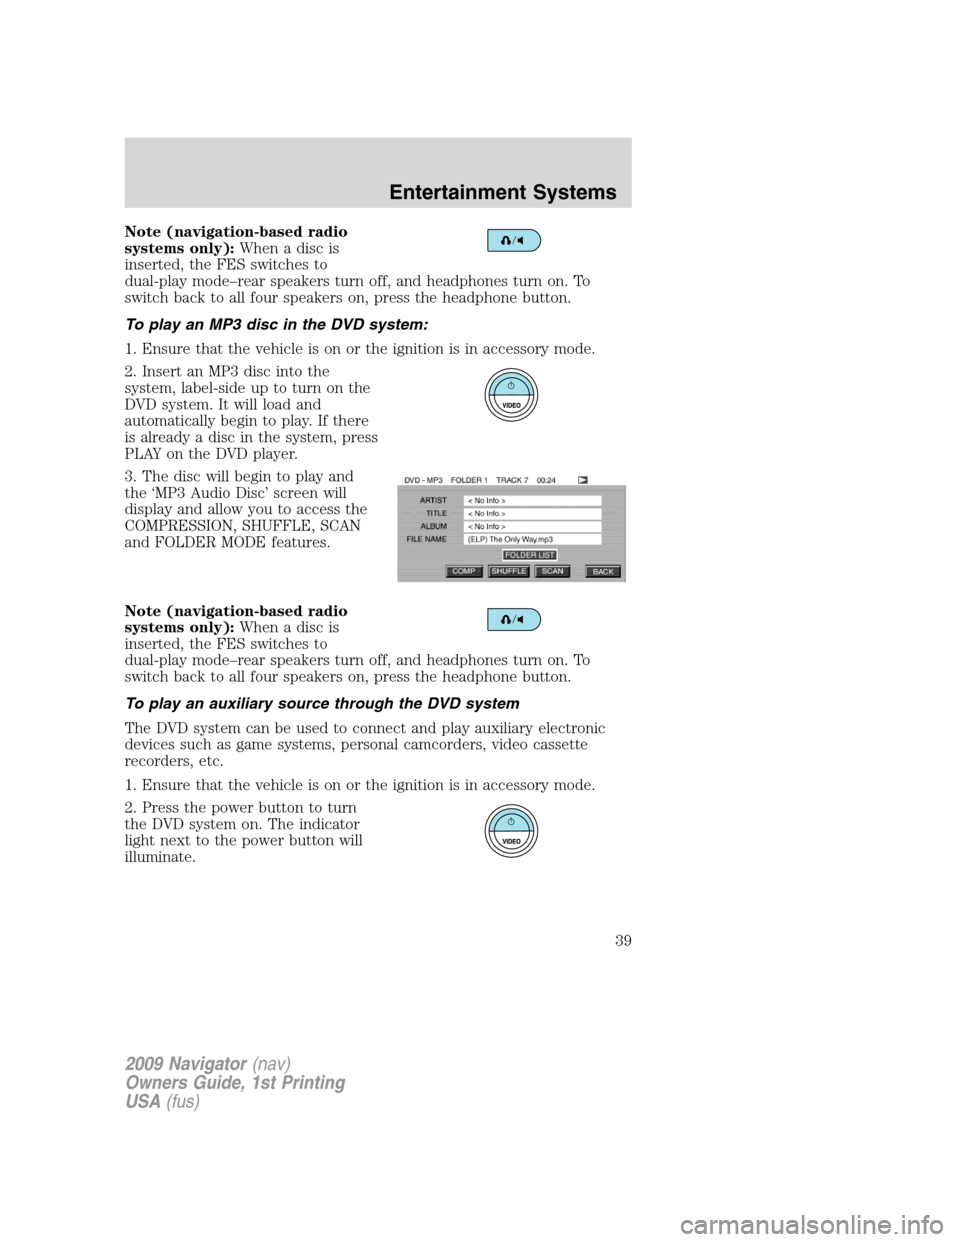
3. The disc will begin to play and
the ‘MP3 Audio Disc’ screen will
display and allow you to access the
COMPRESSION, SHUFFLE, SCAN
and FOLDER MODE features.
Note (navigation-based radio
systems only):Whenadiscis
inserted, the FES switches to
dual-play mode–rear speakers turn off, and headphones turn on. To
switch back to all four speakers on, press the headphone button.
To play an auxiliary source through the DVD system
The DVD system can be used to connect and play auxiliary electronic
devices such as game systems, personal camcorders, video cassette
recorders, etc.
1. Ensure that the vehicle is on or the ignition is in accessory mode.
2. Press the power button to turn
the DVD system on. The indicator
light next to the power button will
illuminate.
2009 Navigator(nav)
Owners Guide, 1st Printing
USA(fus)
Entertainment Systems
39