steering LINCOLN NAVIGATOR 2009 Owners Manual
[x] Cancel search | Manufacturer: LINCOLN, Model Year: 2009, Model line: NAVIGATOR, Model: LINCOLN NAVIGATOR 2009Pages: 375, PDF Size: 3.09 MB
Page 1 of 375
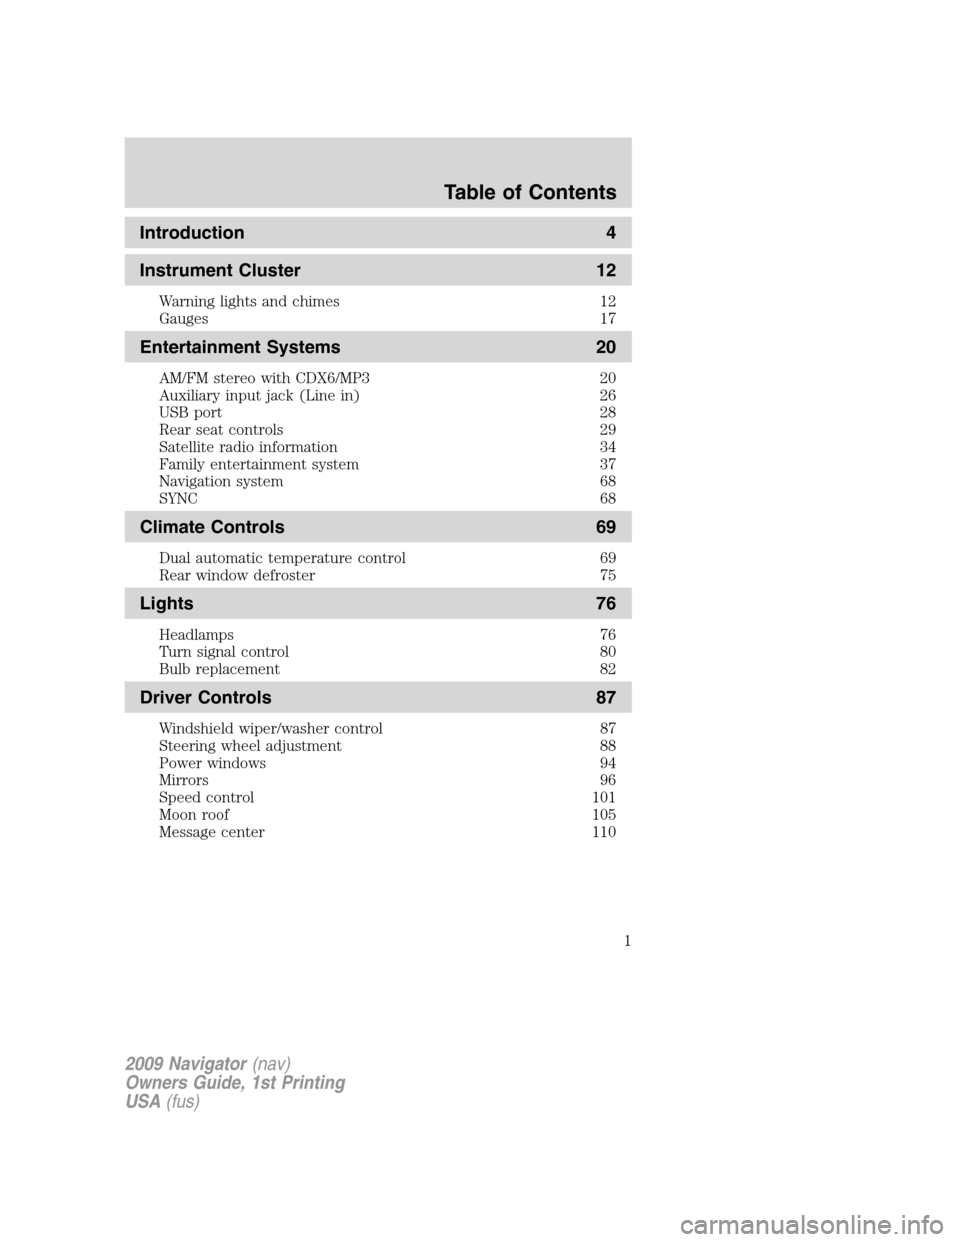
Introduction 4
Instrument Cluster 12
Warning lights and chimes 12
Gauges 17
Entertainment Systems 20
AM/FM stereo with CDX6/MP3 20
Auxiliary input jack (Line in) 26
USB port 28
Rear seat controls 29
Satellite radio information 34
Family entertainment system 37
Navigation system 68
SYNC 68
Climate Controls 69
Dual automatic temperature control 69
Rear window defroster 75
Lights 76
Headlamps 76
Turn signal control 80
Bulb replacement 82
Driver Controls 87
Windshield wiper/washer control 87
Steering wheel adjustment 88
Power windows 94
Mirrors 96
Speed control 101
Moon roof 105
Message center 110
Table of Contents
1
2009 Navigator(nav)
Owners Guide, 1st Printing
USA(fus)
Page 7 of 375
Service Data Recording
Service data recorders in your vehicle are capable of collecting and
storing diagnostic information about your vehicle. This potentially
includes information about the performance or status of various systems
and modules in the vehicle, such as engine, throttle, steering or brake
systems. In order to properly diagnose and service your vehicle, Ford
Motor Company, Ford of Canada, and service and repair facilities may
access vehicle diagnostic information through a direct connection to your
vehicle when diagnosing or servicing your vehicle.
Event Data Recording
Other modules in your vehicle — event data recorders — are capable of
collecting and storing data during a crash or near crash event. The
recorded information may assist in the investigation of such an event.
The modules may record information about both the vehicle and the
occupants, potentially including information such as:
•how various systems in your vehicle were operating;
•whether or not the driver and passenger seatbelts were buckled;
•how far (if at all) the driver was depressing the accelerator and/or the
brake pedal;
•how fast the vehicle was traveling; and
•where the driver was positioning the steering wheel.
To access this information, special equipment must be directly connected
to the recording modules. Ford Motor Company and Ford of Canada do
not access event data recorder information without obtaining consent,
unless pursuant to court order or where required by law enforcement,
other government authorities or other third parties acting with lawful
authority. Other parties may seek to access the information
independently of Ford Motor Company and Ford of Canada.
2009 Navigator(nav)
Owners Guide, 1st Printing
USA(fus)
Introduction
7
Page 11 of 375
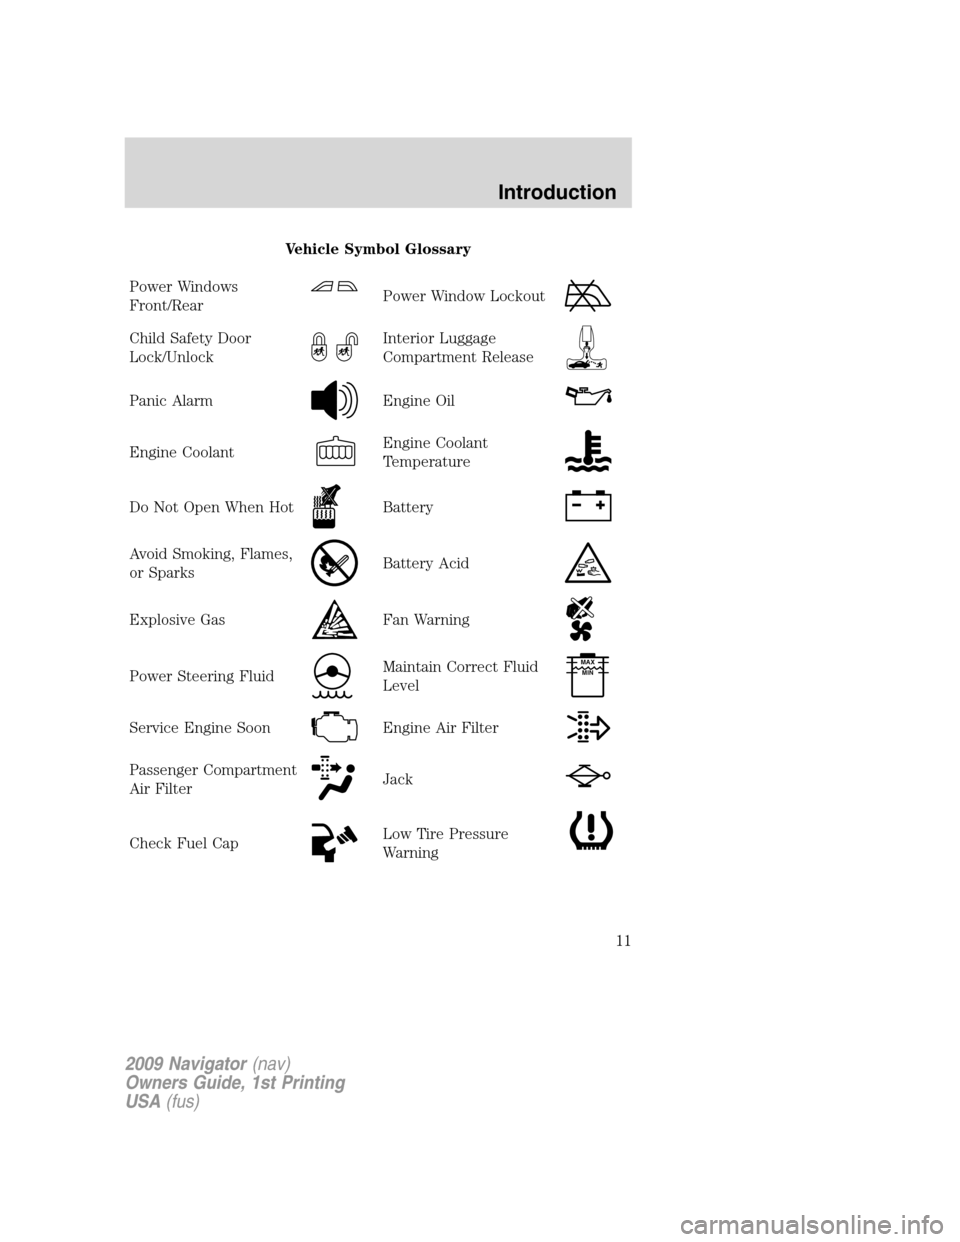
Vehicle Symbol Glossary
Power Windows
Front/Rear
Power Window Lockout
Child Safety Door
Lock/UnlockInterior Luggage
Compartment Release
Panic AlarmEngine Oil
Engine CoolantEngine Coolant
Temperature
Do Not Open When HotBattery
Avoid Smoking, Flames,
or SparksBattery Acid
Explosive GasFan Warning
Power Steering FluidMaintain Correct Fluid
LevelMAX
MIN
Service Engine SoonEngine Air Filter
Passenger Compartment
Air FilterJack
Check Fuel CapLow Tire Pressure
Warning
2009 Navigator(nav)
Owners Guide, 1st Printing
USA(fus)
Introduction
11
Page 88 of 375
Windshield wiper rainlamp feature (if equipped with Autolamp)
When the windshield wipers are turned on during daylight, and the
headlamp control is in the autolamp position, the exterior lamps will turn
on after a brief delay and will remain on until the wipers are turned off.
Rear window wiper/washer controls
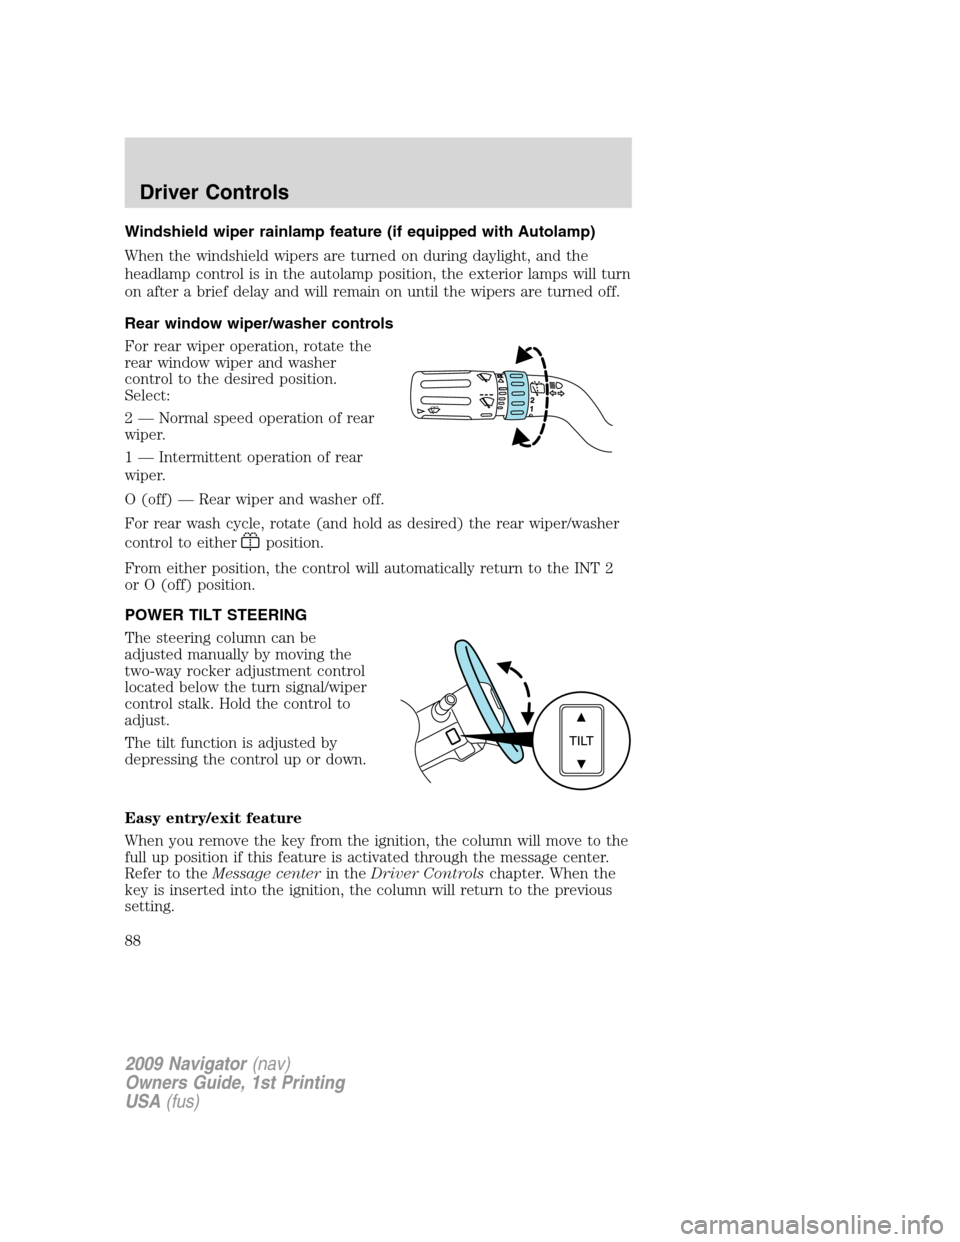
For rear wiper operation, rotate the
rear window wiper and washer
control to the desired position.
Select:
2 — Normal speed operation of rear
wiper.
1 — Intermittent operation of rear
wiper.
O (off) — Rear wiper and washer off.
For rear wash cycle, rotate (and hold as desired) the rear wiper/washer
control to either
position.
From either position, the control will automatically return to the INT 2
or O (off) position.
POWER TILT STEERING
The steering column can be
adjusted manually by moving the
two-way rocker adjustment control
located below the turn signal/wiper
control stalk. Hold the control to
adjust.
The tilt function is adjusted by
depressing the control up or down.
Easy entry/exit feature
When you remove the key from the ignition, the column will move to the
full up position if this feature is activated through the message center.
Refer to theMessage centerin theDriver Controlschapter. When the
key is inserted into the ignition, the column will return to the previous
setting.
2009 Navigator(nav)
Owners Guide, 1st Printing
USA(fus)
Driver Controls
88
Page 89 of 375
Note:The easy entry/exit feature will prevent the steering wheel from
returning to the memory position until the key is inserted into the
ignition.
Memory feature
The steering column positions are saved when doing a memory set
function and can be recalled along with the vehicle personality features
when a memory position is selected through the remote entry
transmitter, keyless entry keypad or memory switch on the side of the
driver’s seat (if equipped with memory feature). Refer toMemory
seats/power mirrors/adjustable pedalsin theSeating and Safety
Restraintschapter.
If the steering column adjustment control is pressed during memory
recall it will cancel the automatic operation and the column will respond
to manual adjustment of the control.
WARNING:Never adjust the steering column when the vehicle
is moving.
On vehicles with memory feature, to prevent damage to the steering
column, the steering column is designed to set a stopping position just
short of the end of the column position. If the steering column
encounters an object while moving up or down, a new stopping position
will be set. To reset the steering column to its normal stopping position:
•After encountering the new stopping position, press the steering
column control again to override.
•Continue pressing the control until it reaches the end of the column
position.
•Continue pressing the control for approximately two seconds. You will
feel the steering column bounce back slightly.
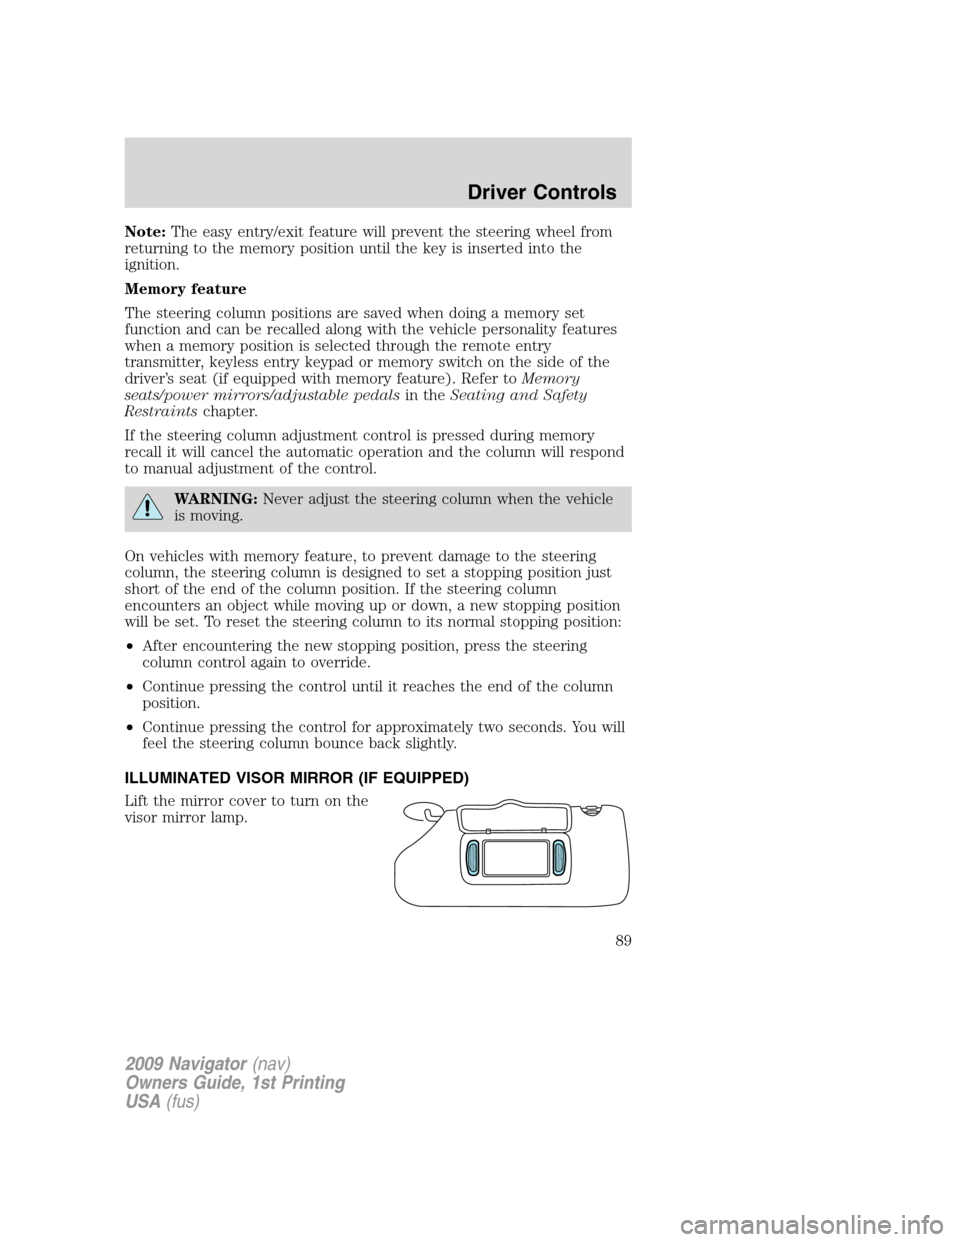
ILLUMINATED VISOR MIRROR (IF EQUIPPED)
Lift the mirror cover to turn on the
visor mirror lamp.
2009 Navigator(nav)
Owners Guide, 1st Printing
USA(fus)
Driver Controls
89
Page 102 of 375
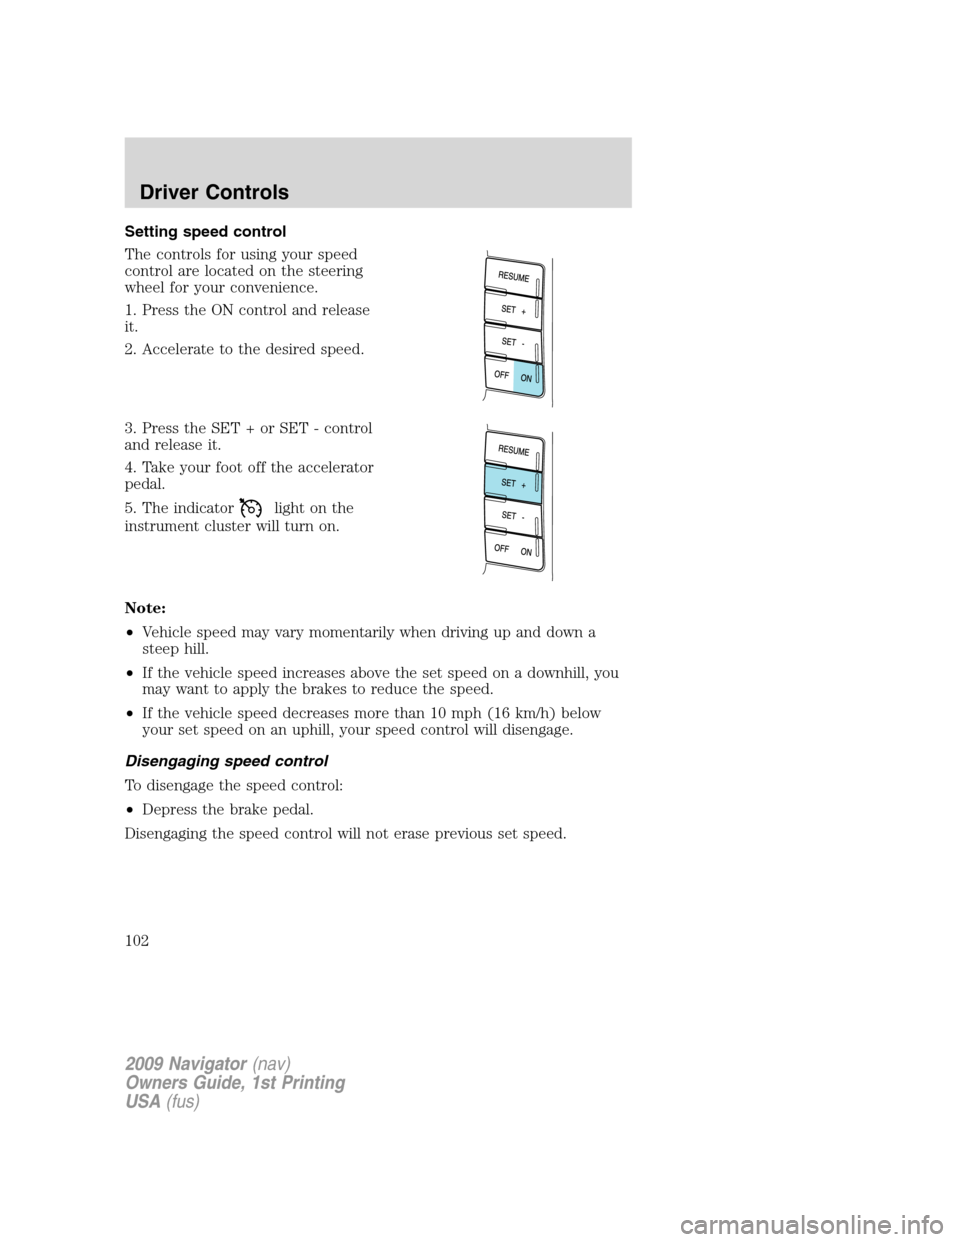
Setting speed control
The controls for using your speed
control are located on the steering
wheel for your convenience.
1. Press the ON control and release
it.
2. Accelerate to the desired speed.
3. Press the SET + or SET - control
and release it.
4. Take your foot off the accelerator
pedal.
5. The indicator
light on the
instrument cluster will turn on.
Note:
•Vehicle speed may vary momentarily when driving up and down a
steep hill.
•If the vehicle speed increases above the set speed on a downhill, you
may want to apply the brakes to reduce the speed.
•If the vehicle speed decreases more than 10 mph (16 km/h) below
your set speed on an uphill, your speed control will disengage.
Disengaging speed control
To disengage the speed control:
•Depress the brake pedal.
Disengaging the speed control will not erase previous set speed.
2009 Navigator(nav)
Owners Guide, 1st Printing
USA(fus)
Driver Controls
102
Page 104 of 375
Turning off speed control
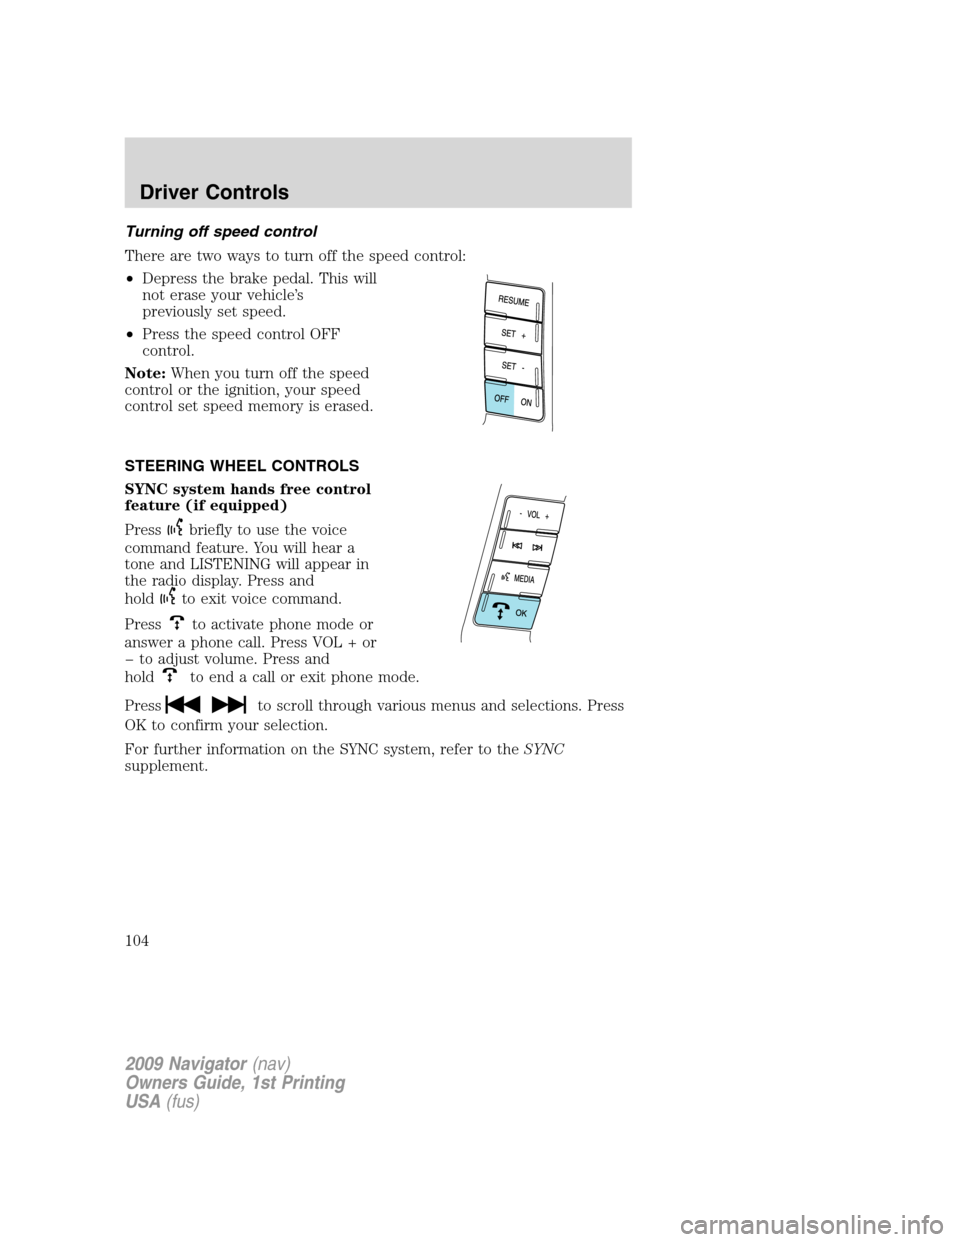
There are two ways to turn off the speed control:
•Depress the brake pedal. This will
not erase your vehicle’s
previously set speed.
•Press the speed control OFF
control.
Note:When you turn off the speed
control or the ignition, your speed
control set speed memory is erased.
STEERING WHEEL CONTROLS
SYNC system hands free control
feature (if equipped)
Press
briefly to use the voice
command feature. You will hear a
tone and LISTENING will appear in
the radio display. Press and
hold
to exit voice command.
Press
to activate phone mode or
answer a phone call. Press VOL + or
� to adjust volume. Press and
hold
to end a call or exit phone mode.
Press
to scroll through various menus and selections. Press
OK to confirm your selection.
For further information on the SYNC system, refer to theSYNC
supplement.
2009 Navigator(nav)
Owners Guide, 1st Printing
USA(fus)
Driver Controls
104
Page 140 of 375
Car finder
Press
twice within three seconds. The horn will chirp and the turn
lamps will flash. It is recommended that this method be used to locate
your vehicle, rather than using the panic alarm.
Sounding a panic alarm
Press
to activate the alarm. The horn will sound and the turn lamps
will flash for a maximum of three minutes. Press again or turn the
ignition to the on position to deactivate, or wait for the alarm to time out
in three minutes.
Note:The panic alarm will only operate when the ignition is in the off
position.
Memory seats/power mirrors/adjustable pedals/steering column
The remote entry transmitter allows you to recall the memory seat/power
mirrors/adjustable pedals/steering column feature.
Press
to automatically move the seat, power mirrors, adjustable
pedals and steering column to the desired memory position.Note:The
seat will not travel to its final position if the key is not in the ignition and
the easy entry feature is enabled.
Activating the memory feature
To activate this feature:
1. Position the seat, power mirrors, adjustable pedals and steering
column to the desired positions.
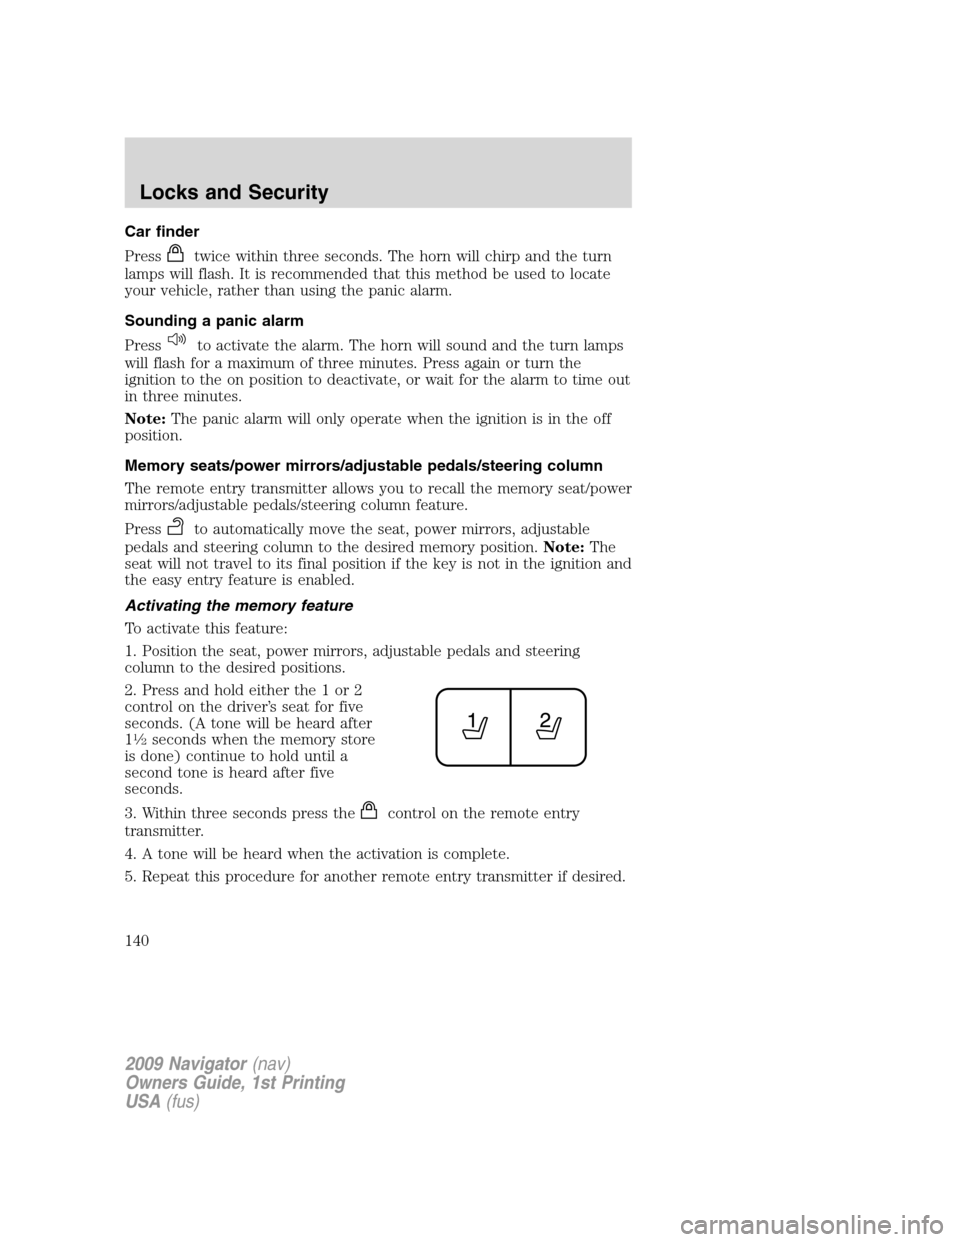
2. Press and hold either the 1 or 2
control on the driver’s seat for five
seconds. (A tone will be heard after
1
1�2seconds when the memory store
is done) continue to hold until a
second tone is heard after five
seconds.
3. Within three seconds press the
control on the remote entry
transmitter.
4. A tone will be heard when the activation is complete.
5. Repeat this procedure for another remote entry transmitter if desired.
2009 Navigator(nav)
Owners Guide, 1st Printing
USA(fus)
Locks and Security
140
Page 157 of 375
Memory seat/power mirrors/adjustable pedals/steering column
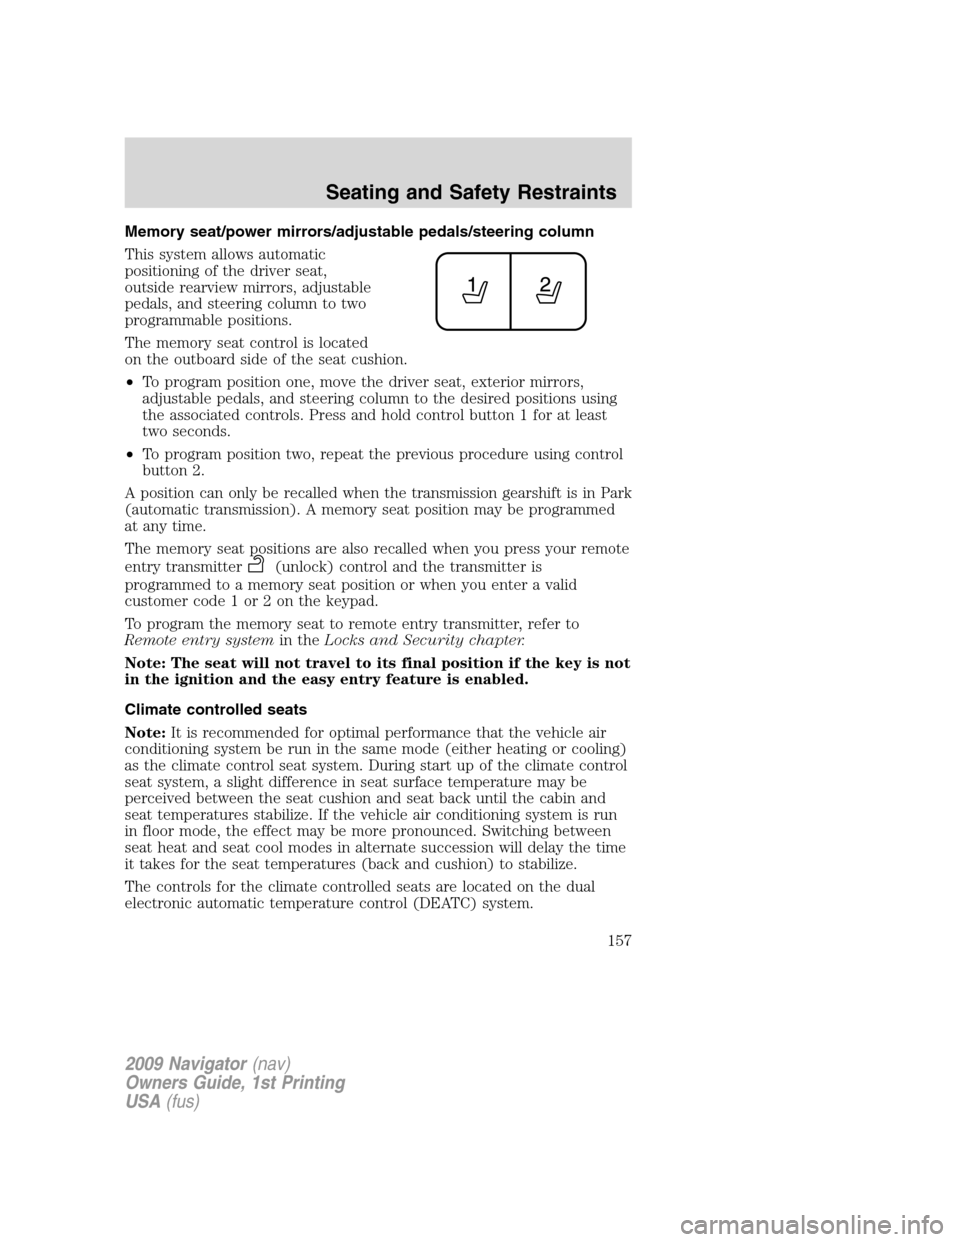
This system allows automatic
positioning of the driver seat,
outside rearview mirrors, adjustable
pedals, and steering column to two
programmable positions.
The memory seat control is located
on the outboard side of the seat cushion.
•To program position one, move the driver seat, exterior mirrors,
adjustable pedals, and steering column to the desired positions using
the associated controls. Press and hold control button 1 for at least
two seconds.
•To program position two, repeat the previous procedure using control
button 2.
A position can only be recalled when the transmission gearshift is in Park
(automatic transmission). A memory seat position may be programmed
at any time.
The memory seat positions are also recalled when you press your remote
entry transmitter
(unlock) control and the transmitter is
programmed to a memory seat position or when you enter a valid
customer code 1 or 2 on the keypad.
To program the memory seat to remote entry transmitter, refer to
Remote entry systemin theLocks and Security chapter.
Note: The seat will not travel to its final position if the key is not
in the ignition and the easy entry feature is enabled.
Climate controlled seats
Note:It is recommended for optimal performance that the vehicle air
conditioning system be run in the same mode (either heating or cooling)
as the climate control seat system. During start up of the climate control
seat system, a slight difference in seat surface temperature may be
perceived between the seat cushion and seat back until the cabin and
seat temperatures stabilize. If the vehicle air conditioning system is run
in floor mode, the effect may be more pronounced. Switching between
seat heat and seat cool modes in alternate succession will delay the time
it takes for the seat temperatures (back and cushion) to stabilize.
The controls for the climate controlled seats are located on the dual
electronic automatic temperature control (DEATC) system.
2009 Navigator(nav)
Owners Guide, 1st Printing
USA(fus)
Seating and Safety Restraints
157
Page 213 of 375
Power is supplied to all four wheels through a transfer case or power
transfer unit. 4WD vehicles allow you to select different drive modes as
necessary. Information on transfer case operation and shifting procedures
can be found in theDrivingchapter. Information on transfer case
maintenance can be found in theMaintenance and Specifications
chapter. You should become thoroughly familiar with this information
before you operate your vehicle.
On some 4WD models, the initial shift from two-wheel drive to 4WD
while the vehicle is moving can cause a momentary clunk and ratcheting
sound. These sounds are normal as the front drivetrain comes up to
speed and is not cause for concern.
WARNING:Do not become overconfident in the ability of 4WD
and AWD vehicles. Although a 4WD or AWD vehicle may
accelerate better than two-wheel drive vehicle in low traction
situations, it won’t stop any faster than two-wheel drive vehicles.
Always drive at a safe speed.
How your vehicle differs from other vehicles
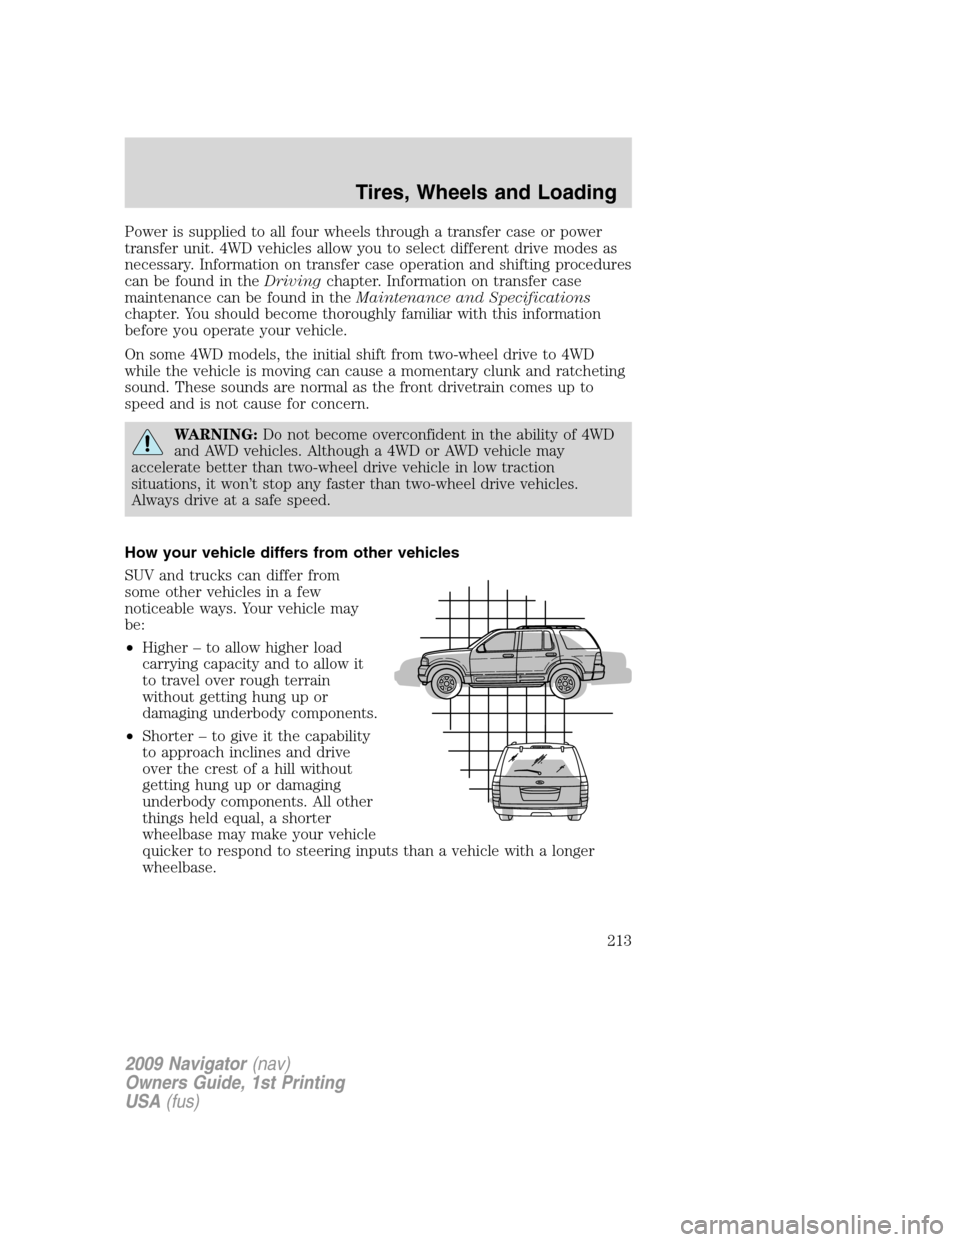
SUV and trucks can differ from
some other vehicles in a few
noticeable ways. Your vehicle may
be:
•Higher – to allow higher load
carrying capacity and to allow it
to travel over rough terrain
without getting hung up or
damaging underbody components.
•Shorter – to give it the capability
to approach inclines and drive
over the crest of a hill without
getting hung up or damaging
underbody components. All other
things held equal, a shorter
wheelbase may make your vehicle
quicker to respond to steering inputs than a vehicle with a longer
wheelbase.
2009 Navigator(nav)
Owners Guide, 1st Printing
USA(fus)
Tires, Wheels and Loading
213