check engine LINCOLN TOWN CAR 1998 Owner's Manual
[x] Cancel search | Manufacturer: LINCOLN, Model Year: 1998, Model line: TOWN CAR, Model: LINCOLN TOWN CAR 1998Pages: 188, PDF Size: 1.29 MB
Page 140 of 188
recovery reservoir-DO NOT ADD
DIRECTLY TO THE RADIATOR.
Add straight water only in an
emergency, but you should replace
it with a 50/50 mixture of coolant
and distilled water as soon as
possible.
Check the coolant level in the
coolant recovery reservoir the next
few times you drive the vehicle. If
necessary, add enough of a 50/50
mixture of coolant and water to
bring the liquid level to the fill line
on the reservoir.
Never remove the coolant
recovery cap while the
engine is running or hot.
If you must remove the coolant
recovery cap, follow these steps to
avoid personal injury:
1. Before you remove the cap, turn
the engine off and let it cool.
2. When the engine is cool, wrap a
thick cloth around the cap. Slowly
turn cap counterclockwise until
pressure begins to release.
3. Step back while the pressure
releases.
4. When you are sure that all the
pressure has been released, use
the cloth to turn it
counterclockwise and remove the
cap.
Use Ford Premium Cooling System
Fluid E2FZ-19549±AA (in Canada,
Motorcraft CXC-8±B) or an
equivalent premium engine coolant
Maintenance and care
141
Page 142 of 188
refer toRefill capacitiesin the
Capacities and specifications
chapter.
Have your dealer check the engine
cooling system for leaks if you
have to add more than a liter
(quart) of engine coolant per
month.
Severe winter climate
If you drive in extremely cold
climates (less than ±36ÉC [±34ÉF]),
it may be necessary to increase the
coolant concentration above 50%.
Refer to the chart on the coolant
container to ensure the coolant
concentration in your vehicle is
such that the coolant will not
freeze at the temperature level in
which you drive during winter
months. Never increase the engine
coolant concentration above 60%.
Leave a 50/50 mixture of engine
coolant and water in your vehicle
year-round in non-extreme
climates.
What you should know about
fail-safe cooling
If the engine coolant supply is
depleted, this feature allows the
vehicle to be driven temporarily
before incremental component
damage is incurred. The ªfail safeº
distance depends on ambient
temperatures, vehicle load and
terrain.
Maintenance and care
143
Page 144 of 188
²Immediately turn the engine off
to prevent severe engine
damage.
²Wait for the engine to cool.
²Check the coolant level.
CHECKING AND ADDING
POWER STEERING FLUID
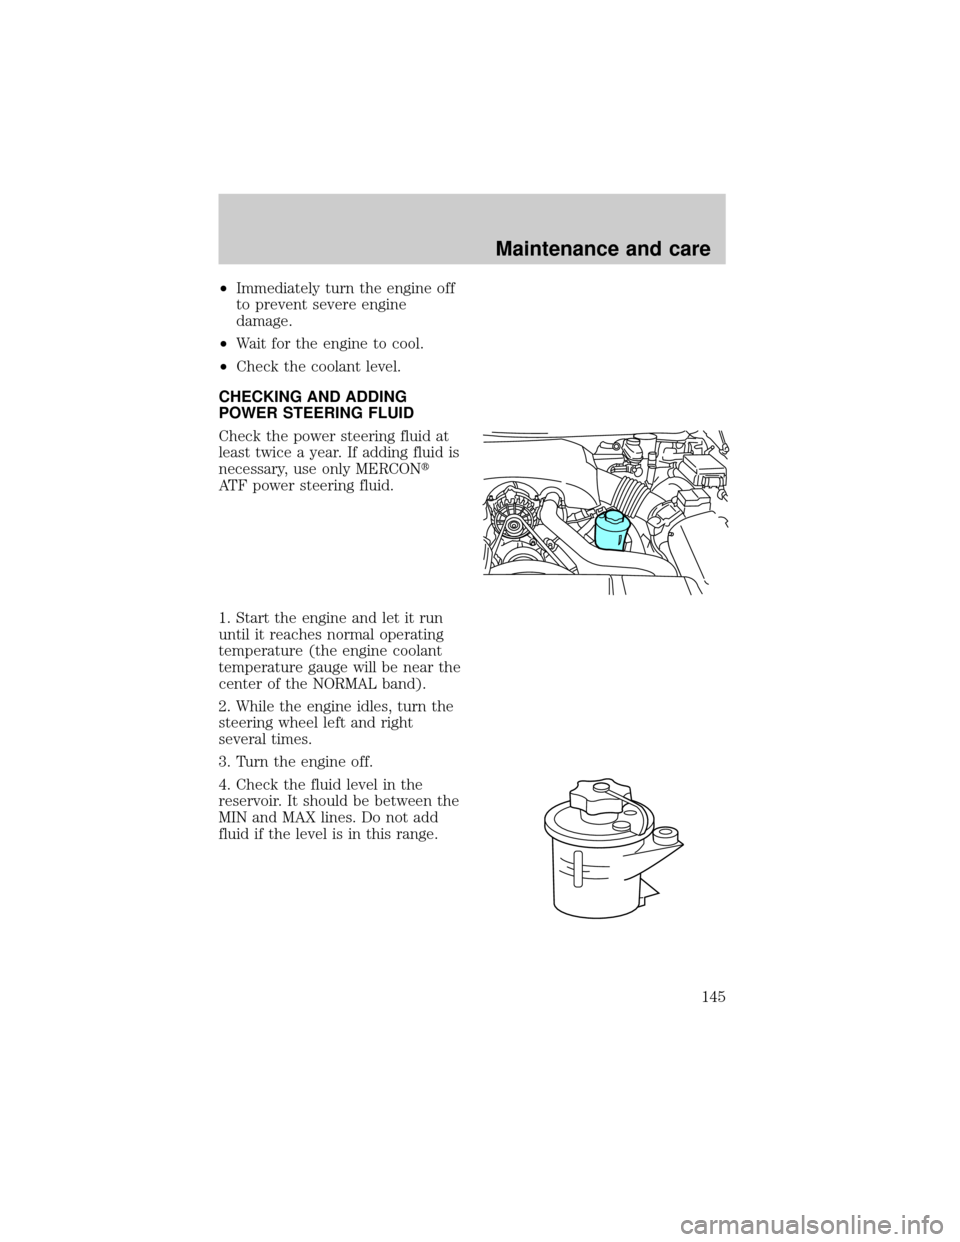
Check the power steering fluid at
least twice a year. If adding fluid is
necessary, use only MERCONt
ATF power steering fluid.
1. Start the engine and let it run
until it reaches normal operating
temperature (the engine coolant
temperature gauge will be near the
center of the NORMAL band).
2. While the engine idles, turn the
steering wheel left and right
several times.
3. Turn the engine off.
4. Check the fluid level in the
reservoir. It should be between the
MIN and MAX lines. Do not add
fluid if the level is in this range.
Maintenance and care
145
Page 146 of 188
notice some sign of fluid leakage.
Transmission fluid should be
checked at normal operating
temperatures 66ÉC-77ÉC
(150ÉF-170ÉF) on a level surface.
The normal operating temperature
can be reached after approximately
32 km (20 miles) of driving.
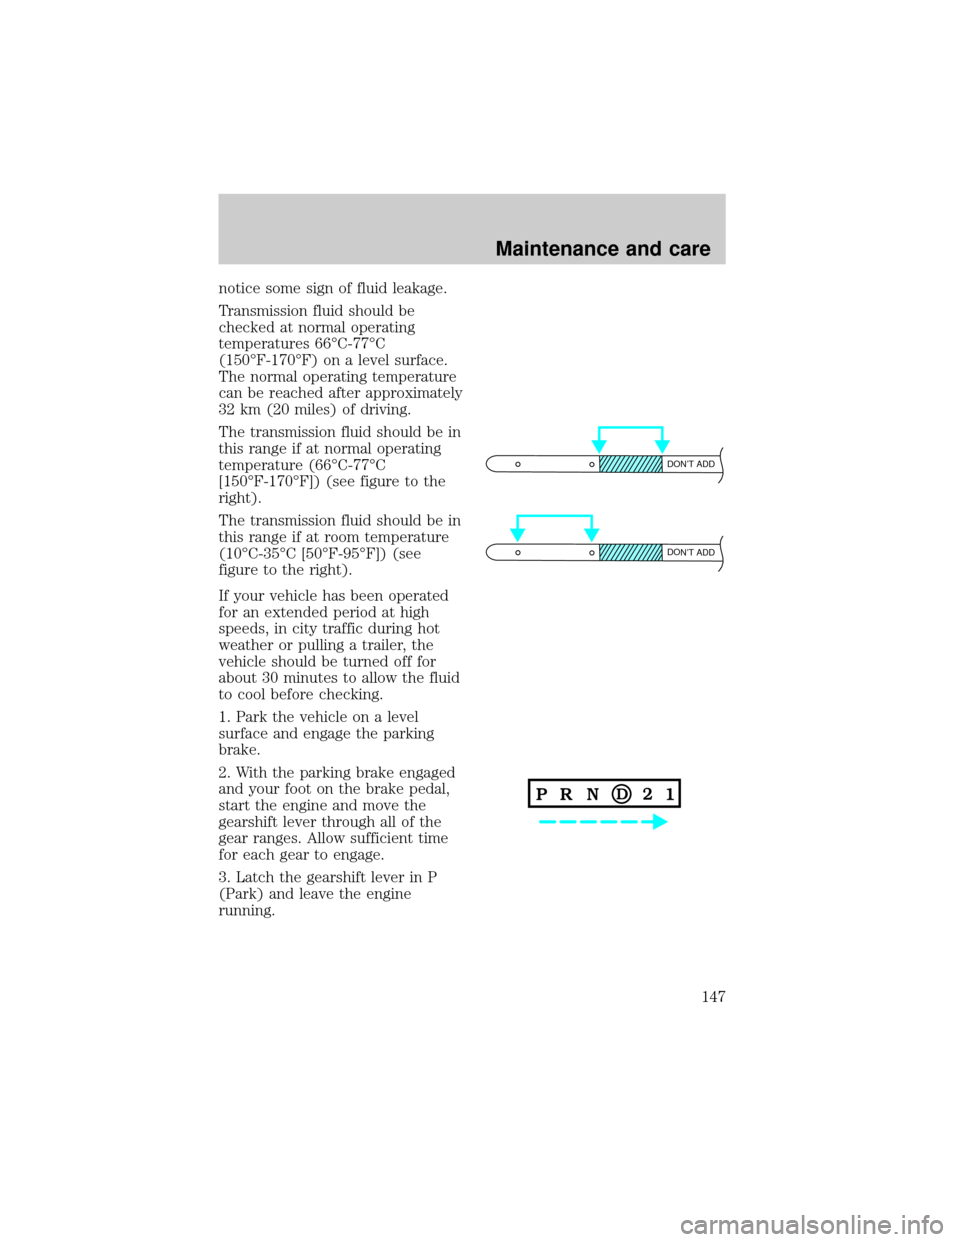
The transmission fluid should be in
this range if at normal operating
temperature (66ÉC-77ÉC
[150ÉF-170ÉF]) (see figure to the
right).
The transmission fluid should be in
this range if at room temperature
(10ÉC-35ÉC [50ÉF-95ÉF]) (see
figure to the right).
If your vehicle has been operated
for an extended period at high
speeds, in city traffic during hot
weather or pulling a trailer, the
vehicle should be turned off for
about 30 minutes to allow the fluid
to cool before checking.
1. Park the vehicle on a level
surface and engage the parking
brake.
2. With the parking brake engaged
and your foot on the brake pedal,
start the engine and move the
gearshift lever through all of the
gear ranges. Allow sufficient time
for each gear to engage.
3. Latch the gearshift lever in P
(Park) and leave the engine
running.
DON’T ADD
DON’T ADD
Maintenance and care
147
Page 164 of 188
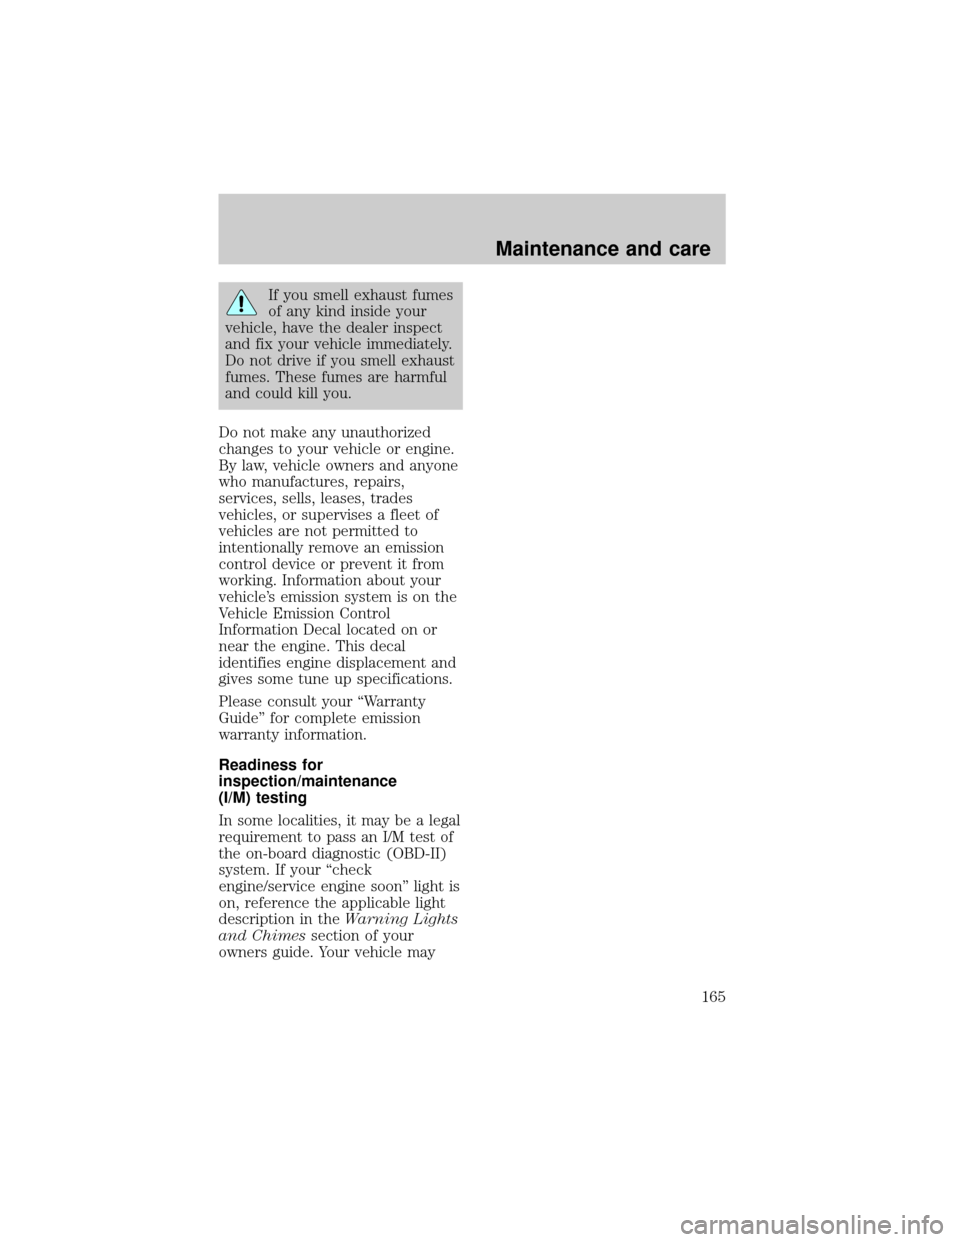
If you smell exhaust fumes
of any kind inside your
vehicle, have the dealer inspect
and fix your vehicle immediately.
Do not drive if you smell exhaust
fumes. These fumes are harmful
and could kill you.
Do not make any unauthorized
changes to your vehicle or engine.
By law, vehicle owners and anyone
who manufactures, repairs,
services, sells, leases, trades
vehicles, or supervises a fleet of
vehicles are not permitted to
intentionally remove an emission
control device or prevent it from
working. Information about your
vehicle's emission system is on the
Vehicle Emission Control
Information Decal located on or
near the engine. This decal
identifies engine displacement and
gives some tune up specifications.
Please consult your ªWarranty
Guideº for complete emission
warranty information.
Readiness for
inspection/maintenance
(I/M) testing
In some localities, it may be a legal
requirement to pass an I/M test of
the on-board diagnostic (OBD-II)
system. If your ªcheck
engine/service engine soonº light is
on, reference the applicable light
description in theWarning Lights
and Chimessection of your
owners guide. Your vehicle may
Maintenance and care
165
Page 165 of 188
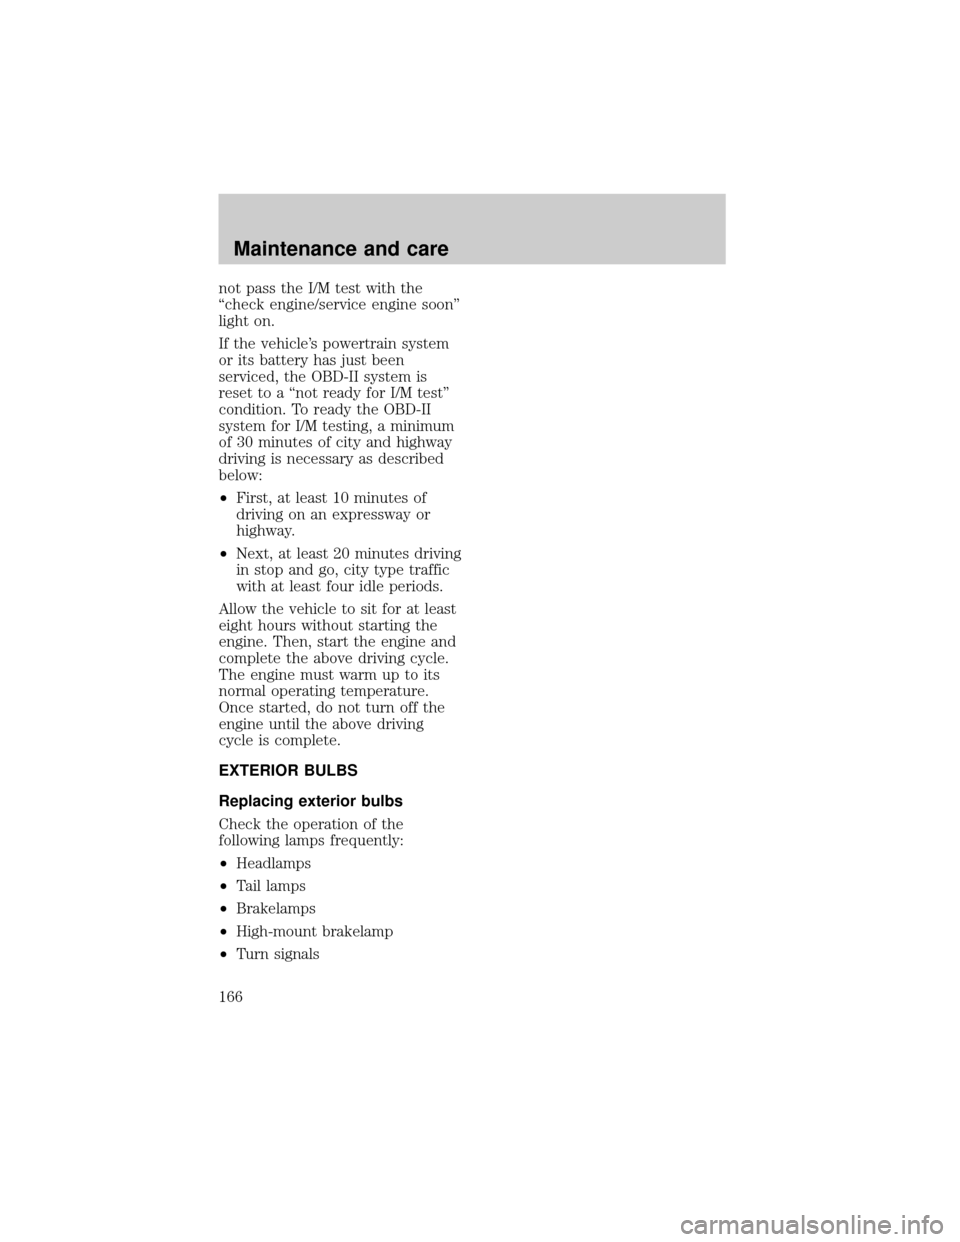
not pass the I/M test with the
ªcheck engine/service engine soonº
light on.
If the vehicle's powertrain system
or its battery has just been
serviced, the OBD-II system is
reset to a ªnot ready for I/M testº
condition. To ready the OBD-II
system for I/M testing, a minimum
of 30 minutes of city and highway
driving is necessary as described
below:
²First, at least 10 minutes of
driving on an expressway or
highway.
²Next, at least 20 minutes driving
in stop and go, city type traffic
with at least four idle periods.
Allow the vehicle to sit for at least
eight hours without starting the
engine. Then, start the engine and
complete the above driving cycle.
The engine must warm up to its
normal operating temperature.
Once started, do not turn off the
engine until the above driving
cycle is complete.
EXTERIOR BULBS
Replacing exterior bulbs
Check the operation of the
following lamps frequently:
²Headlamps
²Tail lamps
²Brakelamps
²High-mount brakelamp
²Turn signals
Maintenance and care
166
Page 185 of 188

Aiming headlamps ....................169
Air bag supplemental restraint
system ..........................................76
and child safety seats ..............78
description ................................77
disposal ......................................81
indicator light ...........................80
passenger air bag .....................79
Air suspension
description ..............................102
Anti-lock brake system
(ABS)#$description
Battery .......................................149
Brake fluid
checking and adding ..............138
Brakes ..........................................96
anti-lock .....................................96
anti-lock brake system (ABS)
warning light .............................97
fluid, checking and adding ....138
traction control .........................99
Brake-shift interlock .................103
Break-in period .............................2
Bulbs, replacing ........................166
headlamps ...............................167
specifications ..........................171
Changing a tire .........................122
Child safety seats ........................84
Childproof locks ..........................51
Chime
headlamps on ............................13
Cleaning your vehicle ...............172
engine compartment ..............173
fabric ........................................175
instrument panel ....................175
plastic parts ............................174
safety belts ..............................176
tail lamps .................................175
washing ....................................172
waxing .....................................172
wheels ......................................173
windows ..................................178Climate control system
automatic temperature
control ..............26,27,28,29,32,33
Clock ............................................34
Compass, electronic
calibration .................................19
set zone adjustment .................18
Controls .......................................52
Daytime running light system ...25
Defrost
rear window ..............................34
Emission control system ..........163
Engine
service points ..........................134
Engine block heater ...................93
Engine coolant
checking and adding ..............140
disposal ....................................142
refill capacities ........................142
Engine oil ...........................135,137
changing oil and oil filter .......137
checking and adding .......135,136
Exhaust fumes ............................94
Fail safe cooling ........................143
Floor mats ...................................53
Fuel
calculating fuel economy .......162
improving fuel economy ........113
octane rating ...........................161
quality ......................................161
safety information relating to
automotive fuels .....................158
Fuel gauge ...................................14
Fuel pump shut-off switch .......114
Fuse panels
instrument panel ....................117
power distribution box ...........120
Fuses ...................................115,116
Gauges, Mechanical ....................14
engine coolant temperature
gauge .........................................15
Hazard flashers .........................114
Index
186
Page 186 of 188

Headlamps ...................................24
autolamp system .......................24
flashing ......................................26
high beam .................................25
Heating ........................................26
High beams
indicator light .............................9
Hood
release lever ............................133
Ignition
positions of the ignition ...........35
Instrument panel
lighting up panel and interior .24
Jump-starting
your vehicle ........................126,128
attaching cables ......................127
disconnecting cables ..............128
Keyless entry system
autolock .....................................57
Keys
key in ignition chime ...............13
Lamps
interior lamps .........................171
Lights, warning and indicator
air bag ..........................................8
anti-lock brakes (ABS) ..............9
brake ............................................8
charging system ..........................9
low coolant ................................10
oil pressure ...............................10
safety belt ...................................8
service engine soon .................6,7
traction control system ............10
turn signal indicator ...................9
Lubricant specifications ...........181
Message center ...........................16
reset button ..............................17
select button .............................17
Mirrors
automatic dimming rearview
mirror ........................................47
cleaning ...................................178heated ........................................50
side view mirrors (power) .......50
Moon roof ....................................46
Odometer .....................................14
Panic alarm feature, remote
entry system ................................55
Parking brake ..............................98
Parts (see Motorcraft parts) ....179
Power door locks ........................49
Power steering
fluid, checking and adding ....145
Refill capacities for fluids ........180
Relays ........................................115
Remote entry system .................53
illuminated entry ......................57
locking/unlocking doors ......53,54
replacement/additional
transmitters ...............................56
replacing the batteries .............55
Reporting safety defects ..........185
Safety restraints
automatic locking mode
(retractor) ............................71,72
extension assembly ..................74
for children ...............................81
lap and shoulder belts .............70
maintenance ..............................75
proper use .................................68
warning light and chime .....13,75
Safety seats for children
attaching with tether straps ....89
automatic locking mode
(retractor) .................................85
in rear seat ................................88
tether anchorage hardware .....89
Seats ............................................64
adjusting the seat, manual .......67
adjusting the seat, power ...64,66
head restraints ..........................64
heated seats ..............................66
lumbar support .........................67
Servicing your vehicle ..............131
Index
187
Page 188 of 188
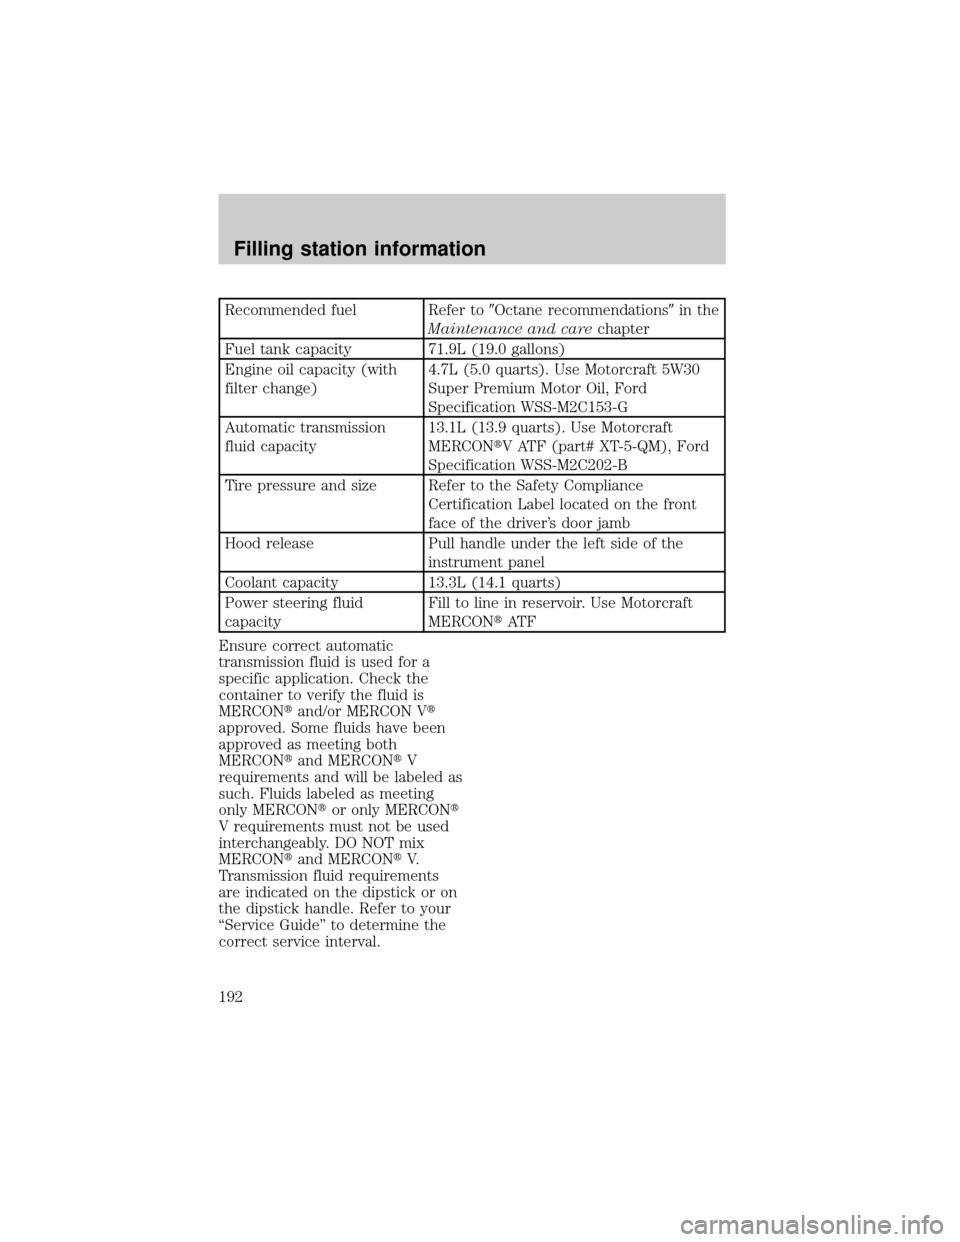
Recommended fuel Refer to9Octane recommendations9in the
Maintenance and carechapter
Fuel tank capacity 71.9L (19.0 gallons)
Engine oil capacity (with
filter change)4.7L (5.0 quarts). Use Motorcraft 5W30
Super Premium Motor Oil, Ford
Specification WSS-M2C153-G
Automatic transmission
fluid capacity13.1L (13.9 quarts). Use Motorcraft
MERCONtV ATF (part# XT-5-QM), Ford
Specification WSS-M2C202-B
Tire pressure and size Refer to the Safety Compliance
Certification Label located on the front
face of the driver's door jamb
Hood release Pull handle under the left side of the
instrument panel
Coolant capacity 13.3L (14.1 quarts)
Power steering fluid
capacityFill to line in reservoir. Use Motorcraft
MERCONtAT F
Ensure correct automatic
transmission fluid is used for a
specific application. Check the
container to verify the fluid is
MERCONtand/or MERCON Vt
approved. Some fluids have been
approved as meeting both
MERCONtand MERCONtV
requirements and will be labeled as
such. Fluids labeled as meeting
only MERCONtor only MERCONt
V requirements must not be used
interchangeably. DO NOT mix
MERCONtand MERCONtV.
Transmission fluid requirements
are indicated on the dipstick or on
the dipstick handle. Refer to your
ªService Guideº to determine the
correct service interval.
Filling station information
192