audio LINCOLN TOWN CAR 2000 Owners Manual
[x] Cancel search | Manufacturer: LINCOLN, Model Year: 2000, Model line: TOWN CAR, Model: LINCOLN TOWN CAR 2000Pages: 224, PDF Size: 1.73 MB
Page 30 of 224
²If your vehicle has been parked with the windows closed during hot
weather, the air conditioner will do a much faster job of cooling if you
drive for two or three minutes with the windows open. This will force
most of the hot, stale air out of the vehicle. Then operate the air
conditioner as you would normally.
²Do not place objects over the defroster outlets. These objects can
block airflow and reduce your ability to see through your windshield.
Also, avoid placing small objects on top of your instrument panel.
These objects can fall down into the defroster outlets and block
airflow and possibly damage your climate control system.
Do not place objects on top of the instrument panel, as these
objects may become projectiles in a collision or sudden stop.
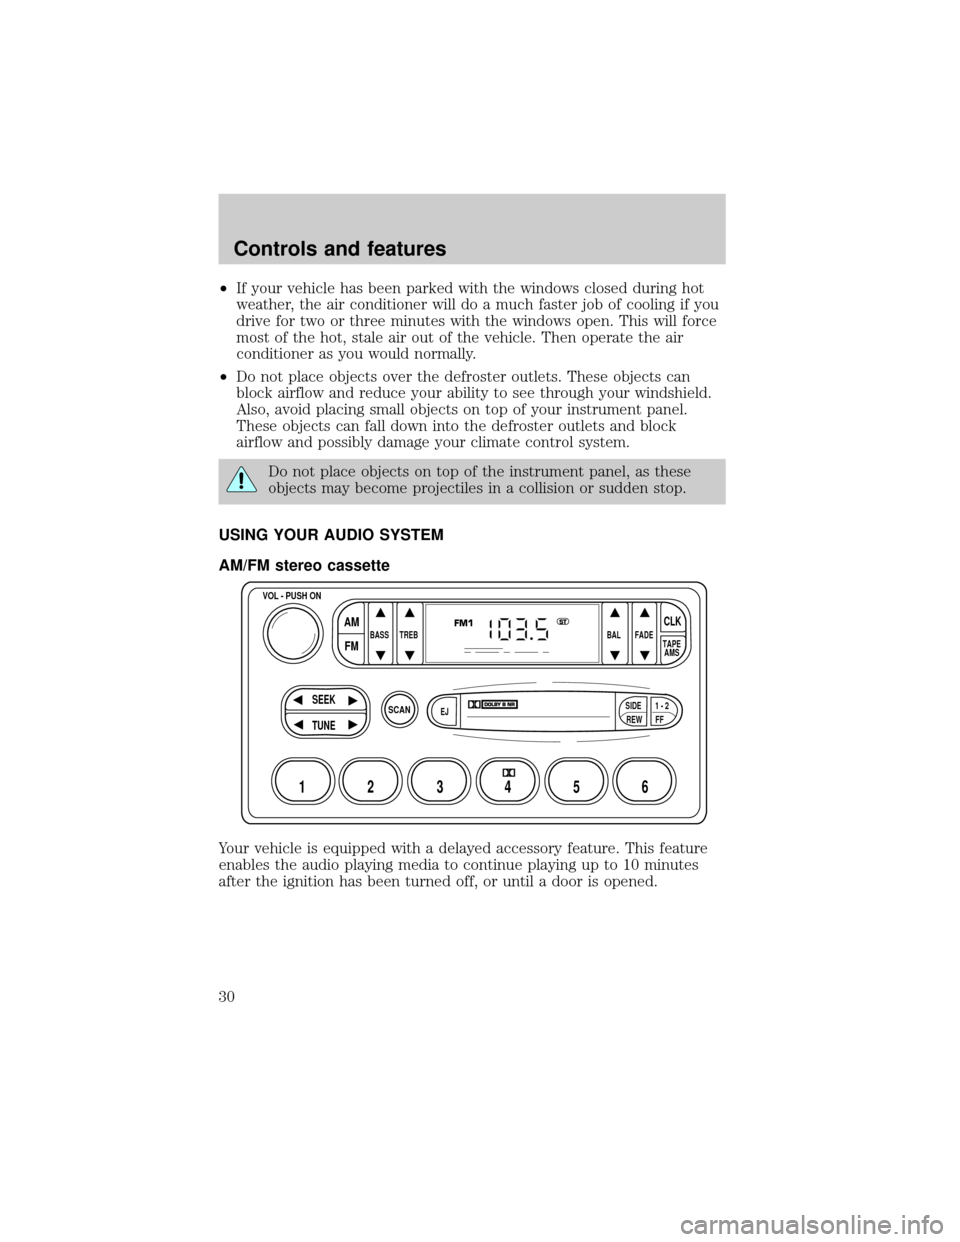
USING YOUR AUDIO SYSTEM
AM/FM stereo cassette
Your vehicle is equipped with a delayed accessory feature. This feature
enables the audio playing media to continue playing up to 10 minutes
after the ignition has been turned off, or until a door is opened.
SCAN
BASS TREB BAL FADE
SIDE
EJ
REW FF1 - 2TAPE
AMS
VOL - PUSH ON
SEEK
TUNE
AM
FMCLK
12 3456
FM1ST
Controls and features
30
Page 31 of 224
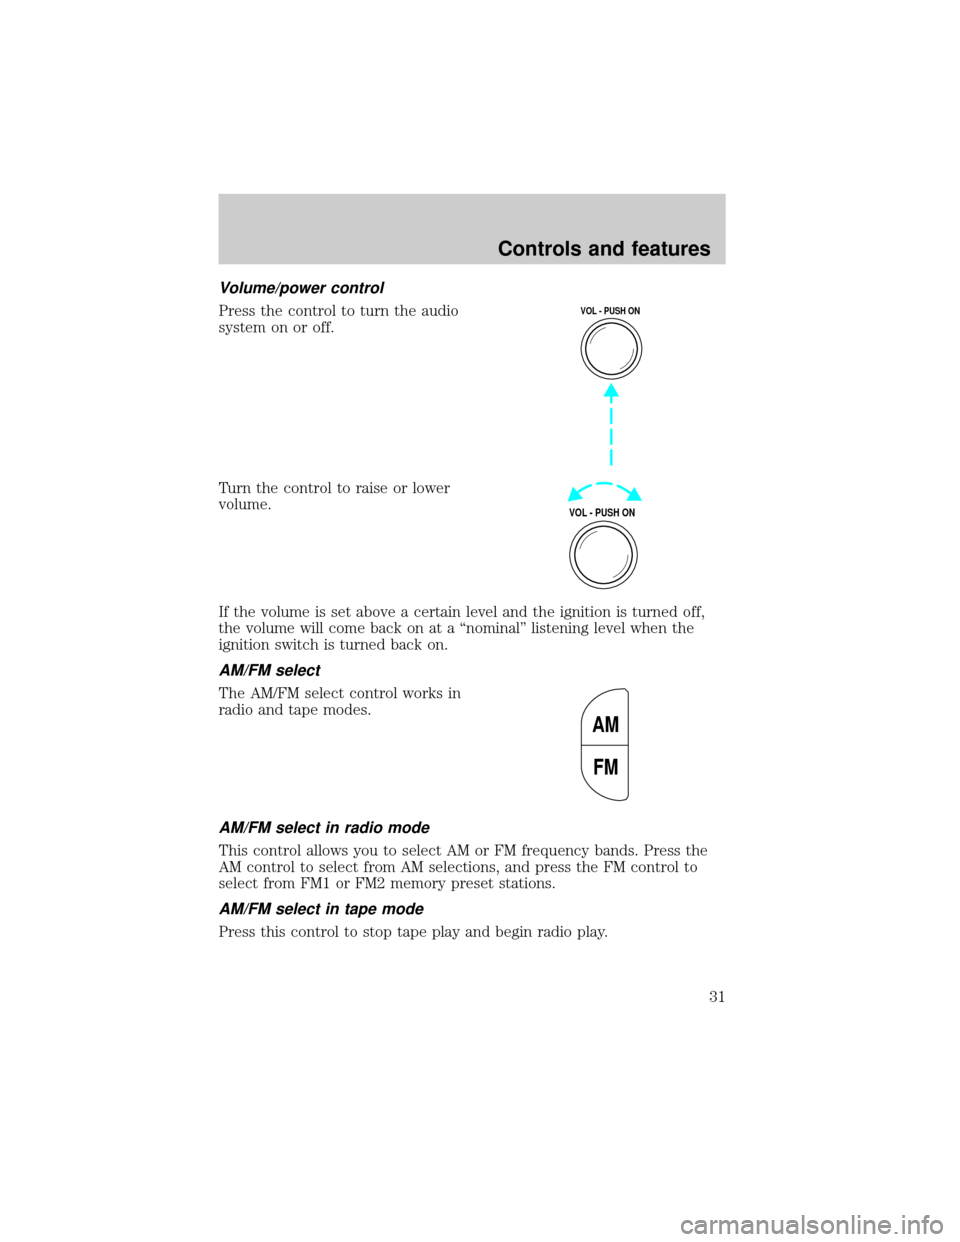
Volume/power control
Press the control to turn the audio
system on or off.
Turn the control to raise or lower
volume.
If the volume is set above a certain level and the ignition is turned off,
the volume will come back on at a ªnominalº listening level when the
ignition switch is turned back on.
AM/FM select
The AM/FM select control works in
radio and tape modes.
AM/FM select in radio mode
This control allows you to select AM or FM frequency bands. Press the
AM control to select from AM selections, and press the FM control to
select from FM1 or FM2 memory preset stations.
AM/FM select in tape mode
Press this control to stop tape play and begin radio play.
VOL - PUSH ON
VOL - PUSH ON
AM
FM
Controls and features
31
Page 33 of 224
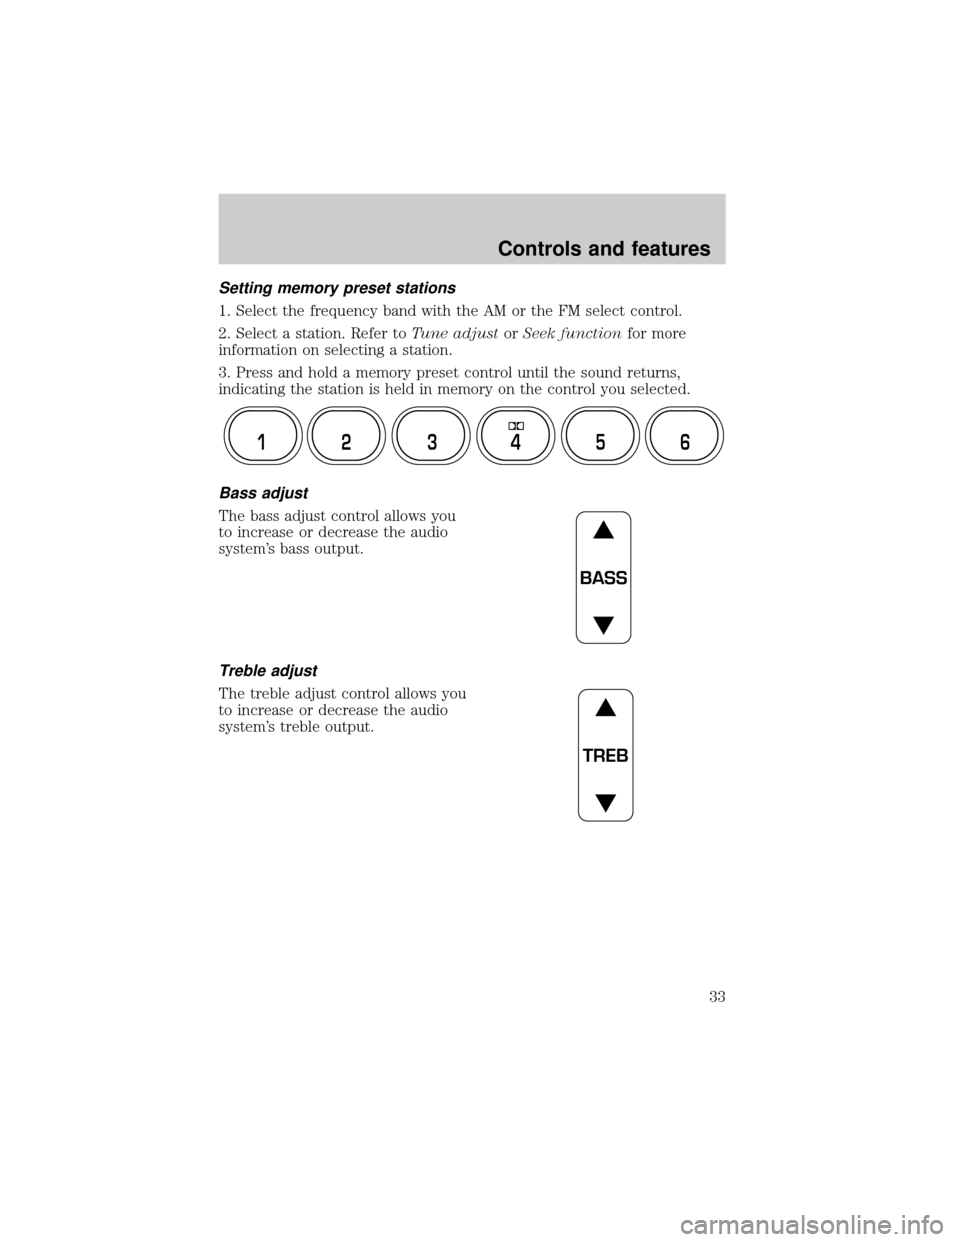
Setting memory preset stations
1. Select the frequency band with the AM or the FM select control.
2. Select a station. Refer toTune adjustorSeek functionfor more
information on selecting a station.
3. Press and hold a memory preset control until the sound returns,
indicating the station is held in memory on the control you selected.
Bass adjust
The bass adjust control allows you
to increase or decrease the audio
system's bass output.
Treble adjust
The treble adjust control allows you
to increase or decrease the audio
system's treble output.
12 3456
BASS
TREB
Controls and features
33
Page 37 of 224
Anytime that the media is changed, (new radio station, etc.), the media
information will again display for 10 seconds before reverting back to the
clock. In media mode, the media information will always be displayed.
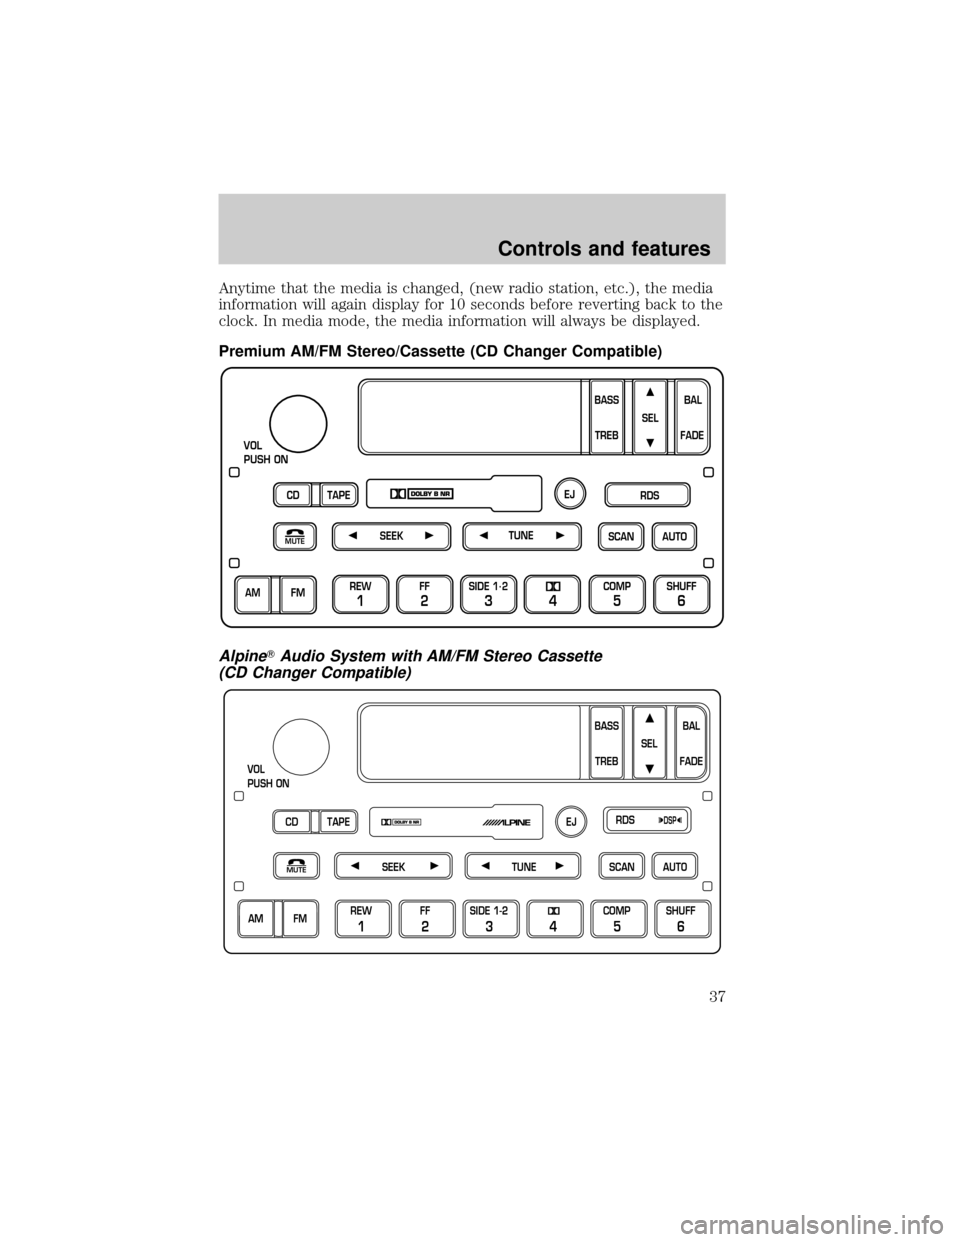
Premium AM/FM Stereo/Cassette (CD Changer Compatible)
AlpineTAudio System with AM/FM Stereo Cassette
(CD Changer Compatible)
SCAN
VOL
PUSH ON
REW
1
FF
2
SIDE 1.
2
34
COMP
5
SHUFF
6
AUTO TUNE
SEEK
SEL
BAL
FADE
MUTE
FM AM
EJ
BASS
TREB
CD TAPERDS
SEEKMUTETUNESCANAUTO
VOL
PUSH ON
BASS
TREBBAL
FADE SEL
CD TAPERDS
EJ
AM FMREW
1
FF
2
SIDE 1-2
34
COMP
5
SHUFF
6
DSP
Controls and features
37
Page 38 of 224
Your audio system is equipped with selective lighting, a unique lighting
strategy. This lighting feature is operable when the headlamps are
illuminated. During the operation of any selected mode, lighting for the
individual function controls will either illuminate or turn off. Those
controls which have a function for the specific mode of operation
selected will be lit, while the controls which have no function for that
mode will be turned off.
Your vehicle is equipped with a delayed accessory feature. This feature
enables the audio playing media to continue playing up to 10 minutes
after the ignition has been turned off, or until a door is opened.
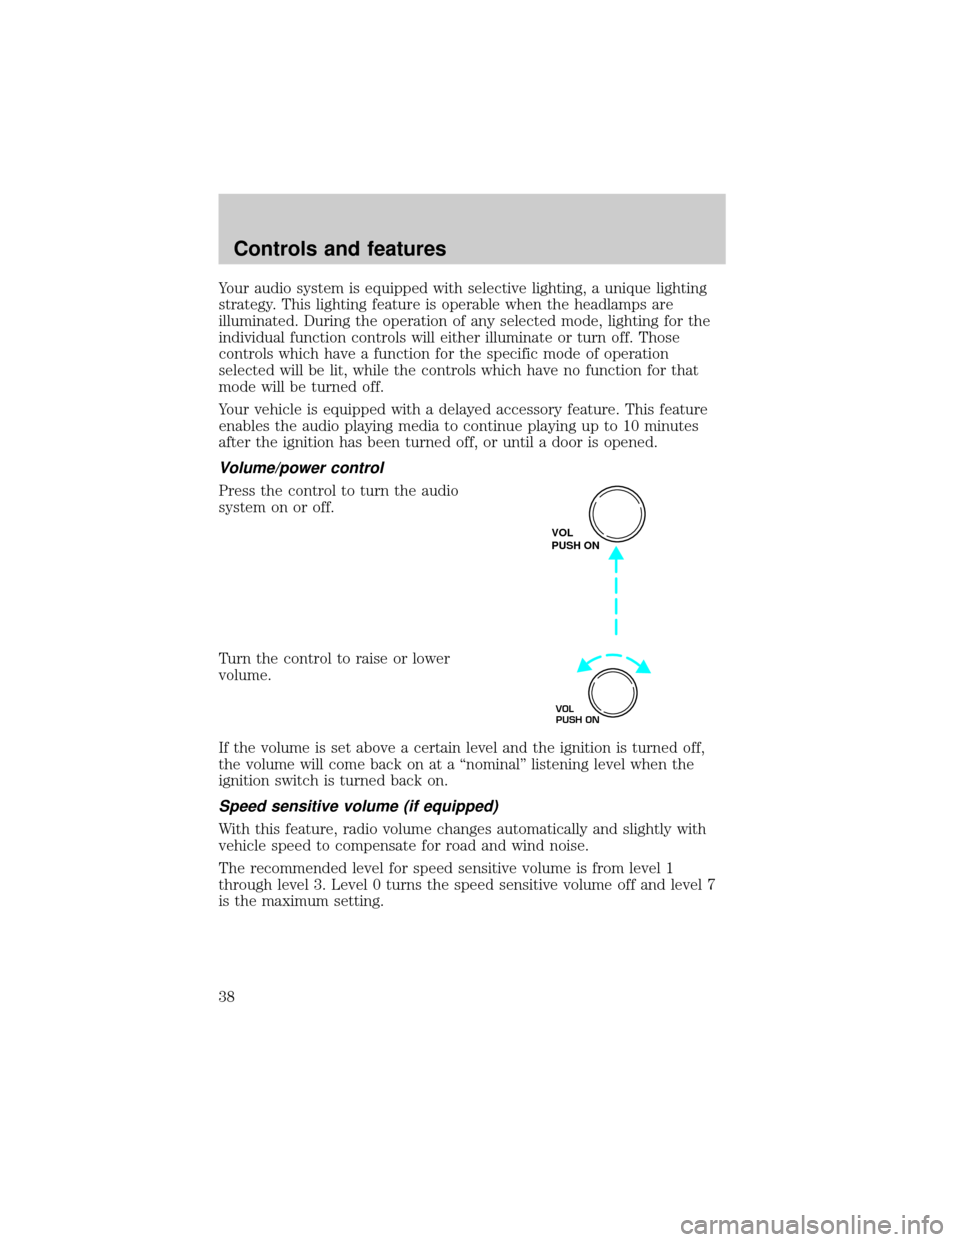
Volume/power control
Press the control to turn the audio
system on or off.
Turn the control to raise or lower
volume.
If the volume is set above a certain level and the ignition is turned off,
the volume will come back on at a ªnominalº listening level when the
ignition switch is turned back on.
Speed sensitive volume (if equipped)
With this feature, radio volume changes automatically and slightly with
vehicle speed to compensate for road and wind noise.
The recommended level for speed sensitive volume is from level 1
through level 3. Level 0 turns the speed sensitive volume off and level 7
is the maximum setting.
VOL
PUSH ON
VOL
PUSH ON
Controls and features
38
Page 42 of 224
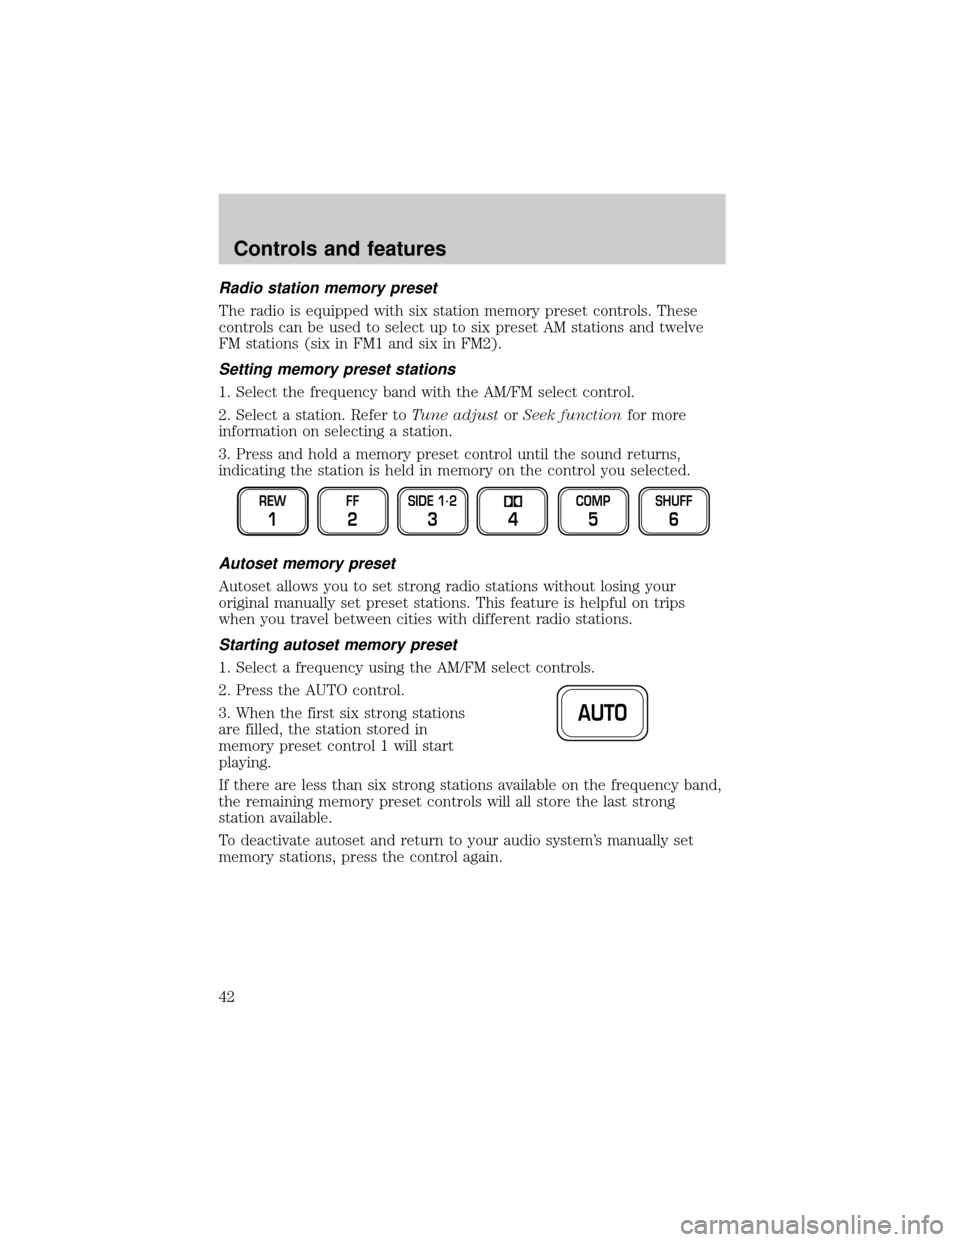
Radio station memory preset
The radio is equipped with six station memory preset controls. These
controls can be used to select up to six preset AM stations and twelve
FM stations (six in FM1 and six in FM2).
Setting memory preset stations
1. Select the frequency band with the AM/FM select control.
2. Select a station. Refer toTune adjustorSeek functionfor more
information on selecting a station.
3. Press and hold a memory preset control until the sound returns,
indicating the station is held in memory on the control you selected.
Autoset memory preset
Autoset allows you to set strong radio stations without losing your
original manually set preset stations. This feature is helpful on trips
when you travel between cities with different radio stations.
Starting autoset memory preset
1. Select a frequency using the AM/FM select controls.
2. Press the AUTO control.
3. When the first six strong stations
are filled, the station stored in
memory preset control 1 will start
playing.
If there are less than six strong stations available on the frequency band,
the remaining memory preset controls will all store the last strong
station available.
To deactivate autoset and return to your audio system's manually set
memory stations, press the control again.
REW
1
FF
2
SIDE 1.
2
34
COMP
5
SHUFF
6
AUTO
Controls and features
42
Page 43 of 224
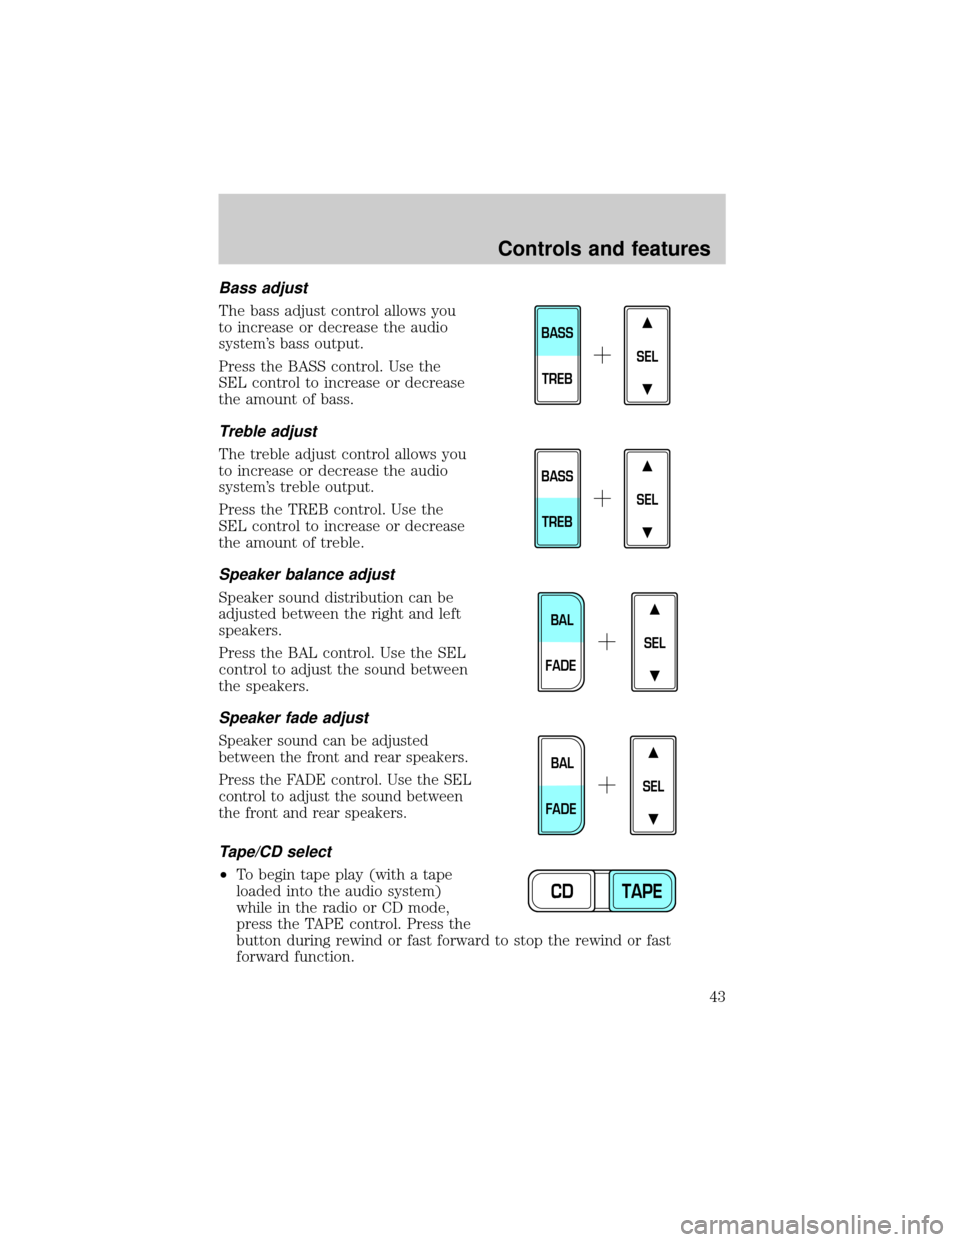
Bass adjust
The bass adjust control allows you
to increase or decrease the audio
system's bass output.
Press the BASS control. Use the
SEL control to increase or decrease
the amount of bass.
Treble adjust
The treble adjust control allows you
to increase or decrease the audio
system's treble output.
Press the TREB control. Use the
SEL control to increase or decrease
the amount of treble.
Speaker balance adjust
Speaker sound distribution can be
adjusted between the right and left
speakers.
Press the BAL control. Use the SEL
control to adjust the sound between
the speakers.
Speaker fade adjust
Speaker sound can be adjusted
between the front and rear speakers.
Press the FADE control. Use the SEL
control to adjust the sound between
the front and rear speakers.
Tape/CD select
²To begin tape play (with a tape
loaded into the audio system)
while in the radio or CD mode,
press the TAPE control. Press the
button during rewind or fast forward to stop the rewind or fast
forward function.
SEL
BASS
TREB
SEL
BASS
TREB
SEL
BAL
FADE
SEL
BAL
FADE
CD TAPE
Controls and features
43
Page 45 of 224
DolbyTnoise reduction
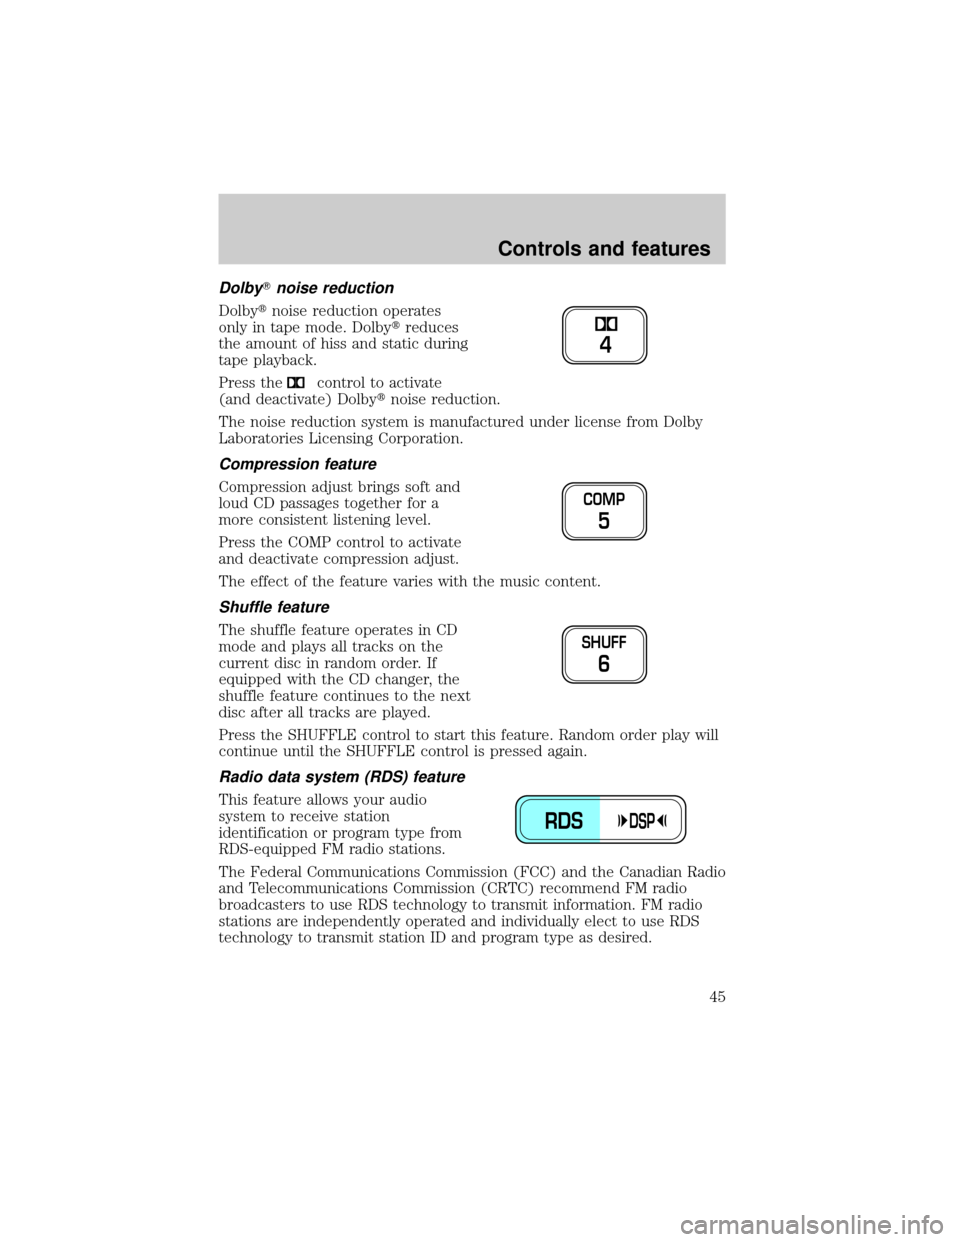
Dolbytnoise reduction operates
only in tape mode. Dolbytreduces
the amount of hiss and static during
tape playback.
Press the
control to activate
(and deactivate) Dolbytnoise reduction.
The noise reduction system is manufactured under license from Dolby
Laboratories Licensing Corporation.
Compression feature
Compression adjust brings soft and
loud CD passages together for a
more consistent listening level.
Press the COMP control to activate
and deactivate compression adjust.
The effect of the feature varies with the music content.
Shuffle feature
The shuffle feature operates in CD
mode and plays all tracks on the
current disc in random order. If
equipped with the CD changer, the
shuffle feature continues to the next
disc after all tracks are played.
Press the SHUFFLE control to start this feature. Random order play will
continue until the SHUFFLE control is pressed again.
Radio data system (RDS) feature
This feature allows your audio
system to receive station
identification or program type from
RDS-equipped FM radio stations.
The Federal Communications Commission (FCC) and the Canadian Radio
and Telecommunications Commission (CRTC) recommend FM radio
broadcasters to use RDS technology to transmit information. FM radio
stations are independently operated and individually elect to use RDS
technology to transmit station ID and program type as desired.
4
COMP
5
SHUFF
6
RDSDSP
Controls and features
45
Page 48 of 224
These effects will change the sound quality and may need to be adjusted
based upon the program material to suit your listening needs.
Press the control to turn the feature on or off.
Use the SEL control to select the
desired signal mode (the selected
mode will appear in the display).
The following signal modes can be
selected:
²JAZZ CLUBÐjazz club with
clearly reflected sounds.
²HALLÐrectangular concert hall capacity of about 2 000
²CHURCHÐchurch with a high vault.
²STADIUMÐoutdoor stadium with a capacity of about 30 000.
²NEWSЪvoice-onlyº type of sound with a limited audio band.
Press the DSP control until one of
the following appears:
²ALL SEATS
²DRIVER SEAT
²REAR SEATS
Use the SELECT control to change
the equalization to the desired
mode.
Setting the clock with radio data system (RDS) feature
(if equipped)
This feature applies to vehicles not equipped with a separate, instrument
panel mounted clock. If your vehicle has a separate clock, please refer to
Clockin this chapter.
Press the RDS control until CLOCK
HOUR or CLOCK MINUTE is
displayed.
SEL
RDSDSP
SEL
RDS
Controls and features
48
Page 53 of 224
²Station overload.Weak signals are sometimes captured by stronger
signals when you pass a broadcast tower. A stronger signal may
temporarily overtake a weaker signal and play while the weak station
frequency is displayed.
The audio system automatically switches to single channel reception if it
will improve the reception of a station normally received in stereo.
Audio system warranties and service
Refer to the ªWarranty Guideº for audio system warranty information.
If service is necessary, see your dealer or a qualified technician.
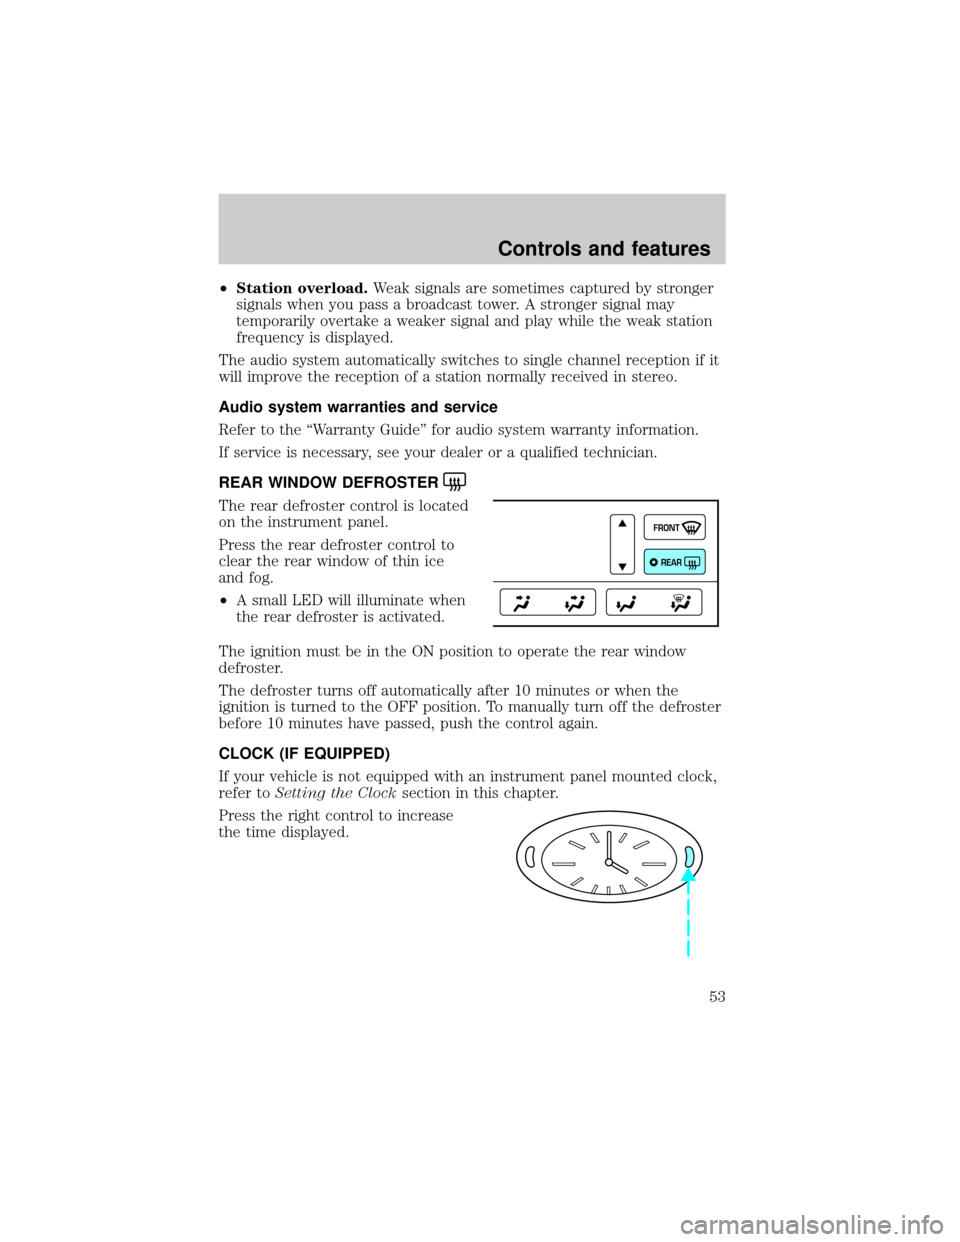
REAR WINDOW DEFROSTER
The rear defroster control is located
on the instrument panel.
Press the rear defroster control to
clear the rear window of thin ice
and fog.
²A small LED will illuminate when
the rear defroster is activated.
The ignition must be in the ON position to operate the rear window
defroster.
The defroster turns off automatically after 10 minutes or when the
ignition is turned to the OFF position. To manually turn off the defroster
before 10 minutes have passed, push the control again.
CLOCK (IF EQUIPPED)
If your vehicle is not equipped with an instrument panel mounted clock,
refer toSetting the Clocksection in this chapter.
Press the right control to increase
the time displayed.
FRONT
REAR
Controls and features
53