remove seats LINCOLN TOWN CAR 2000 Owners Manual
[x] Cancel search | Manufacturer: LINCOLN, Model Year: 2000, Model line: TOWN CAR, Model: LINCOLN TOWN CAR 2000Pages: 224, PDF Size: 1.73 MB
Page 69 of 224
Heated outside mirrors (if equipped)
Both mirrors are heated
automatically to remove ice, mist
and fog when the rear window
defrost is activated.
Do not remove ice from the mirrors
with a scraper or attempt to readjust
the mirror glass if it is frozen in
place. These actions could cause
damage to the glass and mirrors.
CHILDPROOF DOOR LOCKS
When these locks are set, the rear
doors cannot be opened from the
inside. The rear doors can be
opened from the outside when the
doors are unlocked.
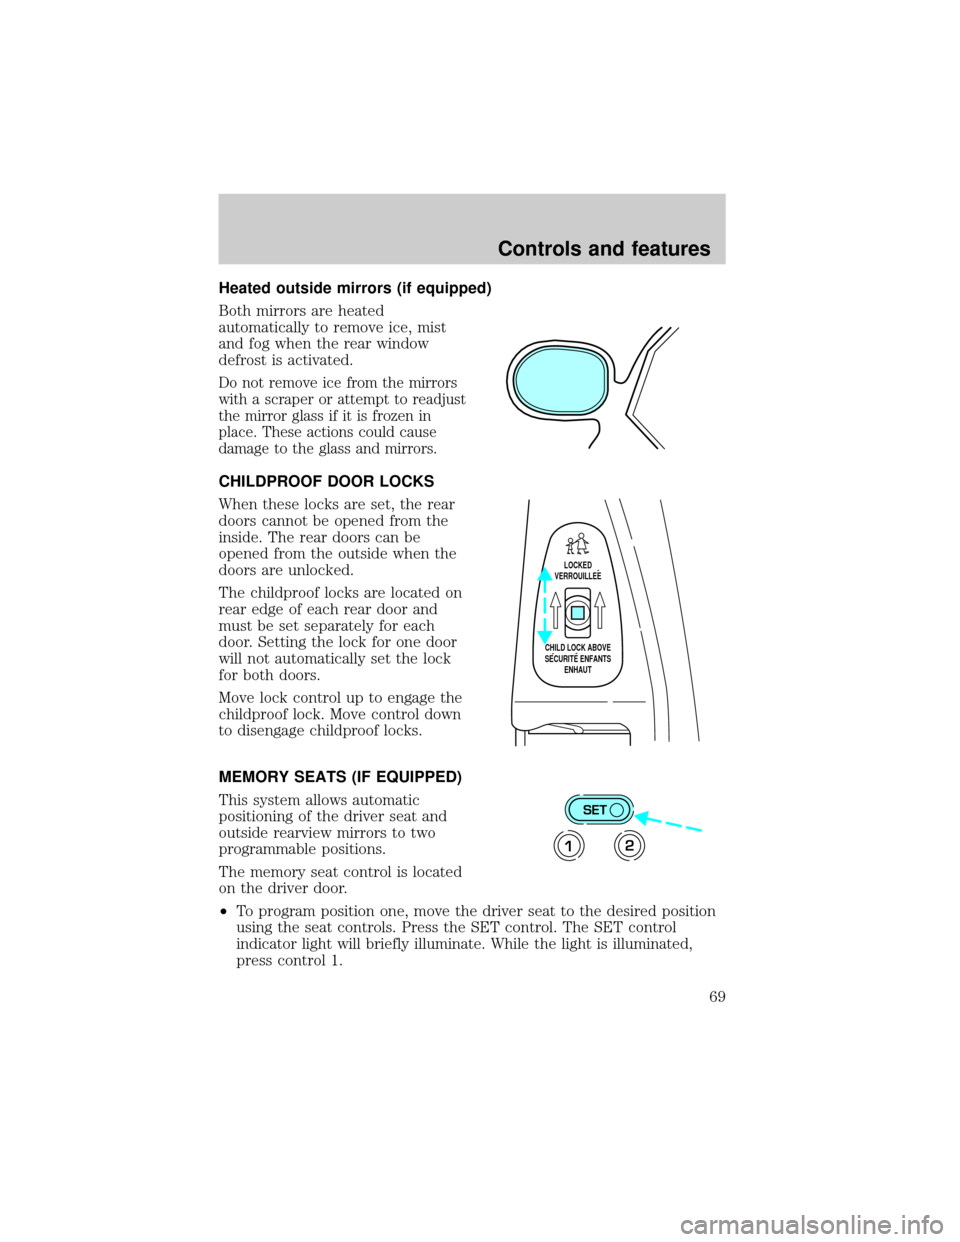
The childproof locks are located on
rear edge of each rear door and
must be set separately for each
door. Setting the lock for one door
will not automatically set the lock
for both doors.
Move lock control up to engage the
childproof lock. Move control down
to disengage childproof locks.
MEMORY SEATS (IF EQUIPPED)
This system allows automatic
positioning of the driver seat and
outside rearview mirrors to two
programmable positions.
The memory seat control is located
on the driver door.
²To program position one, move the driver seat to the desired position
using the seat controls. Press the SET control. The SET control
indicator light will briefly illuminate. While the light is illuminated,
press control 1.
LOCKED
VERROUILLEE
CHILD LOCK ABOVE
SECURITE ENFANTS
ENHAUT
SET
12
Controls and features
69
Page 88 of 224
To adjust the front seatback using
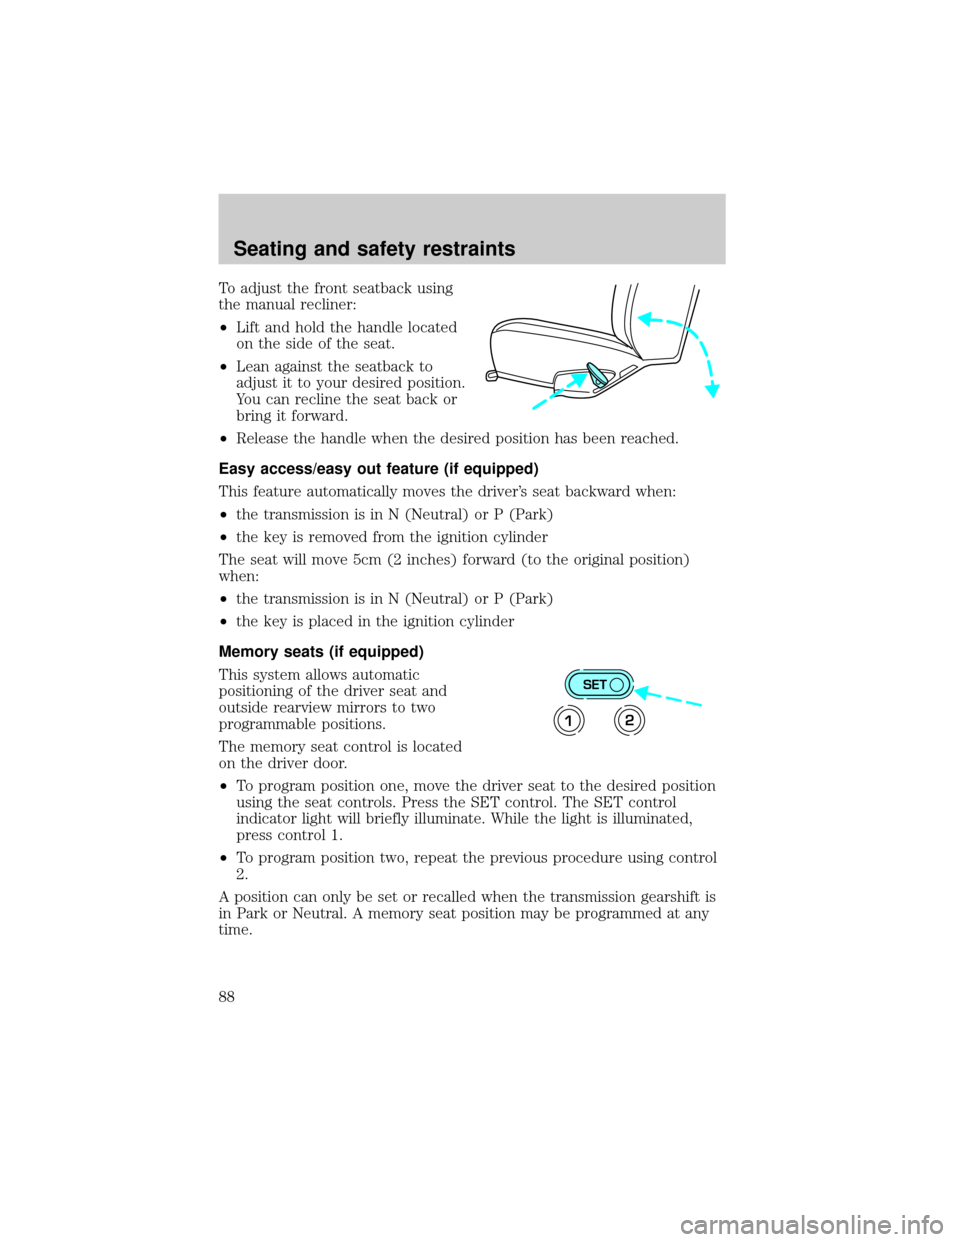
the manual recliner:
²Lift and hold the handle located
on the side of the seat.
²Lean against the seatback to
adjust it to your desired position.
You can recline the seat back or
bring it forward.
²Release the handle when the desired position has been reached.
Easy access/easy out feature (if equipped)
This feature automatically moves the driver's seat backward when:
²the transmission is in N (Neutral) or P (Park)
²the key is removed from the ignition cylinder
The seat will move 5cm (2 inches) forward (to the original position)
when:
²the transmission is in N (Neutral) or P (Park)
²the key is placed in the ignition cylinder
Memory seats (if equipped)
This system allows automatic
positioning of the driver seat and
outside rearview mirrors to two
programmable positions.
The memory seat control is located
on the driver door.
²To program position one, move the driver seat to the desired position
using the seat controls. Press the SET control. The SET control
indicator light will briefly illuminate. While the light is illuminated,
press control 1.
²To program position two, repeat the previous procedure using control
2.
A position can only be set or recalled when the transmission gearshift is
in Park or Neutral. A memory seat position may be programmed at any
time.
SET
12
Seating and safety restraints
88
Page 91 of 224
Vehicle sensitive mode
The vehicle sensitive mode is the normal retractor mode, allowing free
shoulder belt length adjustment to your movements and locking in
response to vehicle movement. For example, if the driver brakes
suddenly or turns a corner sharply, or the vehicle receives an impact of
approximately 8 km/h (5 mph) or more, the combination safety belts will
lock to help reduce forward movement of the driver and passengers.
Automatic locking mode
In this mode, the shoulder belt is automatically pre-locked. The belt will
still retract to remove any slack in the shoulder belt.
The automatic locking mode is not available on the driver safety belt.
When to use the automatic locking mode
²Anytimea child safety seat is installed in the vehicle. Children 12
years old and under should be properly restrained in the rear seat
whenever possible. Refer toSafety Restraints for ChildrenorSafety
Seats for Childrenlater in this chapter.
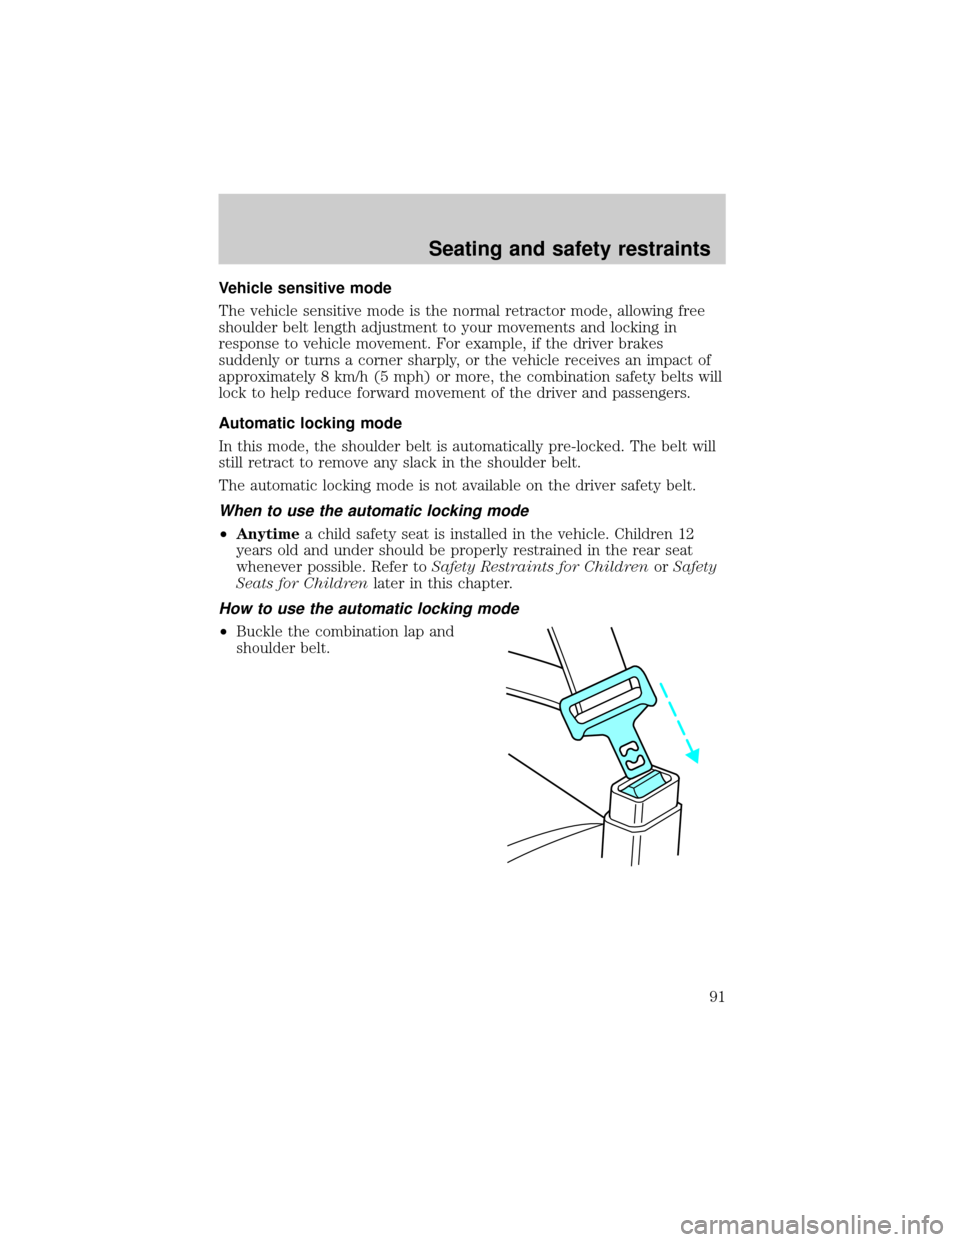
How to use the automatic locking mode
²Buckle the combination lap and
shoulder belt.
Seating and safety restraints
91
Page 111 of 224
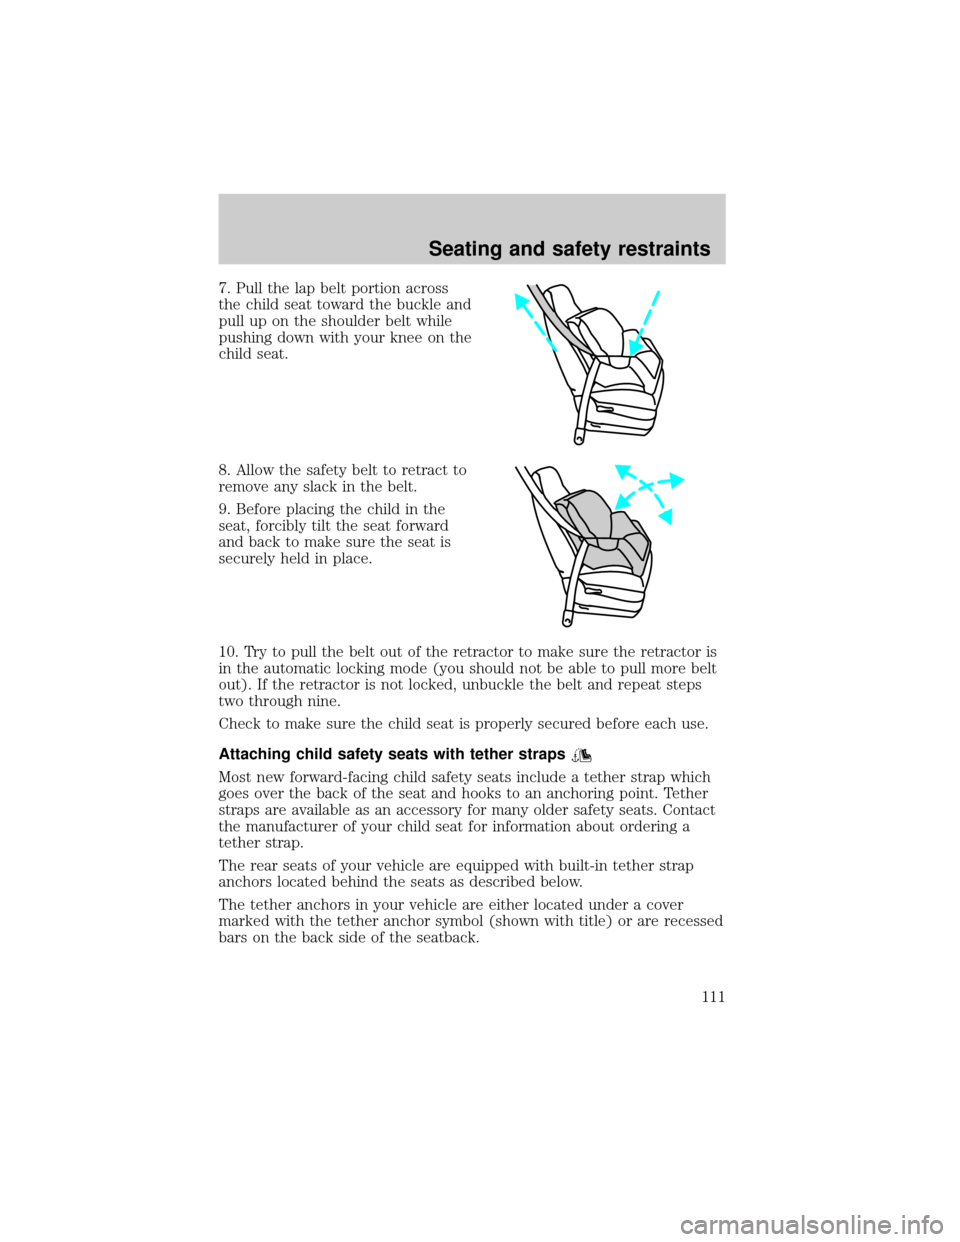
7. Pull the lap belt portion across
the child seat toward the buckle and
pull up on the shoulder belt while
pushing down with your knee on the
child seat.
8. Allow the safety belt to retract to
remove any slack in the belt.
9. Before placing the child in the
seat, forcibly tilt the seat forward
and back to make sure the seat is
securely held in place.
10. Try to pull the belt out of the retractor to make sure the retractor is
in the automatic locking mode (you should not be able to pull more belt
out). If the retractor is not locked, unbuckle the belt and repeat steps
two through nine.
Check to make sure the child seat is properly secured before each use.
Attaching child safety seats with tether straps
Most new forward-facing child safety seats include a tether strap which
goes over the back of the seat and hooks to an anchoring point. Tether
straps are available as an accessory for many older safety seats. Contact
the manufacturer of your child seat for information about ordering a
tether strap.
The rear seats of your vehicle are equipped with built-in tether strap
anchors located behind the seats as described below.
The tether anchors in your vehicle are either located under a cover
marked with the tether anchor symbol (shown with title) or are recessed
bars on the back side of the seatback.
Seating and safety restraints
111
Page 194 of 224
Avoid cleaner or polish that increases the gloss of the upper portion of
the instrument panel. The dull finish in this area helps protect the driver
from undesirable windshield reflection.
Cleaning seats equipped with side air bags
Remove dust and loose dirt with a whisk broom or a vacuum cleaner.
Remove fresh spots immediately. Follow the directions that come with
the cleaner. Do not saturate the seat cover with upholstery cleaner.
Do not use chemical solvents or strong detergents when cleaning
the seat mounted side air bag. Such products could contaminate
the side air bag system and affect performance of the side air bag in a
collision.
Woodtone trim
Wipe stains with a soft cloth and a multi-purpose cleaning solution.
Inside windows
Use Ultra-Clear Spray Glass Cleaner (E4AZ-19C507±AA) for the inside
windows if they become fogged.
Cleaning and maintaining the safety belts
Clean the safety belts with a mild soap solution recommended for
cleaning upholstery or carpets. Do not bleach or dye the belts, because
these actions may weaken the belt webbing.
Check the safety belt system periodically to make sure there are no
nicks, wear or cuts. If your vehicle has been involved in an accident,
refer to theSafety belt maintenancesection in theSeating and safety
restraintschapter.
Cleaning leather seats (if equipped)
To clean, simply use a soft cloth dampened with water and a mild soap.
Wipe the leather again with a damp cloth to remove soap residue. Dry
with a soft cloth. For tougher soiling concerns, Ford recommends using
the Deluxe Leather Care Kit F8AZ-19G253±AA, which is available from
your Ford Dealer. This mild cleaner and special pad, cleans the leather
and maintains its natural beauty. Follow the instructions on the cleaner
label. Regular cleaning of your leather upholstery helps maintain its
resiliency and color.
Maintenance and care
194