clock LINCOLN TOWN CAR 2001 Owners Manual
[x] Cancel search | Manufacturer: LINCOLN, Model Year: 2001, Model line: TOWN CAR, Model: LINCOLN TOWN CAR 2001Pages: 240, PDF Size: 1.92 MB
Page 7 of 240
VOL
PUSH ONTAPESEEK
TUNE
AM
REW
FFSIDE 1 2
COMP
SHUFF
EJ
RDS
SCAN AUTO
123
4
56
BASS
TREBSELBAL
FADE
EXTMAX
A/CAUTO
FRONT
REAR
SELECTRESET
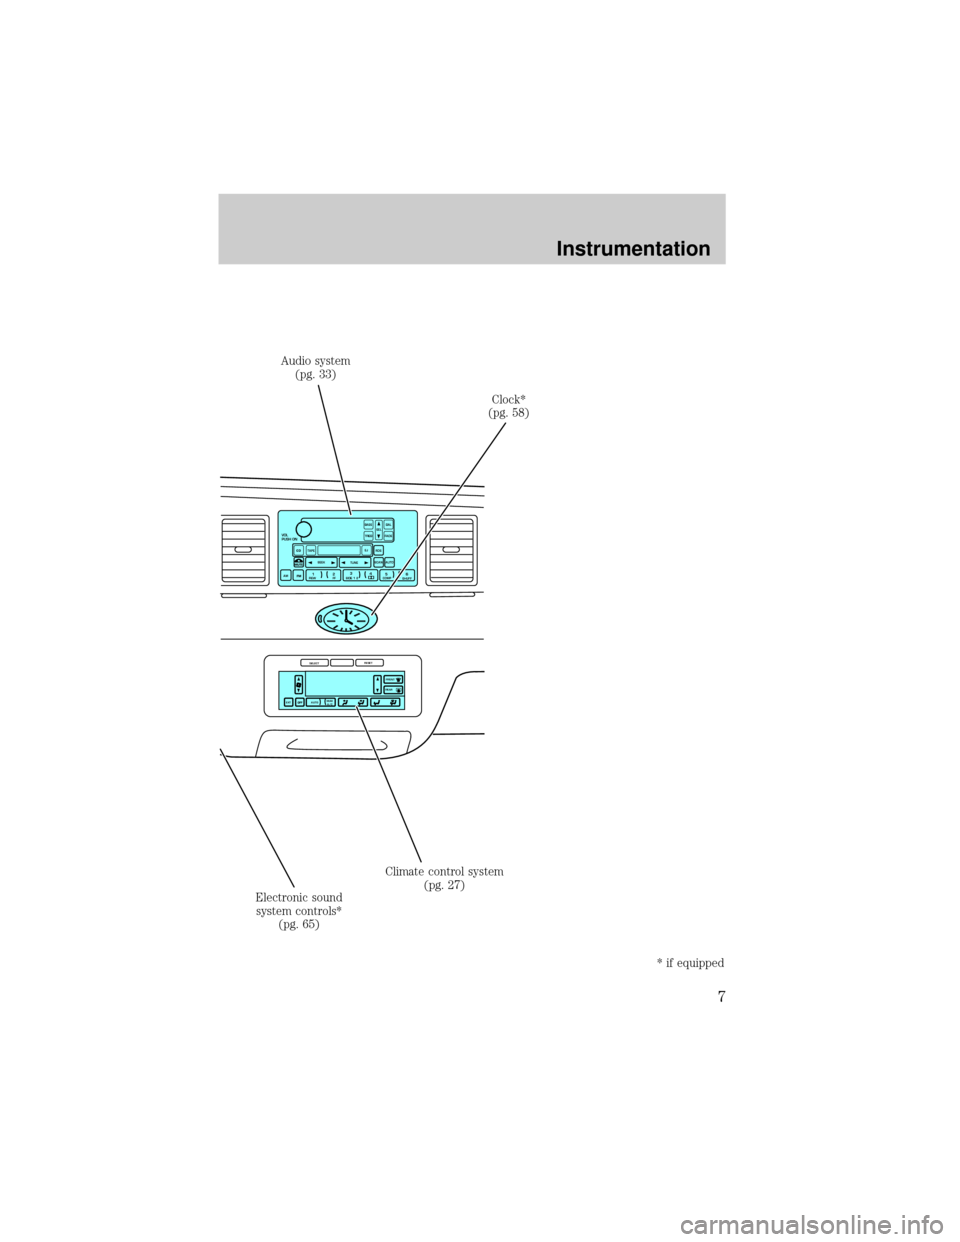
Audio system
(pg. 33)
Clock*
(pg. 58)
Climate control system
(pg. 27)
Electronic sound
system controls*
(pg. 65)
* if equipped
Instrumentation
7
Page 25 of 240
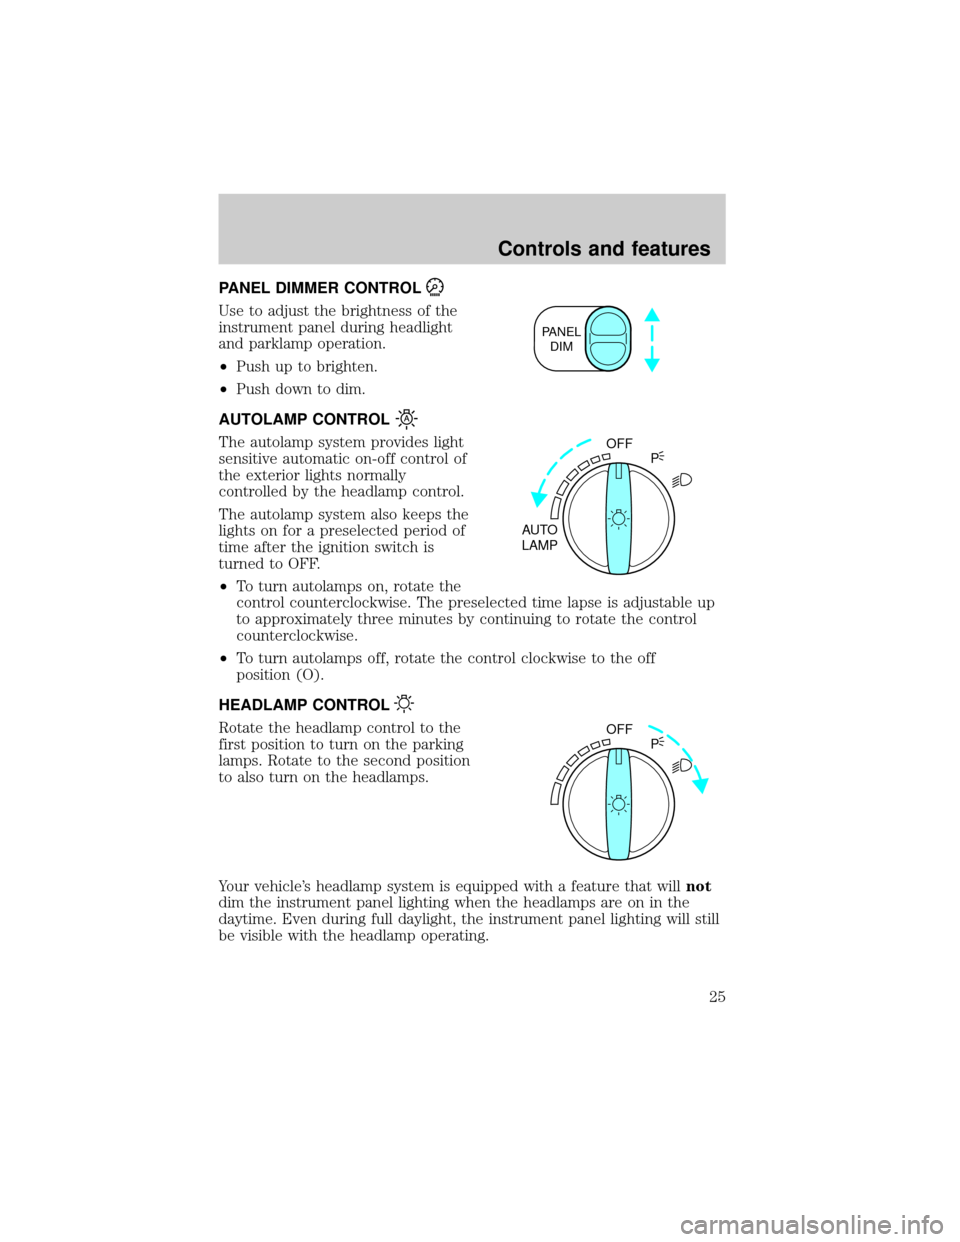
PANEL DIMMER CONTROL
Use to adjust the brightness of the
instrument panel during headlight
and parklamp operation.
²Push up to brighten.
²Push down to dim.
AUTOLAMP CONTROL
The autolamp system provides light
sensitive automatic on-off control of
the exterior lights normally
controlled by the headlamp control.
The autolamp system also keeps the
lights on for a preselected period of
time after the ignition switch is
turned to OFF.
²To turn autolamps on, rotate the
control counterclockwise. The preselected time lapse is adjustable up
to approximately three minutes by continuing to rotate the control
counterclockwise.
²To turn autolamps off, rotate the control clockwise to the off
position (O).
HEADLAMP CONTROL
Rotate the headlamp control to the
first position to turn on the parking
lamps. Rotate to the second position
to also turn on the headlamps.
Your vehicle's headlamp system is equipped with a feature that willnot
dim the instrument panel lighting when the headlamps are on in the
daytime. Even during full daylight, the instrument panel lighting will still
be visible with the headlamp operating.
PANEL
DIM
OFF
AUTO
LAMPP
OFF
P
Controls and features
25
Page 39 of 240
Eject function
Press the control to stop and eject
a tape.
DolbyTnoise reduction
Dolbytnoise reduction operates
only in tape mode. Dolbytnoise
reduction reduces the amount of
hiss and static during tape playback.
Press the
control to activate (and deactivate) Dolbytnoise
reduction.
Dolbytnoise reduction is manufactured under license from Dolbyt
Laboratories Licensing Corporation. ªDolbytº and the double-D symbol
are registered trademarks of Dolby Laboratories Licensing Corporation.
Setting the clock
This feature applies to vehicles not equipped with a separate, instrument
panel mounted clock. If your vehicle has a separate clock, please refer to
Clockin this chapter.
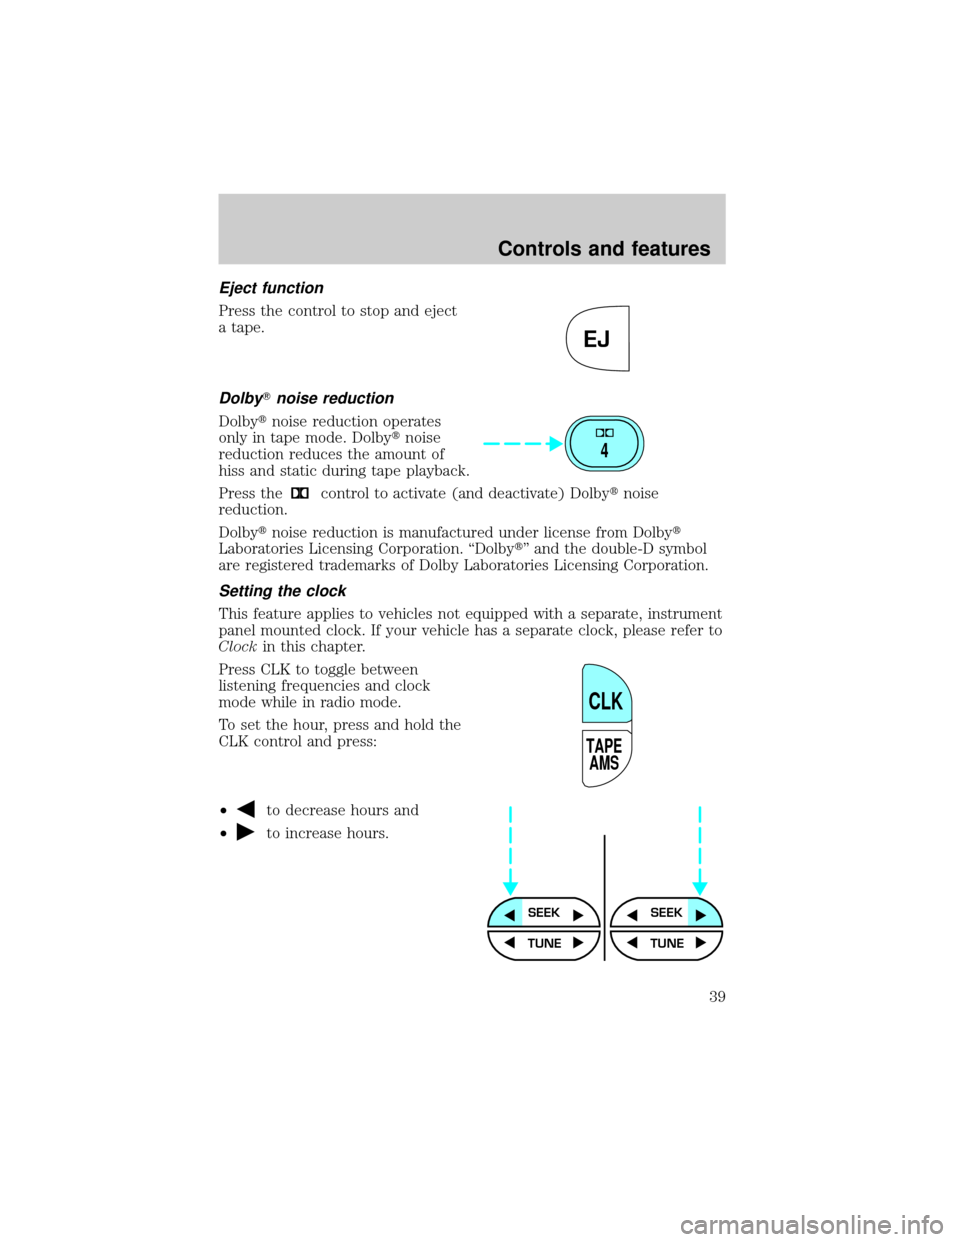
Press CLK to toggle between
listening frequencies and clock
mode while in radio mode.
To set the hour, press and hold the
CLK control and press:
²
to decrease hours and
²
to increase hours.
EJ
4
TAPE
AMS
CLK
SEEKSEEK
TUNE TUNE
Controls and features
39
Page 40 of 240
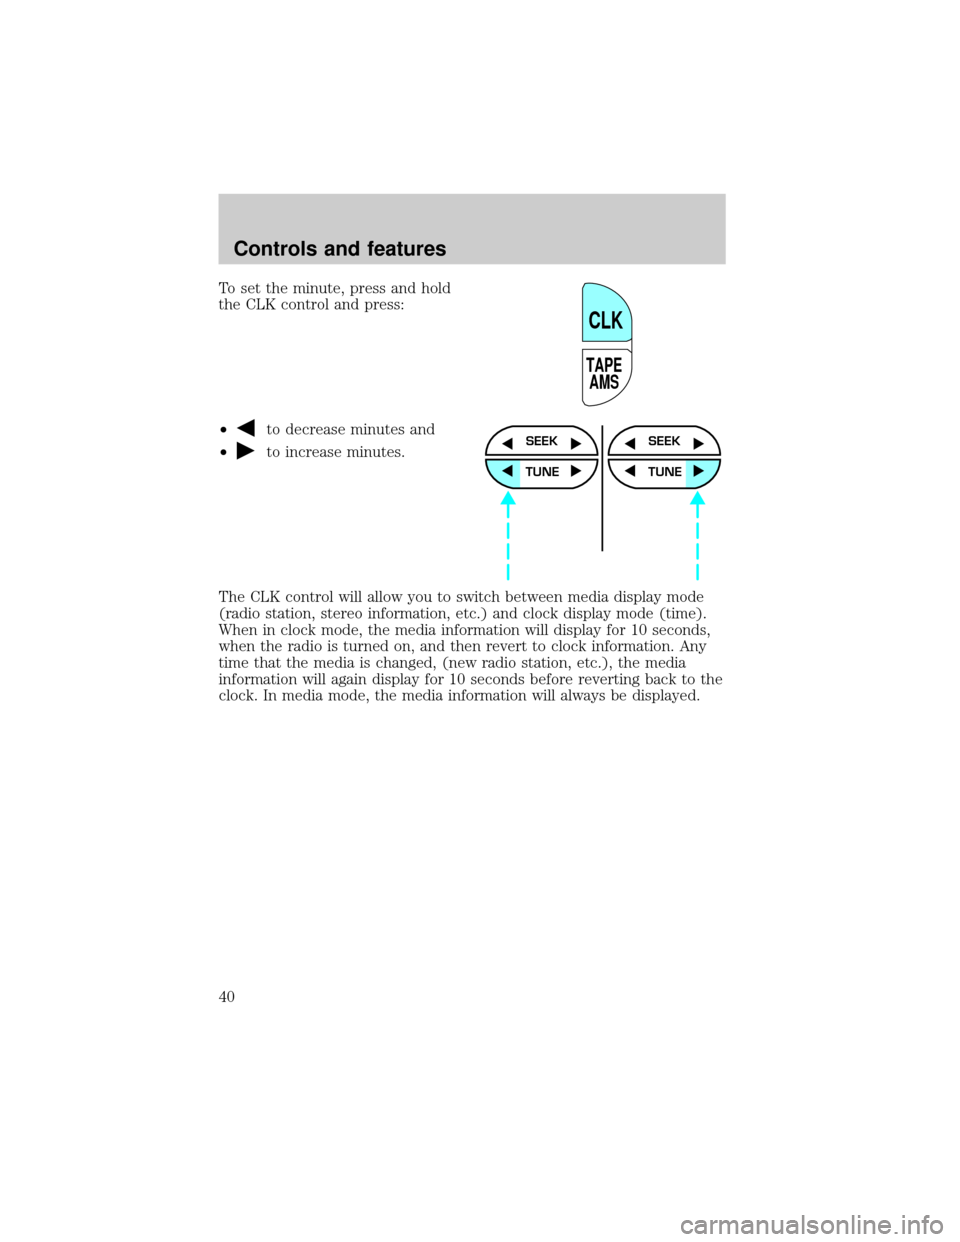
To set the minute, press and hold
the CLK control and press:
²
to decrease minutes and
²
to increase minutes.
The CLK control will allow you to switch between media display mode
(radio station, stereo information, etc.) and clock display mode (time).
When in clock mode, the media information will display for 10 seconds,
when the radio is turned on, and then revert to clock information. Any
time that the media is changed, (new radio station, etc.), the media
information will again display for 10 seconds before reverting back to the
clock. In media mode, the media information will always be displayed.
TAPE
AMS
CLK
SEEK
TUNE
SEEK
TUNE
Controls and features
40
Page 53 of 240
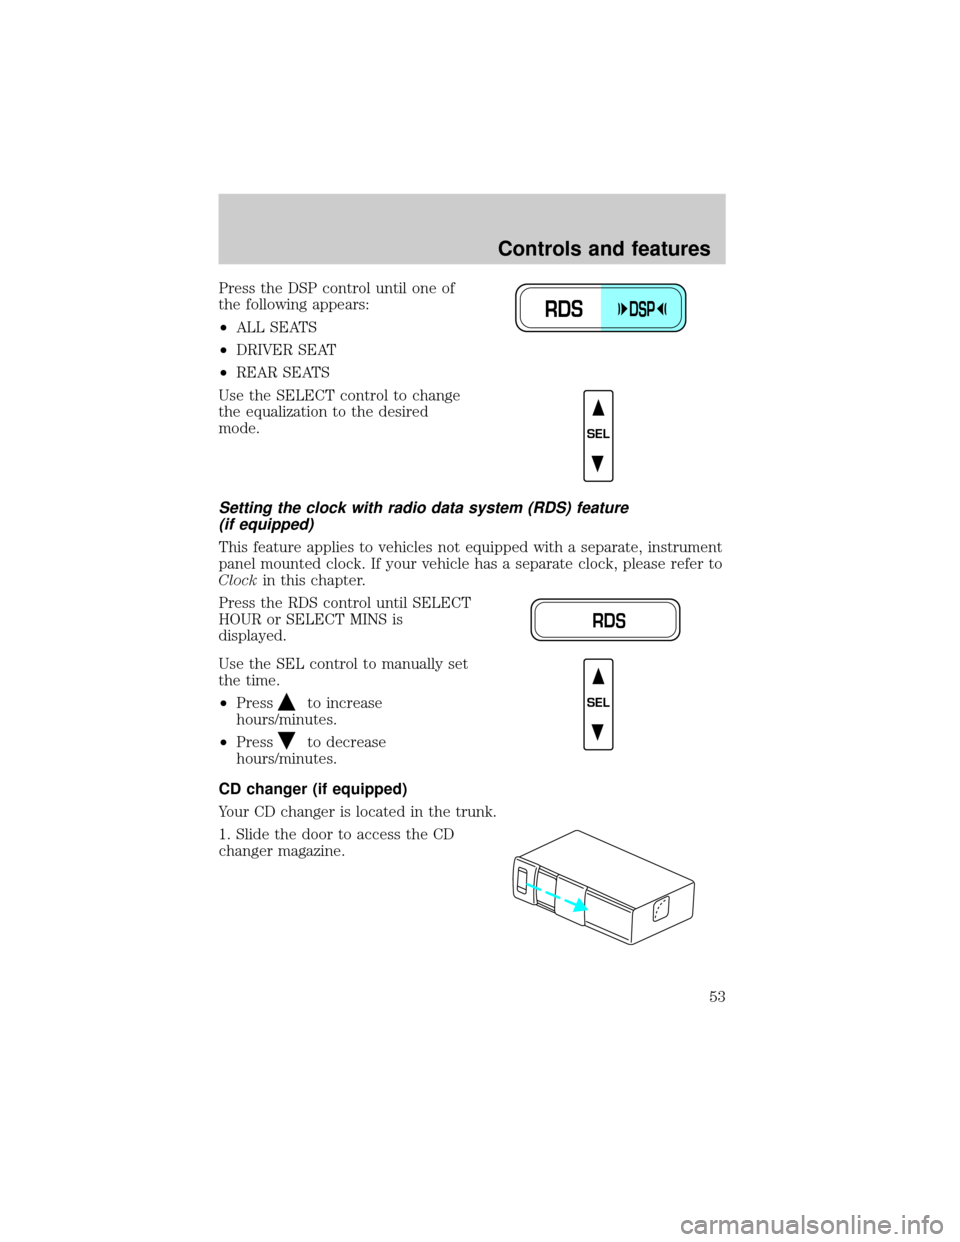
Press the DSP control until one of
the following appears:
²ALL SEATS
²DRIVER SEAT
²REAR SEATS
Use the SELECT control to change
the equalization to the desired
mode.
Setting the clock with radio data system (RDS) feature
(if equipped)
This feature applies to vehicles not equipped with a separate, instrument
panel mounted clock. If your vehicle has a separate clock, please refer to
Clockin this chapter.
Press the RDS control until SELECT
HOUR or SELECT MINS is
displayed.
Use the SEL control to manually set
the time.
²Press
to increase
hours/minutes.
²Press
to decrease
hours/minutes.
CD changer (if equipped)
Your CD changer is located in the trunk.
1. Slide the door to access the CD
changer magazine.
RDSDSP
SEL
RDS
SEL
Controls and features
53
Page 58 of 240
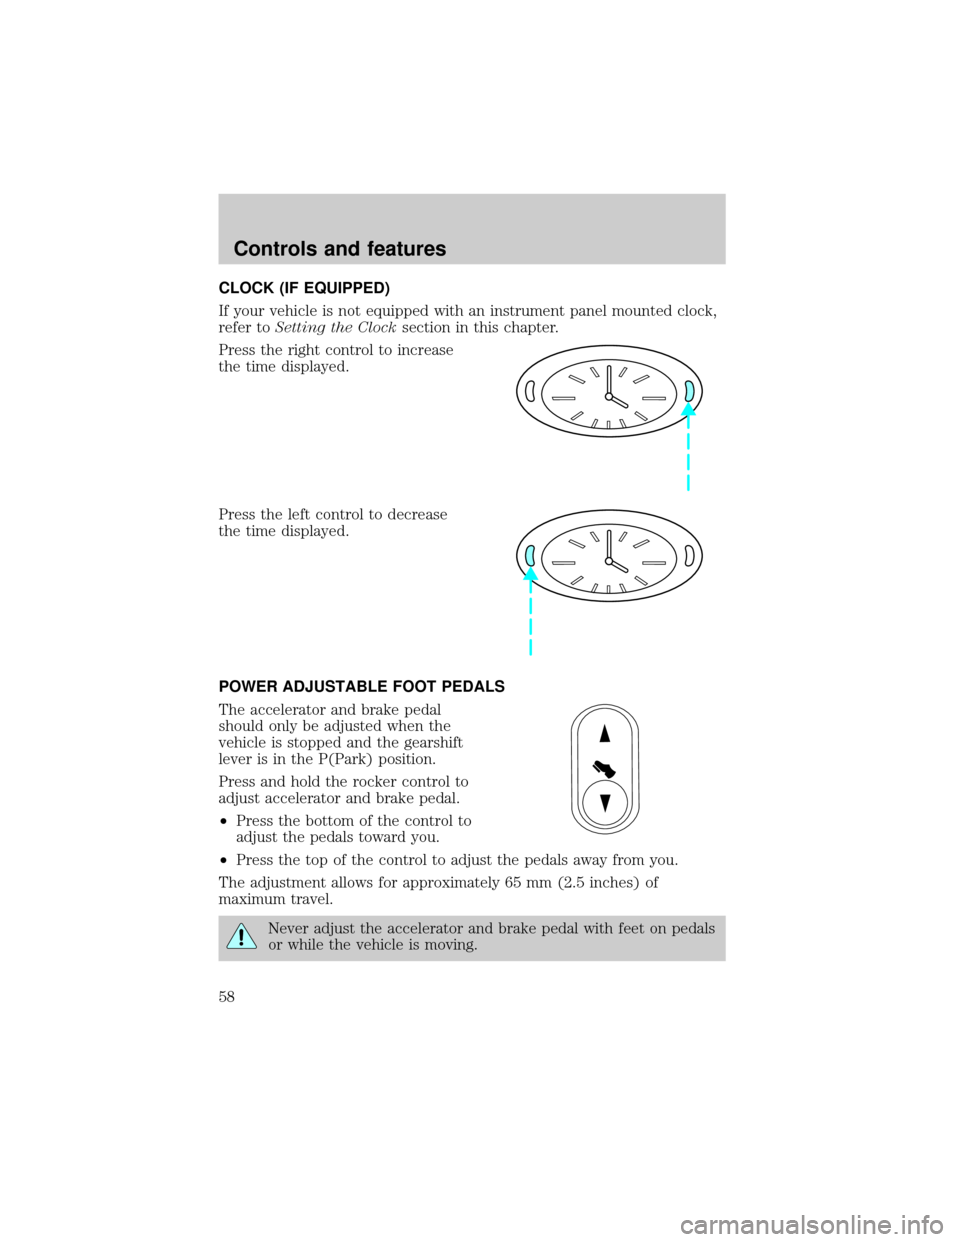
CLOCK (IF EQUIPPED)
If your vehicle is not equipped with an instrument panel mounted clock,
refer toSetting the Clocksection in this chapter.
Press the right control to increase
the time displayed.
Press the left control to decrease
the time displayed.
POWER ADJUSTABLE FOOT PEDALS
The accelerator and brake pedal
should only be adjusted when the
vehicle is stopped and the gearshift
lever is in the P(Park) position.
Press and hold the rocker control to
adjust accelerator and brake pedal.
²Press the bottom of the control to
adjust the pedals toward you.
²Press the top of the control to adjust the pedals away from you.
The adjustment allows for approximately 65 mm (2.5 inches) of
maximum travel.
Never adjust the accelerator and brake pedal with feet on pedals
or while the vehicle is moving.
Controls and features
58
Page 150 of 240
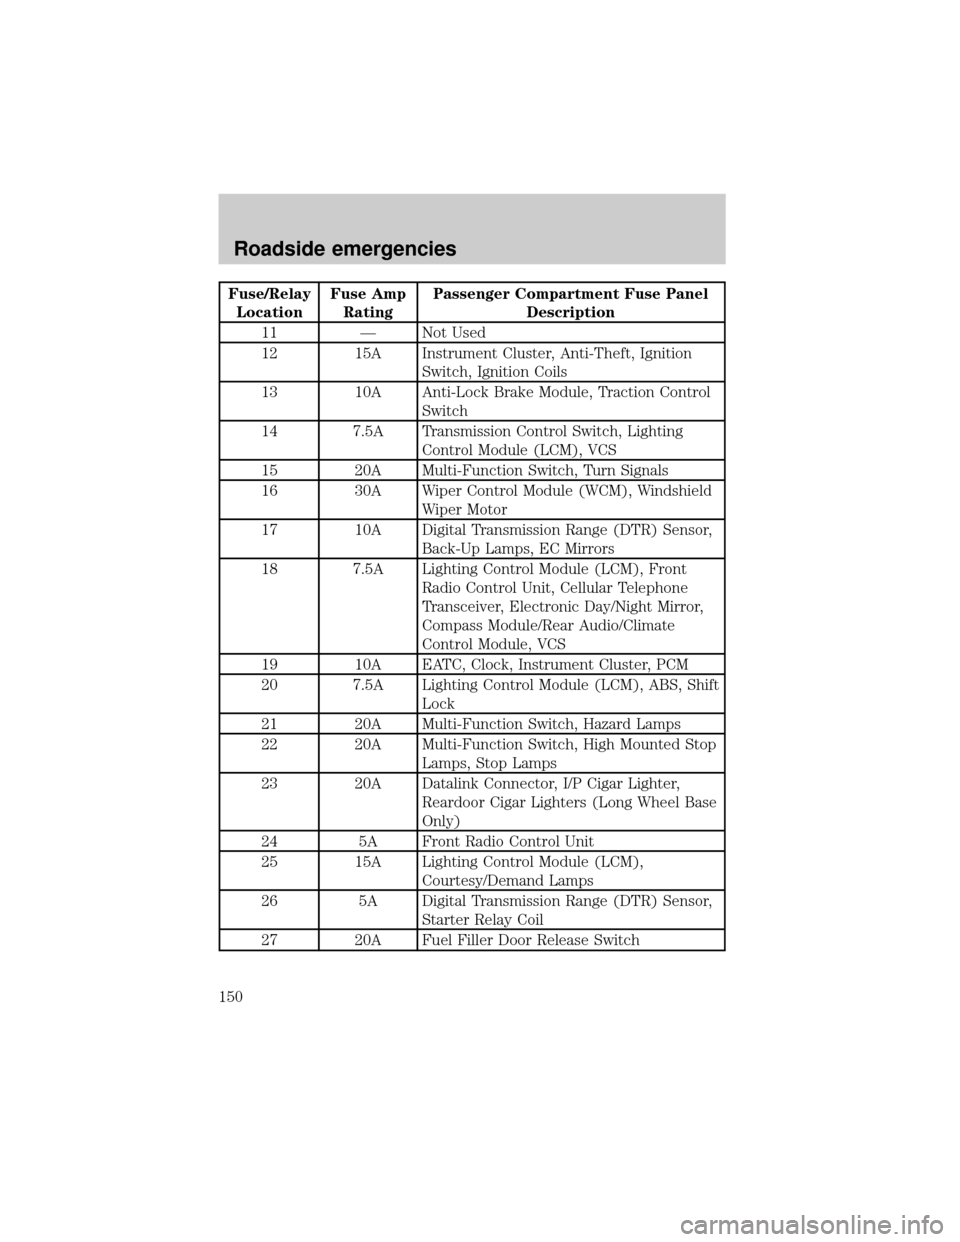
Fuse/Relay
LocationFuse Amp
RatingPassenger Compartment Fuse Panel
Description
11 Ð Not Used
12 15A Instrument Cluster, Anti-Theft, Ignition
Switch, Ignition Coils
13 10A Anti-Lock Brake Module, Traction Control
Switch
14 7.5A Transmission Control Switch, Lighting
Control Module (LCM), VCS
15 20A Multi-Function Switch, Turn Signals
16 30A Wiper Control Module (WCM), Windshield
Wiper Motor
17 10A Digital Transmission Range (DTR) Sensor,
Back-Up Lamps, EC Mirrors
18 7.5A Lighting Control Module (LCM), Front
Radio Control Unit, Cellular Telephone
Transceiver, Electronic Day/Night Mirror,
Compass Module/Rear Audio/Climate
Control Module, VCS
19 10A EATC, Clock, Instrument Cluster, PCM
20 7.5A Lighting Control Module (LCM), ABS, Shift
Lock
21 20A Multi-Function Switch, Hazard Lamps
22 20A Multi-Function Switch, High Mounted Stop
Lamps, Stop Lamps
23 20A Datalink Connector, I/P Cigar Lighter,
Reardoor Cigar Lighters (Long Wheel Base
Only)
24 5A Front Radio Control Unit
25 15A Lighting Control Module (LCM),
Courtesy/Demand Lamps
26 5A Digital Transmission Range (DTR) Sensor,
Starter Relay Coil
27 20A Fuel Filler Door Release Switch
Roadside emergencies
150
Page 156 of 240
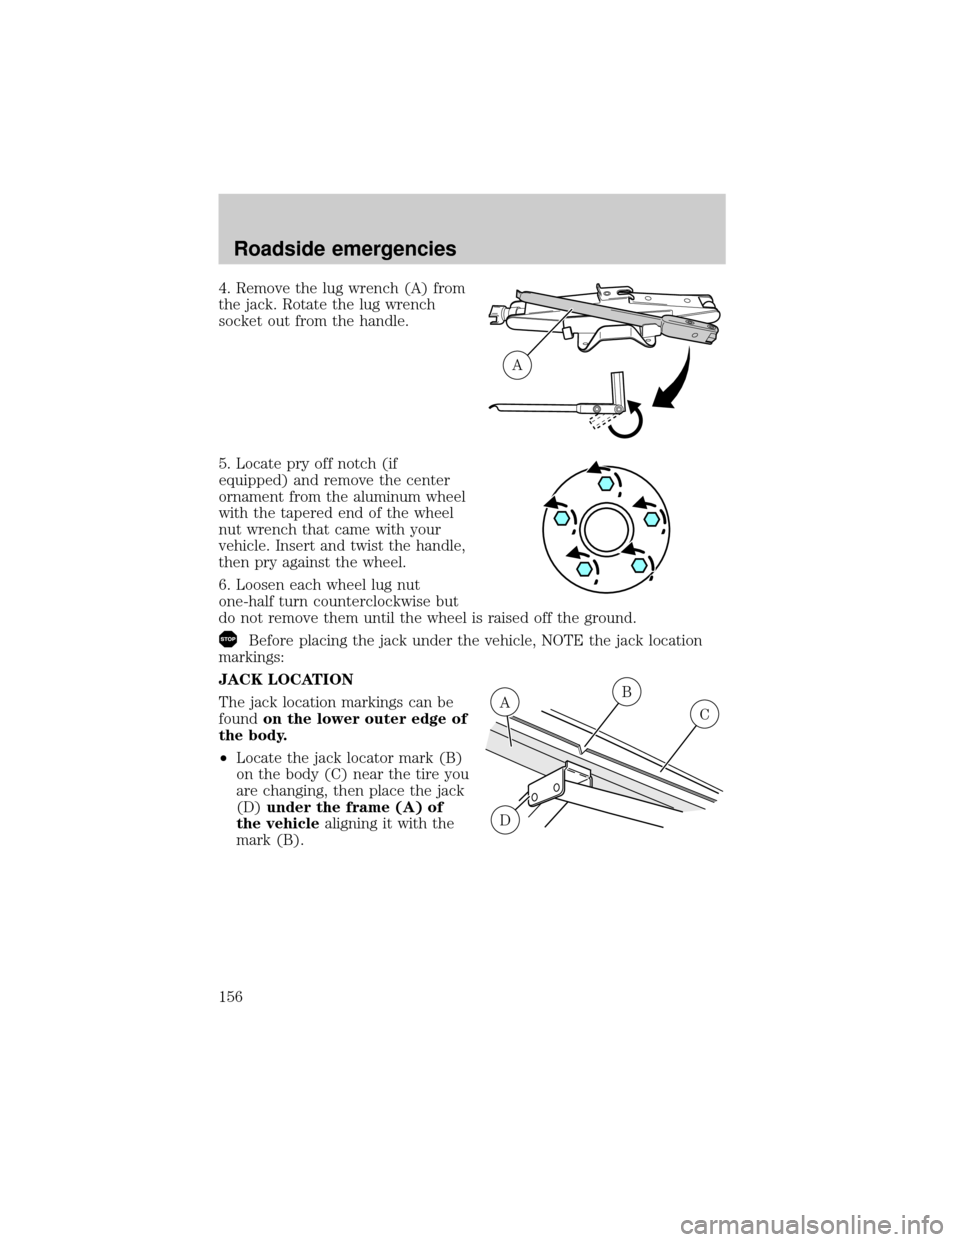
4. Remove the lug wrench (A) from
the jack. Rotate the lug wrench
socket out from the handle.
5. Locate pry off notch (if
equipped) and remove the center
ornament from the aluminum wheel
with the tapered end of the wheel
nut wrench that came with your
vehicle. Insert and twist the handle,
then pry against the wheel.
6. Loosen each wheel lug nut
one-half turn counterclockwise but
do not remove them until the wheel is raised off the ground.
Before placing the jack under the vehicle, NOTE the jack location
markings:
JACK LOCATION
The jack location markings can be
foundon the lower outer edge of
the body.
²Locate the jack locator mark (B)
on the body (C) near the tire you
are changing, then place the jack
(D)under the frame (A) of
the vehiclealigning it with the
mark (B).
A
B
C
D
A
Roadside emergencies
156
Page 157 of 240
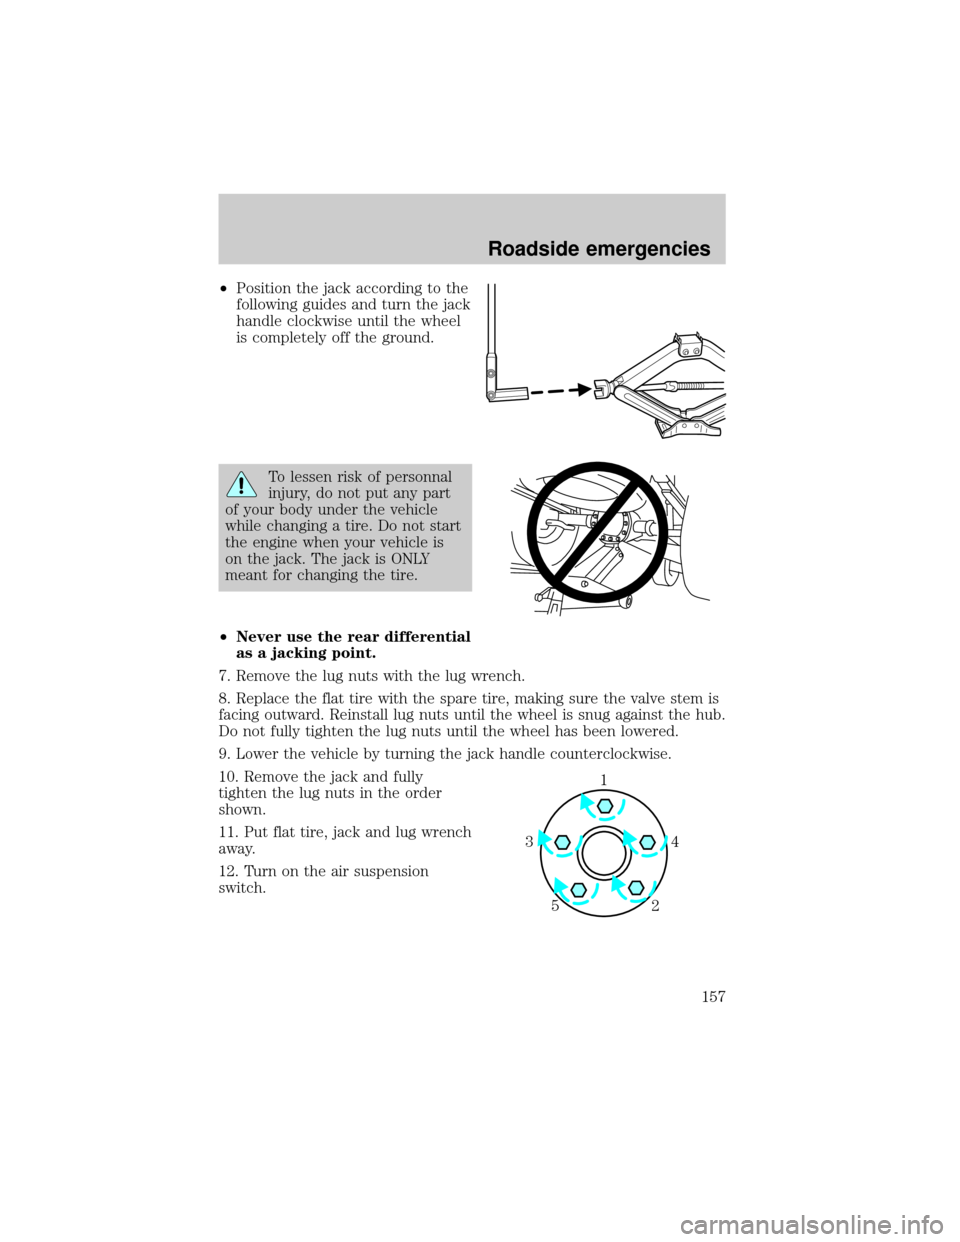
²Position the jack according to the
following guides and turn the jack
handle clockwise until the wheel
is completely off the ground.
To lessen risk of personnal
injury, do not put any part
of your body under the vehicle
while changing a tire. Do not start
the engine when your vehicle is
on the jack. The jack is ONLY
meant for changing the tire.
²Never use the rear differential
as a jacking point.
7. Remove the lug nuts with the lug wrench.
8. Replace the flat tire with the spare tire, making sure the valve stem is
facing outward. Reinstall lug nuts until the wheel is snug against the hub.
Do not fully tighten the lug nuts until the wheel has been lowered.
9. Lower the vehicle by turning the jack handle counterclockwise.
10. Remove the jack and fully
tighten the lug nuts in the order
shown.
11. Put flat tire, jack and lug wrench
away.
12. Turn on the air suspension
switch.
1
4 3
2 5
Roadside emergencies
157
Page 168 of 240
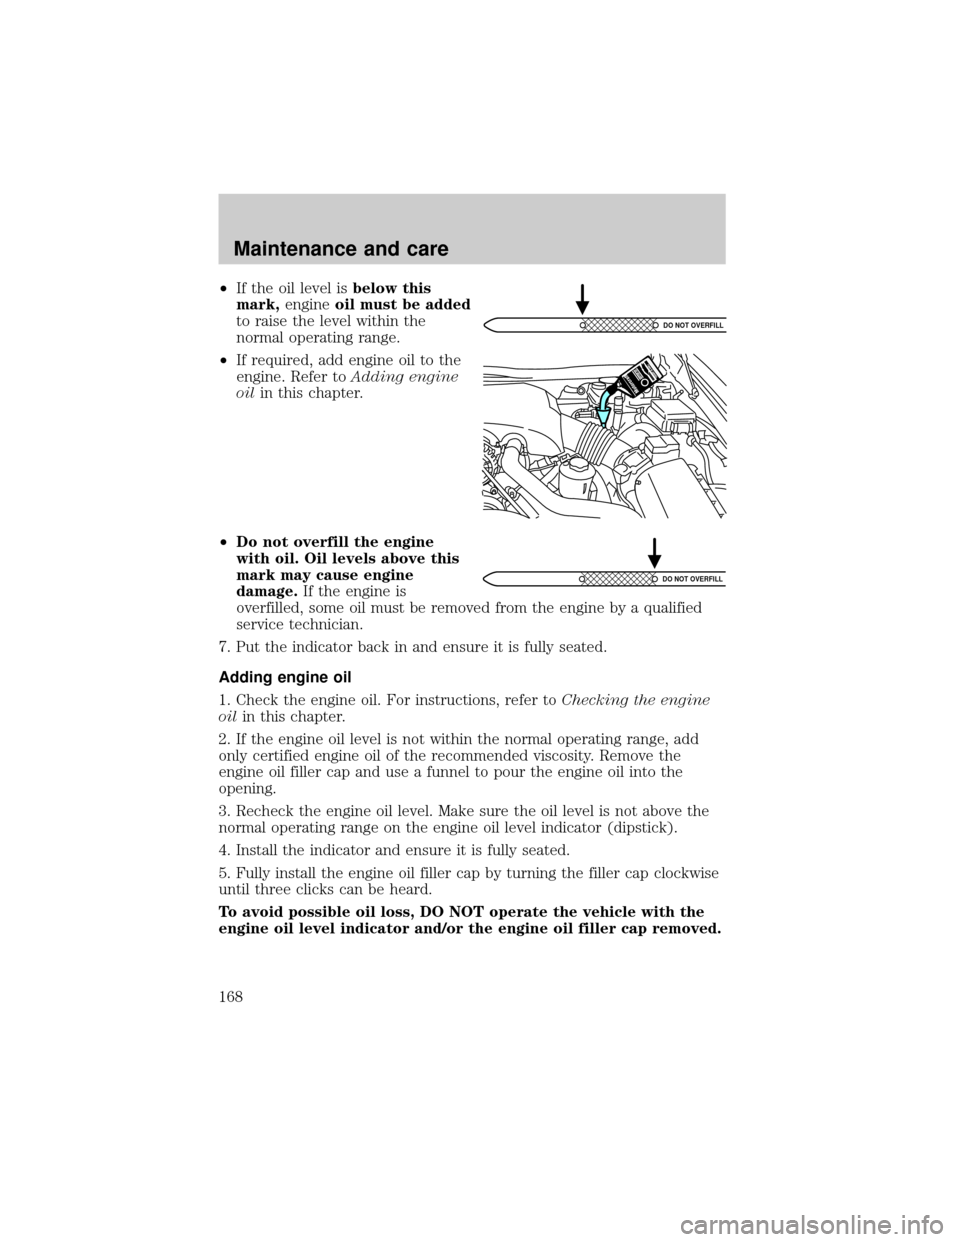
²If the oil level isbelow this
mark,engineoil must be added
to raise the level within the
normal operating range.
²If required, add engine oil to the
engine. Refer toAdding engine
oilin this chapter.
²Do not overfill the engine
with oil. Oil levels above this
mark may cause engine
damage.If the engine is
overfilled, some oil must be removed from the engine by a qualified
service technician.
7. Put the indicator back in and ensure it is fully seated.
Adding engine oil
1. Check the engine oil. For instructions, refer toChecking the engine
oilin this chapter.
2. If the engine oil level is not within the normal operating range, add
only certified engine oil of the recommended viscosity. Remove the
engine oil filler cap and use a funnel to pour the engine oil into the
opening.
3. Recheck the engine oil level. Make sure the oil level is not above the
normal operating range on the engine oil level indicator (dipstick).
4. Install the indicator and ensure it is fully seated.
5. Fully install the engine oil filler cap by turning the filler cap clockwise
until three clicks can be heard.
To avoid possible oil loss, DO NOT operate the vehicle with the
engine oil level indicator and/or the engine oil filler cap removed.
DO NOT OVERFILL
DO NOT OVERFILL
Maintenance and care
168