rear view mirror LINCOLN TOWN CAR 2001 Owners Manual
[x] Cancel search | Manufacturer: LINCOLN, Model Year: 2001, Model line: TOWN CAR, Model: LINCOLN TOWN CAR 2001Pages: 240, PDF Size: 1.92 MB
Page 20 of 240

Compass zone adjustment
1. Determine which magnetic zone
you are in for your geographic
location by referring to the zone
map.
2. Locate the compass module and
the calibration button mounted on
the center rear view mirror post.
3. Turn ignition to the ON position.
4. Press and hold the CALIBRATION
BUTTON switch located on top of
the compass module until the
message center display changes to
show the current zone setting.
5. Release the CALIBRATION
BUTTON, then slowly press down
again. Press the CALIBRATION BUTTON repeatedly until the correct
zone setting for your geographic location is displayed on the message
center.
6. To exit the zone setting mode, release pressure from the switch for
greater than ten seconds.
Compass calibration adjustment
Perform this adjustment in an open area free from steel structures and
high voltage lines.
For optimum calibration, turn off all electrical accessories (heater/air
conditioning, wipers, etc.) and make sure all vehicle doors are shut.
1. Start the vehicle.
2. Locate the compass module and the CALIBRATION BUTTON mounted
on the center rear view mirror post.
1
2
3
4
5
6
7891011121314 15
Instrumentation
20
Page 71 of 240

MOON ROOF (IF EQUIPPED)
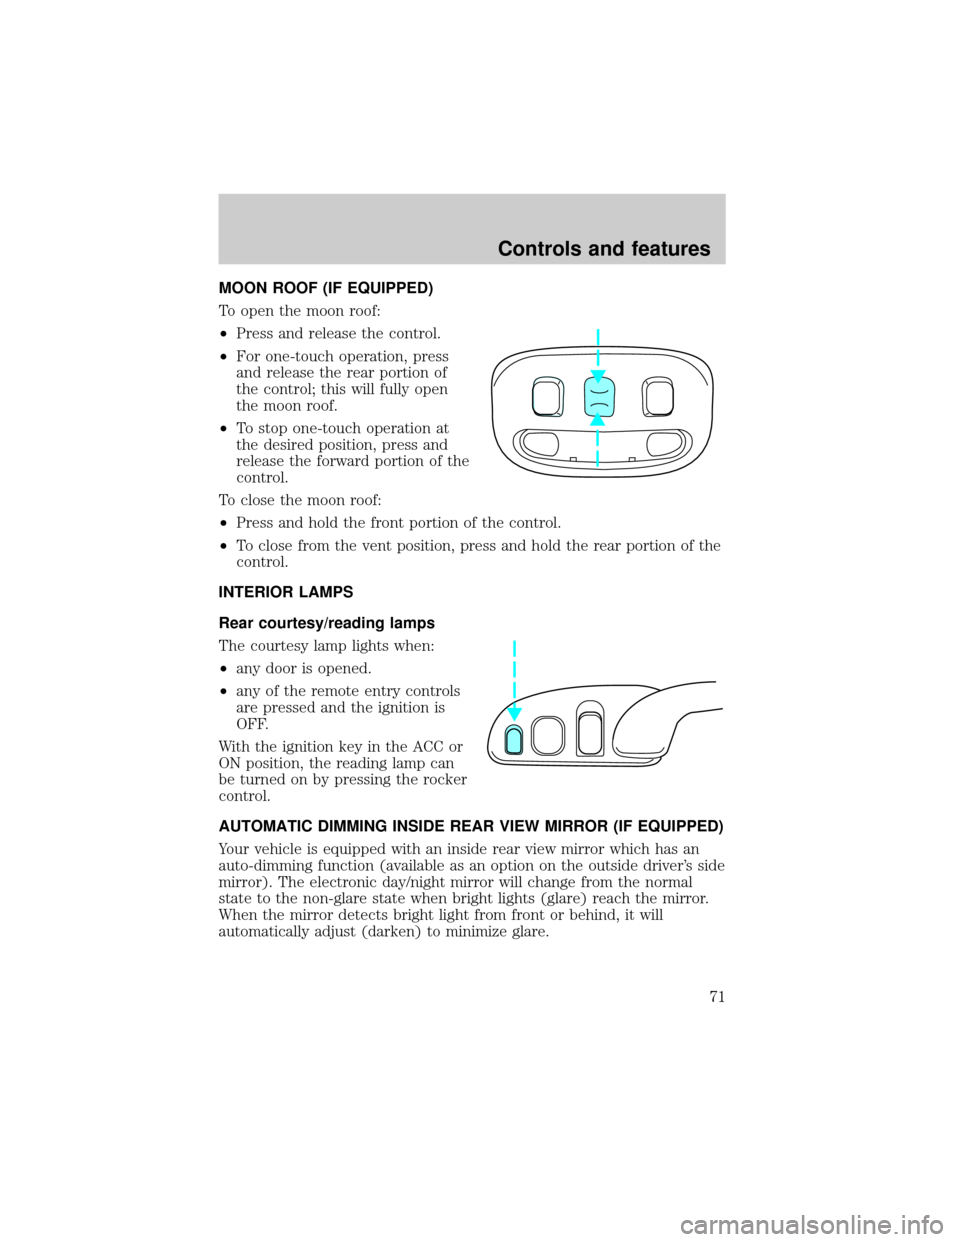
To open the moon roof:
²Press and release the control.
²For one-touch operation, press
and release the rear portion of
the control; this will fully open
the moon roof.
²To stop one-touch operation at
the desired position, press and
release the forward portion of the
control.
To close the moon roof:
²Press and hold the front portion of the control.
²To close from the vent position, press and hold the rear portion of the
control.
INTERIOR LAMPS
Rear courtesy/reading lamps
The courtesy lamp lights when:
²any door is opened.
²any of the remote entry controls
are pressed and the ignition is
OFF.
With the ignition key in the ACC or
ON position, the reading lamp can
be turned on by pressing the rocker
control.
AUTOMATIC DIMMING INSIDE REAR VIEW MIRROR (IF EQUIPPED)
Your vehicle is equipped with an inside rear view mirror which has an
auto-dimming function (available as an option on the outside driver's side
mirror). The electronic day/night mirror will change from the normal
state to the non-glare state when bright lights (glare) reach the mirror.
When the mirror detects bright light from front or behind, it will
automatically adjust (darken) to minimize glare.
Controls and features
71
Page 76 of 240

MEMORY SEATS/REARVIEW MIRRORS/ADJUSTABLE PEDALS
(IF EQUIPPED)
This system allows automatic
positioning of the driver seat,
outside rearview mirrors, and
adjustable pedals to three
programmable positions.
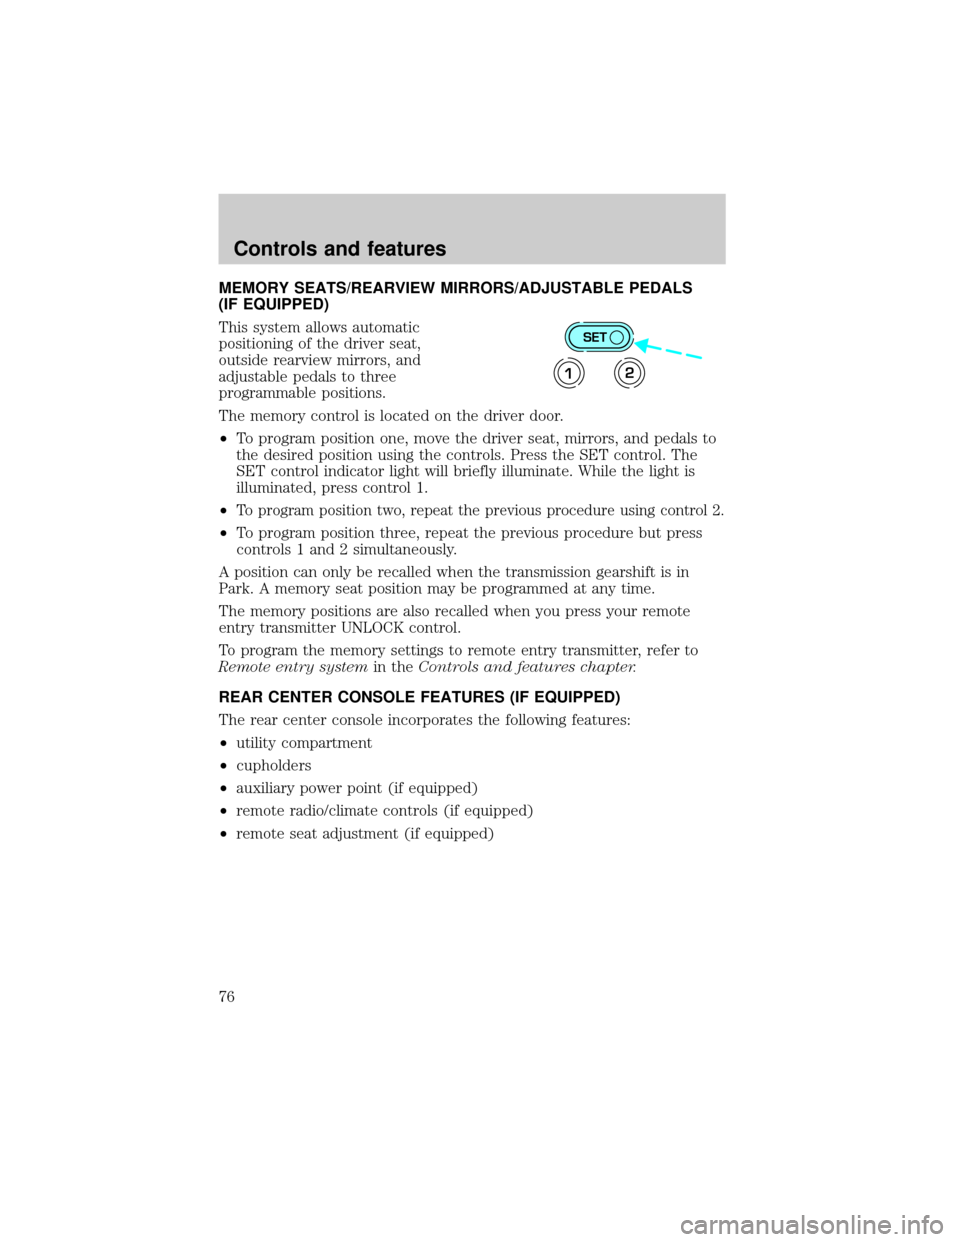
The memory control is located on the driver door.
²To program position one, move the driver seat, mirrors, and pedals to
the desired position using the controls. Press the SET control. The
SET control indicator light will briefly illuminate. While the light is
illuminated, press control 1.
²
To program position two, repeat the previous procedure using control 2.
²To program position three, repeat the previous procedure but press
controls 1 and 2 simultaneously.
A position can only be recalled when the transmission gearshift is in
Park. A memory seat position may be programmed at any time.
The memory positions are also recalled when you press your remote
entry transmitter UNLOCK control.
To program the memory settings to remote entry transmitter, refer to
Remote entry systemin theControls and features chapter.
REAR CENTER CONSOLE FEATURES (IF EQUIPPED)
The rear center console incorporates the following features:
²utility compartment
²cupholders
²auxiliary power point (if equipped)
²remote radio/climate controls (if equipped)
²remote seat adjustment (if equipped)
SET
12
Controls and features
76
Page 96 of 240

Memory seats/rearview mirrors/adjustable pedals (if equipped)
This system allows automatic
positioning of the driver seat,
outside rearview mirrors, and
adjustable pedals to three
programmable positions.
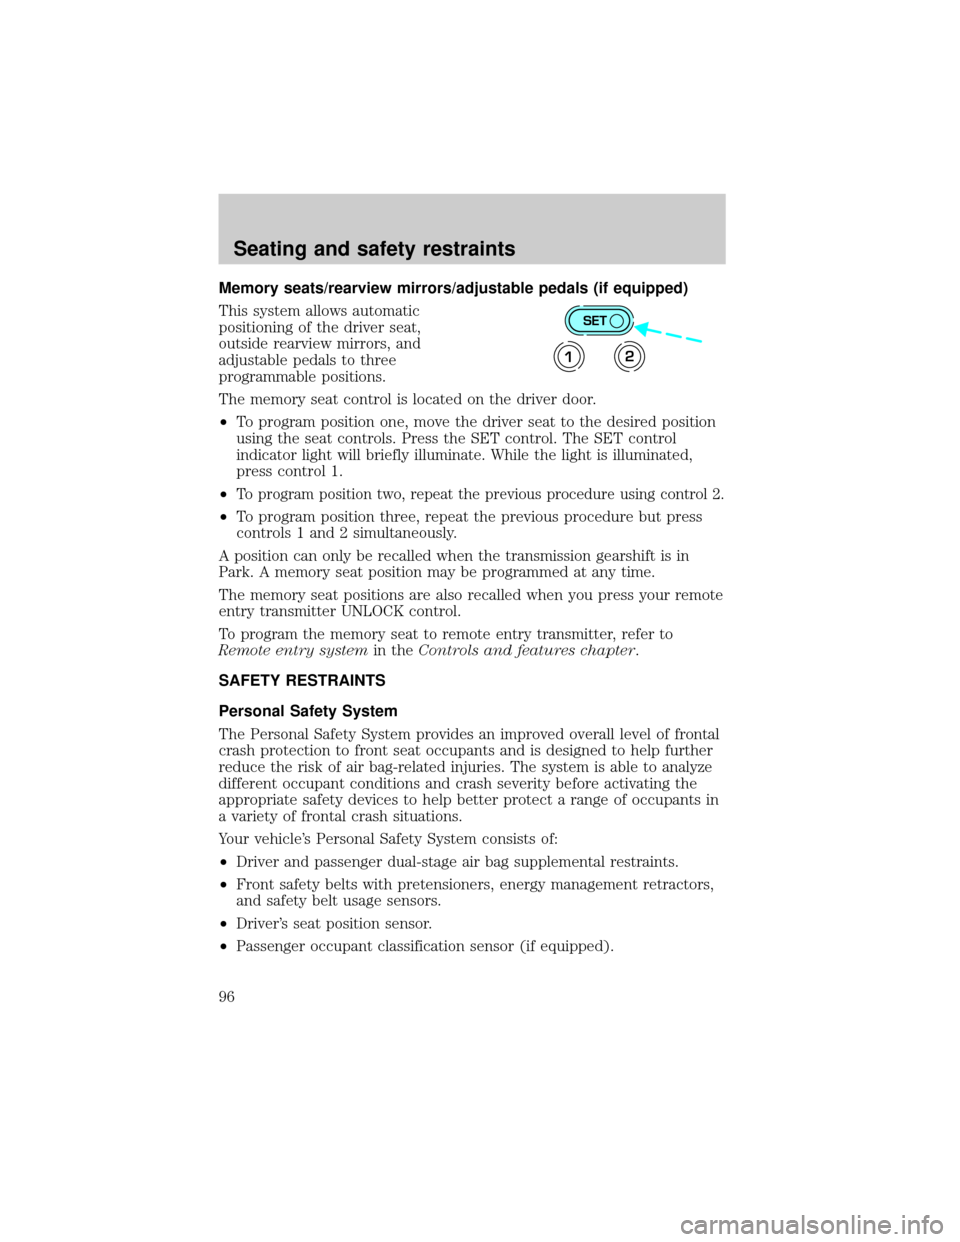
The memory seat control is located on the driver door.
²To program position one, move the driver seat to the desired position
using the seat controls. Press the SET control. The SET control
indicator light will briefly illuminate. While the light is illuminated,
press control 1.
²
To program position two, repeat the previous procedure using control 2.
²To program position three, repeat the previous procedure but press
controls 1 and 2 simultaneously.
A position can only be recalled when the transmission gearshift is in
Park. A memory seat position may be programmed at any time.
The memory seat positions are also recalled when you press your remote
entry transmitter UNLOCK control.
To program the memory seat to remote entry transmitter, refer to
Remote entry systemin theControls and features chapter.
SAFETY RESTRAINTS
Personal Safety System
The Personal Safety System provides an improved overall level of frontal
crash protection to front seat occupants and is designed to help further
reduce the risk of air bag-related injuries. The system is able to analyze
different occupant conditions and crash severity before activating the
appropriate safety devices to help better protect a range of occupants in
a variety of frontal crash situations.
Your vehicle's Personal Safety System consists of:
²Driver and passenger dual-stage air bag supplemental restraints.
²Front safety belts with pretensioners, energy management retractors,
and safety belt usage sensors.
²Driver's seat position sensor.
²Passenger occupant classification sensor (if equipped).
SET
12
Seating and safety restraints
96
Page 227 of 240

Vehicle Security
Styled wheel locks
Vehicle security systems
Comfort and convenience
Cargo nets
Cargo organizers
Engine block heaters
Travel equipment
Cell phone holder
Floor mounted console organizer
Inside rear view mirror (Electrochromic with compass and temperature
display)
HomeLinkt
Protection and appearance equipment
Air bag anti-theft locks
Car covers
Carpet floor mats
Door edge guards
Emergency kit
First aid kit
Flat splash guards
Front end cover (full)
Molded splash guards
Styled hood deflector
Underbody lighting
Universal floor mats
For maximum vehicle performance, keep the following information in
mind when adding accessories or equipment to your vehicle:
²When adding accessories, equipment, passengers and luggage to your
vehicle, do not exceed the total weight capacity of the vehicle or of
Customer assistance
227
Page 235 of 240

turn signal indicator .................11
Load limits .................................139
GAWR ......................................139
GVWR ......................................139
trailer towing ..........................139
Locks
autolock .....................................83
childproof ..................................75
doors ..........................................74
Lubricant specifications ...214±215
Lumbar support, seats ...............94
M
Message center ...........................17
english/metric button ...............24
reset button ..............................18
Mirrors
automatic dimming rearview
mirror ........................................71
cleaning ...................................208
heated ........................................75
programmable memory ............84
side view mirrors (power) .......74
Moon roof ....................................71
Motorcraft parts ................194, 212
O
Octane rating ............................192
Odometer .....................................16
Oil (see Engine oil) ..................167
Overdrive .............................66, 137
P
Panic alarm feature, remote
entry system ................................81Parking brake ............................131
Parts (see Motorcraft parts) ....212
Passenger Occupant
Classification Sensor ...................98
Pedals (see Power adjustable
foot pedals) .................................58
Power distribution box (see
Fuses) ........................................151
Power door locks ........................74
Power steering ..........................134
fluid, checking and adding ....178
fluid, refill capacity ................212
fluid, specifications .........214±215
R
Radio ............................................33
Rear window defroster ...............33
Relays ........................................147
Remote entry system ...........79, 81
illuminated entry ......................83
locking/unlocking doors ...........80
opening the trunk .....................81
panic alarm ...............................81
replacement/additional
transmitters ...............................82
replacing the batteries .............81
S
Safety belts (see Safety
restraints) ..............15, 96, 100±104
Safety defects, reporting ..........230
Safety restraints ..........96, 100±104
belt minder .............................106
cleaning the safety
belts .................................109, 211
Index
235