remove seats LINCOLN TOWN CAR 2010 Owners Manual
[x] Cancel search | Manufacturer: LINCOLN, Model Year: 2010, Model line: TOWN CAR, Model: LINCOLN TOWN CAR 2010Pages: 285, PDF Size: 1.94 MB
Page 40 of 285
15.EXT:Displays the outside air
temperature. It will remain
displayed until the EXT control is
pressed again. The external
temperature will be most accurate when the vehicle has been moving for
a period of time.
16.Temperature conversion:
Press to switch between Fahrenheit
and Celsius temperature on the
DEATC display only. The set point
temperatures in Celsius will be displayed in half-degree increments.
Operating tips
•To reduce fog build up on the windshield during humid weather, place
the air flow selector in the
position.
•To reduce humidity build up inside the vehicle: do not drive with the
recirculation control on or the system turned off.
•To improve the A/C cool down, drive with the windows slightly open
for 2–3 minutes after start up or until the vehicle has been “aired out.”
•Do not put objects under the front seats that will interfere with the
airflow to the back seats.
•Remove any snow, ice or leaves from the air intake area at the base of
the windshield.
During extreme high ambient temperatures when idling stationary for
extended periods of time in gear, it is recommended to run the A/C in
the MAX A/C position, reduce blower fan speed from the highest setting
and put the vehicle’s transmission into the PARK gear position to
continue to receive cool air from your A/C system.
To aid in side window defogging/demisting in cold weather:
1. Select
.
2. Select A/C.
3. Adjust the temperature control to maintain comfort.
4. Set the fan to the highest speed.
5. Direct the outer instrument panel vents towards the side windows.
To increase airflow to the outer instrument panel vents, close the vents
located in the middle of the instrument panel.
Climate Controls
40
2010 Town Car(tow)
Owners Guide, 1st Printing
USA(fus)
Page 59 of 285
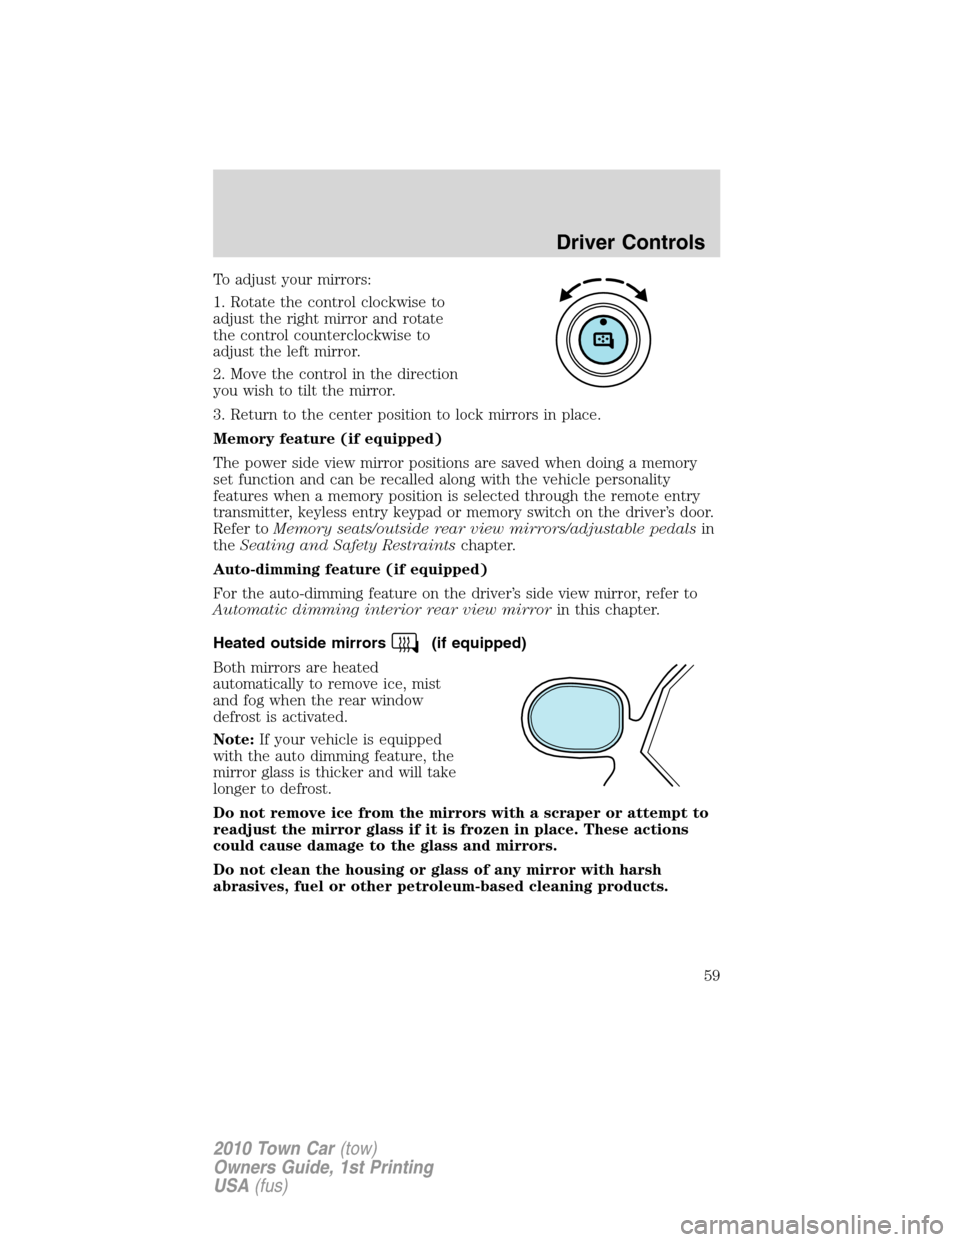
To adjust your mirrors:
1. Rotate the control clockwise to
adjust the right mirror and rotate
the control counterclockwise to
adjust the left mirror.
2. Move the control in the direction
you wish to tilt the mirror.
3. Return to the center position to lock mirrors in place.
Memory feature (if equipped)
The power side view mirror positions are saved when doing a memory
set function and can be recalled along with the vehicle personality
features when a memory position is selected through the remote entry
transmitter, keyless entry keypad or memory switch on the driver’s door.
Refer toMemory seats/outside rear view mirrors/adjustable pedalsin
theSeating and Safety Restraintschapter.
Auto-dimming feature (if equipped)
For the auto-dimming feature on the driver’s side view mirror, refer to
Automatic dimming interior rear view mirrorin this chapter.
Heated outside mirrors
(if equipped)
Both mirrors are heated
automatically to remove ice, mist
and fog when the rear window
defrost is activated.
Note:If your vehicle is equipped
with the auto dimming feature, the
mirror glass is thicker and will take
longer to defrost.
Do not remove ice from the mirrors with a scraper or attempt to
readjust the mirror glass if it is frozen in place. These actions
could cause damage to the glass and mirrors.
Do not clean the housing or glass of any mirror with harsh
abrasives, fuel or other petroleum-based cleaning products.
Driver Controls
59
2010 Town Car(tow)
Owners Guide, 1st Printing
USA(fus)
Page 102 of 285
The rear seat heat controls are located on the rear door panels and
operate like the front heated seats. Refer to theHeated Seatssection in
this chapter.
Easy-access/easy-out feature (if equipped)
This feature automatically moves the driver’s seat rearward 2 in (5 cm)
when:
•the transmission is in N (Neutral) or P (Park)
•the key is removed from the ignition
The seat will move forward (to the original position) when:
•the transmission is in N (Neutral) or P (Park)
•the key is placed in the ignition
Seat-mounted cup holders (if equipped)
Your vehicle may be equipped with cupholders in the cushion of the
front center seat and the rear seat . The rear seat cupholder is designed
to over rotate from the seat when subjected to a heavy load. The rear
seat cupholder can be reset by rotating to the closed position.
WARNING:Use only soft cups in the cupholder. Hard objects
can injure you in a collision.
Memory seats/outside rear view mirrors/adjustable pedals
(if equipped)
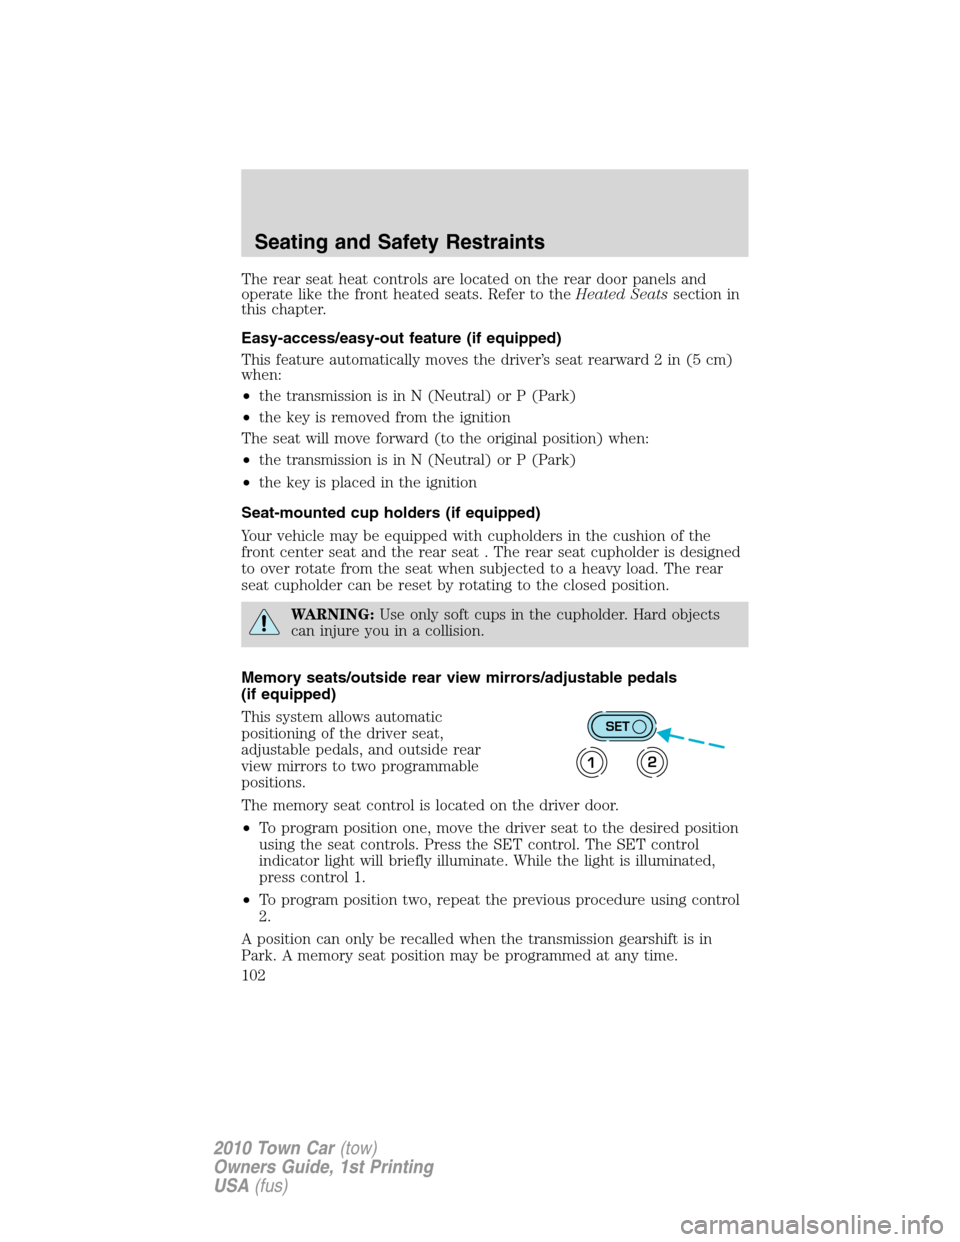
This system allows automatic
positioning of the driver seat,
adjustable pedals, and outside rear
view mirrors to two programmable
positions.
The memory seat control is located on the driver door.
•To program position one, move the driver seat to the desired position
using the seat controls. Press the SET control. The SET control
indicator light will briefly illuminate. While the light is illuminated,
press control 1.
•To program position two, repeat the previous procedure using control
2.
A position can only be recalled when the transmission gearshift is in
Park. A memory seat position may be programmed at any time.
SET
12
Seating and Safety Restraints
102
2010 Town Car(tow)
Owners Guide, 1st Printing
USA(fus)
Page 145 of 285
Types of booster seats
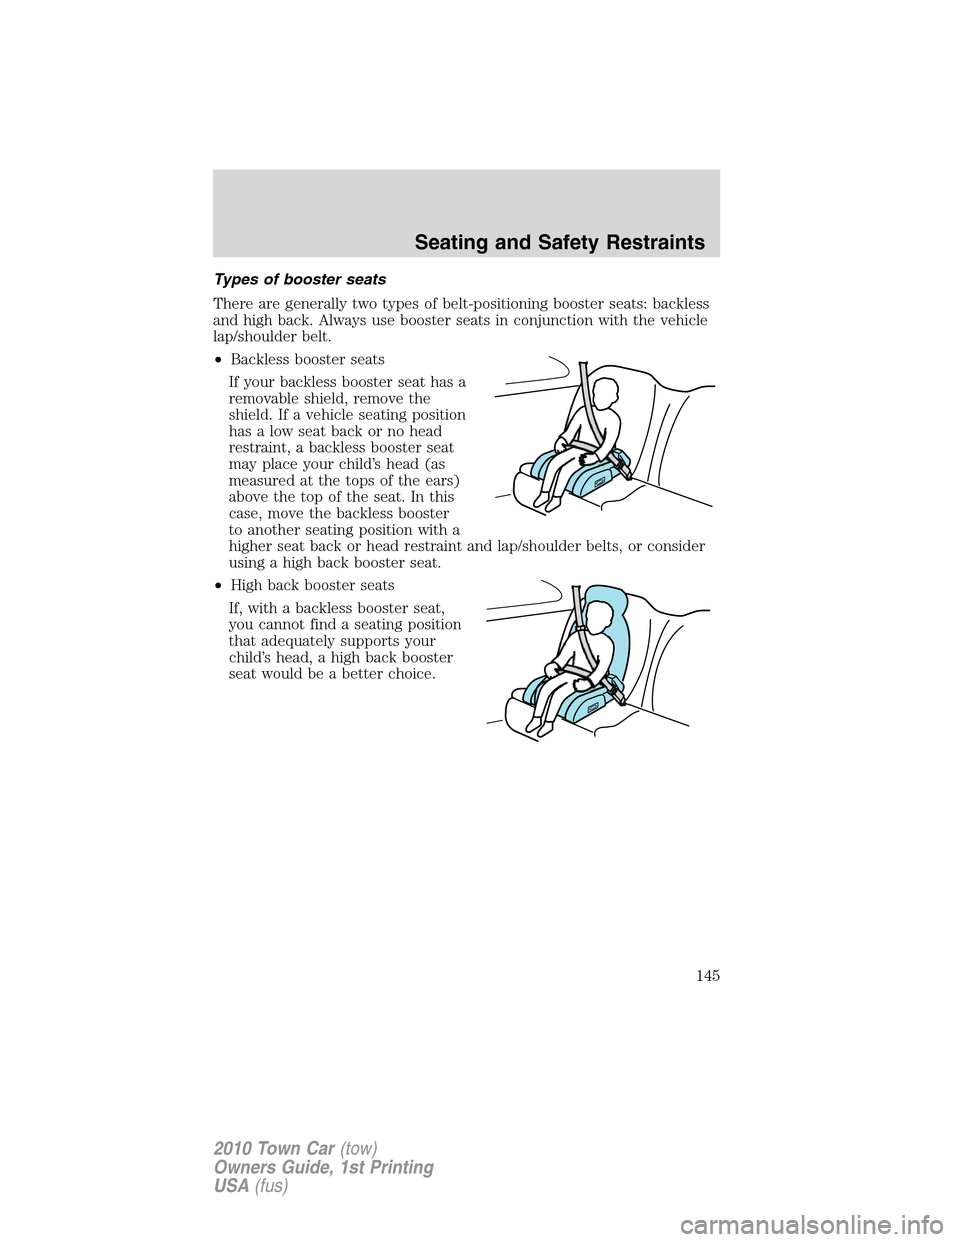
There are generally two types of belt-positioning booster seats: backless
and high back. Always use booster seats in conjunction with the vehicle
lap/shoulder belt.
•Backless booster seats
If your backless booster seat has a
removable shield, remove the
shield. If a vehicle seating position
has a low seat back or no head
restraint, a backless booster seat
may place your child’s head (as
measured at the tops of the ears)
above the top of the seat. In this
case, move the backless booster
to another seating position with a
higher seat back or head restraint and lap/shoulder belts, or consider
using a high back booster seat.
•High back booster seats
If, with a backless booster seat,
you cannot find a seating position
that adequately supports your
child’s head, a high back booster
seat would be a better choice.
Seating and Safety Restraints
145
2010 Town Car(tow)
Owners Guide, 1st Printing
USA(fus)
Page 233 of 285
•Be certain to wash or wipe your hands clean if you have been in
contact with certain products such as insect repellent and suntan
lotion in order to avoid possible damage to the interior painted
surfaces.
•Do not use household or glass cleaners as these may damage the
finish of the instrument panel, interior trim and cluster lens.
WARNING:Do not use chemical solvents or strong detergents
when cleaning the steering wheel or instrument panel to avoid
contamination of the airbag system.
If a staining liquid like coffee/juice has been spilled on the instrument
panel or on interior trim surfaces, clean as follows:
1. Wipe up spilled liquid using a clean, white, cotton cloth.
2. Wipe the surface with a damp, clean, white cotton cloth. For more
thorough cleaning, use a mild soap and water solution. If the spot cannot
be completely cleaned by this method, the area may be cleaned using a
commercially available cleaning product designed for automotive
interiors.
3. If necessary, apply more soap and water solution or cleaning product
to a clean, white, cotton cloth and press the cloth onto the soiled
area–allow this to set at room temperature for 30 minutes.
4. Remove the soaked cloth, and if it is not soiled badly, use this cloth to
clean the area by using a rubbing motion for 60 seconds.
5. Following this, wipe area dry with a clean, white, cotton cloth.
INTERIOR
For fabric, carpets, cloth seats, safety belts and seats equipped with side
airbags:
•Remove dust and loose dirt with a vacuum cleaner.
•Remove light stains and soil with Motorcraft Professional Strength
Carpet & Upholstery Cleaner (ZC-54).
•If grease or tar is present on the material, spot-clean the area first
with Motorcraft Spot and Stain Remover (ZC-14). In Canada, use
Motorcraft Multi-Purpose Cleaner (CXC-101).
•If a ring forms on the fabric after spot cleaning, clean the entire area
immediately (but do not oversaturate) or the ring will set.
Cleaning
233
2010 Town Car(tow)
Owners Guide, 1st Printing
USA(fus)