fuel LINCOLN TOWN CAR 2011 User Guide
[x] Cancel search | Manufacturer: LINCOLN, Model Year: 2011, Model line: TOWN CAR, Model: LINCOLN TOWN CAR 2011Pages: 306, PDF Size: 2.04 MB
Page 20 of 306
•Differences in the automatic shut-off points on the fuel pumps at
service stations
•Variations in top-off procedure from one fill-up to another
•Rounding of the displayed values to the nearest 0.1 gallon (liter)
1. Drive the vehicle at least 5 miles (8 km) with the speed control
system engaged to display a stabilized average.
2. Record the highway fuel economy for future reference.
It is important to press the RESET control (press and hold RESET for
two seconds in order to reset the function) after setting the speed
control to get accurate highway fuel economy readings.
FUEL ECONOMY MPG (L/km)
This displays instantaneous fuel economy as a bar graph ranging from↓
poor economy to↑excellent economy.
Your vehicle must be moving to calculate instantaneous fuel economy.
When your vehicle is not moving, this function shows↓, one or no bars
illuminated. Instantaneous fuel economy cannot be reset.
TIMER
Timer displays the trip elapsed drive time.
To operate, do the following:
1. Press and release RESET in order to start the timer.
2. Press and release RESET to pause the timer.
3. Press and hold RESET until the timer resets.
System Check and Vehicle Feature Customization
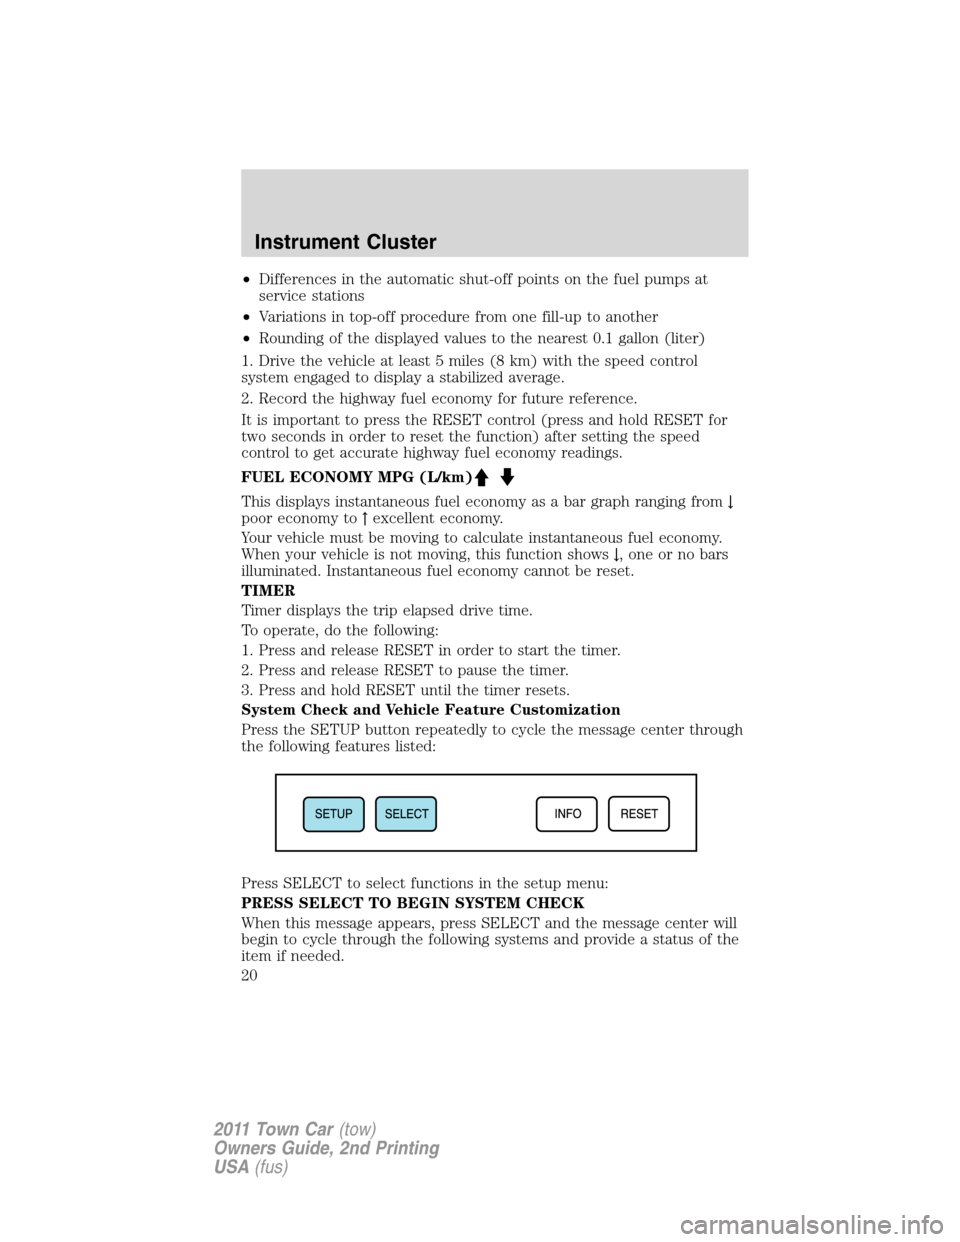
Press the SETUP button repeatedly to cycle the message center through
the following features listed:
Press SELECT to select functions in the setup menu:
PRESS SELECT TO BEGIN SYSTEM CHECK
When this message appears, press SELECT and the message center will
begin to cycle through the following systems and provide a status of the
item if needed.
Instrument Cluster
20
2011 Town Car(tow)
Owners Guide, 2nd Printing
USA(fus)
Page 24 of 306
WARNING:Never remove the coolant reservoir cap while the
engine is running or hot.
CHECK FUEL CAP— Displayed when the fuel filler cap is not
properly installed. Check the fuel filler cap for proper installation. Refer
toFuel filler capin theMaintenance and Specificationschapter.
CHECK AIR SUSPENSION— Displayed when the air suspension
system is not operating properly. If this message is displayed while
driving, pull off the road as soon as safely possible. For more
information, refer toAir suspension systemin theDrivingchapter.
AIR SUSP OFF— Displayed when the air suspension system is turned
off. For more information, refer toAir suspension systemin the
Drivingchapter.
FUEL LEVEL LOW— Displayed as an early reminder of a low fuel
condition. Warning message can be reset by pressing the RESET button,
but will return after 10 minutes. If any other button is pressed besides
RESET, the message ’’PRESS RESET TO CLEAR’’ will appear in the
message center. Once this message disappears (after approximately two
seconds), press RESET to clear the warning.
TRUNK AJAR— Displayed when the trunk is not completely closed.
OVERDRIVE OFF— Displayed when the overdrive is disabled.
OVERDRIVE ON— Displayed when the overdrive is enabled.
LOW TIRE PRESSURE— Displayed when one or more tires on your
vehicle have low tire pressure. Refer toInflating your tiresin theTires,
Wheels and Loadingchapter.
TIRE PRESSURE MONITOR FAULT— Displayed when the Tire
Pressure Monitoring System is malfunctioning. If the warning stays on or
continues to come on, contact your authorized dealer as soon as
possible.
TIRE PRESSURE SENSOR FAULT— Displayed when a tire pressure
sensor is malfunctioning, or your spare tire is in use (Note: this includes
the use of the optional full-sized matching spare tire and wheel). For
more information on how the system operates under these conditions,
refer toTire Pressure Monitoring System (TPMS)in theTires, Wheels
and Loadingchapter. If the warning stays on or continues to come on,
contact your authorized dealer as soon as possible.
Instrument Cluster
24
2011 Town Car(tow)
Owners Guide, 2nd Printing
USA(fus)
Page 59 of 306
WARNING:Do not adjust the mirror while the vehicle is in
motion.
Automatic dimming interior rear view mirror (if equipped)
The interior rear view mirror and a driver’s side exterior mirror have an
auto-dimming function. The electronic day/night mirrors will change from
the normal (high reflective) state to the non-glare (darkened) state
when bright lights (glare) reach the interior mirror. When the interior
mirror detects bright light from behind the vehicle, the interior rear view
mirror and the driver’s side exterior mirror (if equipped) will
automatically adjust (darken) to minimize glare.
The mirrors will automatically return to the normal state whenever the
vehicle is placed in R (Reverse) to ensure a bright clear view when
backing up.
Do not block the sensors on the front and back of the interior
rear view mirror since this may impair proper mirror
performance.
Note:A rear center passenger and/or raised rear center headrest (if
equipped) may also block the light from reaching the sensor.
Do not clean the housing or glass of any mirror with harsh
abrasives, fuel or other petroleum-based cleaning products.
EXTERIOR MIRRORS
Power side view mirrors
WARNING:Do not adjust the mirror while the vehicle is in
motion.
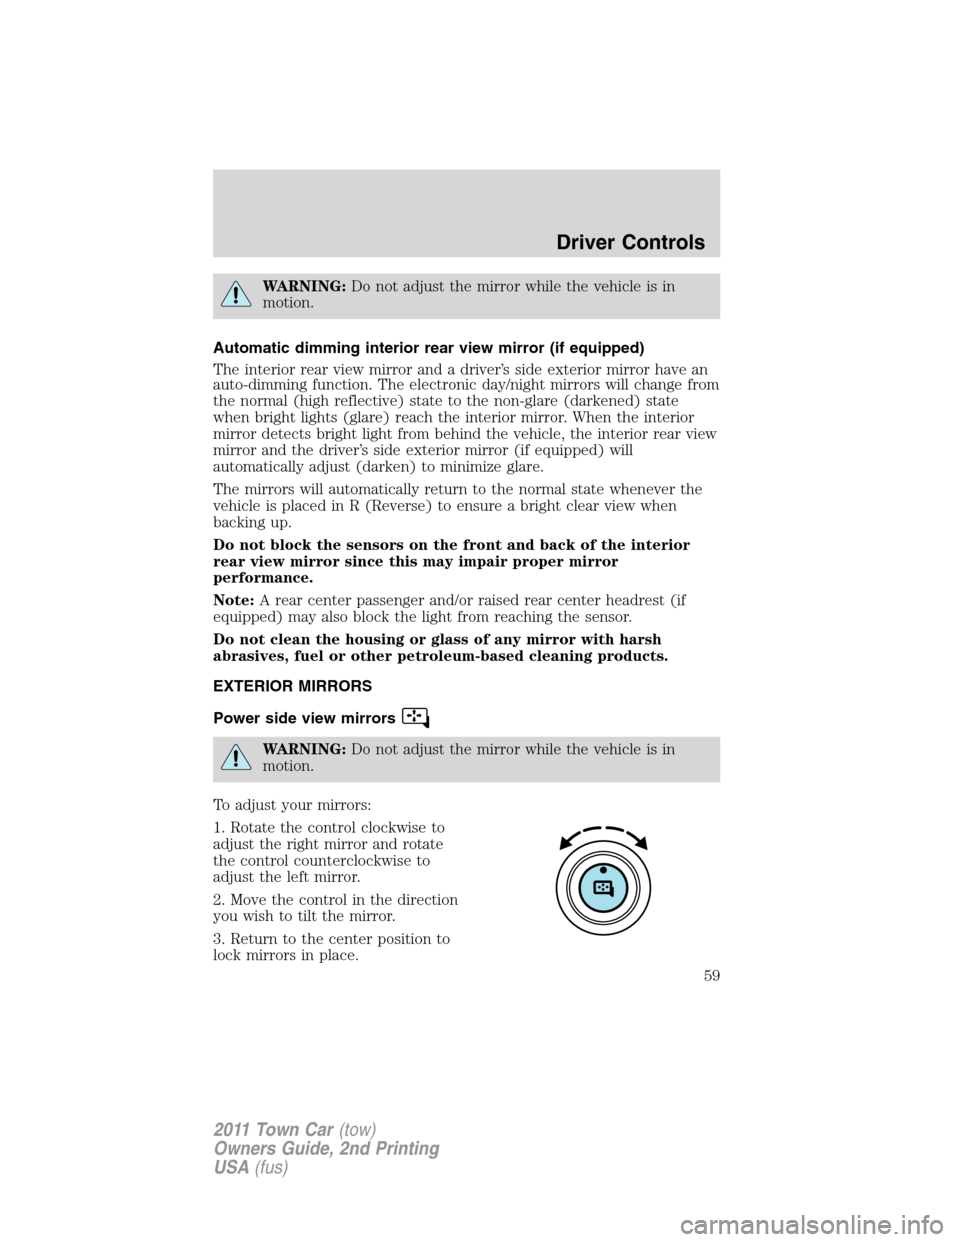
To adjust your mirrors:
1. Rotate the control clockwise to
adjust the right mirror and rotate
the control counterclockwise to
adjust the left mirror.
2. Move the control in the direction
you wish to tilt the mirror.
3. Return to the center position to
lock mirrors in place.
Driver Controls
59
2011 Town Car(tow)
Owners Guide, 2nd Printing
USA(fus)
Page 60 of 306
Memory feature (if equipped)
The power side view mirror positions are saved when doing a memory
set function and can be recalled using the memory feature. Refer to
Seatingin theSeating and Safety Restraintschapter.
Automatic dimming feature (if equipped)
The driver’s side view mirror has an auto-dimming function. For more
information, refer toAutomatic dimming interior rear view mirrorin
this chapter.
Heated outside mirrors
(if equipped)
Both mirrors are heated automatically to remove ice, mist and fog when
the rear window defrost is activated.
Do not remove ice from the mirrors with a scraper or attempt to
readjust the mirror glass if it is frozen in place. These actions
could cause damage to the glass and mirrors.
Do not clean the housing or glass of any mirror with harsh
abrasives, fuel or other petroleum-based cleaning products.
Fold-away mirrors
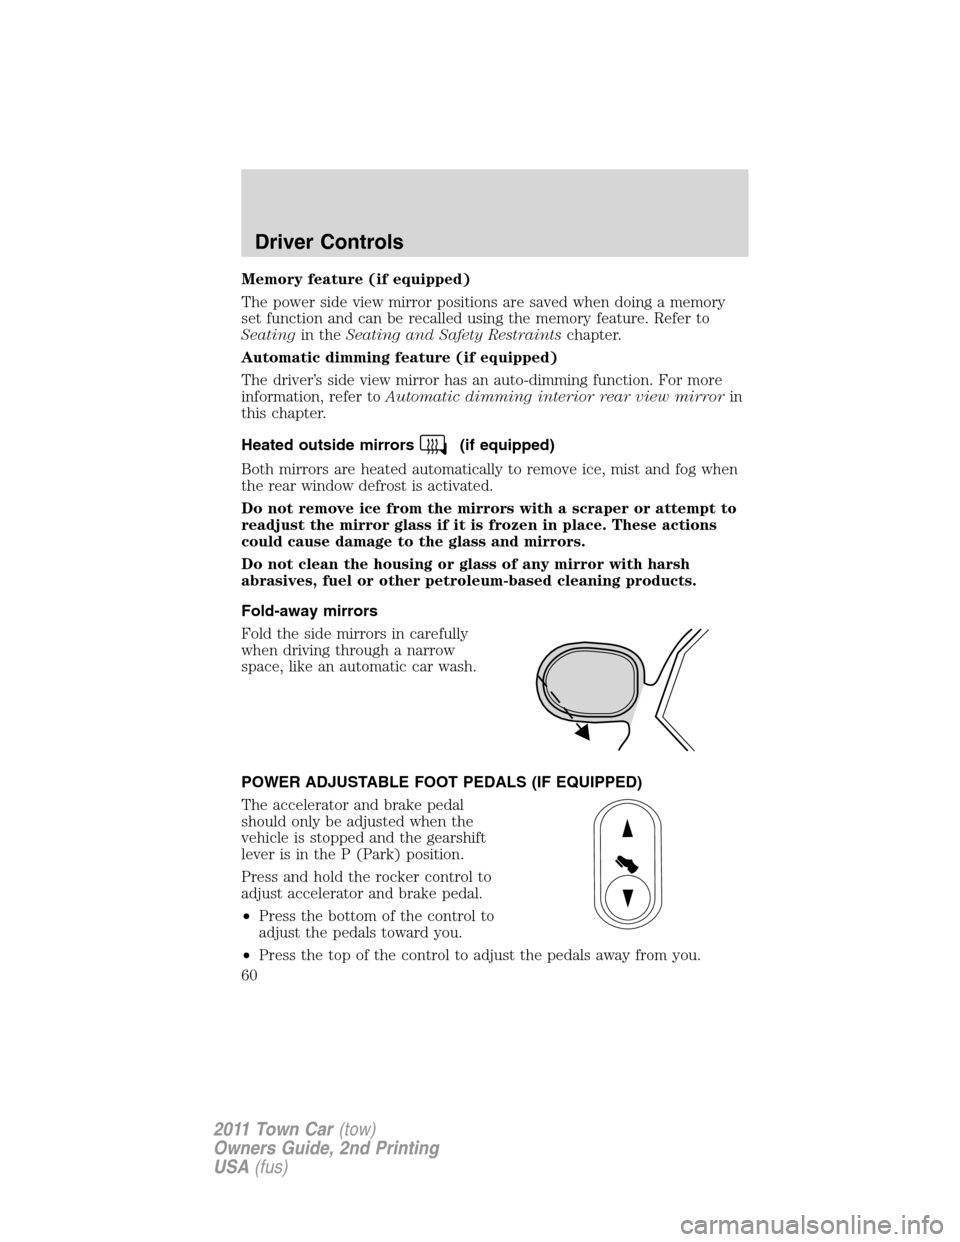
Fold the side mirrors in carefully
when driving through a narrow
space, like an automatic car wash.
POWER ADJUSTABLE FOOT PEDALS (IF EQUIPPED)
The accelerator and brake pedal
should only be adjusted when the
vehicle is stopped and the gearshift
lever is in the P (Park) position.
Press and hold the rocker control to
adjust accelerator and brake pedal.
•Press the bottom of the control to
adjust the pedals toward you.
•Press the top of the control to adjust the pedals away from you.
Driver Controls
60
2011 Town Car(tow)
Owners Guide, 2nd Printing
USA(fus)
Page 71 of 306
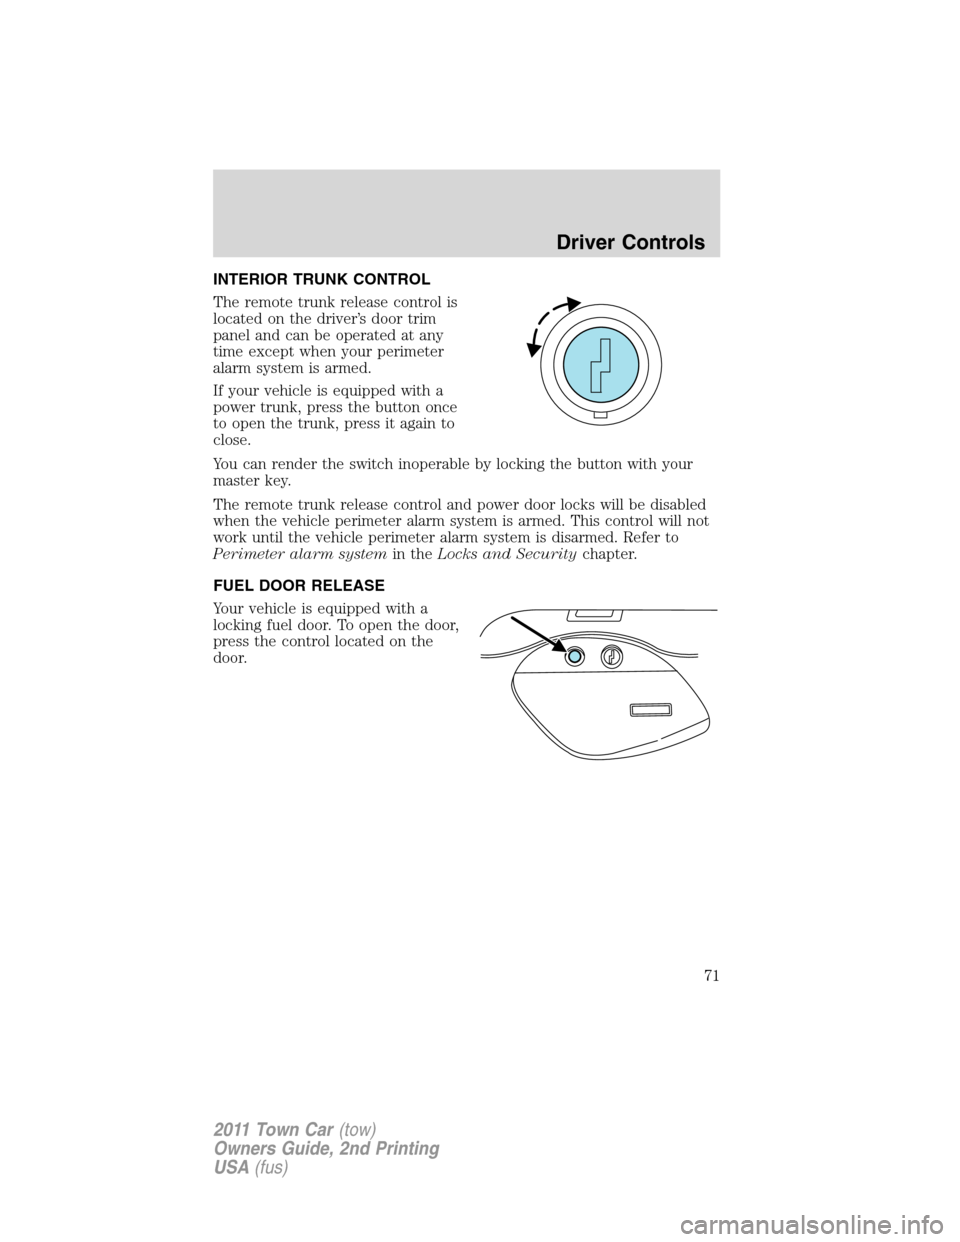
INTERIOR TRUNK CONTROL
The remote trunk release control is
located on the driver’s door trim
panel and can be operated at any
time except when your perimeter
alarm system is armed.
If your vehicle is equipped with a
power trunk, press the button once
to open the trunk, press it again to
close.
You can render the switch inoperable by locking the button with your
master key.
The remote trunk release control and power door locks will be disabled
when the vehicle perimeter alarm system is armed. This control will not
work until the vehicle perimeter alarm system is disarmed. Refer to
Perimeter alarm systemin theLocks and Securitychapter.
FUEL DOOR RELEASE
Your vehicle is equipped with a
locking fuel door. To open the door,
press the control located on the
door.
Driver Controls
71
2011 Town Car(tow)
Owners Guide, 2nd Printing
USA(fus)
Page 72 of 306
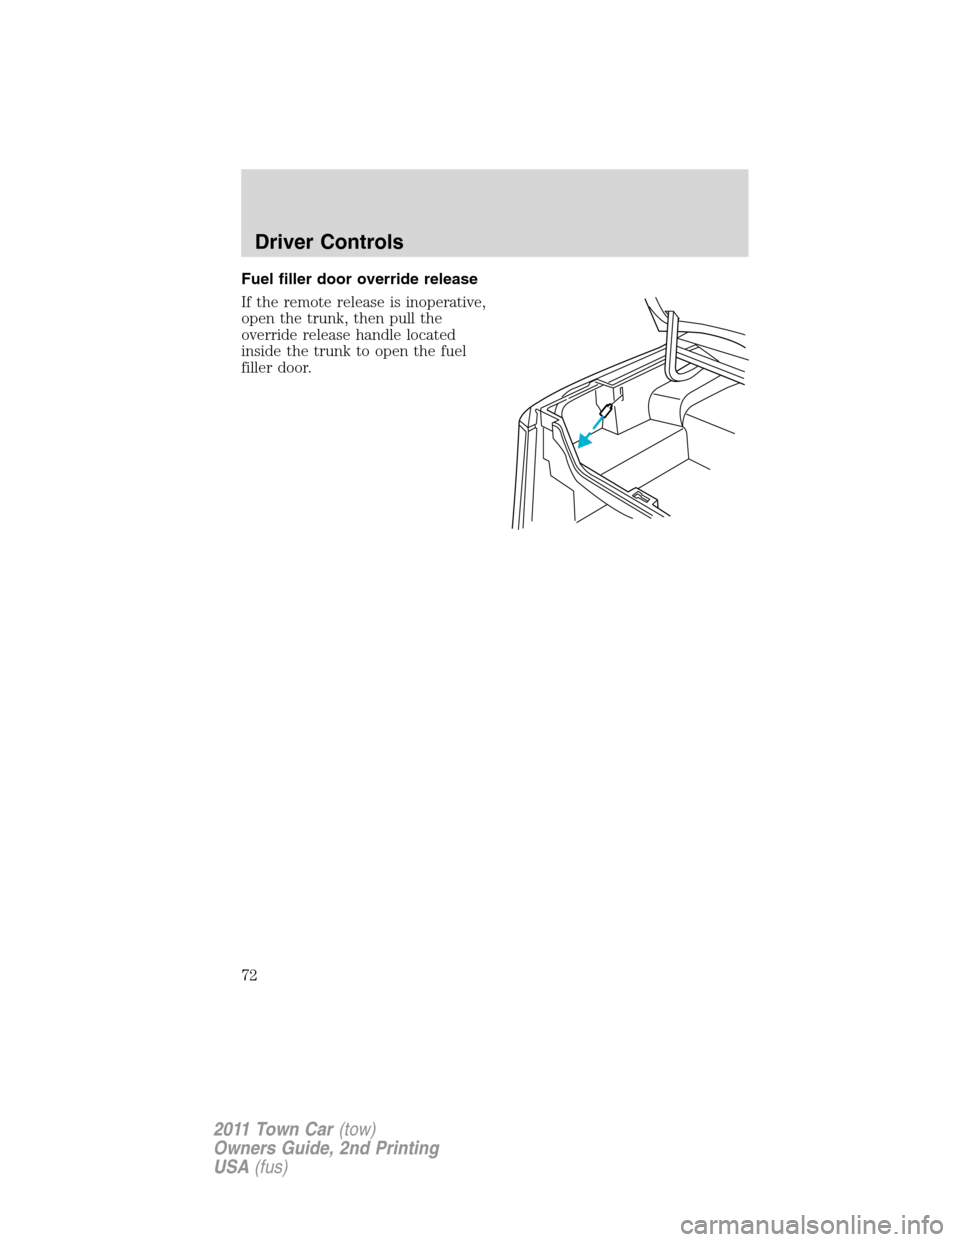
Fuel filler door override release
If the remote release is inoperative,
open the trunk, then pull the
override release handle located
inside the trunk to open the fuel
filler door.
Driver Controls
72
2011 Town Car(tow)
Owners Guide, 2nd Printing
USA(fus)
Page 161 of 306
TIRE PRESSURE MONITORING SYSTEM (TPMS)
Each tire, including the spare (if
provided), should be checked
monthly when cold and inflated to
the inflation pressure recommended
by the vehicle manufacturer on the
vehicle placard or tire inflation pressure label. (If your vehicle has tires
of a different size than the size indicated on the vehicle placard or tire
inflation pressure label, you should determine the proper tire inflation
pressure for those tires.)
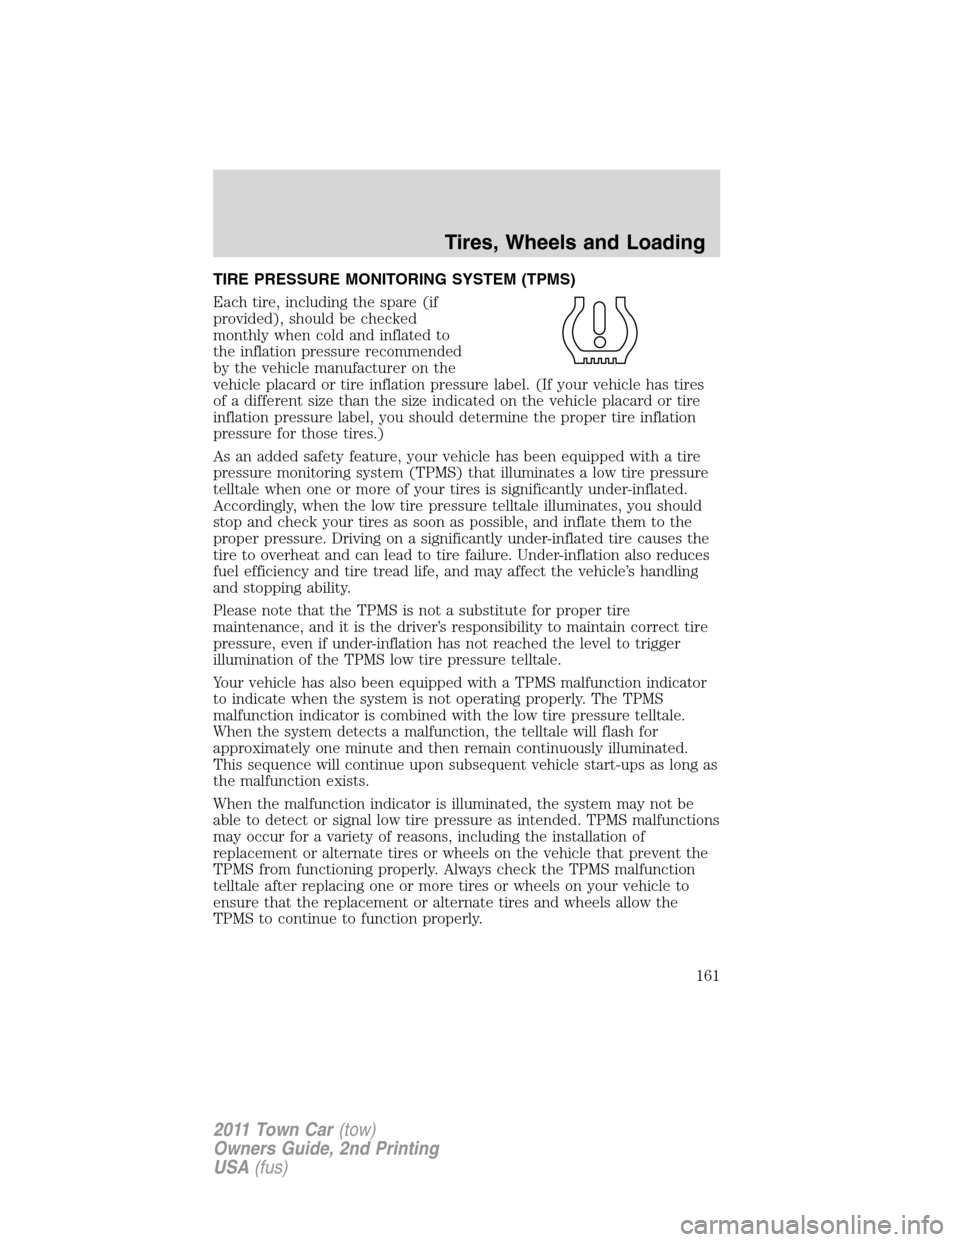
As an added safety feature, your vehicle has been equipped with a tire
pressure monitoring system (TPMS) that illuminates a low tire pressure
telltale when one or more of your tires is significantly under-inflated.
Accordingly, when the low tire pressure telltale illuminates, you should
stop and check your tires as soon as possible, and inflate them to the
proper pressure. Driving on a significantly under-inflated tire causes the
tire to overheat and can lead to tire failure. Under-inflation also reduces
fuel efficiency and tire tread life, and may affect the vehicle’s handling
and stopping ability.
Please note that the TPMS is not a substitute for proper tire
maintenance, and it is the driver’s responsibility to maintain correct tire
pressure, even if under-inflation has not reached the level to trigger
illumination of the TPMS low tire pressure telltale.
Your vehicle has also been equipped with a TPMS malfunction indicator
to indicate when the system is not operating properly. The TPMS
malfunction indicator is combined with the low tire pressure telltale.
When the system detects a malfunction, the telltale will flash for
approximately one minute and then remain continuously illuminated.
This sequence will continue upon subsequent vehicle start-ups as long as
the malfunction exists.
When the malfunction indicator is illuminated, the system may not be
able to detect or signal low tire pressure as intended. TPMS malfunctions
may occur for a variety of reasons, including the installation of
replacement or alternate tires or wheels on the vehicle that prevent the
TPMS from functioning properly. Always check the TPMS malfunction
telltale after replacing one or more tires or wheels on your vehicle to
ensure that the replacement or alternate tires and wheels allow the
TPMS to continue to function properly.
Tires, Wheels and Loading
161
2011 Town Car(tow)
Owners Guide, 2nd Printing
USA(fus)
Page 166 of 306
SNOW TIRES AND CHAINS
WARNING:Snow tires must be the same size, load index, speed
rating as those originally provided by Ford. Use of any tire or
wheel not recommended by Ford can affect the safety and
performance of your vehicle, which could result in an increased risk of
loss of vehicle control, vehicle rollover, personal injury and death.
Additionally, the use of non-recommended tires and wheels could
cause steering, suspension, axle or transfer case/power transfer unit
failure.
The tires on your vehicle have all-weather treads to provide traction in
rain and snow. However, in some climates, you may need to use snow
tires and chains. If you need to use chains, it is recommended that steel
wheels (of the same size and specifications) be used, as chains may chip
aluminum wheels.
Note:The suspension insulation and bumpers will help prevent vehicle
damage. Do not remove these components from your vehicle when using
snow tires and chains.
Follow these guidelines when using snow tires and chains:
•If possible, avoid fully loading your vehicle.
•Use only cable type chains offered by Ford Motor Company as an
accessory or equivalent. Using SAE class S or other conventional link
type chains may cause damage to the vehicle’s wheel house and/or
body.
•Install chains securely, verifying that the chains do not touch any
wiring, brake lines or fuel lines.
•Do not exceed 30 mph (48 km/h) with tire cables on your vehicle.
•Drive cautiously. If you hear the chains rub or bang against your
vehicle, stop and retighten the chains. If this does not work, remove
the chains to prevent damage to your vehicle.
•Remove the tire chains when they are no longer needed. Do not use
tire chains on dry roads.
VEHICLE LOADING – WITH AND WITHOUT A TRAILER
This section will guide you in the proper loading of your vehicle and/or
trailer, to keep your loaded vehicle weight within its design rating
capability, with or without a trailer. Properly loading your vehicle will
provide maximum return of vehicle design performance. Before loading
Tires, Wheels and Loading
166
2011 Town Car(tow)
Owners Guide, 2nd Printing
USA(fus)
Page 167 of 306
your vehicle, familiarize yourself with the following terms for determining
your vehicle’s weight ratings, with or without a trailer, from the vehicle’s
Tire Label or Safety Compliance Certification Label:
Base Curb Weight– is the weight of the vehicle including a full tank of
fuel and all standard equipment. It does not include passengers, cargo, or
optional equipment.
Vehicle Curb Weight– is the weight of your new vehicle when you
picked it up from your authorized dealer plus any aftermarket
equipment.
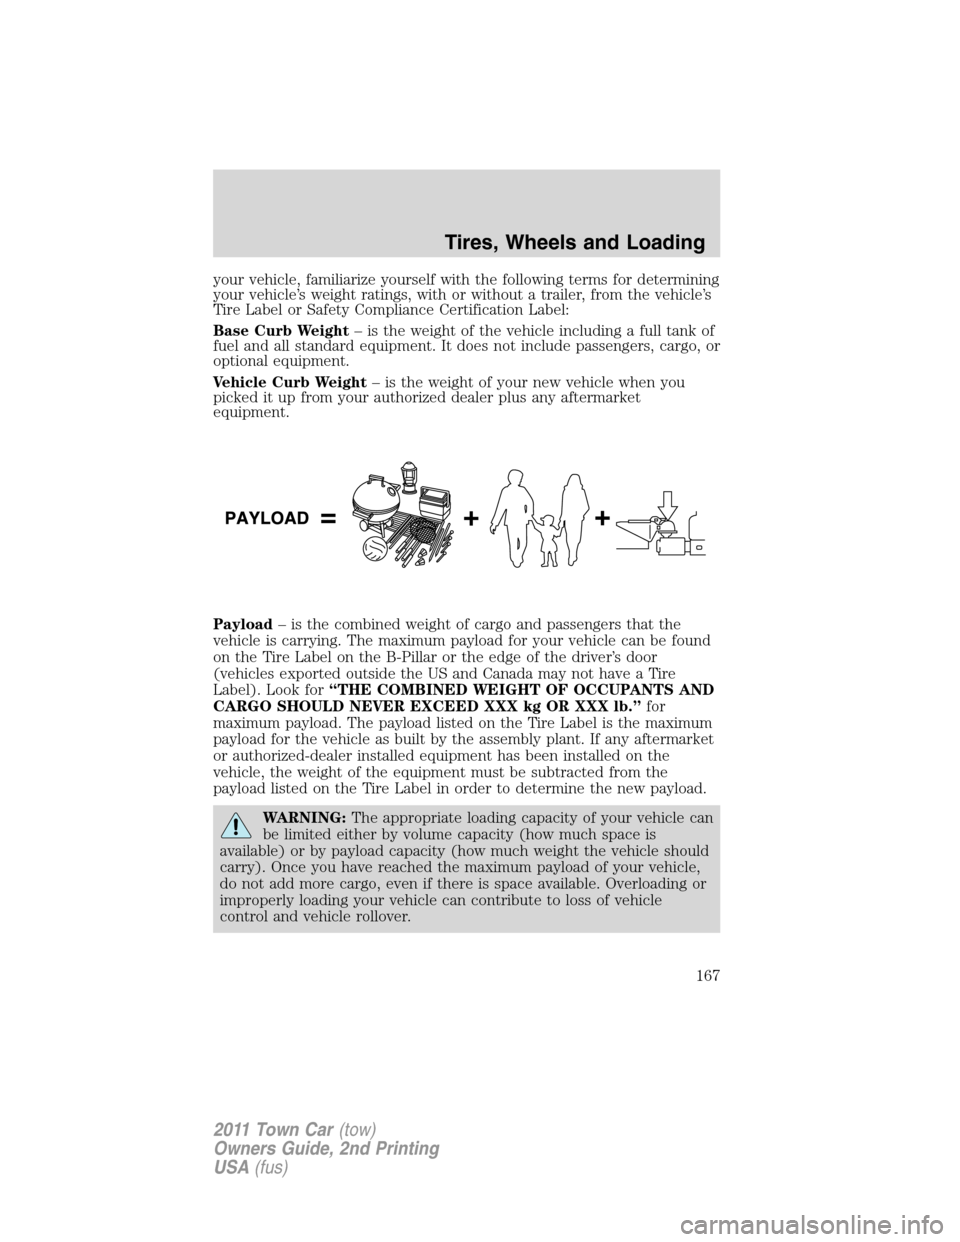
Payload– is the combined weight of cargo and passengers that the
vehicle is carrying. The maximum payload for your vehicle can be found
on the Tire Label on the B-Pillar or the edge of the driver’s door
(vehicles exported outside the US and Canada may not have a Tire
Label). Look for“THE COMBINED WEIGHT OF OCCUPANTS AND
CARGO SHOULD NEVER EXCEED XXX kg OR XXX lb.”for
maximum payload. The payload listed on the Tire Label is the maximum
payload for the vehicle as built by the assembly plant. If any aftermarket
or authorized-dealer installed equipment has been installed on the
vehicle, the weight of the equipment must be subtracted from the
payload listed on the Tire Label in order to determine the new payload.
WARNING:The appropriate loading capacity of your vehicle can
be limited either by volume capacity (how much space is
available) or by payload capacity (how much weight the vehicle should
carry). Once you have reached the maximum payload of your vehicle,
do not add more cargo, even if there is space available. Overloading or
improperly loading your vehicle can contribute to loss of vehicle
control and vehicle rollover.
Tires, Wheels and Loading
167
2011 Town Car(tow)
Owners Guide, 2nd Printing
USA(fus)
Page 177 of 306
STARTING
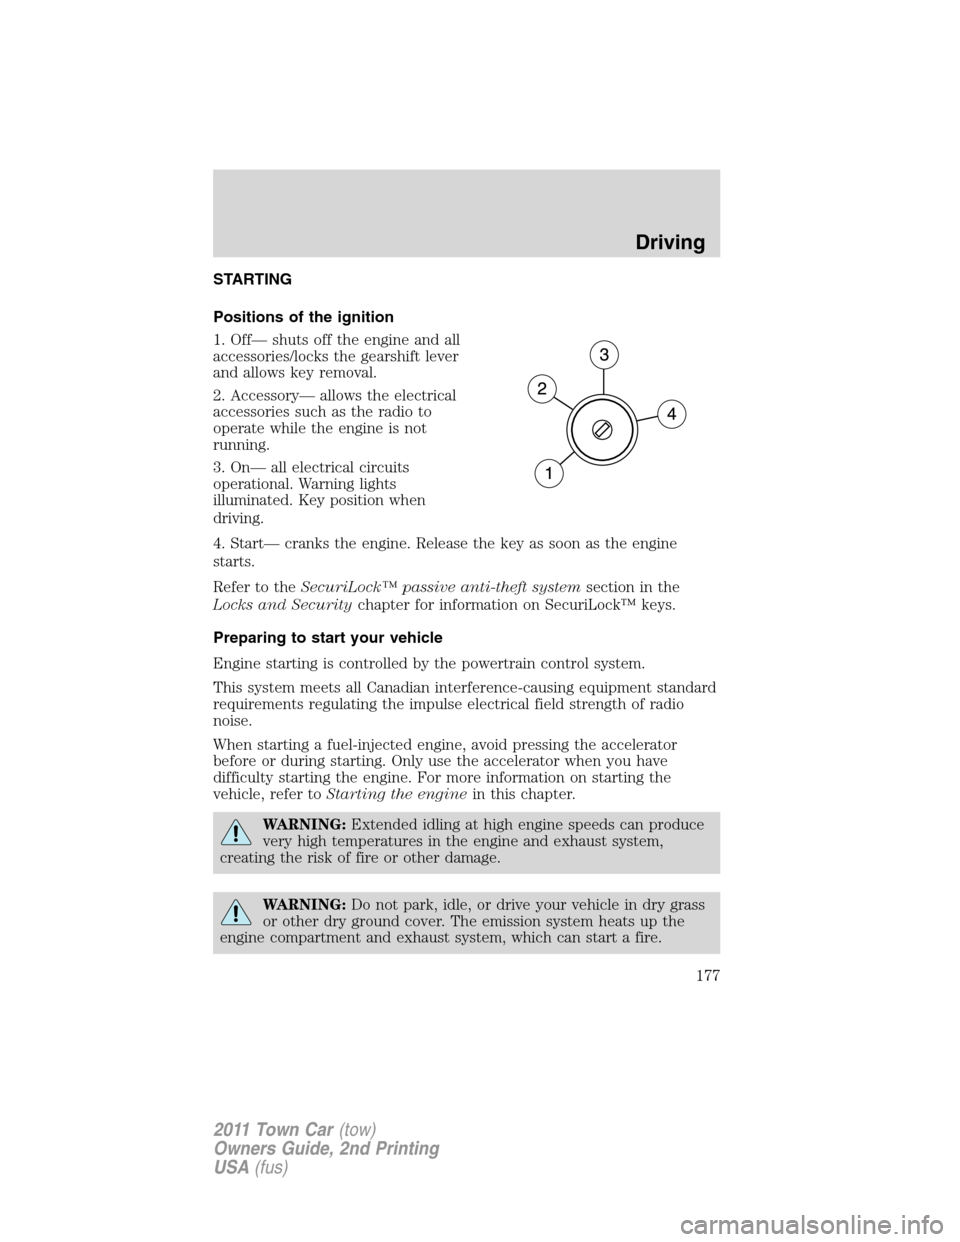
Positions of the ignition
1. Off— shuts off the engine and all
accessories/locks the gearshift lever
and allows key removal.
2. Accessory— allows the electrical
accessories such as the radio to
operate while the engine is not
running.
3. On— all electrical circuits
operational. Warning lights
illuminated. Key position when
driving.
4. Start— cranks the engine. Release the key as soon as the engine
starts.
Refer to theSecuriLock™ passive anti-theft systemsection in the
Locks and Securitychapter for information on SecuriLock™ keys.
Preparing to start your vehicle
Engine starting is controlled by the powertrain control system.
This system meets all Canadian interference-causing equipment standard
requirements regulating the impulse electrical field strength of radio
noise.
When starting a fuel-injected engine, avoid pressing the accelerator
before or during starting. Only use the accelerator when you have
difficulty starting the engine. For more information on starting the
vehicle, refer toStarting the enginein this chapter.
WARNING:Extended idling at high engine speeds can produce
very high temperatures in the engine and exhaust system,
creating the risk of fire or other damage.
WARNING:Do not park, idle, or drive your vehicle in dry grass
or other dry ground cover. The emission system heats up the
engine compartment and exhaust system, which can start a fire.
Driving
177
2011 Town Car(tow)
Owners Guide, 2nd Printing
USA(fus)