brake light LOTUS ELISE 2005 Owners Manual
[x] Cancel search | Manufacturer: LOTUS, Model Year: 2005, Model line: ELISE, Model: LOTUS ELISE 2005Pages: 205, PDF Size: 4.51 MB
Page 4 of 205
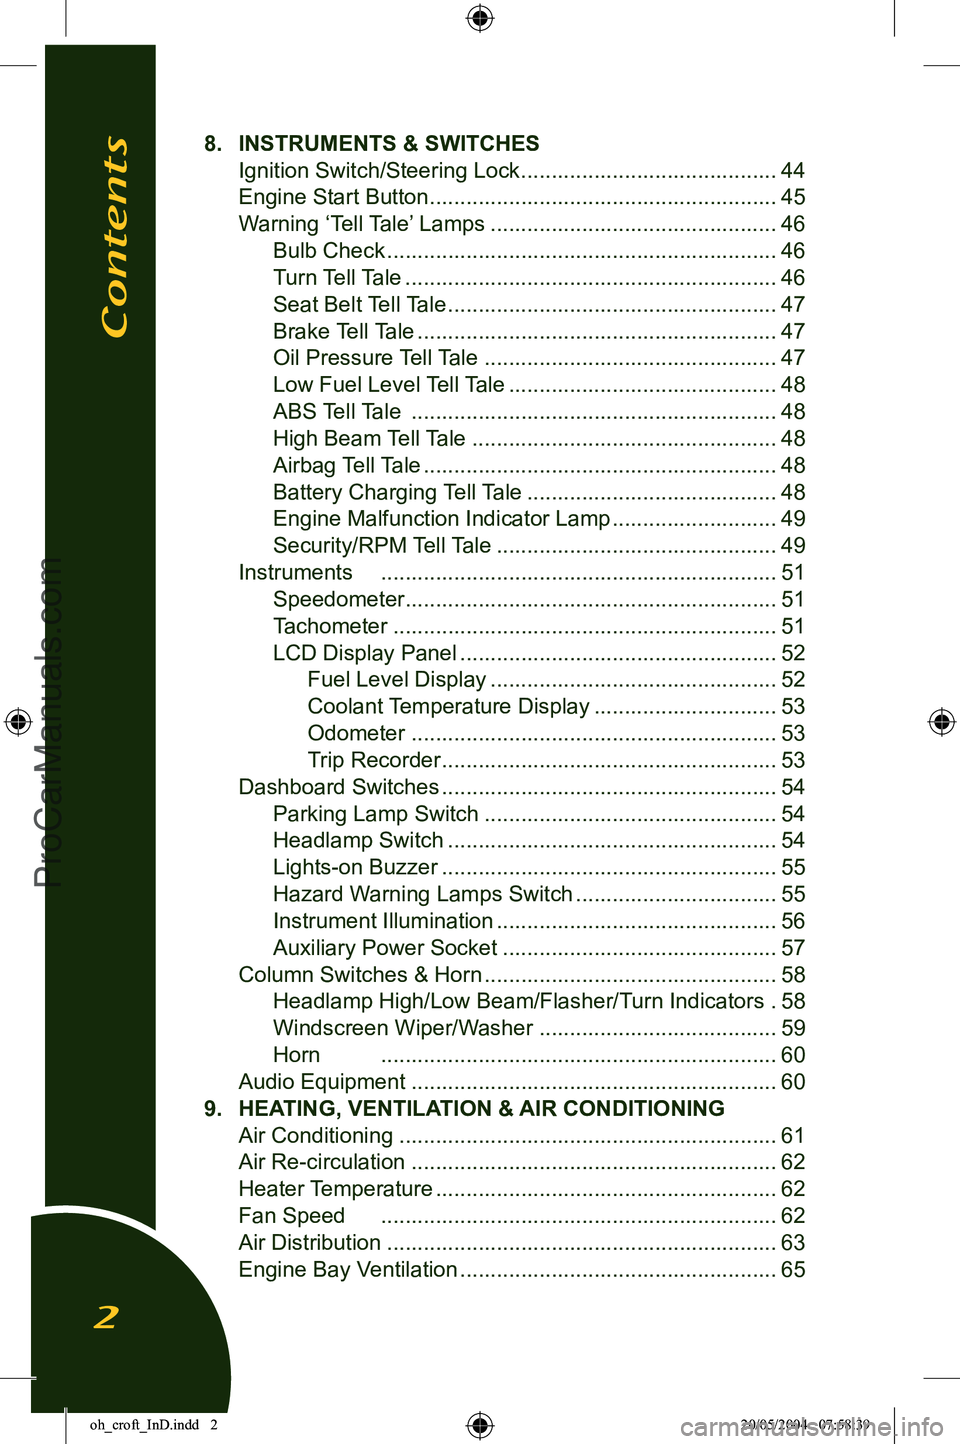
8. INSTRUMENTS & SWITCHES
Ignition Switch/Steering Lock ..........................................
44
Engine Start Button .........................................................
45
Warning āTell Taleā Lamps ...............................................
46
Bulb Check ................................................................
46
Turn Tell Tale .............................................................
46
Seat Belt Tell Tale ......................................................
47
Brake Tell Tale ...........................................................
47
Oil Pressure Tell Tale ................................................
47
Low Fuel Level Tell Tale ............................................
48
ABS Tell Tale ............................................................
48
High Beam Tell Tale ..................................................
48
Airbag Tell Tale ..........................................................
48
Battery Charging Tell Tale .........................................
48
Engine Malfunction Indicator Lamp ...........................
49
Security/RPM Tell Tale ..............................................
49
Instruments .................................................................
51
Speedometer .............................................................
51
Tachometer ...............................................................
51
LCD Display Panel ....................................................
52
Fuel Level Display ...............................................
52
Coolant Temperature Display ..............................
53
Odometer ............................................................
53
Trip Recorder .......................................................
53
Dashboard Switches .......................................................
54
Parking Lamp Switch ................................................
54
Headlamp Switch ......................................................
54
Lights-on Buzzer .......................................................
55
Hazard Warning Lamps Switch .................................
55
Instrument Illumination ..............................................
56
Auxiliary Power Socket .............................................
57
Column Switches & Horn ................................................
58
Headlamp High/Low Beam/Flasher/Turn Indicators .
58
Windscreen Wiper/Washer .......................................
59
Horn .................................................................
60
Audio Equipment ............................................................
60
9. HEATING, VENTILATION & AIR CONDITIONING
Air Conditioning ..............................................................
61
Air Re-circulation ............................................................
62
Heater Temperature ........................................................
62
Fan Speed .................................................................
62
Air Distribution ................................................................
63
Engine Bay Ventilation ....................................................
65
Contents
2
oh_croft_InD.indd 220/05/2004 07:58:39ProCarManuals.com
Page 49 of 205
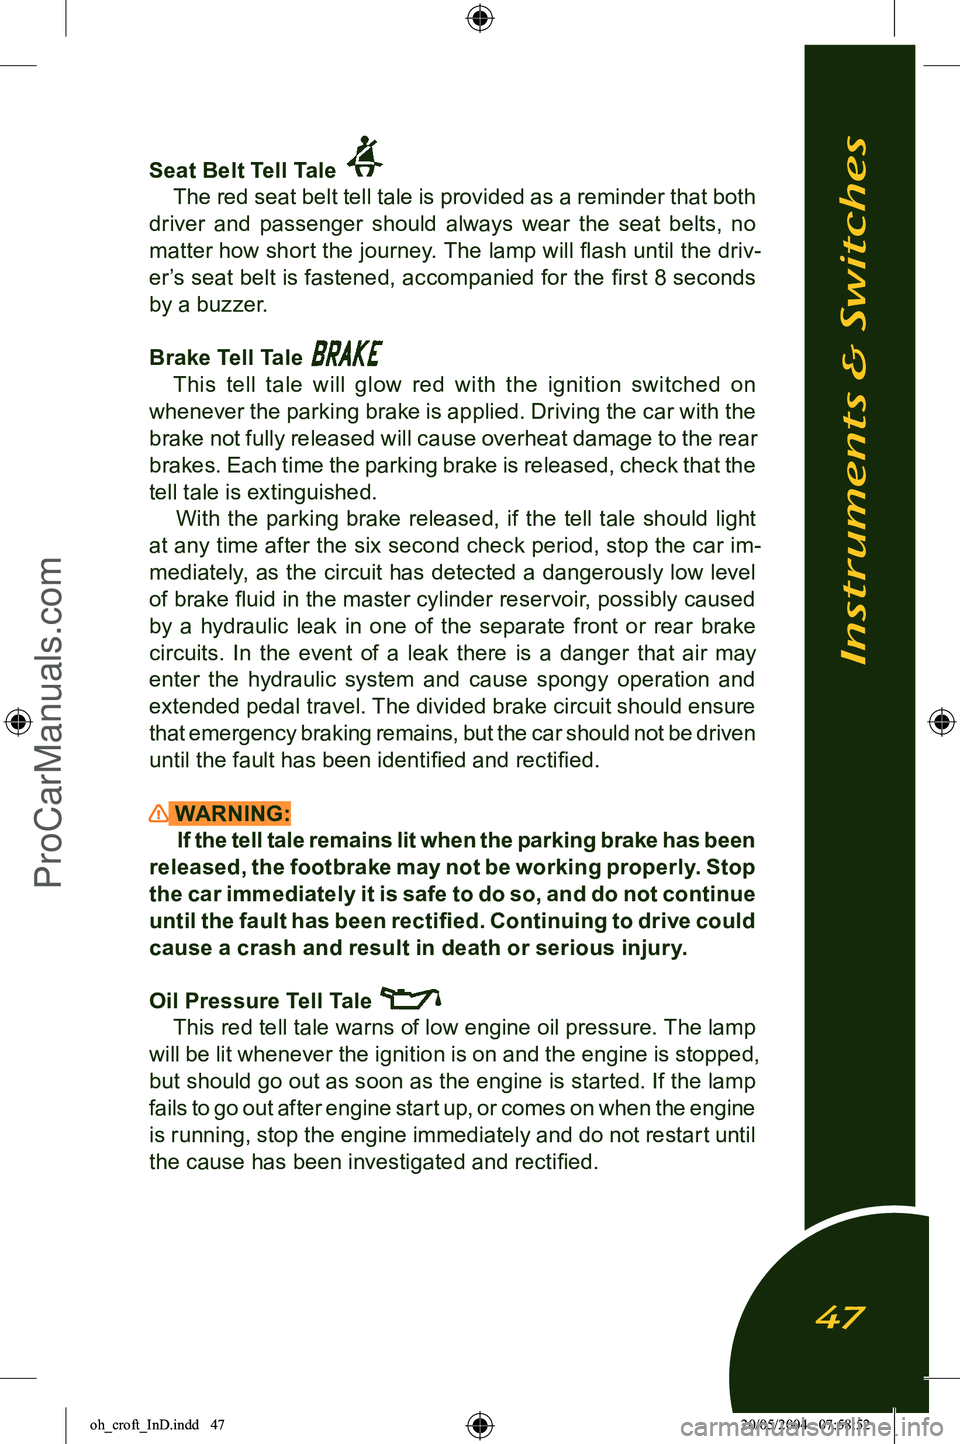
Seat Belt Tell Tale
The red seat belt tell tale is provided as a reminder that both
driver and passenger should always wear the seat belts, no
matter how short the journey. The lamp will ļ¬ash until the driv
-
erās seat belt is fastened, accompanied for the ļ¬rst 8 seconds by a buzzer.
Brake Tell Tale
This tell tale will glow red with the ignition switched on
whenever the parking brake is applied. Driving the car with the brake not fully released will cause overheat damage to the rear
brakes. Each time the parking brake is released, check that the
tell tale is extinguished. With the parking brake released, if the tell tale should light
at any time after the six second check period, stop the car im
-
mediately, as the circuit has detected a dangerously low level of brake ļ¬uid in the master cylinder reservoir, possibly caused
by a hydraulic leak in one of the separate front or rear brake
circuits. In the event of a leak there is a danger that air may enter the hydraulic system and cause spongy operation and
extended pedal travel. The divided brake circuit should ensure
that emergency braking remains, but the car should not be driven until the fault has been identiļ¬ed and rectiļ¬ed.
WARNING: If the tell tale remains lit when the parking brake has been
released, the footbrake may not be working properly. Stop
the car immediately it is safe to do so, and do not continue until the fault has been rectiļ¬ed. Continuing to drive could cause a crash and result in death or serious injury.
Oil Pressure Tell Tale
This red tell tale warns of low engine oil pressure. The lamp
will be lit whenever the ignition is on and the engine is stopped, but should go out as soon as the engine is started. If the lamp
fails to go out after engine start up, or comes on when the engine is running, stop the engine immediately and do not restart until
the cause has been investigated and rectiļ¬ed.
Instruments & Switches
47
oh_croft_InD.indd 4720/05/2004 07:58:52ProCarManuals.com
Page 50 of 205
WARNING:Continuing to run the engine with the oil tell tale lit could
cause major engine damage or seizure, resulting in loss
of car control and a crash. You or others could be killed
or seriously injured.
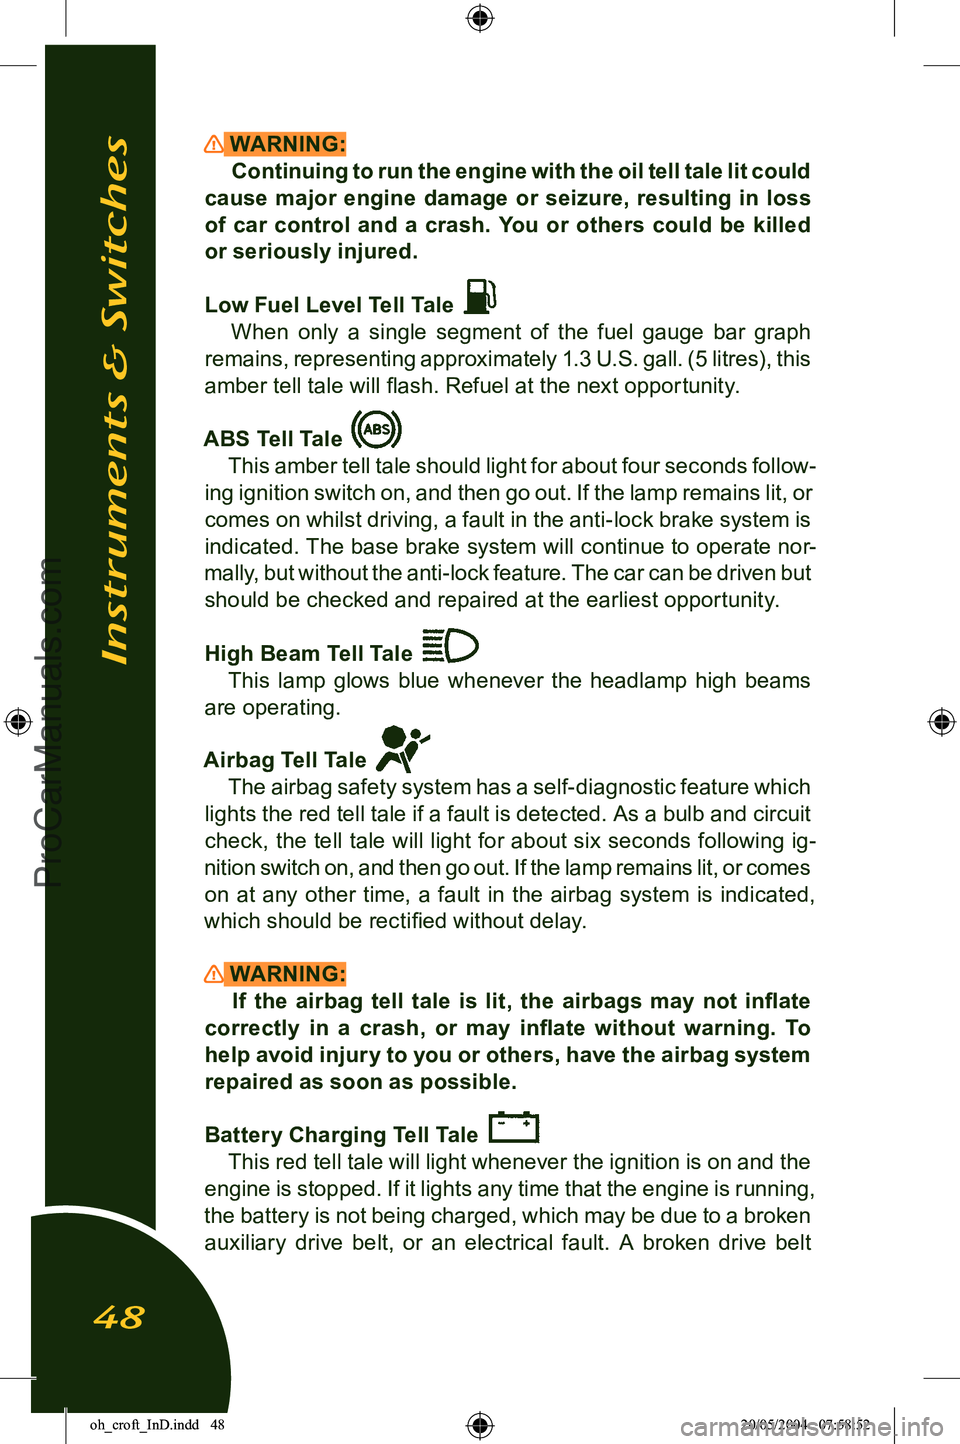
Low Fuel Level Tell Tale
When only a single segment of the fuel gauge bar graph
remains, representing approximately 1.3 U.S. gall. (5 litres), this
amber tell tale will ļ¬ash. Refuel at the next opportunity.
ABS Tell Tale
This amber tell tale should light for about four seconds follow-
ing ignition switch on, and then go out. If the lamp remains lit, or
comes on whilst driving, a fault in the anti-lock brake system is
indicated. The base brake system will continue to operate nor
-
mally, but without the anti-lock feature. The car can be driven but should be checked and repaired at the earliest opportunity.
High Beam Tell Tale
This lamp glows blue whenever the headlamp high beams
are operating.
Airbag Tell Tale
The airbag safety system has a self-diagnostic feature which
lights the red tell tale if a fault is detected. As a bulb and circuit
check, the tell tale will light for about six seconds following ig
-
nition switch on, and then go out. If the lamp remains lit, or comes on at any other time, a fault in the airbag system is indicated,
which should be rectiļ¬ed without delay.
WARNING: If the airbag tell tale is lit, the airbags may not inļ¬ate
correctly in a crash, or may inļ¬ate without warning. To
help avoid injury to you or others, have the airbag system repaired as soon as possible.
Battery Charging Tell Tale
This red tell tale will light whenever the ignition is on and the
engine is stopped. If it lights any time that the engine is running,
the battery is not being charged, which may be due to a broken
auxiliary drive belt, or an electrical fault. A broken drive belt
Instruments & Switches
48
oh_croft_InD.indd 4820/05/2004 07:58:52ProCarManuals.com
Page 71 of 205
integral self diagnostics have switched out the anti-lock function.
See āABS tell tale lampā.
WARNING:
ā¢ The increased control that ABS provides should not induce you to take more risks with your safety. ABS will
not prevent a skid caused by abrupt steering movements,
or attempting to corner too quickly.
ā¢ Always maintain a safe following distance from other cars relative to the road surface and weather conditions.
Obey all trafļ¬c laws.
ā¢ Risk of accidents due to inappropriate speed cannot be reduced even by ABS. The driver is responsible for the
judgement of safe speed.
ā¢ The control unit of the ABS is set for standard tire size. If non-standard Tires are ļ¬tted, the control unit may mis-
interpret the speed of the car, because of the variant data
it receives from the wheel speed sensors. Fitting non standard tires would seriously affect the performance of
your ABS.
ā¢ The amber ABS tell tale in the instrument panel should light for about 4 seconds following ignition switch on, and
then go out. If the lamp remains lit, or comes on whilst driving, a fault in the anti-lock brake system is indicated.
The base brake system will continue to operate normally,
but without ABS. The car can be driven but should be
checked and repaired at the earliest opportunity.
ā¢ Activation of the ABS will vary according to the level of grip available at the Tires. On dry surfaces, activation
will occur only with a high pedal pressure. On slippery
surfaces, only a low pressure will be needed.
ā¢ On loose or uneven surfaces, such as gravel or snow, a car with ABS may need a longer stopping distance. Allow
a greater distance between cars in these conditions.
Driving Controls
69
oh_croft_InD.indd 6920/05/2004 07:58:57ProCarManuals.com
Page 75 of 205
NOTICE: The use of wide throttle openings and/or high rpm before the engine has reached normal running temperature will
result in premature wear, and should be avoided.
Idle Speed Engine idle speed is controlled electronically by the engine
management computer, and is normally about 850 rpm. A
raised idle speed is required under certain operating conditions
including the engine warm up phase, when the increased speed helps the catalytic converter to reach operating temperature, as
well as inhibiting engine stall. Idle speed will return to normal automatically when the engine has warmed sufļ¬ciently.
Engine Break-In Although the Elise powertrain is built to close tolerances
using modern technology, the progressive and sympathetic
breaking-in (or bedding-in) of a new engine and transmission
remains a major factor in attaining ef ļ¬cient operation with
smooth, durable and economic performance to last throughout
the life of the car.
NOTICE: Failure to comply with the following break-in provi
-
sions could invalidate the terms of the car warranty:
It is important during the carās early life to limit the workload on
the engine and thus control the heat generated within it, which is primarily a function of throttle opening and rpm. However, being
too sympathetic on the car will not allow the piston rings to bed in
satisfactorily, so a balance of spirited and gentle use is required.
For the ļ¬rst 600 miles (1,000 km), use no more than moderate
throttle openings (about half of the available accelerator pedal
travel) and do not run the engine continuously at engine speeds over 4,500 rpm. Occasional short bursts at wider throttle and
higher rpm will be beneļ¬cial, as will a constantly changing cruis
-
ing speed and making full use of the gearbox. Do not allow the
engine to labour in too high a gear ratio, but change down and
let the engine operate in its natural power band. When changing gear, use only a light touch on the gear lever.
Forcing the change will cause unnecessary wear on the system components and result in higher shift efforts being required. Al
-
low the brakes to bed-in by avoiding needless heavy braking for
the ļ¬rst 100 miles (160 km). Both gearchange and brake pedal
Starting & Engine Break-In
73
oh_croft_InD.indd 7320/05/2004 07:58:59ProCarManuals.com
Page 80 of 205
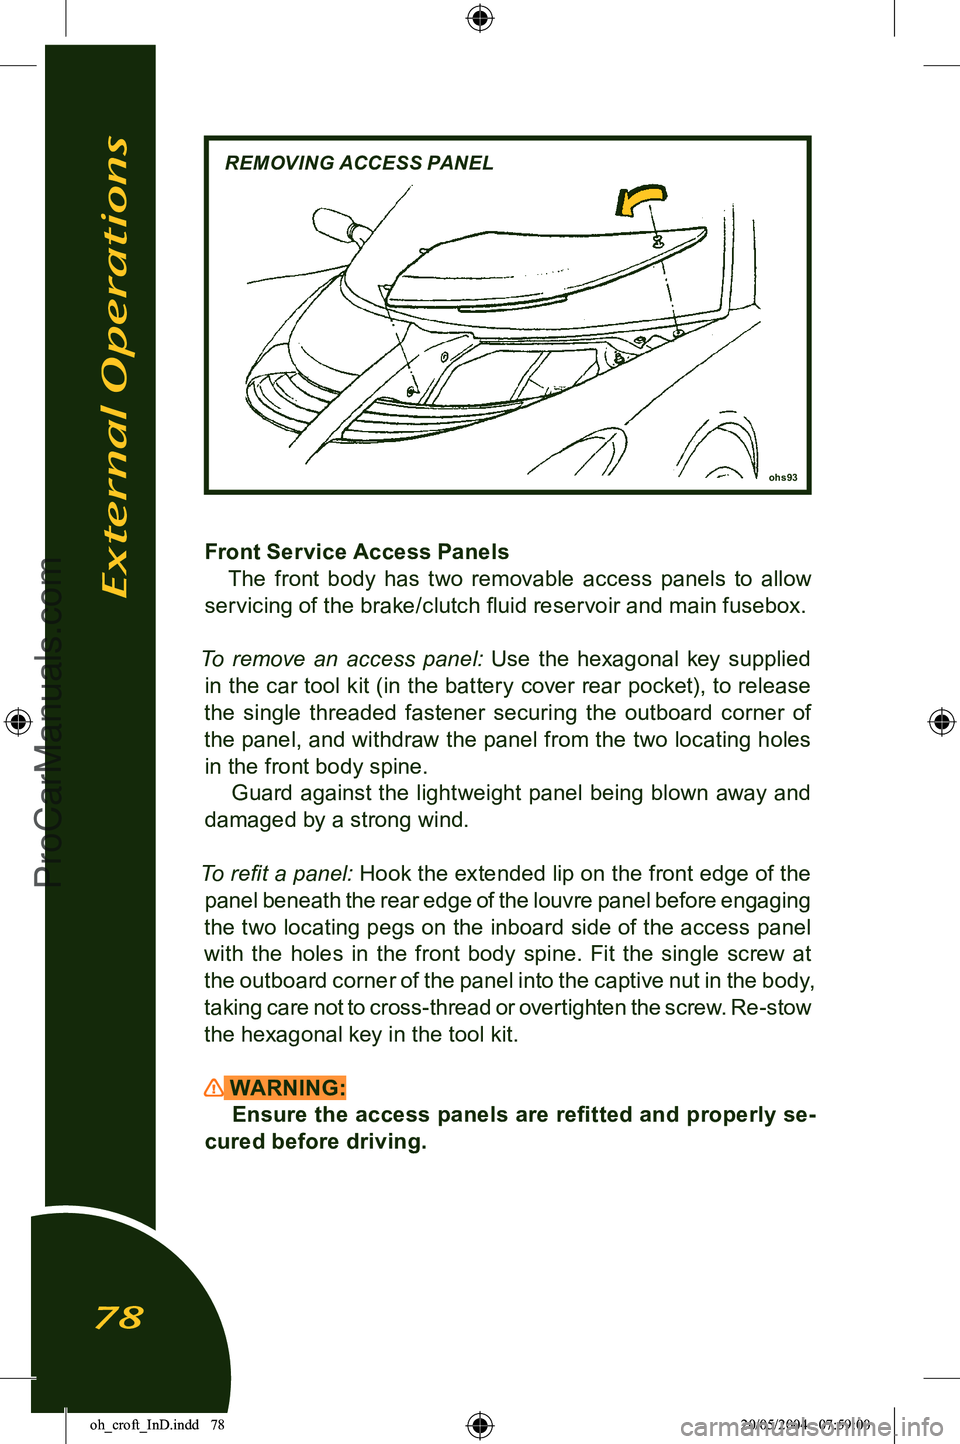
ohs93
REMOVING ACCESS PANEL
Front Service Access PanelsThe front body has two removable access panels to allow
servicing of the brake/clutch ļ¬uid reservoir and main fusebox.
To remove an access panel:
Use the hexagonal key supplied
in the car tool kit (in the battery cover rear pocket), to release
the single threaded fastener securing the outboard corner of
the panel, and withdraw the panel from the two locating holes in the front body spine. Guard against the lightweight panel being blown away and
damaged by a strong wind.
To reļ¬t a panel: Hook the extended lip on the front edge of the panel beneath the rear edge of the louvre panel before engaging
the two locating pegs on the inboard side of the access panel
with the holes in the front body spine. Fit the single screw at
the outboard corner of the panel into the captive nut in the body,
taking care not to cross-thread or overtighten the screw. Re-stow
the hexagonal key in the tool kit.
WARNING: Ensure the access panels are reļ¬tted and properly se
-
cured before driving.
External Operations
78
oh_croft_InD.indd 7820/05/2004 07:59:00ProCarManuals.com
Page 152 of 205
ACCESSORIES
Accessories and Modiļ¬cationsModifying your car, or installing some non-Lotus accessories,
can make your car unsafe. Before you make any modiļ¬cations or add any accessories, be sure to read the following information
and confer with your dealer:
Accessories:
Your dealer has genuine Lotus accessories that allow you to
personalise your car. These accessories have been designed
and approved for your car, and are covered by warranty.
Non-Lotus accessories may be designed for universal ap
-
plication, and although they may ļ¬t on your car, they may not
meet factory speciļ¬cations, and could adversely affect your
carās handling and stability.
WARNING: Improper accessories or modiļ¬cations can affect your
carās handling, stability and per formance, and cause a
crash in which you can be hurt or killed. Follow all instruc
-
tions in this ownerās manual regarding accessories and modiļ¬cations.
When properly installed, cellular phones, alarms, two-way
radios, and low powered audio systems should not interfere with
your carās computer-controlled systems, such as the airbag and anti-lock brake system.
However, if such or similar electronic accessories are im
-
properly installed, or exceed your carās electrical system ca
-
pacity, they can interfere with the operation of your car, cause the airbags to deploy, or damage the car.
Before installing any accessory:
ā¢ Ensure the accessory does not obscure any lights, or interfere
with proper car operation or performance.
ā¢ Ensure electronic accessories do not overload electrical
circuits.
ā¢ Have the installer contact your Lotus dealer for assistance
before installing any electronic accessory.
ā¢ If possible, have your Lotus dealer inspect the ļ¬nal instal-
lation.
Accessories
150
oh_croft_InD.indd 15020/05/2004 07:59:18ProCarManuals.com
Page 154 of 205
Storing Your EliseIf you intend to store your Elise for a prolonged period, con
-
sult your Lotus dealer who will be pleased to advise you. We recommend that the car is stored inside a secure garage. The
following guidelines are provided for your information:
ā¢ Ensure the engine oil and ļ¬lter, coolant and brake ļ¬uid have recently been renewed. The a.c. system should be in good
working order and fully charged.
ā¢ Thoroughly clean the inside and outside of the car, including the engine compartment. If necessary, use a ājetā washer to remove dirt and salt deposits from the underside, but do not
use around bearings, hydraulic components, painted surfaces or the soft top roof. Allow to dry completely.
ā¢ Chock the road wheels, leave off the parking brake, and engage reverse gear.
ā¢ Increase the tire pressures to 60 psi (4 bar). If possible, move the car slightly every month to help avoid ļ¬at spots on the
Tires.
ā¢ Either leave the battery in the car and connect a battery management (conditioner) type of charger, or remove the battery and trickle charge every two months. Note that with
the battery disconnected or removed, the alarm system is
de-activated.
ā¢ Unless the garage is equipped with a de-humidiļ¬er, the use of drying agents (Silica-Gel) is recommended in cars with
leather upholstery and in conditions of high humidity.
ā¢ The use of unapproved car covers may have a detrimental effect on the carās paint ļ¬nish and such damage will not be
covered by your carās warranty.
In general, the Elise will be kept in best operating condition
by regular use.
Accessories
152
oh_croft_InD.indd 15220/05/2004 07:59:19ProCarManuals.com
Page 167 of 205
cars imported into the USA which are not manufactured to a
USA speciļ¬cation.
(c) MAINTENANCE; SERVICE ITEMS; WEAR & TEAR.
Maintenance services are not covered , these include (al-
though this list is not exhaustive):
i) maintenance services such as tune-ups, cleaning, polishing, lubrication, wheel balancing and alignment, brake, clutch, belt
and other normal adjustments,
ii) recharging or replacement of the battery where the car is not used for prolonged periods and a battery charger is not
used,
iii) the repair or replacement of service items such as lubri
-
cants, ļ¬uids, spark plugs, wiper blades, ļ¬lters, belts, hoses, brake pads and linings clutch components, light bulbs or glass,
or,
iv) after the ļ¬rst three months of service (unless as part of a
warranty repair), the air conditioner refrigerant, or
v) the deterioration of paintwork, upholstery (see para 5n) or any other part, assembly or component as a consequence of
normal wear and tear or exposure to the elements, including
airborne fallout (chemicals, tree sap etc.).
vi) body panel, glass and trim adjustments may intermittently be required to prevent excessive water ingress, or noise and
vibration and so should be considered as routine mainte
-
nance.
(d) INCIDENTAL AND CONSEQUENTIAL DAMAGES. UNLESS OTHERWISE EXPRESSLY PROVIDED BY LAW
THIS WARRANTY NEITHER COVERS NOR EXTENDS TO ANY INCIDENTAL OR CONSEQUENTIAL DAMAGE OR EXPENSE. SUCH DAMAGE AND EXPENSE INCLUDES
(ALTHOUGH IT IS NOT AN EXHAUSTIVE LIST) INCONVEN
-
IENCE, HOTEL OR RESTAURANT EXPENSES, TOWING
OR PARKING FEES, CAR RENTALS OR THE LOSS OF
TIME OR USE OF THE CAR.
SOME STATES DO NOT ALLOW THE EXCLUSION OR LIMITATION OF INCIDENTAL OR CONSEQUENTIAL DAM
-
AGES, SO THE ABOVE LIMITATION OR EXCLUSIONS MAY NOT APPLY.
(e) ACCIDENTS AND SIMILAR EVENTS.
Carās malfunctions or damage resulting from accidents, col-
Limited Warranty
165
oh_croft_InD.indd 16520/05/2004 07:59:21ProCarManuals.com
Page 191 of 205
Headlamp Flasher .................................................................58
Heating & Ventilation .............................................................. 61
Horn ...................................................................................... 60
Idle Speed ............................................................................. 73
Ignition Switch ....................................................................... 44
Immobiliser, engine ................................................................ 31
Inertia Switch ...................................................................... 135
Instrument Illumination .......................................................... 56
Interior Lamp .......................................................................... 41
Jacking Points, lifting you car .............................................. 148
āJumpā Starting ..................................................................... 133
Keys ...................................................................................... 29
Lighting Switches .................................................................. 54
Lights On Buzzer .............................................................. 40,55
Lubrication - Dipstick, engine oil level check ....................................... 99
- Engine Oil Change ........................................................ 100
- Oil Filter ......................................................................... 102
- Recommended Lubricants ............................................ 153
- Tran smission Oil ............................................................ 103
Mirrors ................................................................................... 40
Odometer .............................................................................. 53
Parking Brake ........................................................................ 70
Pedals ................................................................................... 66
Queenās Award ..................................................................... 191
Roof, Hard Top ...................................................................... 85
Roof, Soft Top ....................................................................... 82
Safety Information ....................................................................
7
Seat Be lts .............................................................................. 18
Seats ...................................................................................... 17
Servicing ............... see separate Maintenance Record booklet
Sparking Plugs ..................................................................... 114
Speedometer .......................................................................... 51
Start Button, engine .............................................................. 45
Starting Procedure ................................................................ 72
Index
189
oh_croft_InD.indd 18920/05/2004 07:59:26ProCarManuals.com