engine overheat MASERATI LEVANTE 2019 Owners Manual
[x] Cancel search | Manufacturer: MASERATI, Model Year: 2019, Model line: LEVANTE, Model: MASERATI LEVANTE 2019Pages: 436, PDF Size: 15.24 MB
Page 103 of 436
Seat movement may become limited if
there is an obstruction in the way.
Front Heated Seats The front seats are equipped with
heaters in both seat cushions and
seatbacks.
The seats comfort commands are in
the “Climate” screen of the MTC+.
They are present in the "Climate"
screen even when the A/C is off. See
“Air Conditioning Controls” in section
“Dashboard Instruments and
Controls” for further details.
When the MTC+ System is in any mode
other than “Climate” (Radio”,
“Media”, “Controls”, etc.) the icons of
the active front seats comfort
functions will be indicated on the
upper part of the display.
WARNING!
• Persons with low skin sensitivity
because of advanced age, chronic
illness, diabetes, spinal cord injury,
medication, alcohol use, exhaustion
or other physical conditions must be
careful when using the seat heater.
It may cause irritation even at low
temperatures, especially if used for
long periods of time. • Do not place anything on the seat
that insulates against heat, such as a
blanket or cushion. This may cause
the seat heater to overheat.
Front Seats Heat Function
NOTE:
The
engine must be
running for the
heated seats to operate.
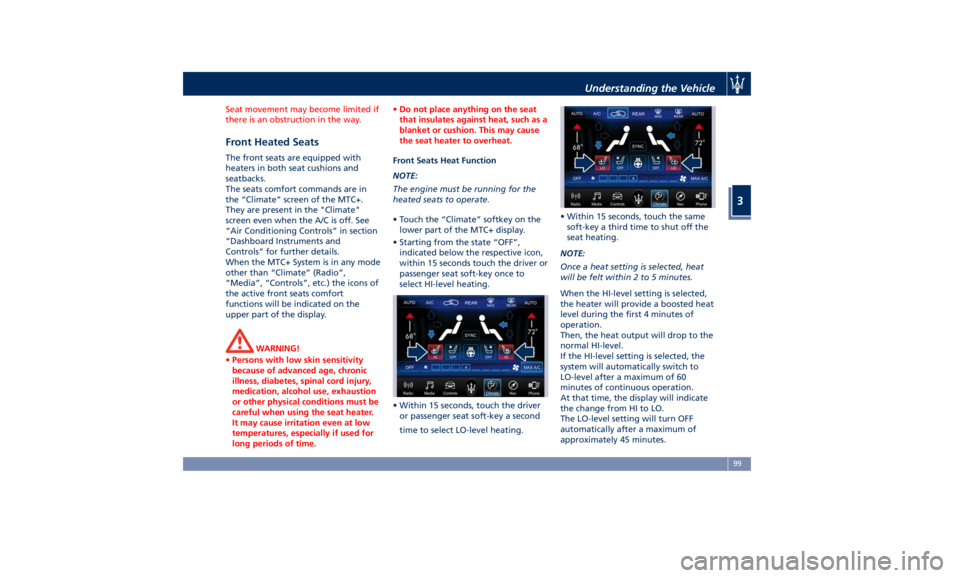
• Touch the “Climate” softkey on the
lower part of the MTC+ display.
• Starting from the state “OFF”,
indicated below the respective icon,
within 15 seconds touch the driver or
passenger seat soft-key once to
select HI-level heating.
• Within 15 seconds, touch the driver
or passenger seat soft-key a second
time to select LO-level heating. • Within 15 seconds, touch the same
soft-key a third time to shut off the
seat heating.
NOTE:
Once a heat setting is selected, heat
will be felt within 2 to 5 minutes.
When the HI-level setting is selected,
the heater will provide a boosted heat
level during the first 4 minutes of
operation.
Then, the heat output will drop to the
normal HI-level.
If the HI-level setting is selected, the
system will automatically switch to
LO-level after a maximum of 60
minutes of continuous operation.
At that time, the display will indicate
the change from HI to LO.
The LO-level setting will turn OFF
automatically after a maximum of
approximately 45 minutes.Understanding the Vehicle
3
99
Page 113 of 436
The heated steering wheel can shut
off early or may not turn on when the
steering wheel is already warm.
The heating steering wheel command
is in the “Climate” screen of MTC+. It
is present in the “Climate” screen even
when the A/C is off. See “Air
Conditioning Controls” in section
“Dashboard Instruments and
Controls” for further details.
When the MTC+ System is in any mode
other than “ Climate” (“Radio”,
“Media”, “Controls”, etc.) the icon of
the heated steering wheel will be
indicated on the upper part of the
display.
NOTE:
The engine must be running for the
heated steering wheel to operate.
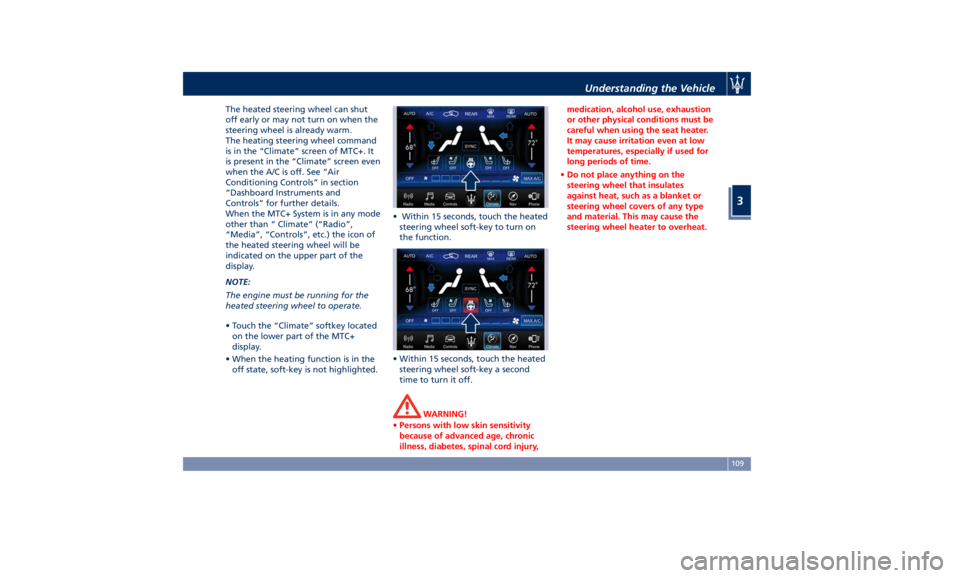
• Touch the “Climate” softkey located
on the lower part of the MTC+
display.
• When the heating function is in the
off state, soft-key is not highlighted. • Within 15 seconds, touch the heated
steering wheel soft-key to turn on
the function.
• Within 15 seconds, touch the heated
steering wheel soft-key a second
time to turn it off.
WARNING!
• Persons with low skin sensitivity
because of advanced age, chronic
illness, diabetes, spinal cord injury, medication, alcohol use, exhaustion
or other physical conditions must be
careful when using the seat heater.
It may cause irritation even at low
temperatures, especially if used for
long periods of time.
• Do not place anything on the
steering wheel that insulates
against heat, such as a blanket or
steering wheel covers of any type
and material. This may cause the
steering wheel heater to overheat.Understanding the Vehicle
3
109
Page 182 of 436
“Key-On Display” and “Key-Off
Display” items allow user to set display
during vehicle key-on and off.
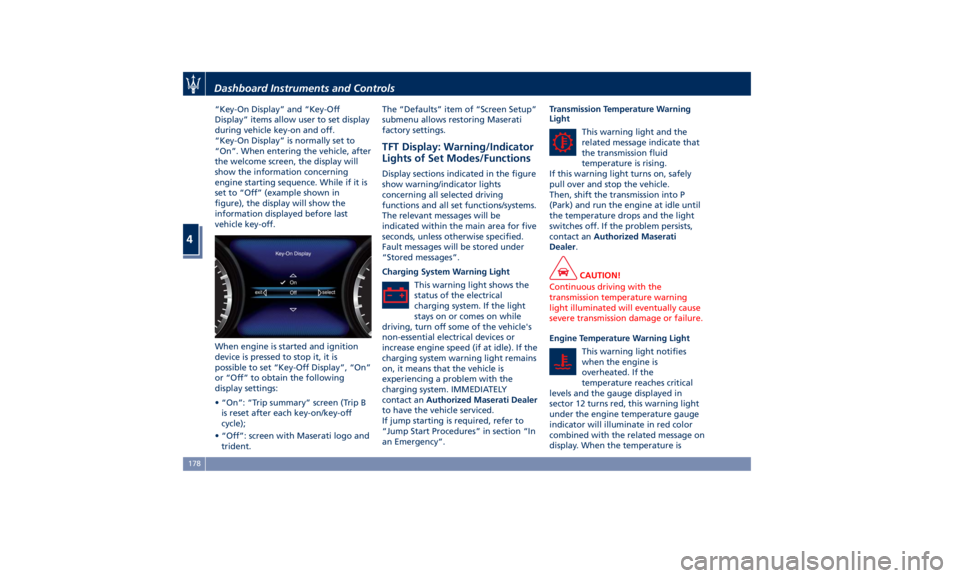
“Key-On Display” is normally set to
“On”. When entering the vehicle, after
the welcome screen, the display will
show the information concerning
engine starting sequence. While if it is
set to “Off” (example shown in
figure), the display will show the
information displayed before last
vehicle key-off.
When engine is started and ignition
device is pressed to stop it, it is
possible to set “Key-Off Display”, “On”
or “Off” to obtain the following
display settings:
• “On”: “Trip summary” screen (Trip B
is reset after each key-on/key-off
cycle);
• “Off”: screen with Maserati logo and
trident. The “Defaults” item of “Screen Setup”
submenu allows restoring Maserati
factory settings.
TFT Display: Warning/Indicator
Lights of Set Modes/Functions Display sections indicated in the figure
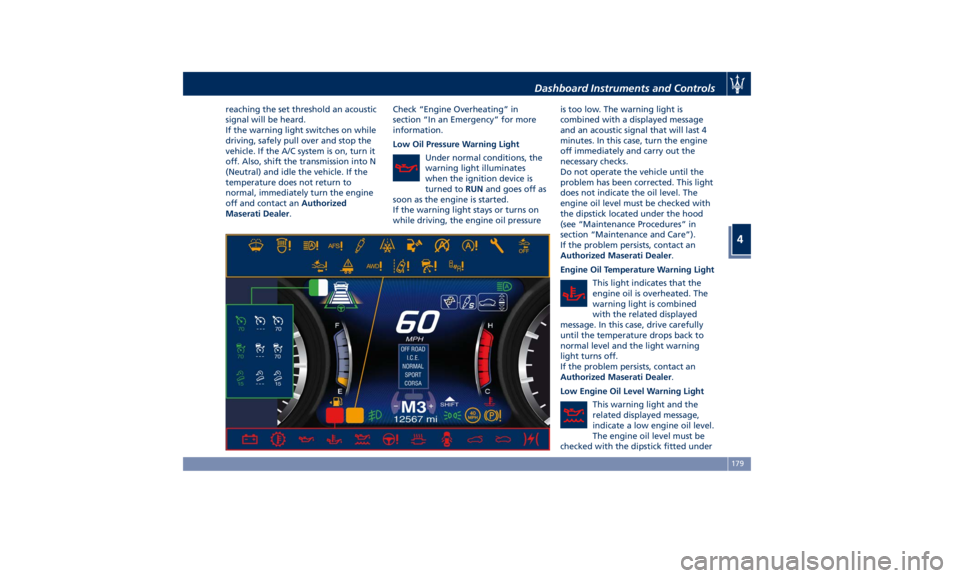
show warning/indicator lights
concerning all selected driving
functions and all set functions/systems.
The relevant messages will be
indicated within the main area for five
seconds, unless otherwise specified.
Fault messages will be stored under
“Stored messages”.
Charging System Warning Light
This warning light shows the
status of the electrical
charging system. If the light
stays on or comes on while
driving, turn off some of the vehicle's
non-essential electrical devices or
increase engine speed (if at idle). If the
charging system warning light remains
on, it means that the vehicle is
experiencing a problem with the
charging system. IMMEDIATELY
contact an Authorized Maserati Dealer
to have the vehicle serviced.
If jump starting is required, refer to
“Jump Start Procedures” in section “In
an Emergency”. Transmission Temperature Warning
Light
This warning light and the
related message indicate that
the transmission fluid
temperature is rising.
If this warning light turns on, safely
pull over and stop the vehicle.
Then, shift the transmission into P
(Park) and run the engine at idle until
the temperature drops and the light
switches off. If the problem persists,
contact an Authorized Maserati
Dealer .
CAUTION!
Continuous driving with the
transmission temperature warning
light illuminated will eventually cause
severe transmission damage or failure.
Engine Temperature Warning Light
This
warning light notifies
when
the engine is
overheated. If the
temperature reaches critical
levels and the gauge displayed in
sector 12 turns red, this warning light
under the engine temperature gauge
indicator will illuminate in red color
combined with the related message on
display. When the temperature isDashboard Instruments and Controls
4
178
Page 183 of 436
reaching the set threshold an acoustic
signal will be heard.
If the warning light switches on while
driving, safely pull over and stop the
vehicle. If the A/C system is on, turn it
off. Also, shift the transmission into N
(Neutral) and idle the vehicle. If the
temperature does not return to
normal, immediately turn the engine
off and contact an Authorized
Maserati Dealer . Check “Engine Overheating” in
section “In an Emergency” for more
information.
Low Oil Pressure Warning Light
Under normal conditions, the
warning light illuminates
when the ignition device is
turned to RUN and goes off as
soon as the engine is started.
If the warning light stays or turns on
while driving, the engine oil pressure is too low. The warning light is
combined with a displayed message
and an acoustic signal that will last 4
minutes. In this case, turn the engine
off immediately and carry out the
necessary checks.
Do not operate the vehicle until the
problem has been corrected. This light
does not indicate the oil level. The
engine oil level must be checked with
the dipstick located under the hood
(see “Maintenance Procedures” in
section “Maintenance and Care”).
If the problem persists, contact an
Authorized Maserati Dealer .
Engine Oil Temperature Warning Light
This light indicates that the
engine oil is overheated. The
warning light is combined
with the related displayed
message. In this case, drive carefully
until the temperature drops back to
normal level and the light warning
light turns off.
If the problem persists, contact an
Authorized Maserati Dealer .
Low Engine Oil Level Warning Light
This warning light and the
related displayed message,
indicate a low engine oil level.
The engine oil level must be
checked with the dipstick fitted underDashboard Instruments and Controls
4
179
Page 246 of 436
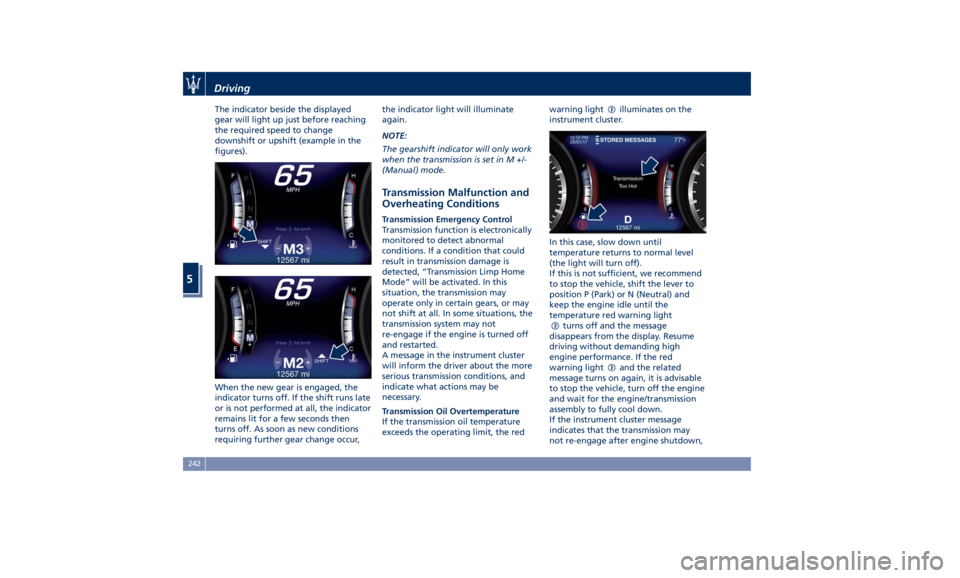
The indicator beside the displayed
gear will light up just before reaching
the required speed to change
downshift or upshift (example in the
figures).
When the new gear is engaged, the
indicator turns off. If the shift runs late
or is not performed at all, the indicator
remains lit for a few seconds then
turns off. As soon as new conditions
requiring further gear change occur, the indicator light will illuminate
again.
NOTE:
The gearshift indicator will only work
when the transmission is set in M +/-
(Manual) mode.
Transmission Malfunction and
Overheating Conditions Transmission Emergency Control
Transmission function is electronically
monitored to detect abnormal
conditions. If a condition that could
result in transmission damage is
detected, “Transmission Limp Home
Mode” will be activated. In this
situation, the transmission may
operate only in certain gears, or may
not shift at all. In some situations, the
transmission system may not
re-engage if the engine is turned off
and restarted.
A message in the instrument cluster
will inform the driver about the more
serious transmission conditions, and
indicate what actions may be
necessary.
Transmission Oil Overtemperature
If the transmission oil temperature
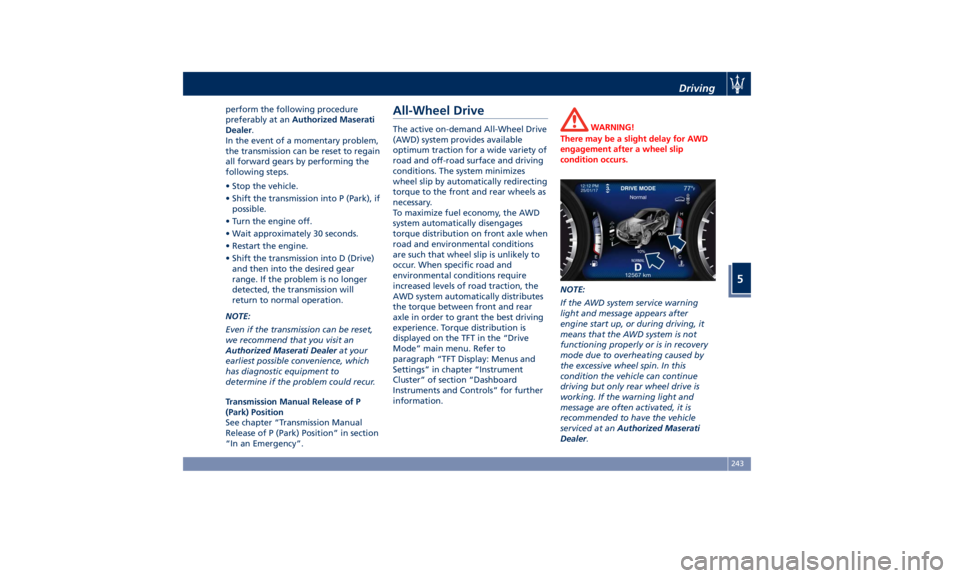
exceeds the operating limit, the red warning light
illuminates on the
instrument cluster.
In this case, slow down until
temperature returns to normal level
(the light will turn off).
If this is not sufficient, we recommend
to stop the vehicle, shift the lever to
position P (Park) or N (Neutral) and
keep the engine idle until the
temperature red warning light
turns off and the message
disappears from the display. Resume
driving without demanding high
engine performance. If the red
warning light
and the related
message turns on again, it is advisable
to stop the vehicle, turn off the engine
and wait for the engine/transmission
assembly to fully cool down.
If the instrument cluster message
indicates that the transmission may
not re-engage after engine shutdown,Driving
5
242
Page 247 of 436
perform the following procedure
preferably at an Authorized Maserati
Dealer .
In the event of a momentary problem,
the transmission can be reset to regain
all forward gears by performing the
following steps.
• Stop the vehicle.
• Shift the transmission into P (Park), if
possible.
• Turn the engine off.
• Wait approximately 30 seconds.
• Restart the engine.
• Shift the transmission into D (Drive)
and then into the desired gear
range. If the problem is no longer
detected, the transmission will
return to normal operation.
NOTE:
Even if the transmission can be reset,
we recommend that you visit an
Authorized Maserati Dealer at your
earliest possible convenience, which
has diagnostic equipment to
determine if the problem could recur.
Transmission Manual Release of P
(Park) Position
See chapter “Transmission Manual
Release of P (Park) Position” in section
“In an Emergency”. All-Wheel Drive The active on-demand All-Wheel Drive
(AWD) system provides available
optimum traction for a wide variety of
road and off-road surface and driving
conditions. The system minimizes
wheel slip by automatically redirecting
torque to the front and rear wheels as
necessary.
To maximize fuel economy, the AWD
system automatically disengages
torque distribution on front axle when
road and environmental conditions
are such that wheel slip is unlikely to
occur. When specific road and
environmental conditions require
increased levels of road traction, the
AWD system automatically distributes
the torque between front and rear
axle in order to grant the best driving
experience. Torque distribution is
displayed on the TFT in the “Drive
Mode” main menu. Refer to
paragraph “TFT Display: Menus and
Settings” in chapter “Instrument
Cluster” of section “Dashboard
Instruments and Controls” for further
information. WARNING!
There may be a slight delay for AWD
engagement after a wheel slip
condition occurs.
NOTE:
If the A WD
system service warning
light and message appears after
engine start up, or during driving, it
means that the AWD system is not
functioning properly or is in recovery
mode due to overheating caused by
the excessive wheel spin. In this
condition the vehicle can continue
driving but only rear wheel drive is
working. If the warning light and
message are often activated, it is
recommended to have the vehicle
serviced at an Authorized Maserati
Dealer .Driving
5
243
Page 264 of 436
the position of the vehicle with little
suspension movements to ensure a
proper appearance.
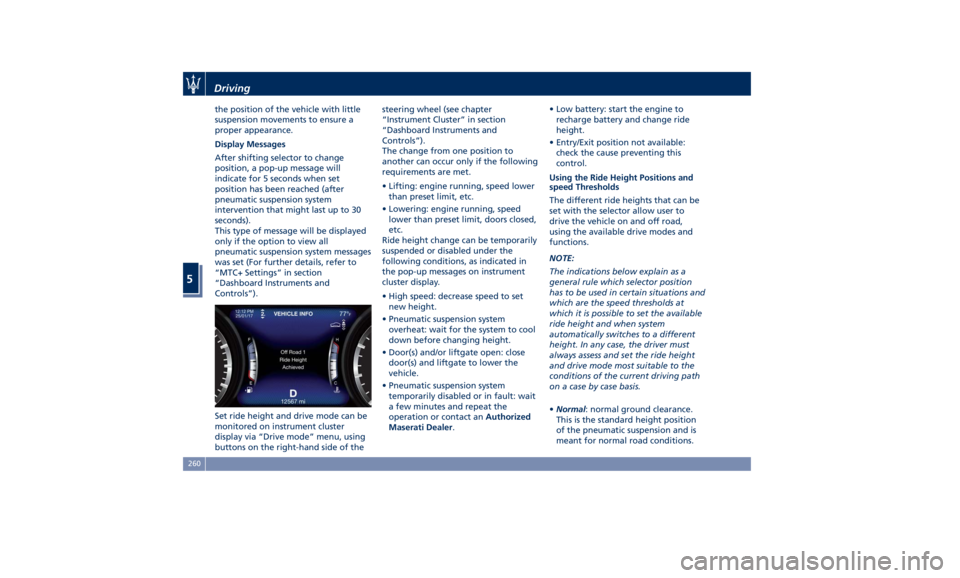
Display Messages
After shifting selector to change
position, a pop-up message will
indicate for 5 seconds when set
position has been reached (after
pneumatic suspension system
intervention that might last up to 30
seconds).
This type of message will be displayed
only if the option to view all
pneumatic suspension system messages
was set (For further details, refer to
“MTC+ Settings” in section
“Dashboard Instruments and
Controls”).
Set ride height and drive mode can be
monitored on instrument cluster
display via “Drive mode” menu, using
buttons on the right-hand side of the steering wheel (see chapter
“Instrument Cluster” in section
“Dashboard Instruments and
Controls”).
The change from one position to
another can occur only if the following
requirements are met.
• Lifting: engine running, speed lower
than preset limit, etc.
• Lowering: engine running, speed
lower than preset limit, doors closed,
etc.
Ride height change can be temporarily
suspended or disabled under the
following conditions, as indicated in
the pop-up messages on instrument
cluster display.
• High speed: decrease speed to set
new height.
• Pneumatic suspension system
overheat: wait for the system to cool
down before changing height.
• Door(s) and/or liftgate open: close
door(s) and liftgate to lower the
vehicle.
• Pneumatic suspension system
temporarily disabled or in fault: wait
a few minutes and repeat the
operation or contact an Authorized
Maserati Dealer . • Low battery: start the engine to
recharge battery and change ride
height.
• Entry/Exit position not available:
check the cause preventing this
control.
Using the Ride Height Positions and
speed Thresholds
The different ride heights that can be
set with the selector allow user to
drive the vehicle on and off road,
using the available drive modes and
functions.
NOTE:
The indications below explain as a
general rule which selector position
has to be used in certain situations and
which are the speed thresholds at
which it is possible to set the available
ride height and when system
automatically switches to a different
height. In any case, the driver must
always assess and set the ride height
and drive mode most suitable to the
conditions of the current driving path
on a case by case basis.
• Normal : normal ground clearance.
This is the standard height position
of the pneumatic suspension and is
meant for normal road conditions.Driving
5
260
Page 274 of 436
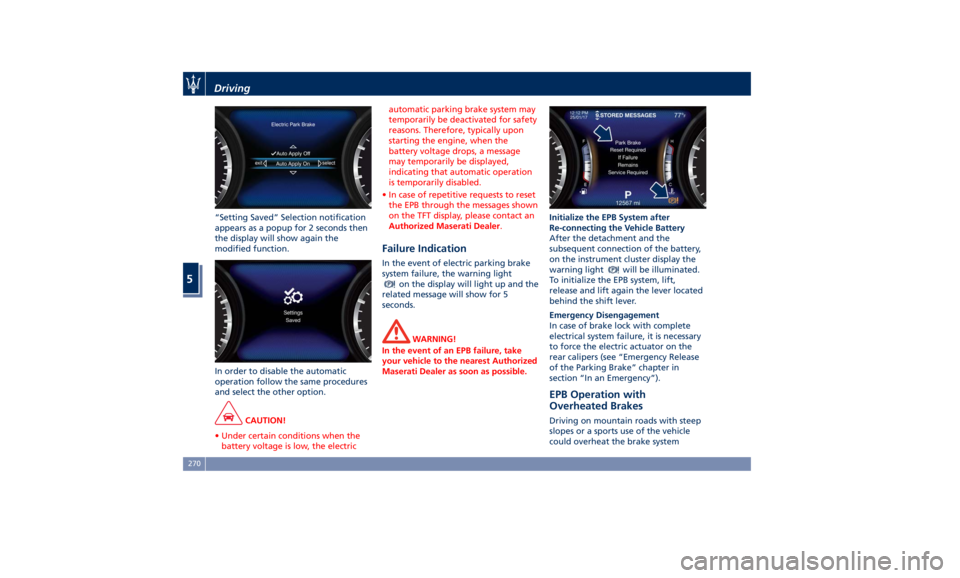
“Setting Saved” Selection notification
appears as a popup for 2 seconds then
the display will show again the
modified function.
In order to disable the automatic
operation follow the same procedures
and select the other option.
CAUTION!
• Under certain conditions when the
battery voltage is low, the electric automatic parking brake system may
temporarily be deactivated for safety
reasons. Therefore, typically upon
starting the engine, when the
battery voltage drops, a message
may temporarily be displayed,
indicating that automatic operation
is temporarily disabled.
• In case of repetitive requests to reset
the EPB through the messages shown
on the TFT display, please contact an
Authorized Maserati Dealer .
Failure Indication In the event of electric parking brake
system failure, the warning light
on the display will light up and the
related message will show for 5
seconds.
WARNING!
In the event of an EPB failure, take
your vehicle to the nearest Authorized
Maserati Dealer as soon as possible. Initialize the EPB System after
Re-connecting
the V ehicle Battery
After the detachment and the
subsequent connection of the battery,
on the instrument cluster display the
warning light
will be illuminated.
To initialize the EPB system, lift,
release and lift again the lever located
behind the shift lever.
Emergency Disengagement
In case of brake lock with complete
electrical system failure, it is necessary
to force the electric actuator on the
rear calipers (see “Emergency Release
of the Parking Brake” chapter in
section “In an Emergency”).
EPB Operation with
Overheated Brakes Driving on mountain roads with steep
slopes or a sports use of the vehicle
could overheat the brake systemDriving
5
270
Page 283 of 436
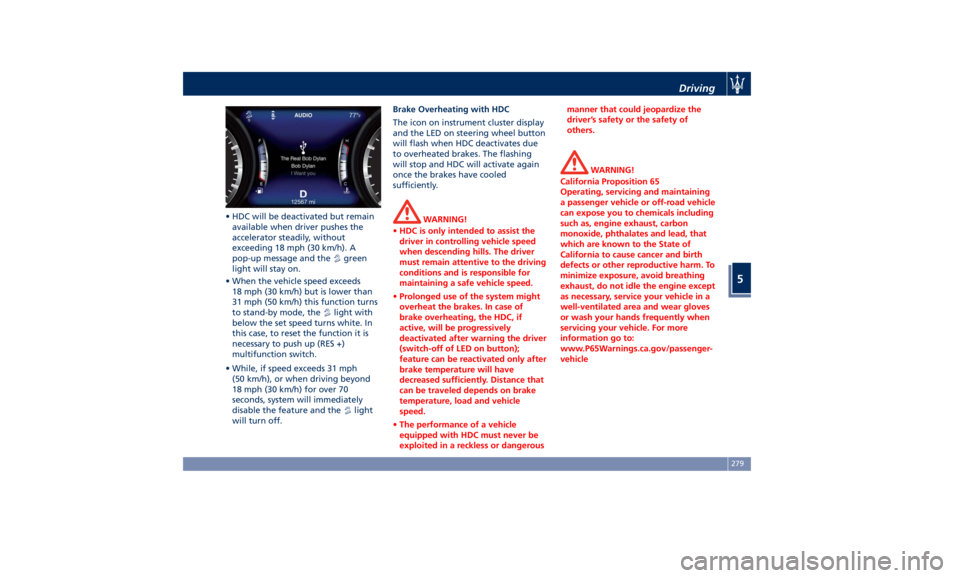
• HDC will be deactivated but remain
available when driver pushes the
accelerator steadily, without
exceeding 18 mph (30 km/h). A
pop-up message and the
green
light will stay on.
• When the vehicle speed exceeds
18 mph (30 km/h) but is lower than
31 mph (50 km/h) this function turns
to stand-by mode, the
light with
below the set speed turns white. In
this case, to reset the function it is
necessary to push up (RES +)
multifunction switch.
• While, if speed exceeds 31 mph
(50 km/h), or when driving beyond
18 mph (30 km/h) for over 70
seconds, system will immediately
disable the feature and the
light
will turn off. Brake Overheating with HDC
The icon on instrument cluster display
and the LED on steering wheel button
will flash when HDC deactivates due
to overheated brakes. The flashing
will stop and HDC will activate again
once the brakes have cooled
sufficiently.
WARNING!
• HDC is only intended to assist the
driver in controlling vehicle speed
when descending hills. The driver
must remain attentive to the driving
conditions and is responsible for
maintaining a safe vehicle speed.
• Prolonged use of the system might
overheat the brakes. In case of
brake overheating, the HDC, if
active, will be progressively
deactivated after warning the driver
(switch-off of LED on button);
feature can be reactivated only after
brake temperature will have
decreased sufficiently. Distance that
can be traveled depends on brake
temperature, load and vehicle
speed.
• The performance of a vehicle
equipped with HDC must never be
exploited in a reckless or dangerous manner that could jeopardize the
driver’s safety or the safety of
others.
WARNING!
California Proposition 65
Operating, servicing and maintaining
a passenger vehicle or off-road vehicle
can expose you to chemicals including
such as, engine exhaust, carbon
monoxide, phthalates and lead, that
which are known to the State of
California to cause cancer and birth
defects or other reproductive harm. To
minimize exposure, avoid breathing
exhaust, do not idle the engine except
as necessary, service your vehicle in a
well-ventilated area and wear gloves
or wash your hands frequently when
servicing your vehicle. For more
information go to:
www.P65Warnings.ca.gov/passenger-
vehicleDriving
5
279
Page 357 of 436
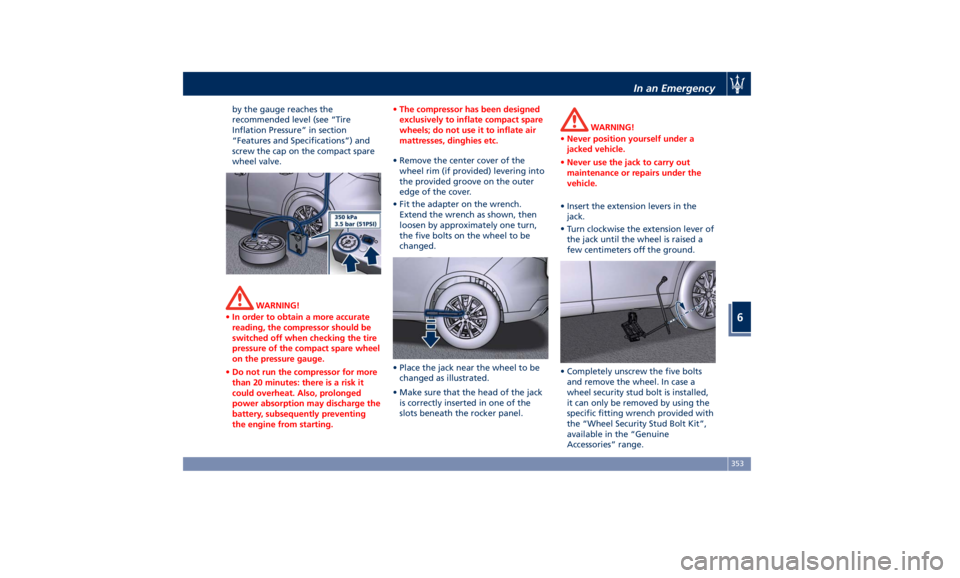
by the gauge reaches the
recommended level (see “Tire
Inflation Pressure” in section
“Features and Specifications”) and
screw the cap on the compact spare
wheel valve.
WARNING!
• In order to obtain a more accurate
reading, the compressor should be
switched off when checking the tire
pressure of the compact spare wheel
on the pressure gauge.
• Do not run the compressor for more
than 20 minutes: there is a risk it
could overheat. Also, prolonged
power absorption may discharge the
battery, subsequently preventing
the engine from starting. • The compressor has been designed
exclusively to inflate compact spare
wheels; do not use it to inflate air
mattresses, dinghies etc.
• Remove the center cover of the
wheel
rim (if provided) levering into
the provided groove on the outer
edge of the cover.
• Fit the adapter on the wrench.
Extend the wrench as shown, then
loosen by approximately one turn,
the five bolts on the wheel to be
changed.
• Place the jack near the wheel to be
changed as illustrated.
• Make sure that the head of the jack
is correctly inserted in one of the
slots beneath the rocker panel. WARNING!
• Never position yourself under a
jacked vehicle.
• Never use the jack to carry out
maintenance or repairs under the
vehicle.
• Insert the extension levers in the
jack.
•
Turn clockwise
the extension lever of
the jack until the wheel is raised a
few centimeters off the ground.
• Completely unscrew the five bolts
and remove the wheel. In case a
wheel security stud bolt is installed,
it can only be removed by using the
specific fitting wrench provided with
the “Wheel Security Stud Bolt Kit”,
available in the “Genuine
Accessories” range.In an Emergency
6
353