ignition MAZDA MIATA 1991 Factory Owner's Manual
[x] Cancel search | Manufacturer: MAZDA, Model Year: 1991, Model line: MIATA, Model: MAZDA MIATA 1991Pages: 392, PDF Size: 29.45 MB
Page 340 of 392

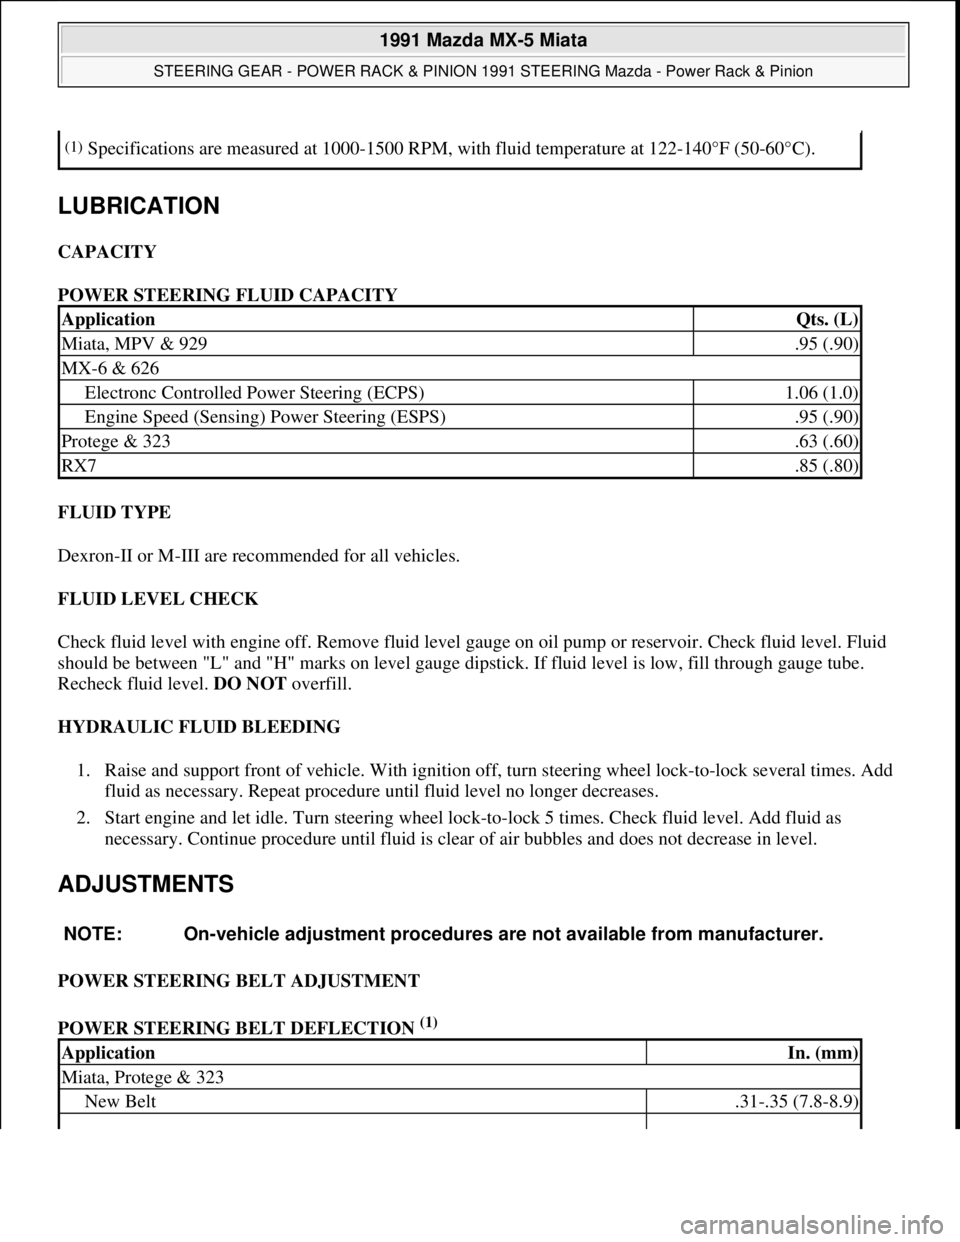
LUBRICATION
CAPACITY
POWER STEERING FLUID CAPACITY
FLUID TYPE
Dexron-II or M-III are recommended for all vehicles.
FLUID LEVEL CHECK
Check fluid level with engine off. Remove fluid level gauge on oil pump or reservoir. Check fluid level. Fluid
should be between "L" and "H" marks on level gauge dipstick. If fluid level is low, fill through gauge tube.
Recheck fluid level. DO NOT overfill.
HYDRAULIC FLUID BLEEDING
1. Raise and support front of vehicle. With ignition off, turn steering wheel lock-to-lock several times. Add
fluid as necessary. Repeat procedure until fluid level no longer decreases.
2. Start engine and let idle. Turn steering wheel lock-to-lock 5 times. Check fluid level. Add fluid as
necessary. Continue procedure until fluid is clear of air bubbles and does not decrease in level.
ADJUSTMENTS
POWER STEERING BELT ADJUSTMENT
POWER STEERING BELT DEFLECTION
(1)
(1)Specifications are measured at 1000-1500 RPM, with fluid temperature at 122-140°F (50-60°C).
ApplicationQts. (L)
Miata, MPV & 929.95 (.90)
MX-6 & 626
Electronc Controlled Power Steering (ECPS)1.06 (1.0)
Engine Speed (Sensing) Power Steering (ESPS).95 (.90)
Protege & 323.63 (.60)
RX7.85 (.80)
NOTE: On-vehicle adjustment procedures are not available from manufacturer.
ApplicationIn. (mm)
Miata, Protege & 323
New Belt.31-.35 (7.8-8.9)
1991 Mazda MX-5 Miata
STEERING GEAR - POWER RACK & PINION 1991 STEERING Mazda - Power Rack & Pinion
Microsoft
Sunday, July 05, 2009 2:10:15 PMPage 3 © 2005 Mitchell Repair Information Company, LLC.
Page 357 of 392

STARTER - DIRECT DRIVE
1990-92 ELECTRICAL Mazda Starters - Direct Drive
DESCRIPTION
Nippondenso direct drive starter is a conventional 12-volt, 4-pole, brush-type starter. The integral solenoid is
attached to the drive housing. The overrunning clutch pinion drive is mounted directly on armature shaft drive
end.
TROUBLESHOOTING
TESTING (ON VEHICLE)
CIRCUIT TESTING
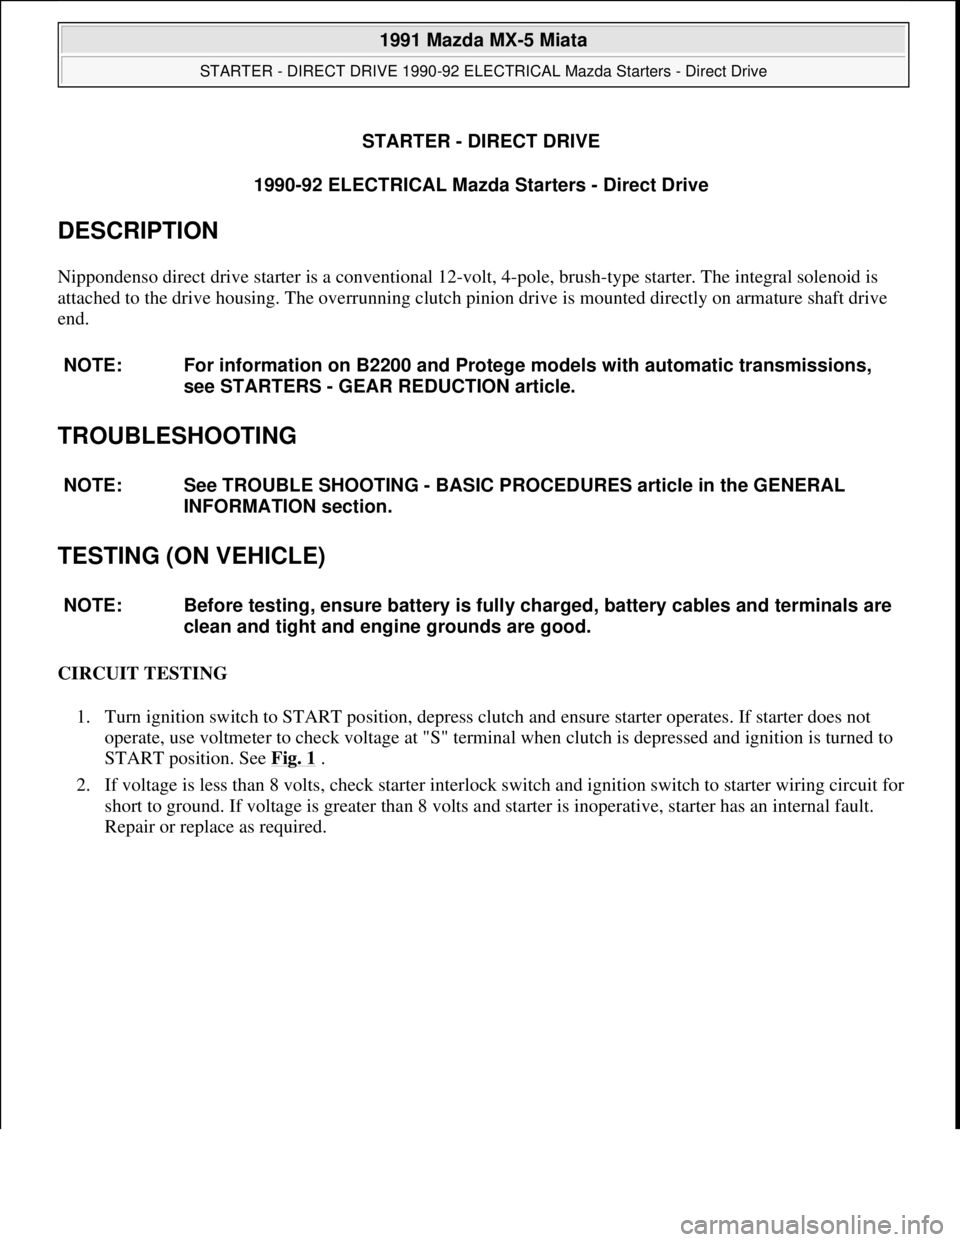
1. Turn ignition switch to START position, depress clutch and ensure starter operates. If starter does not
operate, use voltmeter to check voltage at "S" terminal when clutch is depressed and ignition is turned to
START position. See Fig. 1
.
2. If voltage is less than 8 volts, check starter interlock switch and ignition switch to starter wiring circuit for
short to ground. If voltage is greater than 8 volts and starter is inoperative, starter has an internal fault.
Repair or replace as required. NOTE: For information on B2200 and Protege models with automatic transmissions,
see STARTERS - GEAR REDUCTION article.
NOTE: See TROUBLE SHOOTING - BASIC PROCEDURES article in the GENERAL
INFORMATION section.
NOTE: Before testing, ensure battery is fully charged, battery cables and terminals are
clean and tight and engine grounds are good.
1991 Mazda MX-5 Miata
STARTER - DIRECT DRIVE 1990-92 ELECTRICAL Mazda Starters - Direct Drive
1991 Mazda MX-5 Miata
STARTER - DIRECT DRIVE 1990-92 ELECTRICAL Mazda Starters - Direct Drive
Microsoft
Sunday, July 05, 2009 2:13:20 PMPage 1 © 2005 Mitchell Repair Information Company, LLC.
Microsoft
Sunday, July 05, 2009 2:13:24 PMPage 1 © 2005 Mitchell Repair Information Company, LLC.
Page 370 of 392

Fig. 1: Aligning Clockspring Connector Alignment Marks
Courtesy of MAZDA MOTORS CORP.
Removal & Installation (All Others)
Remove steering wheel. See STEERING WHEEL & HORN PAD under REMOVAL & INSTALLATION.
Remove steering column covers. Disconnect combination switch connectors. Remove combination switch. To
install, reverse removal procedure.
IGNITION SWITCH & STEERING LOCK
Removal & Installation (All Models)
1. Remove steering wheel and combination switch. See STEERING WHEEL & HORN PAD and
COMBINATION SWITCH.
2. Remove ignition switch connectors. Remove ignition switch-to-steering lock screw. Remove ignition
switch.
3. With a hammer and chisel, make a groove on steering lock assembly shear screws. Remove 2 shear
screws with screwdriver. Remove ignition switch/steering lock assembly. To install, reverse removal
procedure. Tighten NEW shear screws until head breaks off.
STEERING COLUMN
CAUTION: Excessive pressure or impact to mainshaft during service may cause
column to collapse.
1991 Mazda MX-5 Miata
STEERING COLUMN 1991 STEERING Mazda - Steering Columns
Microsoft
Sunday, July 05, 2009 2:10:42 PMPage 3 © 2005 Mitchell Repair Information Company, LLC.
Page 371 of 392

Removal & Installation (B2200, B2600i, Miata, Protege, RX7,
323 & 929)
1. Remove steering wheel and combination switch. See STEERING WHEEL & HORN PAD and
COMBINATION SWITCH
under REMOVAL & INSTALLATION. See Fig. 2 -8. Remove steering
lock assembly. See IGNITION SWITCH & STEERING LOCK
under REMOVAL &
INSTALLATION.
2. Remove lower panel and air duct (if necessary). Remove steering column-to-intermediate shaft "U" joint
bolt. Remove steering column-to-firewall nuts. Remove lower joint dust cover (if equipped). Remove
steering column upper bracket bolts. Remove steering column.
3. To install, reverse removal procedure. Tighten bolts to specification. See TORQUE SPECIFICATIONS
TABLE at end of article.
1991 Mazda MX-5 Miata
STEERING COLUMN 1991 STEERING Mazda - Steering Columns
Microsoft
Sunday, July 05, 2009 2:10:42 PMPage 4 © 2005 Mitchell Repair Information Company, LLC.
Page 379 of 392

Courtesy of MAZDA MOTORS CORP.
Removal & Installation (MPV, MX-6 & 626)
1. Remove steering wheel and combination switch. See STEERING WHEEL & HORN PAD and
COMBINATION SWITCH
under REMOVAL & INSTALLATION. Remove steering lock assembly.
See IGNITION SWITCH & STEERING LOCK
under REMOVAL & INSTALLATION.
2. Remove lower dash panel and A/C duct. Remove lower column cover and steering shaft-to-intermediate
shaft "U" joint bolt. On MPV with A/T, remove shift lever mechanism.
3. On all models, separate steering shaft from intermediate shaft. Remove steering column upper bracket
bolts. Remove steering column. To install, reverse removal procedure. Tighten bolts to specification. See
TORQUE SPECIFICATIONS TABLE
at end of article.
OVERHAUL
STEERING COLUMN
Disassembly
Remove wiring and switches. Clamp column in vise. Turn steering shaft to remove. With a hammer and chisel,
make a groove in steering lock assembly shear screws. Remove shear screws. Remove steering lock.
Inspection
Check all components for damage or wear. Check steering shaft for bends, damage or sheared plastic pins.
Check bearings for excessive play. Replace parts as necessary. Measure length of steering shaft. See Fig. 9
.
Reassembly
To reassemble, reverse disassembly procedure. Grease steering shaft, bushings and bearings. Always use NEW
shear screws.
STEERING SHAFT DIMENSIONS
(1) NOTE: Steering shaft dimension for 929 is not available from manufacturer.
ApplicationLength - In. (mm)
B2200 & B2600i32.69-32.99 (830.0-835.6)
Miata22.09-23.02 (561.1-584.7)
MPV24.05-24.17 (611.0-614.0)
MX-6 & 62624.00-24.05 (609.6-611.1)
Protege & 32323.86-23.94 (606.0-608.0)
RX732.05-32.17 (814.0-817.0)
929(2)
See Fig. 9 for measuring points.
1991 Mazda MX-5 Miata
STEERING COLUMN 1991 STEERING Mazda - Steering Columns
Microsoft
Sunday, July 05, 2009 2:10:42 PMPage 12 © 2005 Mitchell Repair Information Company, LLC.